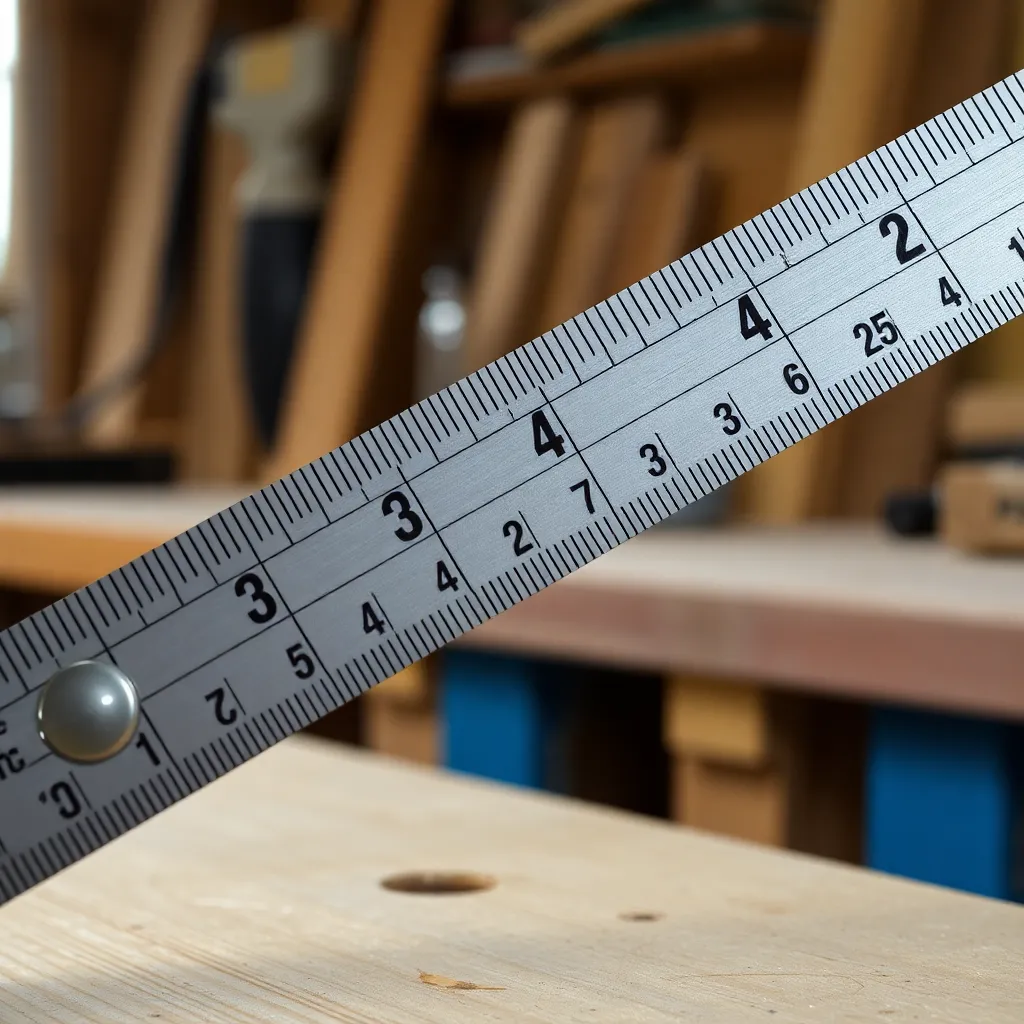
A tape measure has 15 marks per inch — seven different mark heights, each representing a specific fraction. Most people learn to read the obvious ones (½ inch, ¼ inch) and guess at the rest. This guide covers every mark on a standard tape measure, shows you how to read any measurement at a glance without counting, and explains the features of the tape that most people never notice.
Ted’s Woodworking has complete project plans with pre-calculated cut lists — every measurement already worked out. Browse Ted’s plans →
Step 1: Understand the Seven Mark Heights

Goal: Recognize what each mark height means before reading any measurement.
A standard inch-fraction tape has marks at seven heights. From tallest to shortest:
- 1. Inch marks — the tallest marks, labeled with whole numbers (1, 2, 3…)
- 2. ½-inch marks — second tallest, halfway between each inch mark
- 3. ¼-inch marks — third tallest, at ¼ and ¾ of each inch
- 4. ⅛-inch marks — fourth tallest, at ⅛, ⅜, ⅝, ⅞ of each inch
- 5. 1/16-inch marks — the shortest standard marks, between all the above
On some precision tapes, there are also 1/32-inch marks (even shorter, often in a different color). On metric tapes, the marks represent millimeters and centimeters.
Milestone: Point to any mark on the tape and state what fraction it represents before moving to Step 2.
Step 2: Read the Inch First, Then the Fraction

Goal: Read a measurement by identifying the inch component, then adding the fraction.
Every measurement has two parts: the whole inch (read from the labeled inch mark) and the fraction (read from the marks between the inch marks).
To read any measurement: (1) find the last whole inch mark before the measurement point — that’s the inch component; (2) count the fractional marks from that inch mark to the measurement point — that’s the fraction; (3) combine them.
Example: if the measurement falls on the second small mark past the “3” label, that’s 3 inches plus 2/16 = 3 and ⅛ inches (2/16 simplifies to ⅛).
Milestone: Read three different measurements on a tape without counting marks from zero.
Step 3: Learn the Visual Pattern for Common Fractions

Goal: Recognize ½, ¼, ¾, ⅛, ⅜, ⅝, ⅞ at a glance without counting.
The mark height system is designed for instant recognition. Learn these visual anchors:
- ½ inch: the tall mark exactly halfway between inch marks — easy to spot
- ¼ inch: a medium mark, halfway between the ½-inch mark and the previous inch mark
- ¾ inch: the same height as the ¼-inch mark, halfway between ½ and the next inch mark
- ⅛ inch: shorter than ¼-inch marks, halfway between ¼-inch marks
- ⅜ inch: between the ¼-inch mark and the ½-inch mark
- ⅝ inch: between the ½-inch mark and the ¾-inch mark
- ⅞ inch: between the ¾-inch mark and the next inch mark
Milestone: Without counting, point to the ⅝-inch mark and the ⅜-inch mark on any inch of the tape.
Step 4: Read the 1/16-Inch Marks

Goal: Identify any 1/16-inch mark by position, not by counting from zero.
The 1/16-inch marks are the shortest marks on the tape. There are 15 of them per inch (at each 1/16 position except the whole-number positions). To read a 1/16 mark:
- 1. Identify the nearest ⅛-inch mark
- 2. Count whether the measurement is 1/16 before or after that ⅛ mark
- 3. Add or subtract 1/16 from the ⅛ value
Example: the mark just before the ¼-inch mark (4/16) is 3/16. The mark just after ¼ is 5/16. The mark just before ½ (8/16) is 7/16.
Milestone: Without counting from zero, identify 3/16, 5/16, 7/16, and 9/16 on the tape.
Step 5: Understand the Hook and Its Movement

Goal: Know why the tape hook moves and how it affects measurements.
The metal hook at the end of the tape slides back and forth by approximately 1/16 inch. This is intentional: when measuring from the outside of an object (hook catches on the end), the hook slides out — the extra hook thickness is excluded. When measuring from the inside (hook pushes against a wall), the hook slides in — the hook thickness is included.
The movement compensates for the hook’s physical thickness so inside and outside measurements are equally accurate. If the hook is bent or loose, measurements will be off by the hook thickness (~1/16 inch). Test by measuring the same object from both ends — results should match.
Milestone: Take an inside measurement (between two surfaces) and an outside measurement (from the end of a board) and verify they’re consistent.
Step 6: Read the Black Diamond Marks

Goal: Know what the black diamond marks at 19.2-inch intervals mean.
Most 16-foot and longer tapes have small black diamond marks at 19.2-inch intervals (sometimes called “truss marks” or “stud marks”). They divide an 8-foot (96-inch) span into exactly 5 equal spaces (5 × 19.2 = 96).
In woodworking, these marks are rarely used — they’re primarily for engineered floor truss or rafter layout. For standard framing, ignore the diamonds and use the standard 16-inch stud spacing marks (sometimes highlighted in red at 16-inch intervals).
Milestone: Locate the black diamond marks and the 16-inch interval marks on your tape.
Step 7: Take Accurate Long Measurements

Goal: Measure distances longer than 6 feet accurately without an assistant.
For long measurements: hook the tape end on a nail or have someone hold the end. If measuring alone: press the tape hook over the end of the board and press your knee against the tape at the far end to hold it flat while you read the measurement.
For very long measurements (over 12 feet): mark the 6-foot point, move the tape, and add 6 feet to the remaining measurement. Alternatively, use a chalk line for layout (snap a line at the measured distance) rather than trying to mark from the tape directly.
Milestone: Measure a 10-foot board to the nearest 1/16 inch without an assistant.
Step 8: Practice Reading Without Counting

Goal: Read any tape measurement in under 3 seconds without counting marks.
Speed comes from pattern recognition, not counting. Practice drill: close your eyes, place a finger randomly on the tape, open your eyes, and read the measurement. Repeat 20 times. After 20 repetitions, most people can read any measurement at a glance.
The key insight: the measurement system is visual, not mathematical. The mark heights create a hierarchy of anchors — inch, then ½, then ¼/¾, then ⅛ intervals, then the 1/16 gaps. Read from the largest anchor down, not from zero up.
Milestone: Read 10 random tape positions correctly in under 30 seconds total.
How to Read a Measuring Tape FAQ
What is the shortest mark on a standard tape measure?
The shortest marks on a standard tape measure represent 1/16 inch. Between each pair of inch marks, there are 15 marks total (at 1/16, 2/16, 3/16… through 15/16 — the 16/16 mark is the next inch mark). On precision woodworking tapes (often used in cabinetry), marks go to 1/32 inch — these are even shorter and sometimes printed in red. Metric tapes have millimeter marks (the shortest) and centimeter marks (longer, labeled with numbers).
How do I read 3/4 inch on a tape measure?
The ¾-inch mark is the medium-height mark that appears three-quarters of the way between each pair of inch marks. To find it: locate the ½-inch mark (the tall mark halfway between inches), then find the similar-height mark halfway between the ½-inch mark and the next inch mark. That’s ¾ inch. It’s the same height as the ¼-inch mark, which appears halfway between the previous inch mark and the ½-inch mark. The visual pattern: ¼ and ¾ marks are the same height; ½ is taller; ⅛, ⅜, ⅝, ⅞ are shorter.
Why does my measurement come out different when I measure twice?
Three common causes: (1) the tape hook is bent — a bent hook shifts every measurement by the hook thickness; replace the tape if the hook is visibly bent or if inside and outside measurements of the same object don’t match; (2) the tape is angled — the tape should lie flat on the surface being measured, not arched or tilted; (3) you’re reading a different mark each time — practice reading at eye level directly above the mark (parallax error shifts the apparent position of the mark when viewed at an angle). A consistent technique — hook seated fully, tape flat, read from directly above — produces repeatable measurements.
What does the red mark at 16 inches mean on a tape measure?
Many tape measures highlight the 16-inch, 32-inch, 48-inch, 64-inch, and 80-inch marks in red (or with a stud icon). These mark standard stud spacing — walls are typically framed with studs 16 inches on center. When you measure from the first stud, each red mark shows where the next stud should be. In woodworking (as opposed to framing), these marks have no special significance — they can be read as regular measurements like any other mark on the tape.

“DIY woodworking enthusiast who started with zero experience and a YouTube tutorial.
I build simple, practical projects for my home and share free plans
so other beginners can skip the guesswork.If I can build it, you can too.”