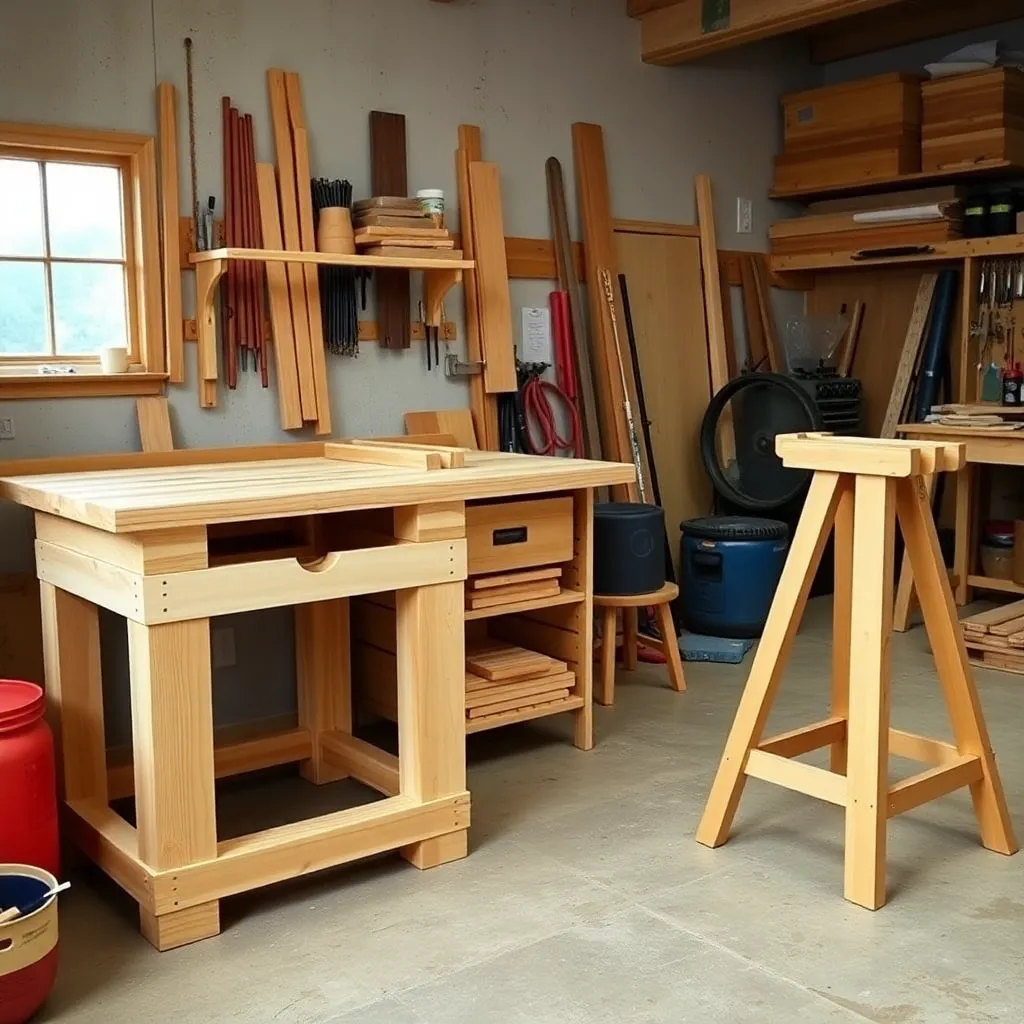
2×4 lumber is the most versatile building material in woodworking: available at every home center, inexpensive enough to practice on, strong enough for furniture that lasts decades, and dimensioned consistently enough to plan around (1½ inches thick, 3½ inches wide, every time). These six builds cover the range from a first-ever 2×4 project to a full shop workbench — all buildable with basic tools and standard hardware.
Ted’s Woodworking has complete 2×4 project plans with cut lists and hardware lists. Browse Ted’s plans →
Step 1: Understand 2×4 Actual Dimensions and Grades

Goal: Know the real dimensions of 2×4 lumber and how to select good boards at the store.
A 2×4 measures 1½ inches × 3½ inches (not 2 × 4). Design everything to these actual dimensions.
Selecting 2×4s at the lumber yard:
- Crown: sight down the length of the board — a slight curve is called crown. Use boards with less than ¼-inch crown for furniture; crown boards are fine for framing where the crown faces up.
- Twist: place the board on a flat surface — it should contact all four corners. Twisted boards are unusable for most furniture.
- Cup: the width should be flat. A cupped board is concave or convex across its width.
- Grade: #2 common (the standard grade) has knots and small defects. Select or prime grade is cleaner but more expensive. For painted furniture, #2 is fine. For stained or clear-finish work, select grade.
Milestone: At a home center, sort through a stack and pull out three boards that are straight, twist-free, and minimally crowned.
Step 2: Build a 2×4 Step Stool

Goal: A two-step stool from 2×4 lumber — the ideal first 2×4 project.
Cut list:
- 2 side panels: 2×4 × 16″ (the angled sides)
- 2 steps: 2×4 × 14″ each (the treads)
- 2 stretchers: 2×4 × 14″ (the cross supports)
Assemble with 2½-inch pocket screws (or 3-inch wood screws with pilot holes). The side panels have angled cuts at the top and bottom — use a miter saw set to 15° for a stable base. Sand to 120 grit, round all edges with sandpaper, and apply two coats of paint or exterior sealer if used outdoors.
Milestone: A stool that holds 200 lbs without racking, with all four feet touching the floor simultaneously.
Step 3: Build a 2×4 Sawhorse Pair

Goal: A pair of sawhorses at 32 inches height — the most useful shop accessory.
Each sawhorse uses:
- 1 top beam: 2×4 × 36″
- 4 legs: 2×4 × 28″ each (cut at 15° on both ends for outward splay)
- 2 lower stretchers: 2×4 × 28″ (connecting opposite pairs of legs)
The leg angle (15° splay in both directions) makes the sawhorse stable under side load. Assemble legs to the top beam with 3-inch screws through pre-drilled pilot holes. Add the stretchers near the bottom of the legs with pocket screws. Build identical pairs.
Milestone: A sawhorse that holds a 200-lb load in the center without flexing.
Step 4: Build a 2×4 Garden Bench

Goal: A simple outdoor bench from 2×4s — no fancy joinery, weather-resistant with the right finish.
Cut list for a 6-foot bench:
- 4 legs: 2×4 × 17½” (cut to length; bench seat height = 17″)
- 2 side aprons: 2×4 × 14″
- 2 end aprons: 2×4 × 14″
- 5 seat boards: 2×4 × 72″
Assemble the leg-and-apron base as a rectangle: legs at each corner, aprons connecting them. Use exterior screws and construction adhesive at each joint (outdoor exposure requires both). Space the five seat boards ¼ inch apart (for drainage) and attach with two screws per board at each apron. Finish with exterior deck stain or oil.
Milestone: A bench that holds two adults (400 lbs) without racking or flex at the center.
Step 5: Build 2×4 Shop Shelving

Goal: A wall-mounted shelving system using 2×4 framing and plywood shelves.
The simplest heavy-duty shop shelf: 2×4 wall cleats (horizontal boards screwed into wall studs) with 2×4 front rails and ¾-inch plywood shelf decks.
System layout:
- Mark stud locations on the wall (every 16 inches)
- Mount horizontal 2×4 wall cleats at each shelf height (screws into each stud)
- Mount 2×4 front rails at the same height, supported by 2×4 diagonal braces
- Set ¾-inch plywood decks on the cleats and front rails (screw or leave loose for easy removal)
Each shelf can hold 200–400 lbs depending on stud-to-stud spacing. Space shelves 12–18 inches apart for power tools and 8–12 inches apart for hand tools and supplies.
Milestone: Three shelves that hold 100 lbs each without visible deflection at the center.
Step 6: Build a 2×4 Workbench

Goal: A heavy-duty workbench from 2×4s — the backbone of any home woodshop.
Cut list for a 6-foot × 24-inch bench at 34-inch height:
- 4 legs: 2×4 doubled (glued and screwed pairs) × 34″
- 4 long rails: 2×4 × 68″ (two upper, two lower)
- 4 short rails: 2×4 × 19½” (two upper, two lower)
- Top: two layers of ¾-inch plywood (72″ × 24″), glued and screwed
Assembly: build two end frames first (two legs + two short rails), then connect them with the long rails. Add a lower shelf (plywood on the lower rails). Build the top from two plywood layers glued together with construction adhesive and clamped flat until cured. Attach the top to the base with pocket screws from below.
Milestone: A workbench that doesn’t move when you push a hand plane across a board with significant force.
2×4 Woodworking FAQ
What can I build with a 2×4?
2×4 lumber works for an enormous range of projects: outdoor furniture (benches, chairs, tables, raised beds), shop fixtures (workbench, sawhorses, lumber rack, clamp rack), indoor furniture with a painted or industrial look (shelving, bed frames, simple tables), and structural elements (framing, wall cleats, bracing). The 1½ × 3½-inch actual dimension is proportionally chunkier than hardwood furniture stock — it looks best in contexts where visual weight is an asset (a heavy workbench, a solid outdoor bench, a farmhouse table) and less appropriate for delicate work (picture frames, small decorative boxes).
What screws should I use for 2×4 woodworking projects?
For indoor furniture: 2½-inch coarse-thread construction screws (GRK, Torx-drive or star-drive). Always drill a pilot hole through the first board to prevent splitting. For outdoor projects: stainless steel or exterior-coated screws (ACQ-compatible, not zinc-plated which corrodes). For structural connections that carry significant load: use 3-inch lag screws into studs or posts, or structural screws (LedgerLOK, LedgerSCREW) rated for the expected load. Pocket screws (Kreg) work well for 2×4 assembly when you want to hide fasteners — use the ⅜-inch pocket hole setting for 1½-inch thick material.
Do I need to join 2×4s differently than hardwood?
2×4s are construction lumber (typically Douglas fir or SPF — spruce-pine-fir blend), which is softer and more prone to splitting than hardwood. Always pre-drill pilot holes — skipping this step cracks 2×4 ends. Glue joints are weaker in softwood than hardwood (smaller pores = less glue penetration), so mechanical fasteners (screws, lag bolts) do most of the structural work in 2×4 projects. Pocket holes, through-bolts, and direct screws work well. Dovetails and mortise-and-tenon joints are possible but rarely worth the effort when screws are faster and strong enough for 2×4 applications.
How do I prevent 2×4 furniture from looking rough?
Sand to at least 120 grit (150 grit for painted work) and break all sharp edges with sandpaper or a block plane. A broken edge (slight roundover, not a router radius) prevents paint chipping at corners and makes the piece feel finished rather than raw. Fill nail holes and any checks (small cracks) with wood filler before painting. For a cleaner painted look: use primer before paint, and apply two finish coats with light sanding between coats. The best-looking 2×4 furniture has been sanded smooth, primed, and painted — the wood species disappears under a clean painted finish.

“DIY woodworking enthusiast who started with zero experience and a YouTube tutorial.
I build simple, practical projects for my home and share free plans
so other beginners can skip the guesswork.If I can build it, you can too.”