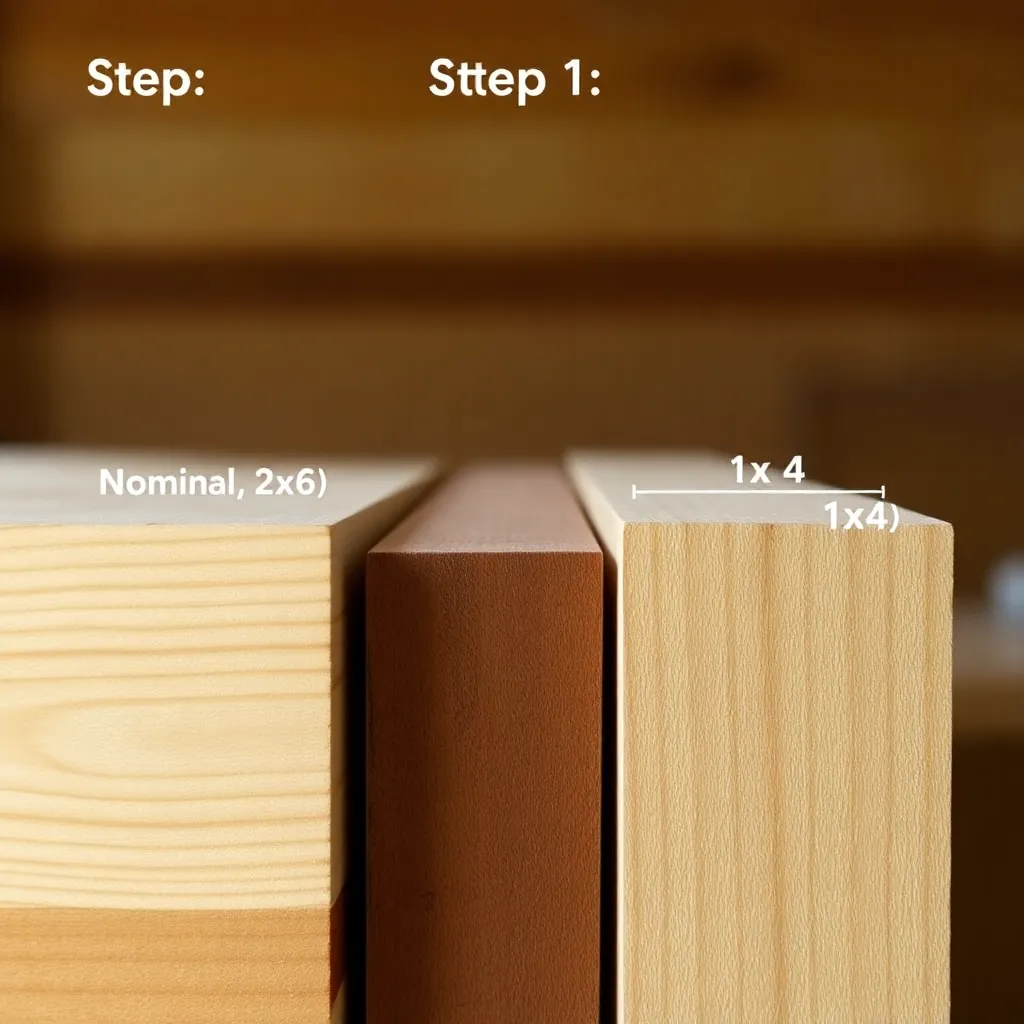
Lumber dimensions are confusing because the name (nominal size) and the actual measurement are different numbers. A 2×4 is not 2 inches by 4 inches — it measures 1½ × 3½ inches. A 1×12 is not 1 inch thick or 12 inches wide — it measures ¾ × 11¼ inches. This guide gives the actual dimensions for every standard lumber size, explains why the gap exists, and shows how to use actual dimensions correctly in project planning.
Ted’s Woodworking has complete plans with cut lists that use actual lumber dimensions throughout. Browse Ted’s plans →
Step 1: Understand Why Nominal and Actual Sizes Differ

Goal: Know the reason for the nominal/actual gap so you can apply the logic to unfamiliar sizes.
Dimensional lumber starts at the mill as a rough-cut board at the nominal dimensions (a true 2×4, exactly 2 inches by 4 inches). The board is green (wet) and rough-sawn. It then goes through two processes that reduce its size:
- 1. Drying: the board dries and shrinks. Wood loses roughly 5–8% of its dimensions across the grain during drying.
- 2. Surfacing (planing): the board is run through a planer to smooth all four faces. Each planed face loses approximately ⅛–3/16 inch.
The result: nominal 2 inches → dried and surfaced to 1½ inches. The nominal name “2×4” stuck as a trade name even though the actual size changed. Industry standards formalized the actual dimensions so they’re consistent from any supplier.
Milestone: Explain the nominal-to-actual process to someone else from memory.
Step 2: Memorize the Complete Dimensional Lumber Size Chart

Goal: Know the actual dimensions for every standard lumber size without looking them up.
1× Series (¾ inch thick, all sizes)
| Nominal | Actual |
|---|---|
| 1×2 | ¾” × 1½” |
| 1×3 | ¾” × 2½” |
| 1×4 | ¾” × 3½” |
| 1×6 | ¾” × 5½” |
| 1×8 | ¾” × 7¼” |
| 1×10 | ¾” × 9¼” |
| 1×12 | ¾” × 11¼” |
2× Series (1½ inches thick, all sizes)
| Nominal | Actual |
|---|---|
| 2×2 | 1½” × 1½” |
| 2×3 | 1½” × 2½” |
| 2×4 | 1½” × 3½” |
| 2×6 | 1½” × 5½” |
| 2×8 | 1½” × 7¼” |
| 2×10 | 1½” × 9¼” |
| 2×12 | 1½” × 11¼” |
Post and Beam Sizes
| Nominal | Actual |
|---|---|
| 4×4 | 3½” × 3½” |
| 4×6 | 3½” × 5½” |
| 4×8 | 3½” × 7¼” |
| 6×6 | 5½” × 5½” |
| 6×8 | 5½” × 7¼” |
| 8×8 | 7¼” × 7¼” |
Milestone: Without looking, state the actual dimensions of a 1×6, a 2×10, and a 4×4.
Step 3: Apply Actual Dimensions to Project Planning

Goal: Design a project using actual lumber dimensions, not nominal.
Common design error: planning a shelf from three 1×12 boards side-by-side and expecting 36 inches of width. Three 1×12 boards are actually 11¼ inches each × 3 = 33¾ inches. The shelf will be 2¼ inches narrower than expected.
Rule: always design to actual dimensions. Start every project plan by noting the actual dimensions of the lumber you’ll use.
Spacing calculation example: if building a bookshelf with three vertical dividers from 1×1 (actual ¾ × ¾ inch) and a 36-inch total width, the usable space between dividers = 36 − (4 dividers × ¾ inch each) = 36 − 3 = 33 inches, divided into three sections = 11 inches per section.
Milestone: Given three 1×6 boards laid side-by-side, calculate the actual total width.
Step 4: Convert Between Nominal and Actual for Any Size

Goal: Derive actual dimensions for any nominal size using the pattern.
Pattern for dimensional lumber:
- 1× boards: actual thickness is always ¾ inch
- 2× boards: actual thickness is always 1½ inches
- 4× boards: actual thickness is always 3½ inches
- 6× boards: actual thickness is always 5½ inches
Width pattern:
- 2″ nominal → 1½” actual
- 3″ nominal → 2½” actual
- 4″ nominal → 3½” actual
- 6″ nominal → 5½” actual
- 8″ nominal → 7¼” actual
- 10″ nominal → 9¼” actual
- 12″ nominal → 11¼” actual
The pattern: sizes 6 inches and under lose ½ inch; sizes 8 inches and over lose ¾ inch.
Milestone: Derive the actual dimensions of a 2×8 and a 6×8 from the pattern without looking at a table.
Step 5: Understand Hardwood Thickness (Quarter System)

Goal: Read hardwood thickness designations correctly at a specialty lumber yard.
Hardwood lumber uses a different system than dimensional lumber — thickness in quarters of an inch:
| Designation | Rough Thickness | Surfaced Thickness |
|---|---|---|
| 4/4 | 1″ rough | ~¾” surfaced (S2S) |
| 5/4 | 1¼” rough | ~1″ surfaced |
| 6/4 | 1½” rough | ~1¼” surfaced |
| 8/4 | 2″ rough | ~1¾” surfaced |
| 10/4 | 2½” rough | ~2¼” surfaced |
| 12/4 | 3″ rough | ~2¾” surfaced |
S2S = Surfaced 2 Sides (both faces planed). S4S = Surfaced 4 Sides (faces and edges). Rough lumber requires your own planing and jointing.
Milestone: At a hardwood dealer, find a 5/4 board and state its approximate surfaced thickness before measuring.
Step 6: Plan a Project Using the Correct Dimensions

Goal: Build a complete cut list using actual lumber dimensions for a simple bookshelf.
Example: a 36-inch wide × 72-inch tall × 12-inch deep bookshelf from 1× lumber.
Lumber to use:
- Sides: 1×12 (actual ¾” × 11¼”) — shelves rest on these
- Shelves: 1×12 (actual ¾” × 11¼”) — four shelves
- Top and bottom: 1×12 (actual ¾” × 11¼”)
- Back panel: ¼-inch plywood, 35¼” × 72″
Side panel height: 72″ (full height)
Shelf width: 36″ total − 2 sides at ¾” each = 36″ − 1½” = 34½” (actual shelf length)
Shelf depth: 11¼” (the actual width of 1×12)
The shelves must be cut to 34½ inches, not 36 inches — the side panels take up 1½ inches of total width.
Milestone: Build a complete cut list for a project of your choice using actual lumber dimensions throughout.
Lumber Dimensions FAQ
Why is a 2×4 not actually 2 inches by 4 inches?
A 2×4 starts as a true 2-inch × 4-inch rough-sawn green board at the mill. During drying, the wood shrinks by roughly 5–8% across the grain. After drying, the board is surfaced (planed smooth on all four sides), which removes another ⅛–3/16 inch per face. The result is a board that measures 1½ × 3½ inches. The nominal name “2×4” has been used as a trade name for over a century and is now standardized by industry organizations (NHLA, ALS). All lumber dealers sell 2×4s at the 1½ × 3½-inch actual size — it’s consistent and predictable.
What is the actual size of a 4×4 post?
A 4×4 post measures 3½ inches × 3½ inches (actual). The same nominal-to-actual pattern applies: nominal 4 inches → actual 3½ inches. A 4×6 is 3½ × 5½ inches; a 6×6 is 5½ × 5½ inches. For deck posts, fence posts, and pergola columns: design spacing and hardware to the 3½-inch actual dimension. A 4×4 post saddle or post base must be specified for a 3½-inch post (they’re typically labeled “4×4 post base” even though they accommodate the 3½-inch actual size).
Does actual lumber size vary between suppliers?
Within North America, dimensional lumber actual sizes are standardized and consistent — a 2×4 from any supplier is 1½ × 3½ inches. Variation can occur in: (1) European lumber, which may use actual metric dimensions; (2) rough-sawn lumber sold at sawmills (a “rough 2×4” may be a true 2 × 4 inches or close to it); (3) reclaimed lumber, which may have been milled at historical dimensions (pre-1960s lumber was often closer to the nominal dimensions — a reclaimed “2×4” might actually measure 1¾ × 3¾ inches). Always measure reclaimed lumber before designing to it.
How do I know which lumber size to use for a project?
Match the lumber size to the structural requirement and visual weight of the project. For light shelving (books, dishes): 1×10 or 1×12 spans up to 32 inches without noticeable sag. For heavy-duty shelving (tools, equipment): 2×10 or 2×12, or two 1× boards glued together. For table legs: 4×4 (post) or doubled 2×4s give the visual weight of furniture; 2×4 single legs look skimpy on a table but work for sawhorses and workbenches. For panels (doors, drawer faces, cabinet sides): 1× boards joined edge-to-edge or plywood (sheet goods) give large flat surfaces that solid 1× boards alone can’t provide.

“DIY woodworking enthusiast who started with zero experience and a YouTube tutorial.
I build simple, practical projects for my home and share free plans
so other beginners can skip the guesswork.If I can build it, you can too.”