Lumber dimensions confuse beginners and trip up experienced woodworkers who’ve never had to explain them — a 2×4 is not 2 inches by 4 inches, board feet are not square feet, and a tape measure has seven different types of marks that mean different things. This guide untangles all of it: the actual dimensions of dimensional lumber, how to calculate board feet for a project, how to read every mark on a tape measure, and how to apply these skills to real woodworking builds.
Ted’s Woodworking has complete project plans with cut lists that handle all the math for you. Browse Ted’s plans →
This guide is part of our complete Wood Selection Guide — covering lumber dimensions and measuring, wood species characteristics and identification, and plywood grades and projects.
Lumber Dimensions
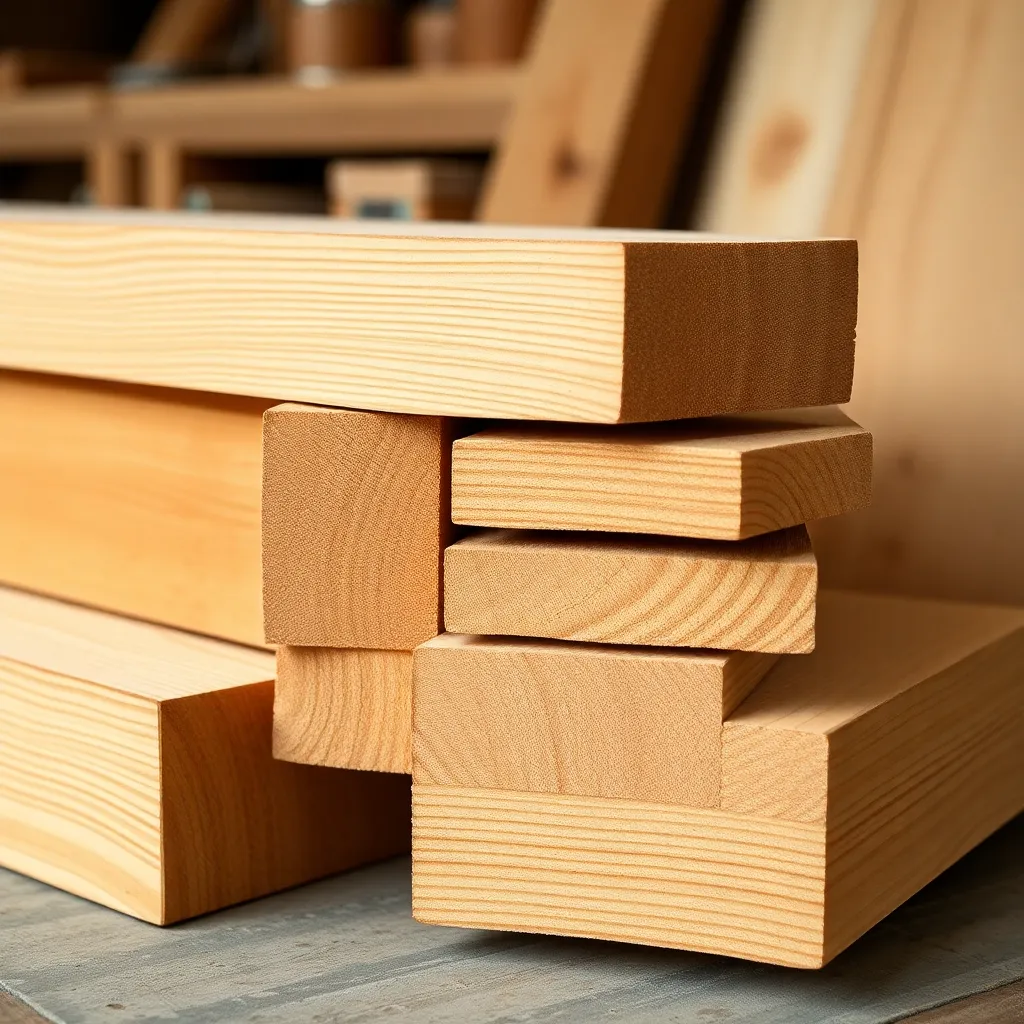
Lumber is sold by nominal dimensions (the name) but arrives at actual dimensions (what you measure). A 2×4 measures 1½ × 3½ inches. A 1×6 measures ¾ × 5½ inches. This gap between nominal and actual size is the first thing every woodworker must memorize.
Why the difference exists: lumber is cut at the mill to the nominal size while green (wet), then dried and planed smooth. The drying shrinks it; the planing reduces it further. The nominal name stuck but the actual dimension changed.
How to use this in a build: always design to actual dimensions, not nominal. When a plan calls for a 2×4, it means a board that actually measures 1½ × 3½ inches. If your cut list says “cut three 2×4s to 36 inches long,” the width of each board is 1½ inches — use that number for spacing calculations, not 2 inches.
How to Read a Measuring Tape
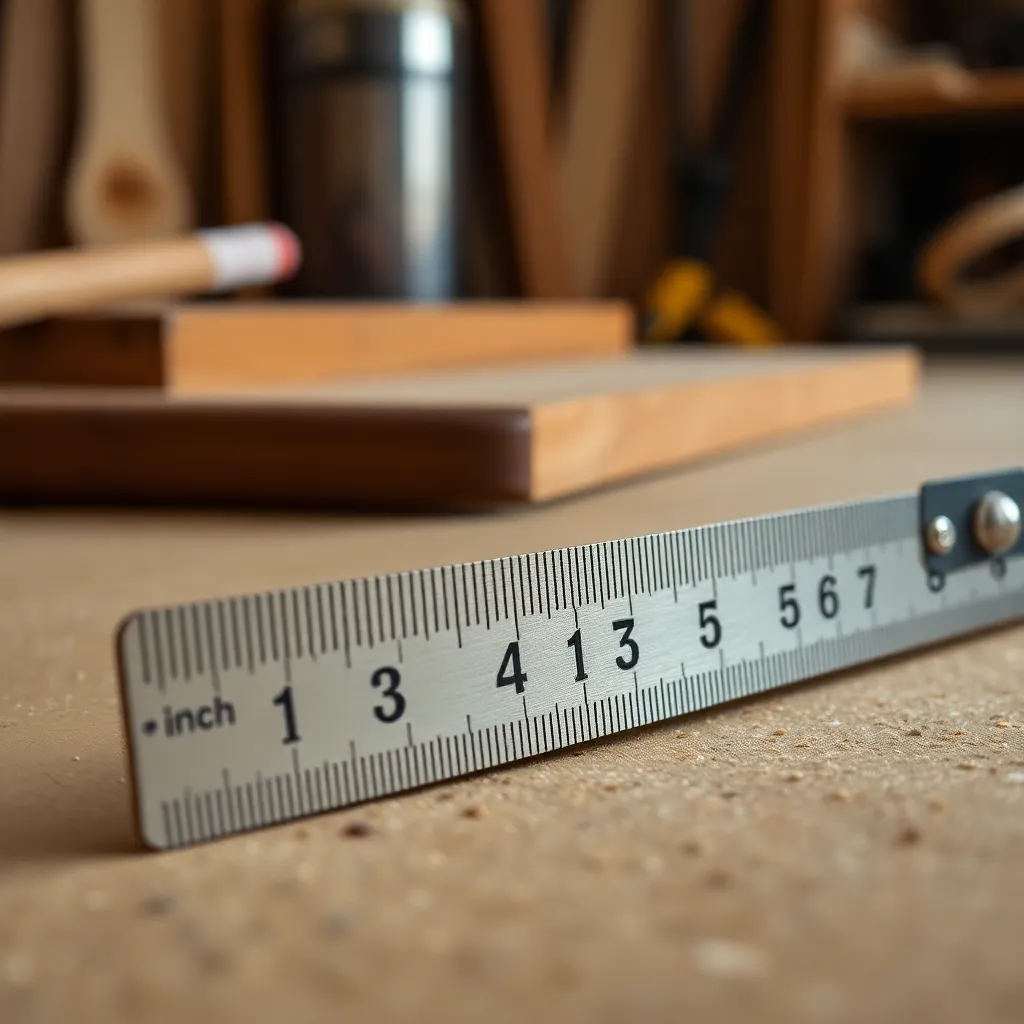
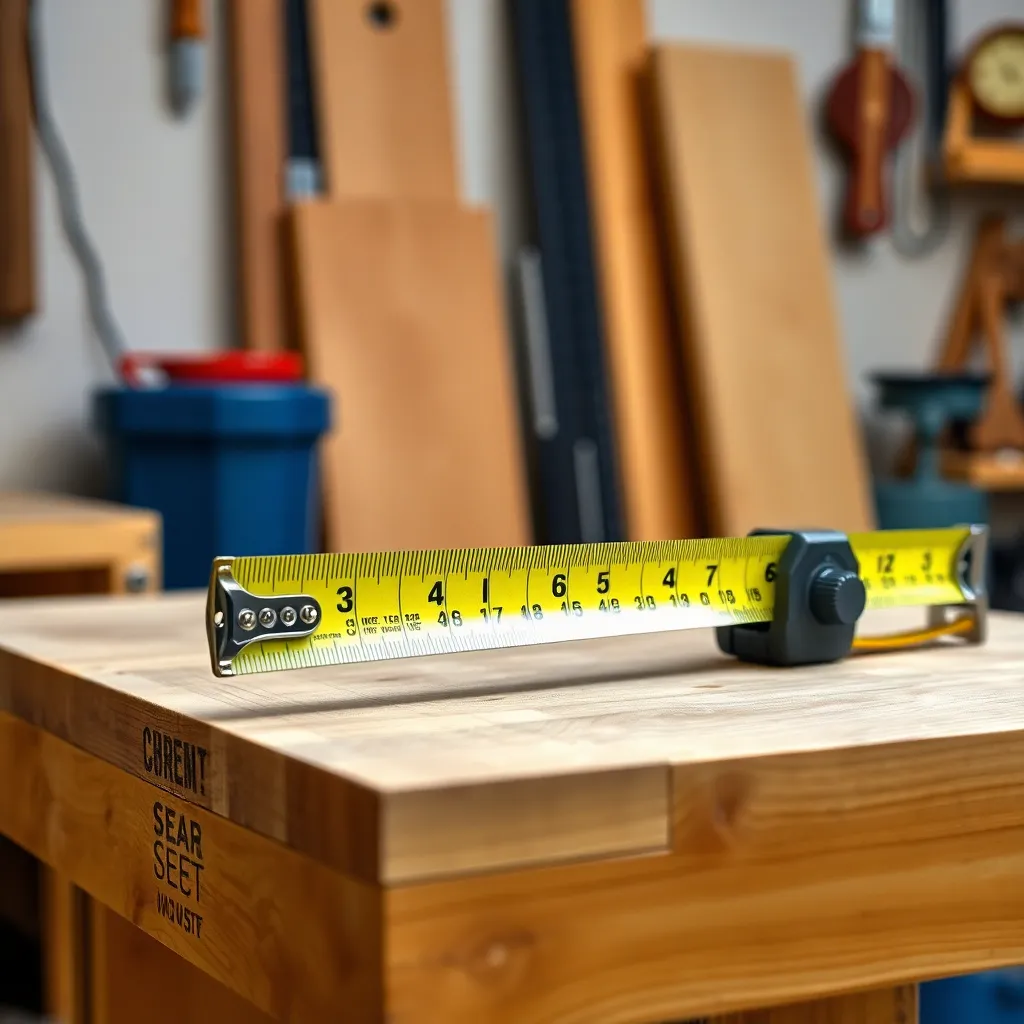
A tape measure has seven types of marks, each representing a different fraction of an inch. Reading the tape correctly means knowing what each mark type means and being able to identify any measurement instantly — not counting marks from the nearest inch.
What’s covered: all seven mark types (inch, half-inch, quarter-inch, eighth-inch, sixteenth-inch, 1/32-inch on precision tapes, and metric), the lock mechanism, the hook movement, and the black diamond marks used in stud layout.
Most common reading error: counting marks from the nearest whole inch rather than reading the fraction directly. The mark system is designed so any measurement can be read at a glance — learn the visual pattern for each fraction and counting becomes unnecessary.
Board Feet Calculator
Board feet is the standard unit for selling and pricing hardwood lumber — it measures volume, not length. One board foot equals 144 cubic inches (1 inch thick × 12 inches wide × 12 inches long). Understanding board feet lets you calculate how much lumber a project requires and compare prices between boards of different dimensions.
Formula: Board Feet = (Thickness in inches × Width in inches × Length in inches) ÷ 144
Or equivalently: (Thickness × Width in inches × Length in feet) ÷ 12
What’s covered: the board foot formula with worked examples, calculating total board feet for a project from a cut list, understanding price per board foot, and why dimensional lumber (2×4s, etc.) is sold by the linear foot while hardwood is sold by the board foot.
5’4″ How Many Inches
5 feet 4 inches equals 64 inches (5 × 12 = 60, plus 4 = 64). Converting between feet-and-inches and total inches is a constant task in woodworking — plans give dimensions in feet and inches, cut lists need total inches, and calculator math requires a single unit.
The formula: Total inches = (Feet × 12) + Remaining inches
What’s covered: feet-to-inches conversion with a reference table, how to handle mixed units (feet, inches, and fractions) in woodworking calculations, and why cutting a board to exactly 5’4″ requires setting the tape to 64 inches (not 5 feet, then adding 4 more inches as a separate measurement — which introduces error).
7/16 on a Tape Measure
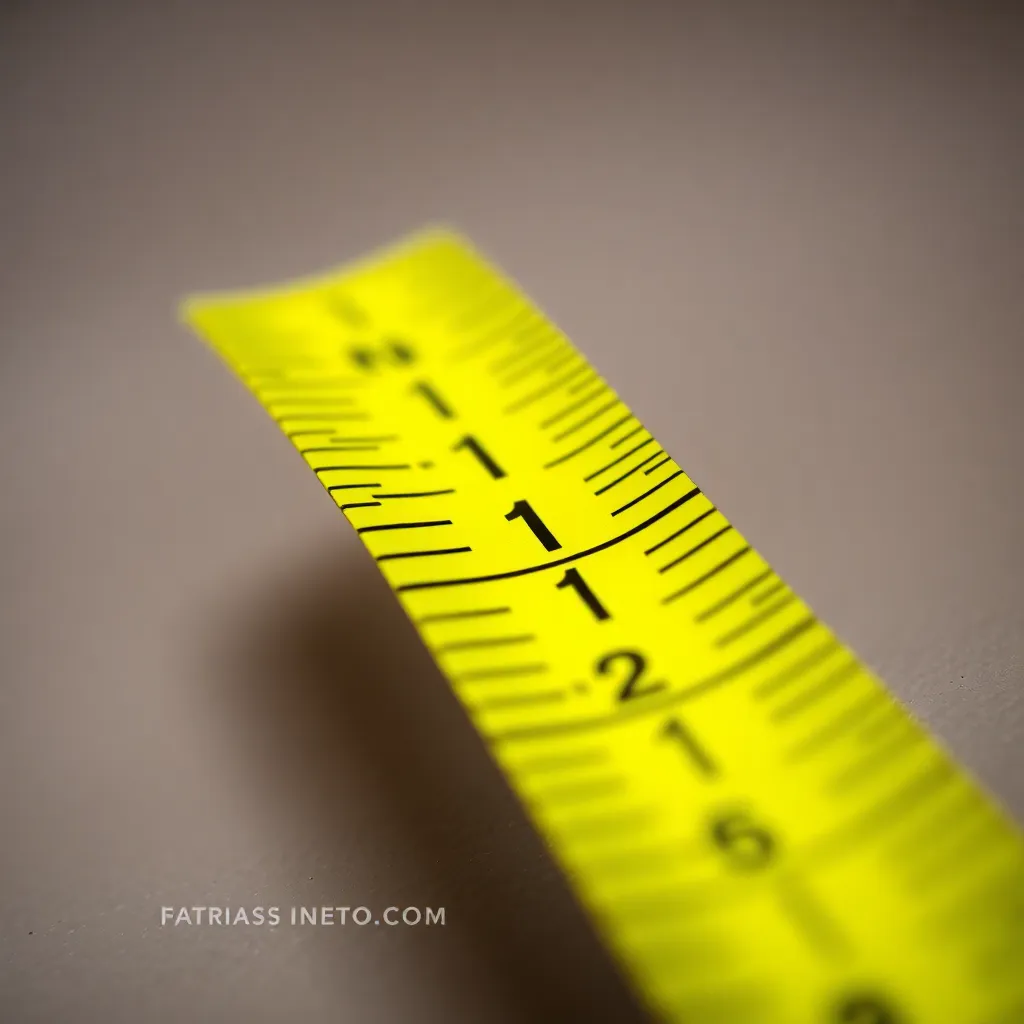
7/16 inch is the ninth mark from the left on a tape measure — between the ⅜ (6/16) mark and the ½ (8/16) mark. It’s one of the harder fractions to locate quickly because it sits between two more commonly referenced marks.
How to find it instantly: locate the ½-inch mark (the medium mark halfway between each inch), then go one small mark to the left. That mark is 7/16. The visual pattern: ½ inch is a medium-height mark; 7/16 is one small mark below it.
What’s covered: finding 7/16 on a standard tape measure, the complete fraction hierarchy for sixteenth-inch tapes (⅛, ¼, ⅜, ½, ⅝, ¾, ⅞ and their sixteenth subdivisions), and a reference table for all 15 fractional marks per inch.
2×4 Woodworking
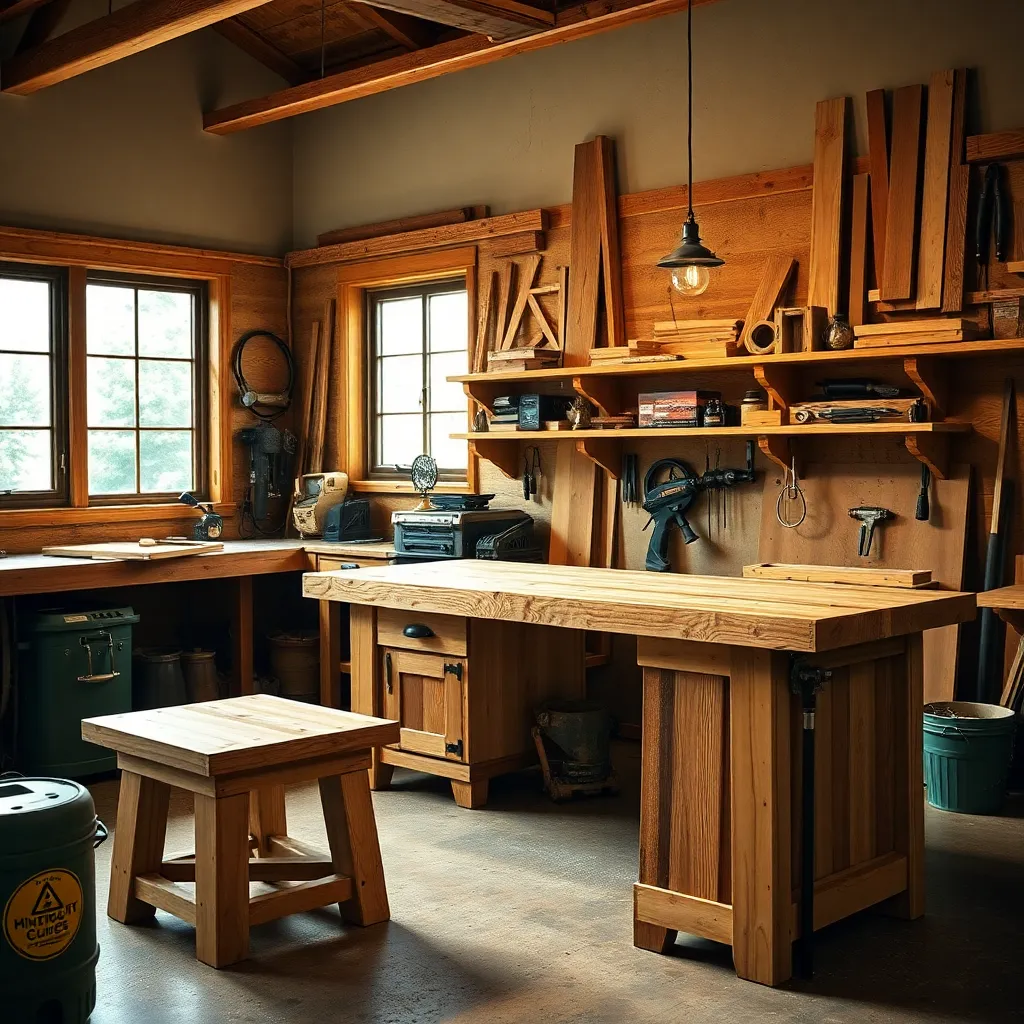
2×4 lumber is the most available, most affordable, and most forgiving building material in woodworking — a $4 board from any home center, cut to length and assembled with screws or pocket holes, builds furniture and structures that last decades. The actual dimension (1½ × 3½ inches) defines the proportions of every 2×4 project.
What’s covered: 2×4 project ideas (workbench, outdoor furniture, shelving, raised garden beds), joinery methods for 2×4 construction (pocket screws, lag bolts, through-bolts, structural screws), finishing options (paint, stain, exterior sealer), and the seven things to check when selecting 2×4s at the lumber yard (crown, twist, cup, bow, knots, moisture content, and grade).
Top 2×4 builds: workbench, sawhorse pair, garden bench, raised bed frame, shop storage shelves, lumber cart.
Lumber Dimensions and Measuring FAQ
What are the actual dimensions of common lumber sizes?
| Nominal Size | Actual Size |
|---|---|
| 1×2 | ¾” × 1½” |
| 1×3 | ¾” × 2½” |
| 1×4 | ¾” × 3½” |
| 1×6 | ¾” × 5½” |
| 1×8 | ¾” × 7¼” |
| 1×10 | ¾” × 9¼” |
| 1×12 | ¾” × 11¼” |
| 2×2 | 1½” × 1½” |
| 2×3 | 1½” × 2½” |
| 2×4 | 1½” × 3½” |
| 2×6 | 1½” × 5½” |
| 2×8 | 1½” × 7¼” |
| 2×10 | 1½” × 9¼” |
| 2×12 | 1½” × 11¼” |
| 4×4 | 3½” × 3½” |
| 4×6 | 3½” × 5½” |
| 6×6 | 5½” × 5½” |
How do I calculate how much lumber I need for a project?
Start with the cut list (the list of all parts with dimensions). For each part, find the smallest standard lumber size that fits both the width and thickness. Group parts that can come from the same board. Add 15–20% for waste (saw kerfs, defects, and mistakes). For hardwood sold by board foot: calculate board feet for each part (thickness × width × length ÷ 144), sum them, and add 20%. For dimensional lumber sold by linear foot: find the total linear feet of each size needed, add 10% waste.
What is the difference between board feet and linear feet?
A linear foot measures length only — one linear foot of a 2×4 is a board 12 inches long, regardless of its width or thickness. A board foot measures volume — it includes thickness and width. Dimensional lumber (2×4s, 2×6s, etc.) is sold by the linear foot because the dimensions are fixed by standard. Hardwood (maple, walnut, cherry) is sold by the board foot because it comes in random widths and thicknesses — the board foot price accounts for the actual volume of wood in the board.
Why does my tape measure have a black diamond every 19.2 inches?
The black diamond marks appear at 19.2-inch intervals (8 diamonds per 12-foot tape). They mark the spacing for engineered lumber layout — specifically, five studs (or joists) at 19.2-inch spacing = 96 inches (8 feet), which divides a 4×8 panel into exactly 5 equal spaces with joists at each seam. This layout uses less lumber than 16-inch spacing while still providing panel support. For standard framing and most woodworking, ignore the black diamonds — they’re only relevant for engineered floor or roof framing.

“DIY woodworking enthusiast who started with zero experience and a YouTube tutorial.
I build simple, practical projects for my home and share free plans
so other beginners can skip the guesswork.If I can build it, you can too.”