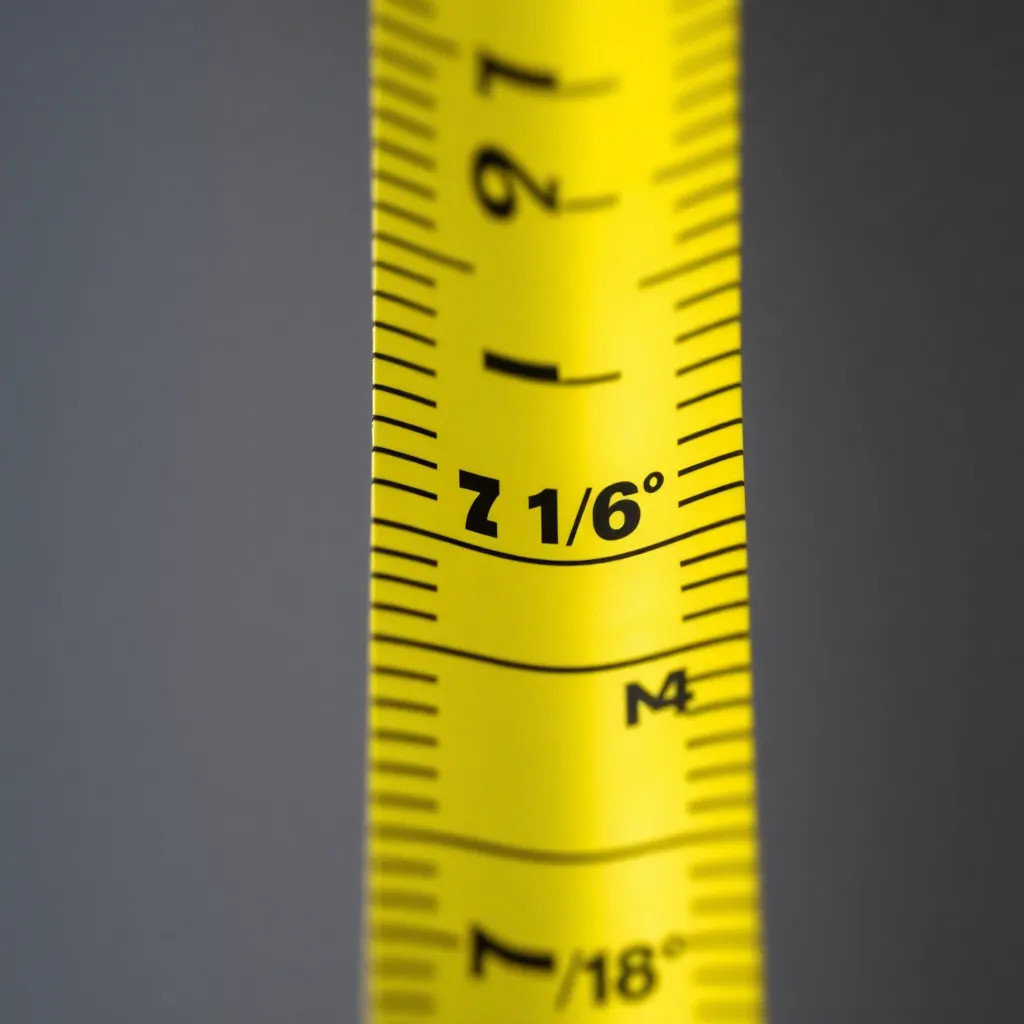
7/16 inch is the ninth of the 15 fractional marks between each pair of inch marks on a standard tape measure. It sits between the ⅜ mark (6/16) and the ½ mark (8/16). To find 7/16: locate the ½-inch mark (the tall mark halfway between inches), then go one small mark to the left. That’s 7/16.
Ted’s Woodworking has complete project plans with every measurement pre-calculated and labeled. Browse Ted’s plans →
Step 1: Understand How 1/16 Marks Are Organized

Goal: Know where 7/16 sits in the complete hierarchy of tape measure marks.
Between each pair of inch marks, a standard 1/16-inch tape has 15 marks at these positions:
1/16, 2/16 (=⅛), 3/16, 4/16 (=¼), 5/16, 6/16 (=⅜), 7/16, 8/16 (=½), 9/16, 10/16 (=⅝), 11/16, 12/16 (=¾), 13/16, 14/16 (=⅞), 15/16
The bolded fractions are the ones with dedicated mark heights (⅛, ¼, ⅜, ½, ⅝, ¾, ⅞). The others (1/16, 3/16, 5/16, 7/16, 9/16, 11/16, 13/16, 15/16) are the shortest marks on the tape.
7/16 is the shortest-mark type, positioned just before the ½-inch (medium-height) mark.
Milestone: Without looking, recite what fraction falls just before and just after the ½-inch mark. (Answers: 7/16 before, 9/16 after.)
Step 2: Find 7/16 by Visual Anchor

Goal: Locate 7/16 on any inch of the tape in under 2 seconds.
The fastest method uses the ½-inch mark as an anchor:
- 1. Find the ½-inch mark (the second-tallest mark, exactly halfway between inch marks)
- 2. Move one mark to the left (toward the lower inch number)
- 3. That shortest mark is 7/16
Alternatively, from the ¼-inch mark: ¼ inch = 4/16. Count three marks to the right: 5/16, 6/16 (=⅜), 7/16.
Milestone: Find the 7/16 mark on three different inches of the tape using the ½-inch anchor.
Step 3: Read a Measurement That Falls on 7/16

Goal: State any measurement ending in 7/16 correctly and write it in standard form.
Standard forms for a measurement of 2 and 7/16 inches:
- 2⁷⁄₁₆” — most common in woodworking plans
- 2-7/16″ — common in digital plans and cut lists
- 2.4375″ — decimal equivalent (7 ÷ 16 = 0.4375)
To read it from the tape: the measurement falls on the last small mark before the ½-inch mark, after the “2” label. That’s 2 and 7/16 inches.
Milestone: Write the measurement 3 and 7/16 inches in all three standard forms.
Step 4: Learn All 16 Mark Positions Per Inch

Goal: Identify every mark type on the tape by its height and position.
| Position | Fraction | Mark Height |
|---|---|---|
| 1st mark | 1/16 | Shortest |
| 2nd mark | ⅛ (2/16) | 4th tallest |
| 3rd mark | 3/16 | Shortest |
| 4th mark | ¼ (4/16) | 3rd tallest |
| 5th mark | 5/16 | Shortest |
| 6th mark | ⅜ (6/16) | 4th tallest |
| 7th mark | **7/16** | **Shortest** |
| 8th mark | ½ (8/16) | 2nd tallest |
| 9th mark | 9/16 | Shortest |
| 10th mark | ⅝ (10/16) | 4th tallest |
| 11th mark | 11/16 | Shortest |
| 12th mark | ¾ (12/16) | 3rd tallest |
| 13th mark | 13/16 | Shortest |
| 14th mark | ⅞ (14/16) | 4th tallest |
| 15th mark | 15/16 | Shortest |
| 16th position | 1 inch | Tallest (labeled) |
Milestone: Cover the fraction column and read the heights from top to bottom, predicting each fraction.
Step 5: Convert 7/16 to Decimal and Metric

Goal: Express 7/16 inch in decimal and metric for use with calculators and metric plans.
7 ÷ 16 = 0.4375 inches (decimal)
0.4375 inches × 25.4 mm/inch = 11.1125 mm (metric)
For calculator use: whenever a measurement has a fraction, convert the fraction to decimal and add it to the whole inches. Example: 3⁷⁄₁₆” = 3 + 0.4375 = 3.4375 inches
Milestone: Convert 5⁷⁄₁₆” to decimal inches and to millimeters.
Step 6: Mark 7/16 Accurately on a Workpiece

Goal: Transfer a 7/16-inch measurement from the tape to a board without error.
For a measurement that ends in 7/16: extend the tape to the total measurement, hold the tip of a sharp marking pencil or marking knife at the 7/16 mark, and draw the line without moving the tape. A sharp pencil or marking knife (not a felt-tip or dull pencil) keeps the mark within 1/32 inch of the intended position. For precision work: use a marking knife rather than a pencil — the knife scores the wood fiber, reducing tearout when sawing.
Milestone: Mark and cut a board to a measurement ending in 7/16 inch and verify the cut piece with a digital caliper.
7/16 on a Tape Measure FAQ
Where is 7/16 on a tape measure?
7/16 inch is the shortest-type mark immediately to the left of the ½-inch mark (the second-tallest mark on the tape). To find it: locate the ½-inch mark halfway between any two inch labels, then move one mark to the left. That mark is 7/16. It’s the 7th of the 15 marks between each pair of inch marks. A quick way to remember: the ½-inch mark is 8/16; counting back one mark gives 7/16.
What is 7/16 as a decimal?
7/16 = 0.4375. Division: 7 ÷ 16 = 0.4375. In metric, 7/16 inch = 11.1125 mm. For measurements that include a whole number (e.g., 2⁷⁄₁₆”), add the decimal: 2 + 0.4375 = 2.4375 inches. This decimal form is what you enter in a calculator when computing board feet, total project dimensions, or converting to metric.
How do I remember the difference between 7/16 and 9/16?
Use the ½-inch mark as the anchor. The ½-inch mark is 8/16 — the exact middle. One mark to the left of ½ is 7/16 (less than ½). One mark to the right of ½ is 9/16 (more than ½). A useful mental shortcut: 7 is odd and less than 8, so 7/16 is the mark before ½. 9 is odd and more than 8, so 9/16 is the mark after ½. Both are the shortest mark type on the tape — position relative to the ½ mark is the only way to distinguish them at a glance.
Why does 7/16 appear in woodworking plans?
7/16 inch appears most often as the result of splitting ⅞ inch in half (⅞ ÷ 2 = 7/16) or as one part of a dimension that splits ¾ inch unevenly. It also appears in hardware specifications: some screws, bolt heads, and drill bits are sized at 7/16 inch, and some dado widths (for 7/16-inch plywood, which measures slightly under ½ inch nominal) require a 7/16-inch setting. In rough framing and construction, 7/16-inch OSB sheathing is standard — that dimension is why the 7/16 mark appears on contractor tapes more often than on furniture-making tapes.

“DIY woodworking enthusiast who started with zero experience and a YouTube tutorial.
I build simple, practical projects for my home and share free plans
so other beginners can skip the guesswork.If I can build it, you can too.”