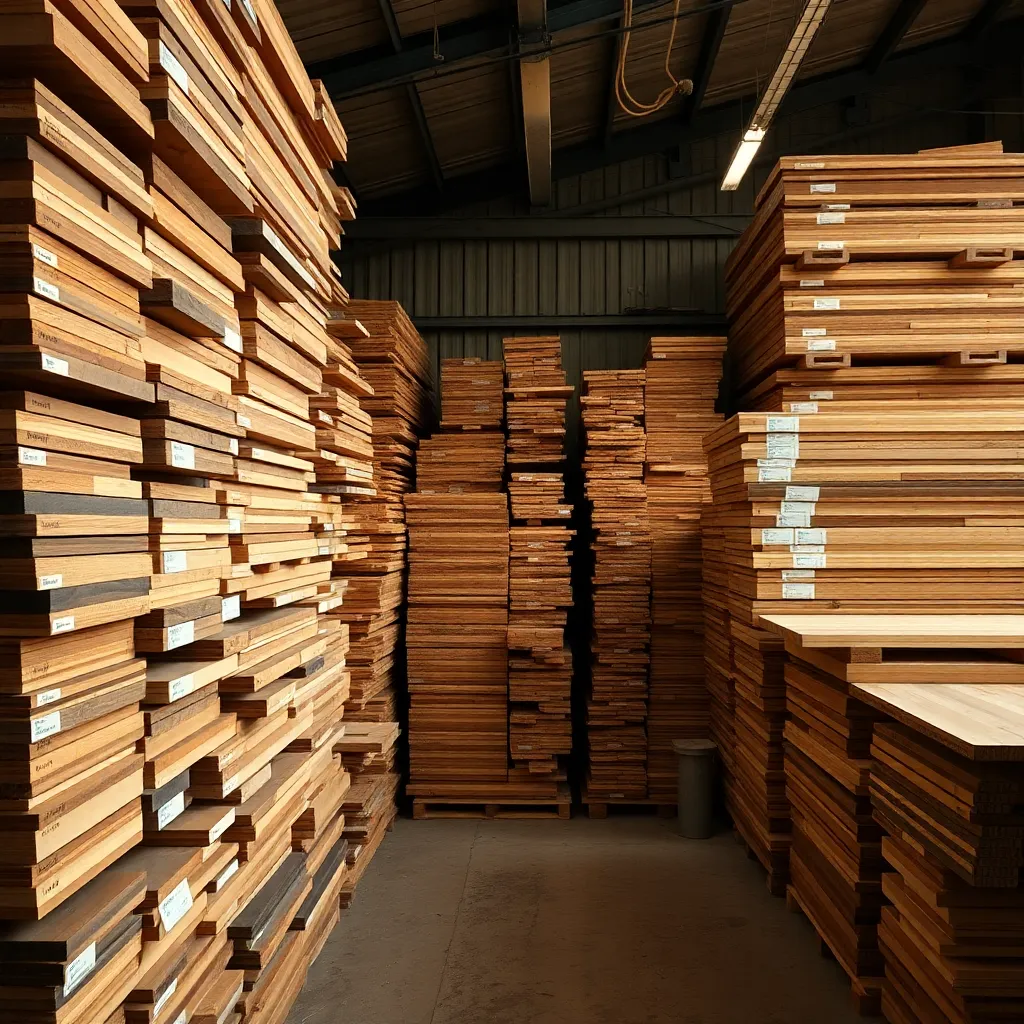
Choosing the right wood is the decision that determines everything that follows — how the project cuts, how it joints, how it finishes, and how it holds up over decades. This guide covers the complete wood selection landscape for woodworkers: the dimensions and measurement system used for lumber, the species that define fine furniture and structural work, and the plywood grades and projects that make sheet goods essential in the modern shop.
Ted’s Woodworking has 16,000+ plans with wood species recommendations, cut lists, and material specifications for every build. Browse Ted’s plans →
Lumber Dimensions and Measuring
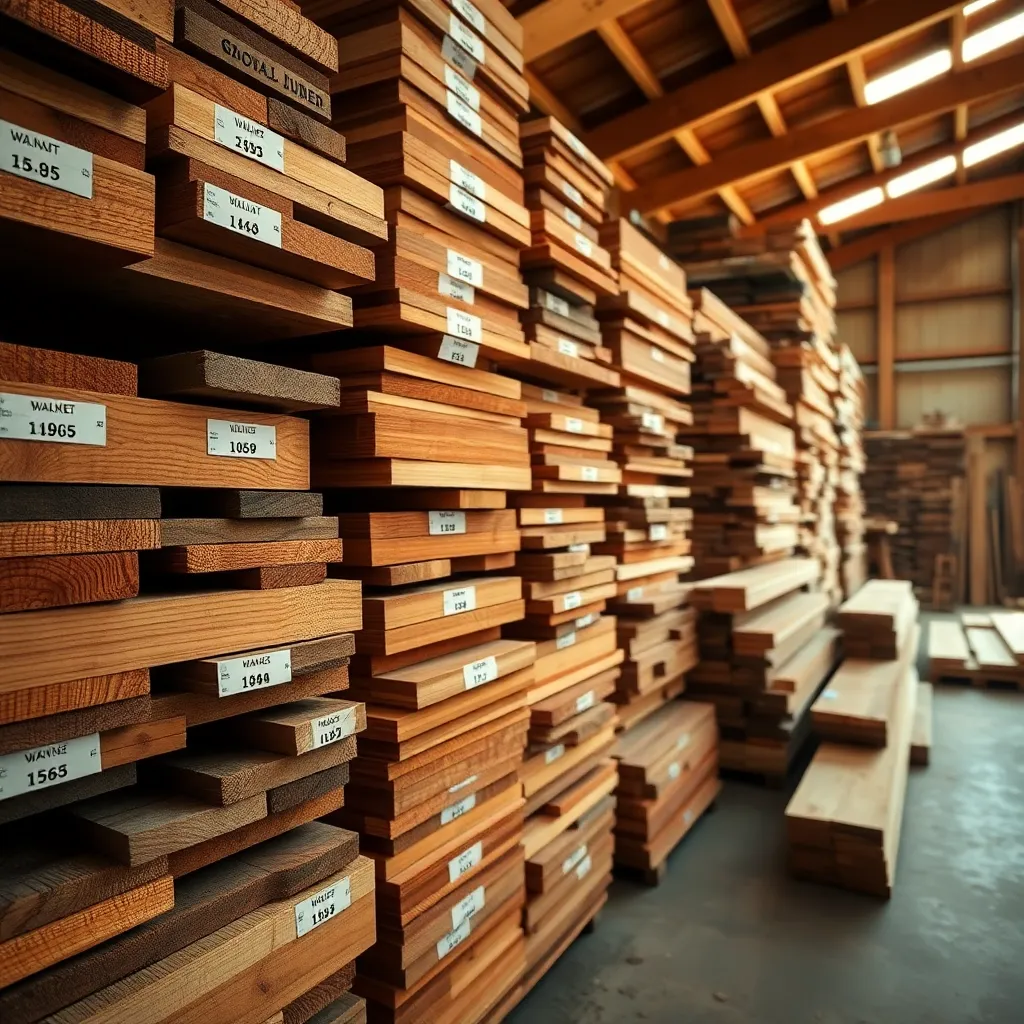
Before any wood can be selected, it has to be measured and ordered correctly — and lumber has one of the most confusing dimension systems in all of construction. A 2×4 is not 2 inches by 4 inches. Board feet don’t work like square feet. Tape measure fractions require reading the smallest graduation correctly. These aren’t obscure details — they’re the daily math of every woodworking project.
What’s covered: the nominal vs actual dimension system for dimensional lumber (a 2×4 is actually 1.5″×3.5″), how to read a tape measure to 1/16″ accuracy, the board foot calculation (thickness × width × length ÷ 144), lumber grades for both hardwood and softwood, and how to read a lumber tag at the yard or home center.
Why it matters: ordering lumber without understanding the dimension system leads to stock that’s the wrong size for joinery. A dado cut to 1.5″ for a nominal 2×4 divider leaves a 1/8″ gap on each side — the actual 2×4 is only 1.5″ wide, but a dado at the wrong nominal size gaps visibly. Getting dimensions right at the planning stage eliminates material waste and rework.
Key reference: the three most important lumber dimensions to memorize: 2×4 = 1.5″×3.5″, 1×6 = ¾”×5.5″, 1×12 = ¾”×11.25″. Everything else in the nominal-to-actual conversion follows the same pattern.
Wood Species Guide
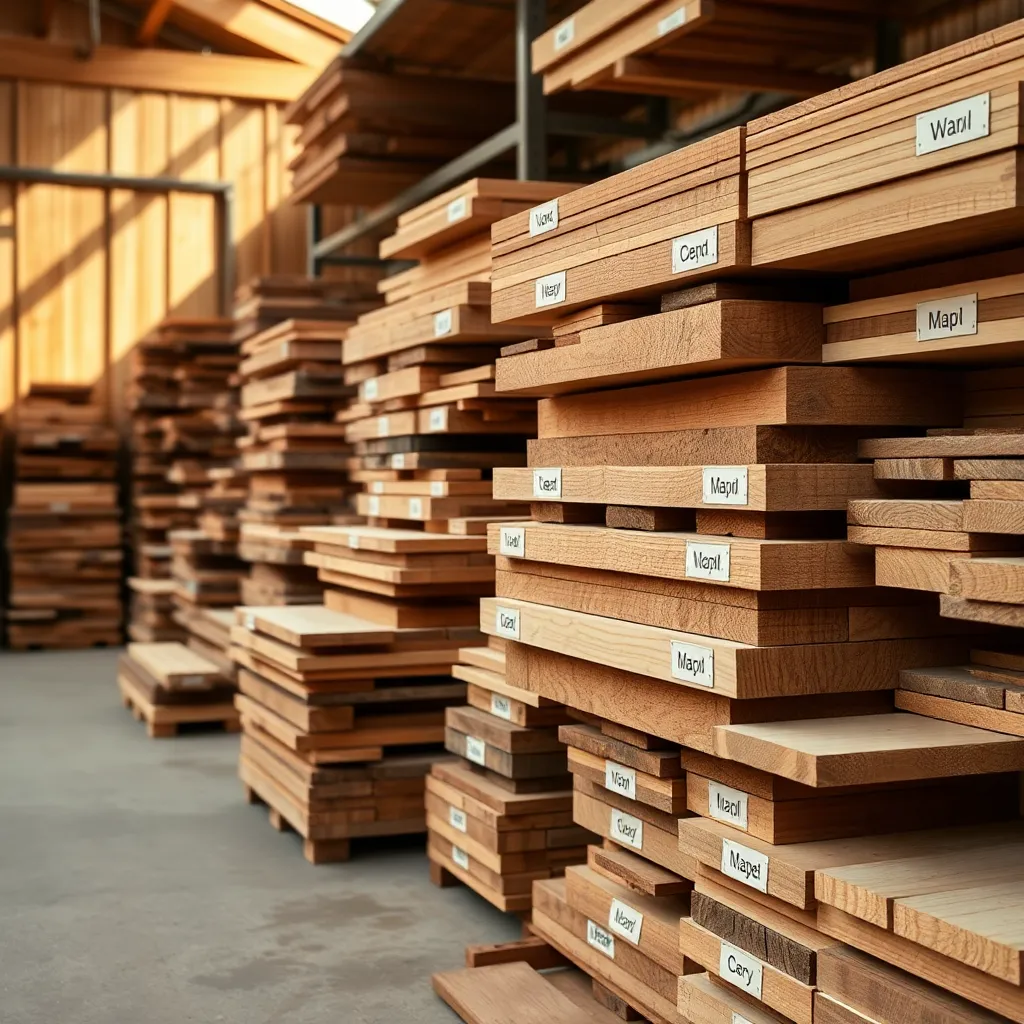
The species of wood determines color, grain, hardness, stability, workability, and cost — the complete set of properties that define whether a material is right for a given application. Oak looks and performs completely differently from walnut; cherry behaves differently from maple; mahogany is a different material from poplar despite all being classified as hardwoods.
What’s covered: how to identify unknown wood species using color, grain, pore structure, weight, and smell; the properties that define each species (Janka hardness, seasonal movement, workability, finishing behavior); the 12 most important hardwood species for furniture and cabinetry; the woodworking discipline that best matches each type of wood; and a species selection matrix for common project applications.
The most important species to know: red oak (most available, affordable, good for natural finishes), hard maple (hardest common domestic species, benchmark for cutting boards and bench tops), black cherry (one of the finest furniture woods, ages beautifully), black walnut (premium, prized for natural color), and poplar (the professional standard for painted work).
Species selection principle: match the species to the application’s most critical requirement. A tabletop that will see daily use needs hardness (maple, oak). A wide panel needs stability (mahogany, cherry). A carved element needs even, consistent grain (basswood, butternut). Choosing the most beautiful or most expensive species without matching its properties to the application is how expensive wood gets wasted.
Plywood Projects and Grades
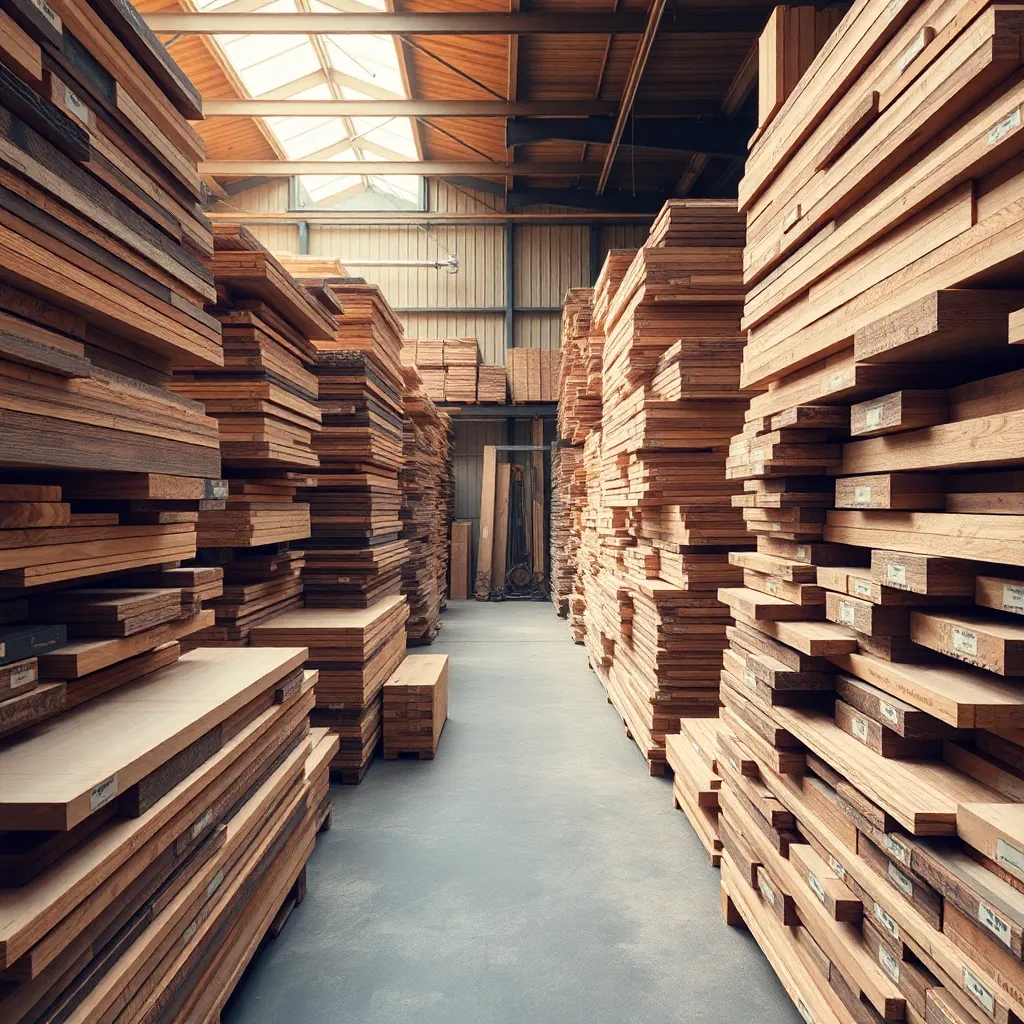
Solid wood is not always the right material — plywood’s cross-laminated construction makes it dimensionally stable across its width (no seasonal movement to design around), available in large panels, and workable with ordinary shop tools. The right plywood grade for each application, the types that range from cabinet-grade Baltic birch to marine-grade okoume, and the projects that play to plywood’s strengths are the third pillar of wood selection.
What’s covered: the A-D grading system for softwood plywood and the separate grading systems for hardwood veneer and Baltic birch; the construction types (veneer core, MDF core, particleboard core) and how each affects weight and screw-holding; standard sheet dimensions and actual vs nominal thickness; the correct technique for breaking down full sheets with a circular saw; plywood boat building with the stitch-and-glue method; and 8 DIY projects from beginner to advanced.
Grade selection principle: only pay for grade where it’s visible. A-grade hardwood veneer for exposed cabinet interiors and door faces; B-C or Baltic birch for hidden cabinet boxes; CDX for structural applications. Using A-1 veneer plywood for hidden cabinet sides is money spent without visual return; using CDX for kitchen cabinet interiors is a visible compromise that looks wrong every time the cabinet is opened.
Best plywood projects by skill level: beginners should start with a wall-hung shop cabinet or step stool (rectangular parts, pocket screws, immediately useful). Intermediate builders can tackle built-in bookshelves and shop workbenches. Advanced builders can take on frameless kitchen cabinets — the project that requires consistent precision across dozens of parts and teaches the tolerances that professional cabinetmaking demands.
Wood Selection Guide FAQ
What is the best wood for beginner woodworkers?
Pine (construction lumber from the home center) for the first projects: inexpensive, soft enough to work with dull tools, available at every hardware store. The upgrade path for natural-finish work is poplar → red oak → cherry or walnut as skills improve. Poplar is the professional standard for painted furniture (smooth surface, stable, inexpensive). Red oak is the entry point for natural-finish hardwood work (most available, affordable). Cherry and walnut reward the extra cost and effort with results that look genuinely professional without requiring expert finishing technique. Avoid very hard species (hard maple, hickory) until basic cutting and jointing technique is consistent — they’re unforgiving of dull tools and imprecise technique.
How do I choose between solid wood and plywood?
Use solid wood when: grain direction and figure are the dominant visual element (furniture faces, tabletops), the piece needs to be carved or shaped with curves, or the joinery requires the long-grain strength of solid wood (mortise-and-tenon, dovetail). Use plywood when: large flat panels are required without wood movement concerns (cabinet sides, shelves, drawer bottoms), the piece will be painted (MDF-core birch produces a flatter, smoother paint surface than solid wood), or the project benefits from dimensional consistency across many identical parts (kitchen cabinet boxes). Most real furniture and cabinetry uses both: solid wood for face frames, door frames, and table legs; plywood for panels, cabinet boxes, and wide flat surfaces.
What wood is most stable for furniture?
Stability refers to seasonal movement with humidity changes. The most stable furniture woods (least movement per inch of width): Honduras mahogany, teak, western red cedar, and black locust. Among the common cabinet hardwoods: cherry and walnut are moderately stable; hard maple and red oak move significantly more. For wide panels (tabletops, cabinet sides) where stability matters most: use species with low movement coefficients, or use quartersawn lumber (the most stable cut for any species — tangential shrinkage is roughly double radial shrinkage, so quartersawn moves less). Plywood is the most stable option of all — the cross-laminated construction cancels the movement of individual plies.
Do I need special tools to work with hardwood vs softwood?
The same tools handle both, but hardwoods demand sharper edges and higher-power machinery than softwoods. A dull chisel that works acceptably in pine will tearout in oak; a router bit that runs cool in poplar will overheat in maple. The practical requirements for hardwood: carbide tooling (not high-speed steel), sharp edges maintained by regular honing, slower feed rates on power tools, and a sharp crosscut blade (60-tooth or finer) for plywood and veneer. For hand tool work: a well-tuned plane with a fresh edge is more important than any other preparation — a properly sharpened plane on a straight-grained hardwood produces a better surface than a belt sander.

“DIY woodworking enthusiast who started with zero experience and a YouTube tutorial.
I build simple, practical projects for my home and share free plans
so other beginners can skip the guesswork.If I can build it, you can too.”