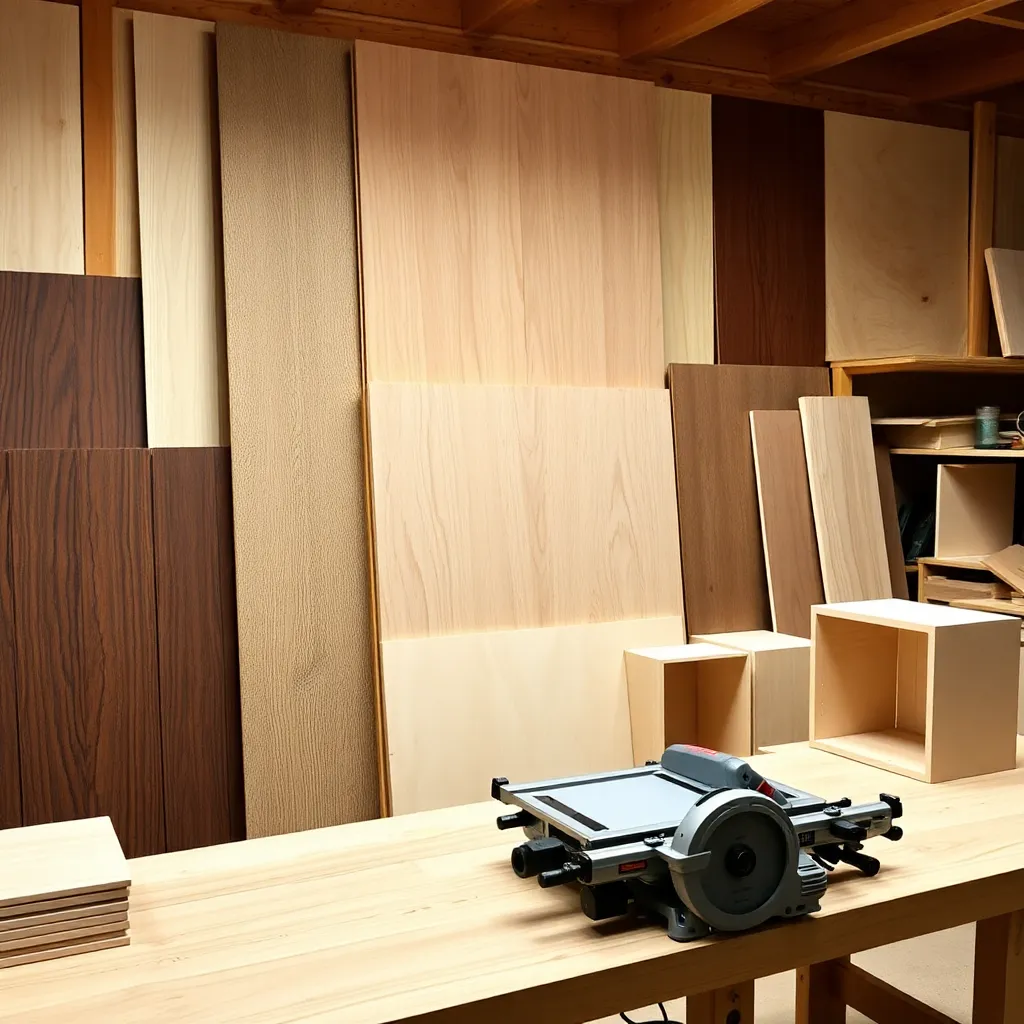
Plywood is the most versatile sheet material in woodworking — stronger than solid wood across its width, available in a wide range of grades and thicknesses, and workable with ordinary shop tools. The key to using it well is matching the right grade and type to the project, understanding its dimensions and how to cut it accurately, and knowing which projects play to its strengths. These six guides cover the full plywood landscape: grades for cabinets and furniture, types and core constructions, standard dimensions, accurate cutting technique, boat building applications, and the best DIY projects for beginners through advanced builders.
Ted’s Woodworking has complete plywood project plans with cut lists and material specifications. Browse Ted’s plans →
This guide is part of our complete Wood Selection Guide — covering lumber dimensions and measuring, wood species characteristics and identification, and plywood grades and projects.
Cabinet Plywood Grades
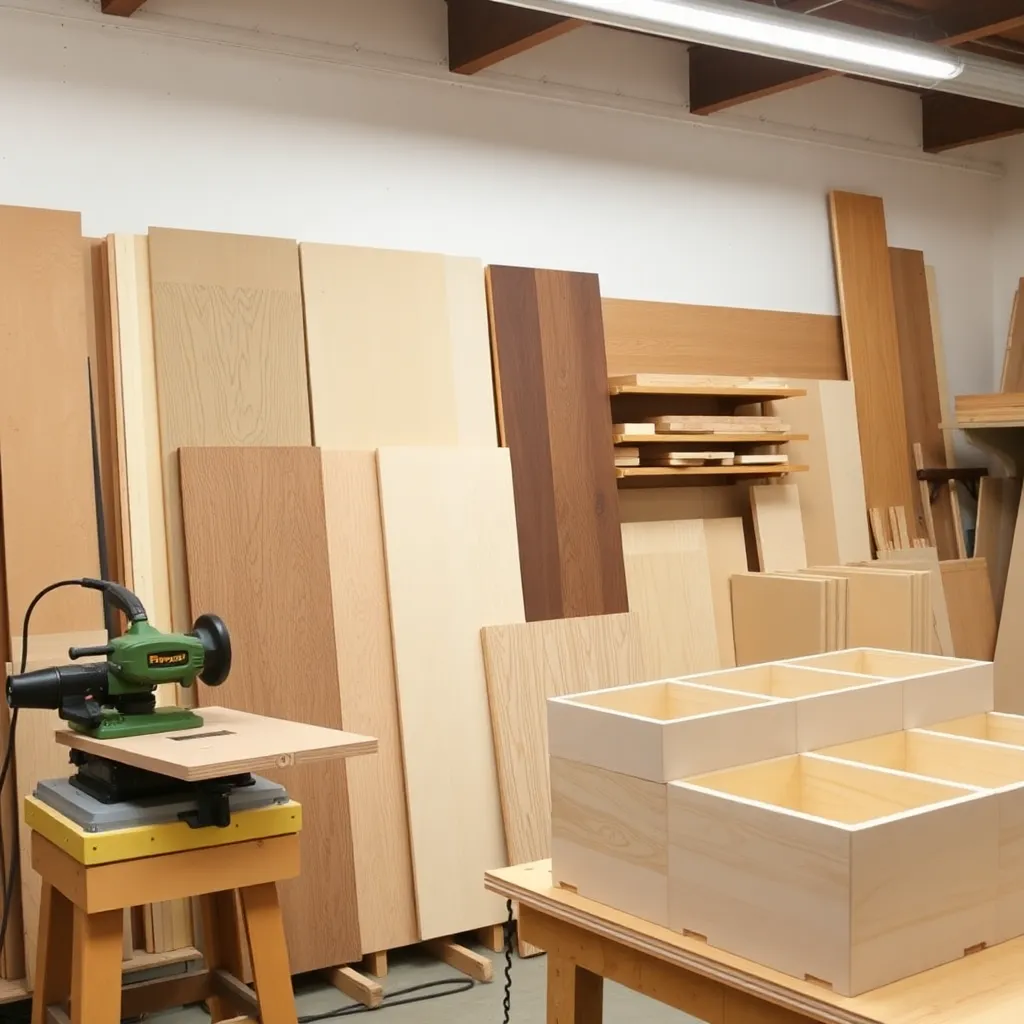
Plywood grading uses a letter system (A through D) applied to each face separately — a sheet labeled A-B has an A-grade face (sanded smooth, few repairs) and a B-grade back (more patches, minor defects). For cabinets, the grade choice determines which faces are visible and how much sanding and finishing work is required.
What’s covered: the full A-D grading system, what each grade looks like and what defects are allowed, grade combinations for different cabinet applications (A-A for frameless doors, A-B for face-frame boxes, B-C for shop cabinets), hardwood veneer grades vs softwood grades, and how to read a plywood grade stamp.
Practical guide: for kitchen cabinet boxes (hidden inside) use B-C or B-B; for cabinet doors or drawer fronts use A-1 hardwood veneer; for painted cabinets use MDF or A-B with a primer coat. The grade determines the starting point — A-grade faces require minimal prep before finishing, D-grade requires significant work.
Plywood Types
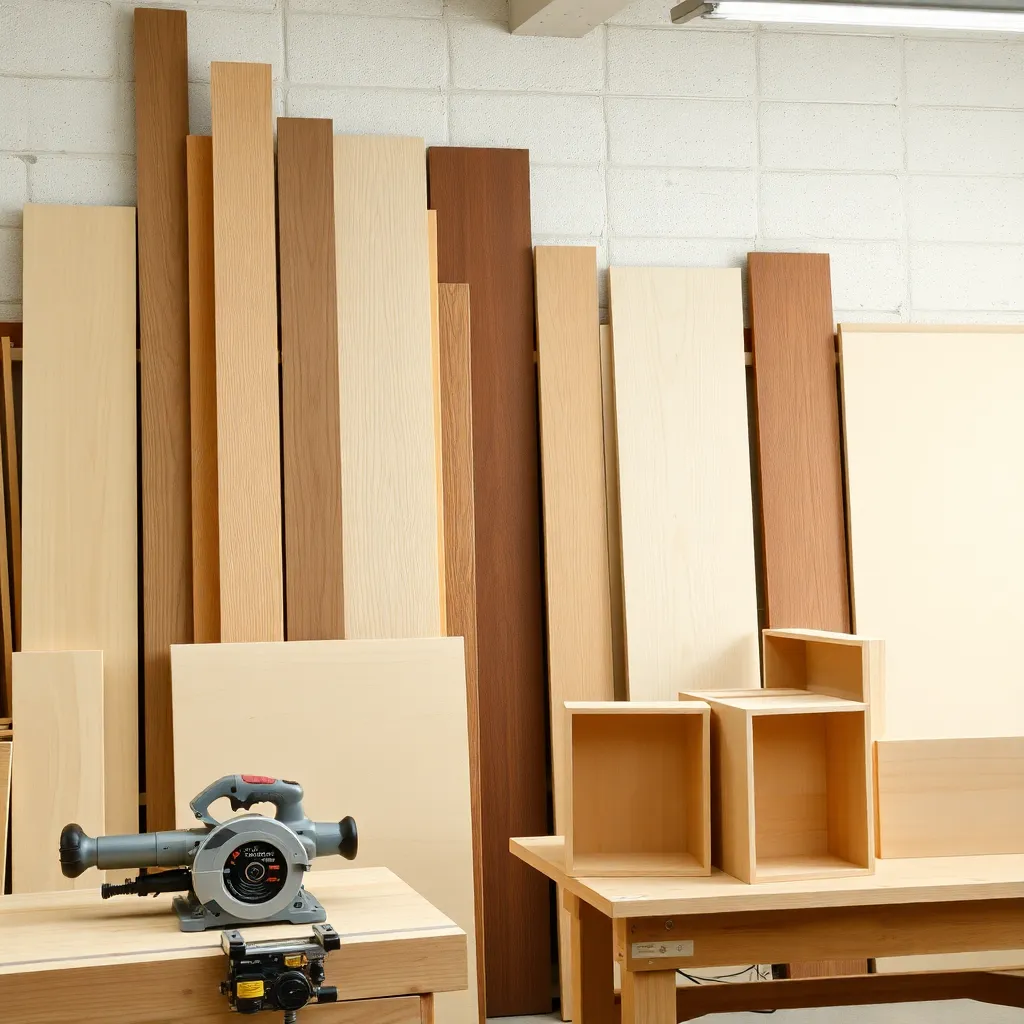
Plywood comes in dozens of constructions and core types — each with different strength characteristics, weight, screw-holding ability, and intended application. Understanding the difference between Baltic birch and standard birch, between CDX and OSB, between marine plywood and exterior plywood, lets you choose the right material for structural, finish, and specialty applications.
What’s covered: the main plywood types (softwood plywood, hardwood plywood, Baltic birch, marine plywood, structural plywood, oriented strand board), core constructions (veneer core, MDF core, particleboard core, lumber core), and the specific applications each type excels in.
Key distinctions: Baltic birch has more, thinner plies with no voids — superior for CNC routing, drawer boxes, and furniture; standard birch has fewer plies and may have voids at the core. Marine plywood uses waterproof glue and void-free veneers — for boat building, wet environments; standard exterior plywood uses moisture-resistant (not waterproof) glue.
Plywood Dimensions
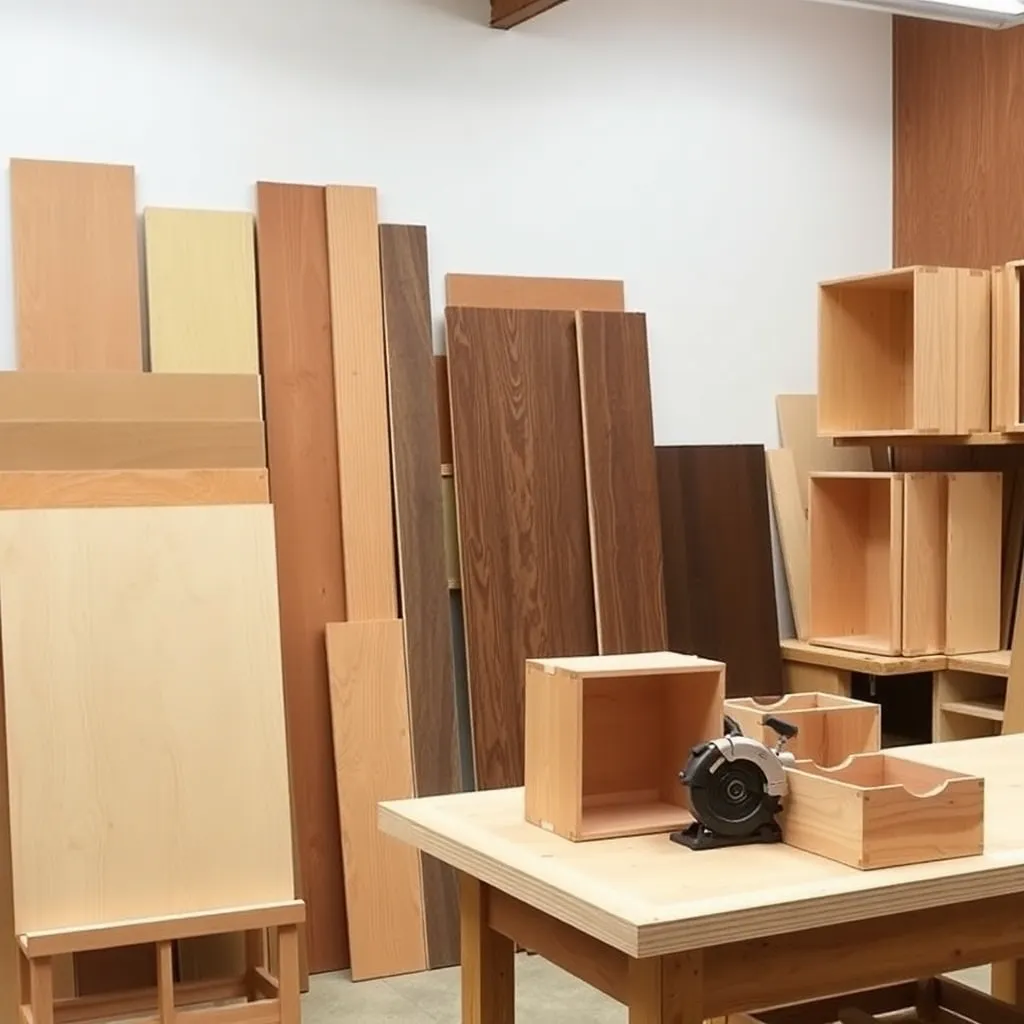
Standard North American plywood sheets are nominally 4×8 feet, but the actual dimensions are often slightly different — and the thickness is always less than the nominal dimension. A “¾ inch” sheet is typically 23/32 inch (0.719 inches). Understanding the actual vs nominal dimensions prevents errors in cabinet design and joinery layout.
What’s covered: standard sheet sizes (4×8, 4×10, 5×5 and others), actual vs nominal thickness for all common thickness designations, how sheet size varies by species and grade, ordering oversized sheets for large projects, and how to calculate cut lists that account for kerf width and actual dimensions.
Thickness reference: nominal ¼” = actual 7/32″; nominal ⅜” = actual 11/32″; nominal ½” = actual 15/32″; nominal ⅝” = actual 19/32″; nominal ¾” = actual 23/32″. Cabinet joinery (dado for shelf, rabbet for back panel) must be sized to actual dimension.
Cutting Plywood with a Circular Saw
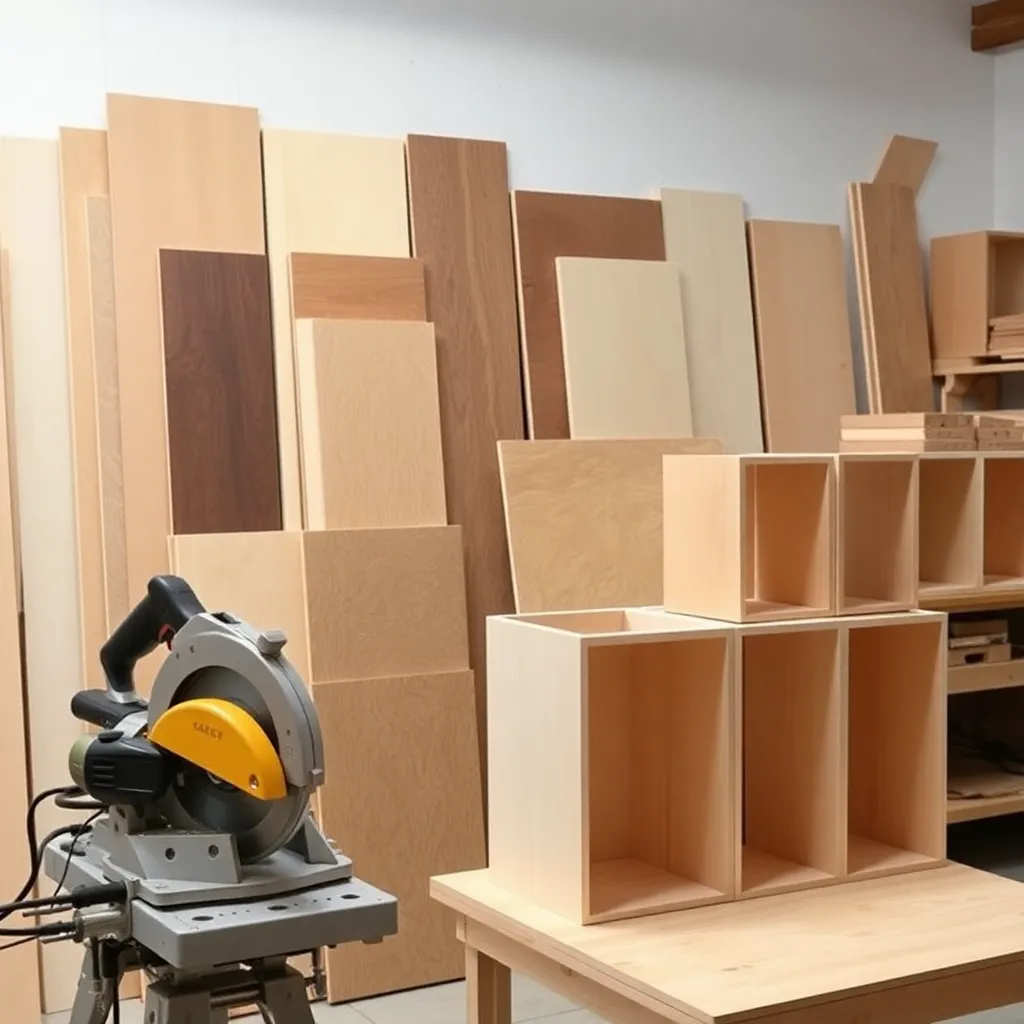
A full sheet of 4×8 plywood weighs 40–80 pounds and is unwieldy on a table saw. The circular saw with a straightedge guide is the professional solution for breaking down full sheets accurately before taking them to the table saw for final sizing. The technique requires a proper setup to support the sheet, the right blade, and a guide system for repeatable accuracy.
What’s covered: the 4-step breakdown workflow (mark → support → guide → cut), blade selection (40–60 tooth fine-finish blade for plywood, blade installed so the good face is down), building a simple straightedge guide from scrap, setting the blade depth (just below the sheet thickness), and tips for avoiding tearout on the top face.
Key technique: clamp two 2×4s or foam insulation sheets under the plywood to support both sides of the cut line — the sheet never has to be moved to the table, and the offcut doesn’t fall and tear at the end of the cut.
Plywood Boat Plans
Plywood is the traditional amateur boat-building material — it’s strong, lightweight relative to fiberglass, and workable with hand tools. The stitch-and-glue method (using wire stitches and fiberglass tape and epoxy to join plywood panels) makes building a boat accessible to woodworkers without specialized boat-building skills. Small rowing dinghies, kayaks, and simple sailboats are realistic first projects.
What’s covered: the stitch-and-glue method step by step, the right plywood for boat building (marine plywood, BS1088 rating, okoume or meranti species), fiberglass and epoxy application, hull shape basics (flat-bottom vs V-bottom vs multi-chine), and resources for getting boat plans (free and paid sources for dinghy, kayak, and canoe plans).
Good first boat projects: 8-foot pram dinghy (simple flat-bottom, 2–3 sheets of plywood, 40–60 hours); 12-foot kayak (requires 4 sheets, more complex but achievable in a season of weekends); 14-foot sailing dinghy (Bolger Micro or similar — 6–8 sheets, a serious but rewarding project).
Plywood Projects
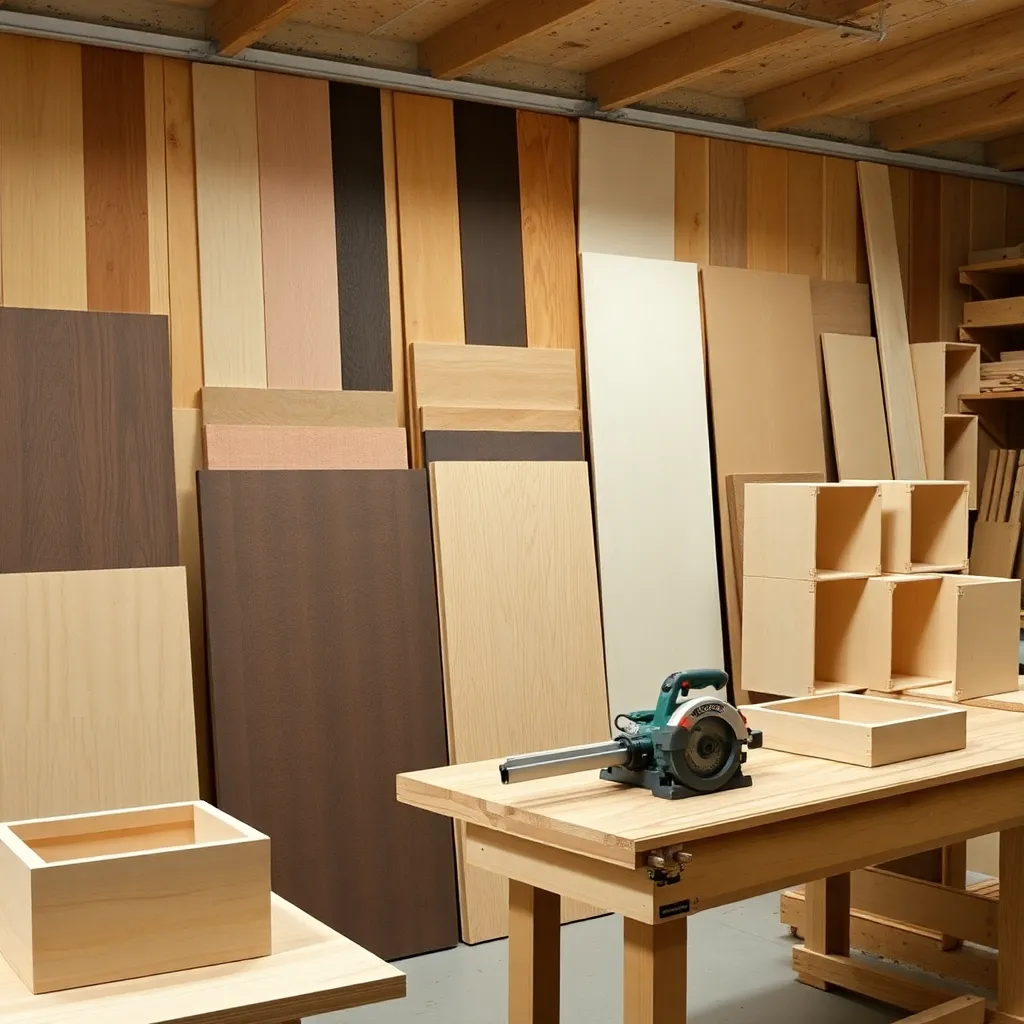
Plywood’s combination of large sheet size, predictable dimensions, and good screw-holding makes it the ideal material for a wide range of shop and home projects — from beginner builds (simple shelving, storage boxes) to advanced cabinetry and furniture. The best plywood projects play to its strengths: wide panels without wood movement concerns, repeatable rectangular parts, and paint-ready surfaces.
What’s covered: 8 beginner-to-advanced plywood projects with estimated material quantities and skill levels, tips for edge treatment (plywood edges are ugly — iron-on edge banding, solid wood edging, or routed profiles cover them), finishing plywood (sanding sequence, primer selection for painted work, clear finish for hardwood veneer), and a material calculator for estimating sheet quantities.
Top projects by skill level: beginner — wall-hung tool cabinet, simple step stool, garden planter box; intermediate — kitchen drawer boxes, built-in bookshelf, workbench with storage; advanced — frameless kitchen cabinets, Murphy bed cabinet, built-in window seat with storage.
Plywood Projects and Grades FAQ
What grade of plywood is best for furniture?
For furniture with natural wood finish: A-1 or A-2 hardwood veneer plywood (birch, maple, or oak veneer) — A-grade face is sanded smooth with minimal repairs, 1-grade back allows more defects (hidden in the assembled piece). For painted furniture: A-C birch or MDF-core plywood gives the smoothest paint surface. Avoid structural grades (CDX, OSB) for furniture — rough surface, unattractive grain, often not sanded. Baltic birch is an excellent all-purpose furniture plywood: void-free core, consistent thickness, sands and finishes well, and edges are attractive enough for exposed applications without banding.
What is the difference between plywood grades A, B, C, and D?
Grade A: smooth, sanded surface; repairs (football-shaped patches, filled knots) allowed but must be neat; suitable for paint or clear finish. Grade B: slightly rougher; more repairs allowed; some minor splits; suitable for paint. Grade C: knots up to 1.5 inches, knotholes up to 1 inch, splits and discoloration allowed; typically used as the hidden face or structural applications. Grade D: largest knotholes (up to 2.5 inches), significant defects allowed; used only as the completely hidden face in structural panels. The two-letter grade designation (A-B, B-C, etc.) indicates face grade / back grade — the first letter is the finished face, the second is the back.
What thickness of plywood should I use for cabinets?
The standard: ¾-inch (actual 23/32″) for cabinet boxes (sides, top, bottom, and fixed shelves); ½-inch for drawer boxes and adjustable shelves; ¼-inch for cabinet backs (sufficient to keep the box square, not structural). These are professional cabinet standards — they balance strength, weight, and material cost. For heavy-duty shop cabinets or tool storage: ¾” for all parts including the back. For lightweight wall-hung cabinets where weight matters: ½” sides and top/bottom work with ¼” back, but use more fasteners at the wall attachment points.
Can I use regular plywood for outdoor projects?
Only if you use the right grade. Standard interior plywood (most of what’s sold at home centers) uses glue that fails when exposed to repeated wetting and drying — it will delaminate within one or two seasons outdoors. For outdoor projects: use Exposure 1 or Exterior rated plywood (these use water-resistant or waterproof glue and are stamped accordingly). For projects that will be painted and protected from direct water contact: Exterior-rated plywood with a quality primer and paint system works. For boat building or constantly wet environments: marine-grade plywood (BS1088 or equivalent) with epoxy sealing is the correct choice.

“DIY woodworking enthusiast who started with zero experience and a YouTube tutorial.
I build simple, practical projects for my home and share free plans
so other beginners can skip the guesswork.If I can build it, you can too.”