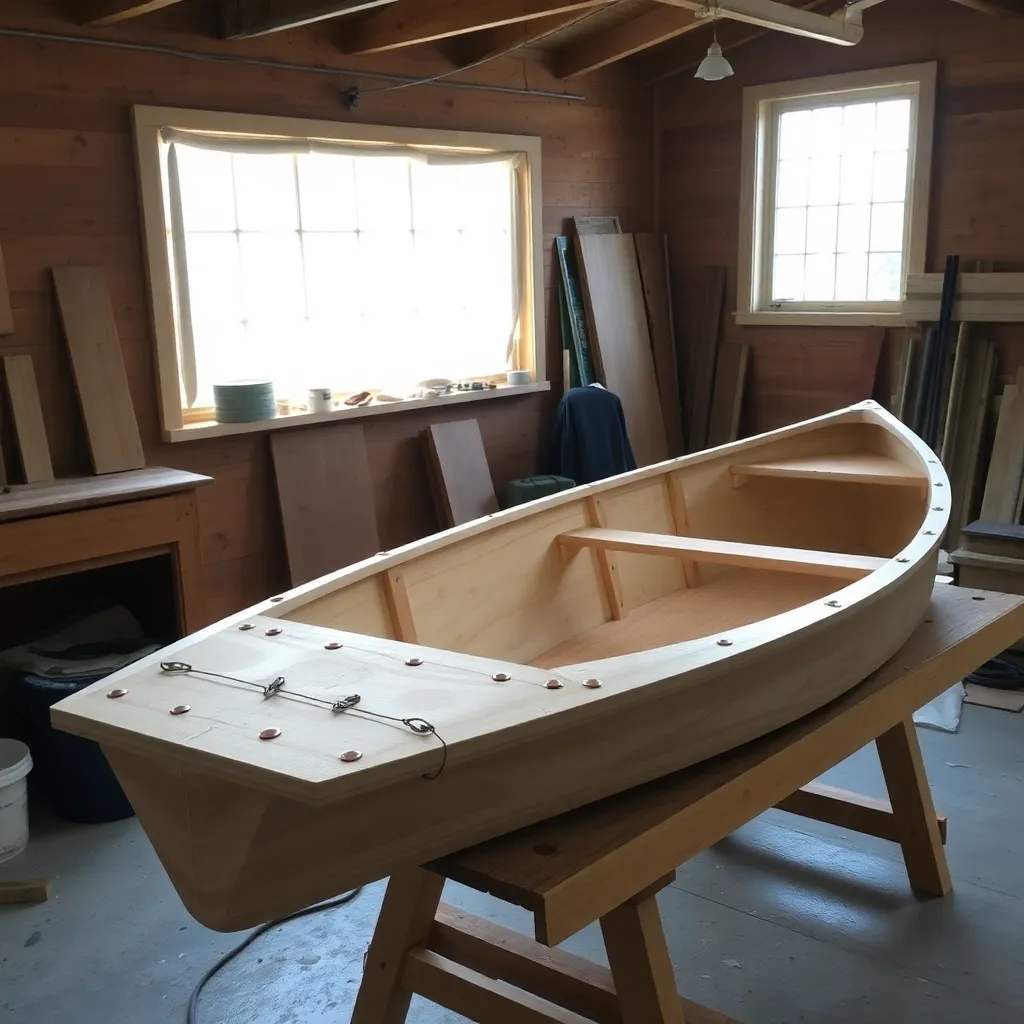
Building a boat from plywood is one of the most rewarding woodworking projects a home builder can attempt — and the stitch-and-glue method has made it genuinely accessible to woodworkers without specialized boat-building skills. The method uses plywood panels cut from a plan, wired together temporarily, then permanently joined with fiberglass tape and epoxy. A first-time builder with woodworking experience can complete a functional rowing dinghy in 80–120 hours.
Ted’s Woodworking has woodworking project plans including outdoor and specialty builds. Browse Ted’s plans →
Step 1: Understand the Stitch-and-Glue Method
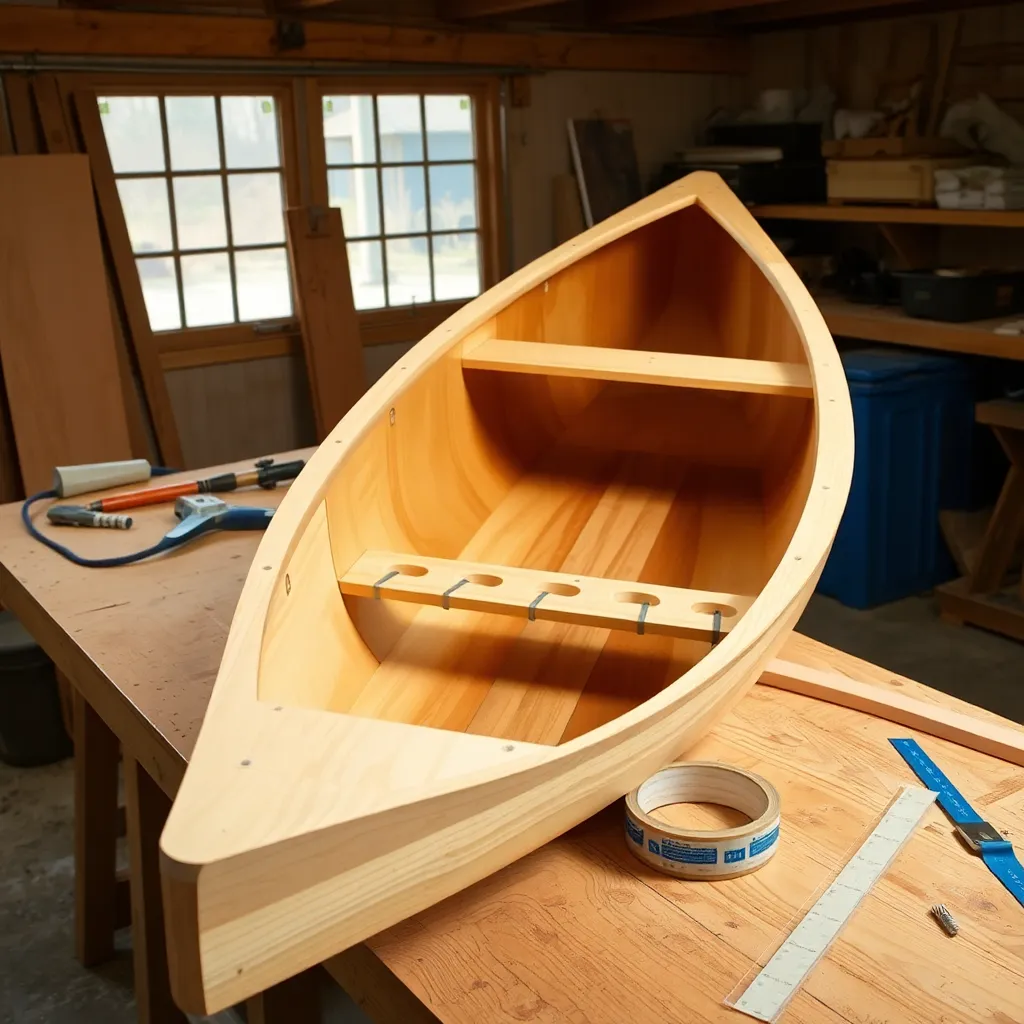
Goal: Understand the complete stitch-and-glue process from panels to finished hull.
Stitch-and-glue boat building works in five phases:
Phase 1 — Cutting panels: the boat design is provided as full-size or scale patterns (or as coordinate tables to loft full-size) for each plywood panel. The panels are the hull sides, bottom, and transom (the flat stern). Cut panels from marine plywood with a jigsaw or circular saw.
Phase 2 — Stitching: the panels are positioned and held in shape with short pieces of copper wire (the “stitches”) threaded through holes drilled near the edges. The wire stitches pull the panels together and hold the hull shape while the glue sets. No mold or form is required — the wire does the work.
Phase 3 — Taping seams (inside): with the hull wired into shape, lay fiberglass tape (typically 4-inch or 6-inch woven fiberglass cloth tape) into the inside corners of every seam. Wet the tape with epoxy to bond it to the wood. Allow to cure.
Phase 4 — Remove wire, tape outside: clip the wire stitches and pull them out (or leave short stubs to fill). Flip the hull and apply fiberglass tape to the outside seams. Fair (smooth) the hull with epoxy fairing compound.
Phase 5 — Finishing: sand the hull smooth, apply final coats of epoxy to seal the wood, prime and paint. Install seats, thwarts (cross-seats), and hardware.
Milestone: Read a complete stitch-and-glue building guide (Chesapeake Light Craft and Glen-L both publish free guides) before selecting a design.
Step 2: Select the Right Plywood for Boat Building
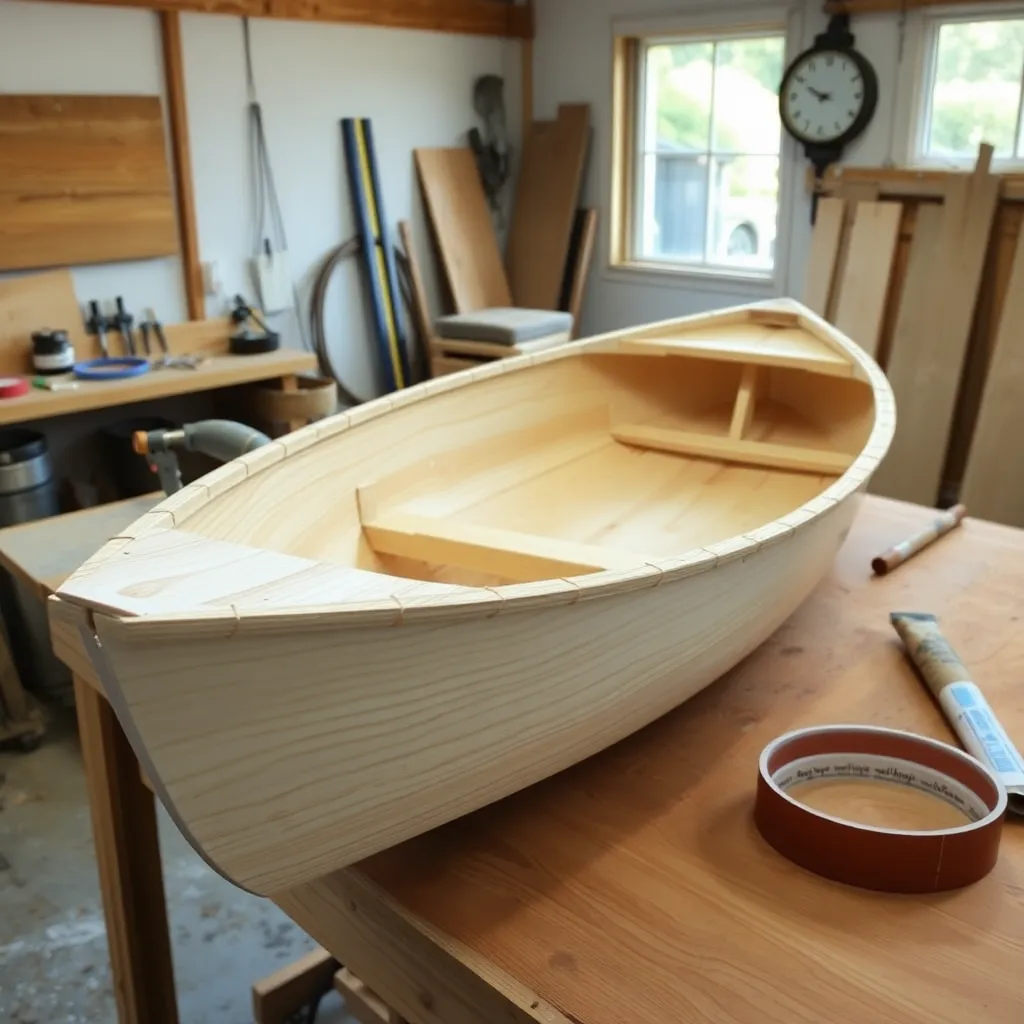
Goal: Choose plywood that meets the structural and durability requirements of a boat hull.
Marine plywood (BS1088): the standard for quality boat building. BS1088 certification means: fully waterproof (boil-proof) glue, void-free core veneers, premium face veneers (typically okoume or meranti), and strict thickness tolerances. More expensive than exterior-rated plywood but significantly more reliable in a marine environment.
Common marine plywood species:
What NOT to use:
Plywood thickness by boat size: 4mm (1/8″) for kayaks and very lightweight dinghies; 6mm (1/4″) for small rowboats and kayaks; 9mm (3/8″) for 12–16 foot boats; 12mm (1/2″) for 16–22 foot designs; 18mm (¾”) for large power or sail designs.
Milestone: Price marine plywood (BS1088 okoume, 4mm and 6mm) at a marine supplier and compare to standard exterior plywood — the marine premium is typically 2–3x.
Step 3: Choose a First Boat Design
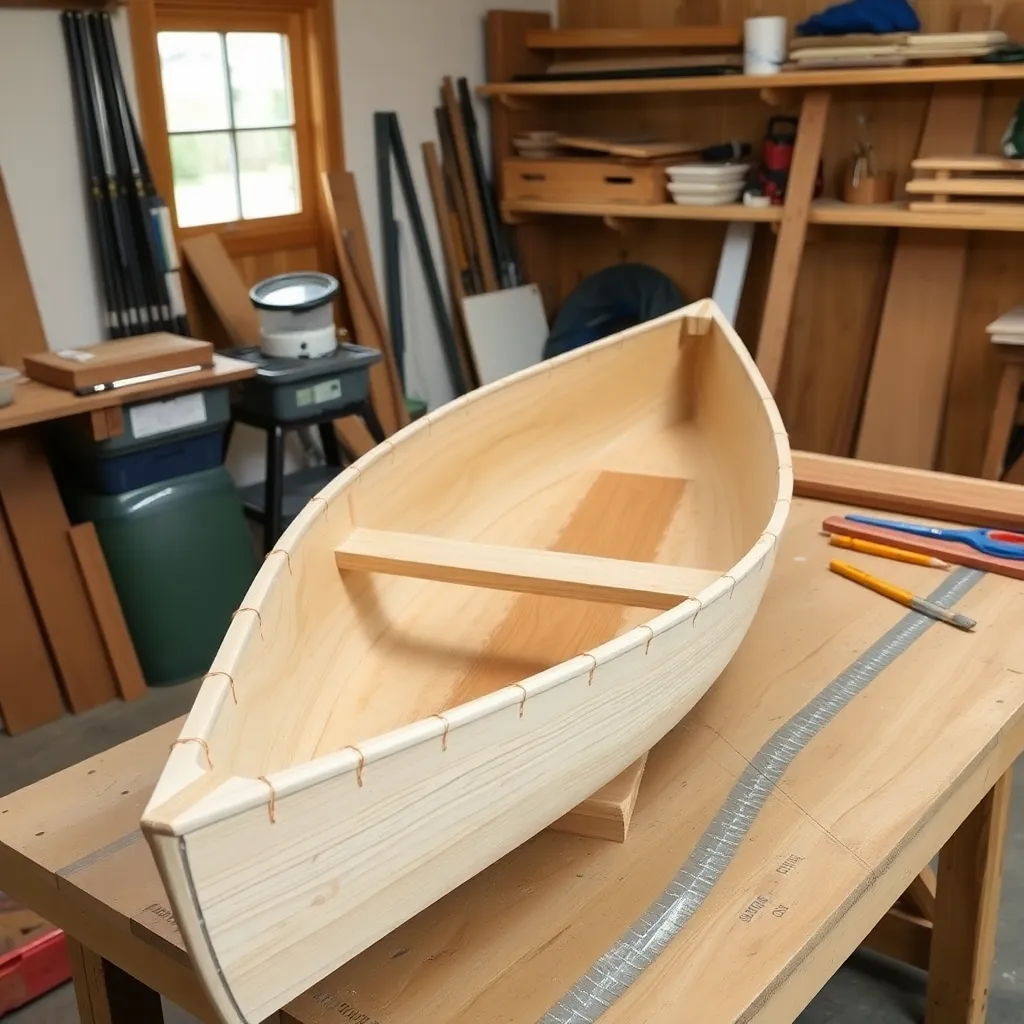
Goal: Select a design appropriate for a first builder’s skill level and intended use.
Appropriate first-build characteristics:
Recommended first designs:
Where to find plans: Chesapeake Light Craft (clcboats.com), Glen-L Marine (glen-l.com), and Duckworks Boat Builders Supply (duckworksbbs.com) all offer plywood boat plans for home builders.
Milestone: Download or order the plans for a specific design and read through the full building instructions before purchasing materials.
Step 4: Gather the Essential Materials and Tools
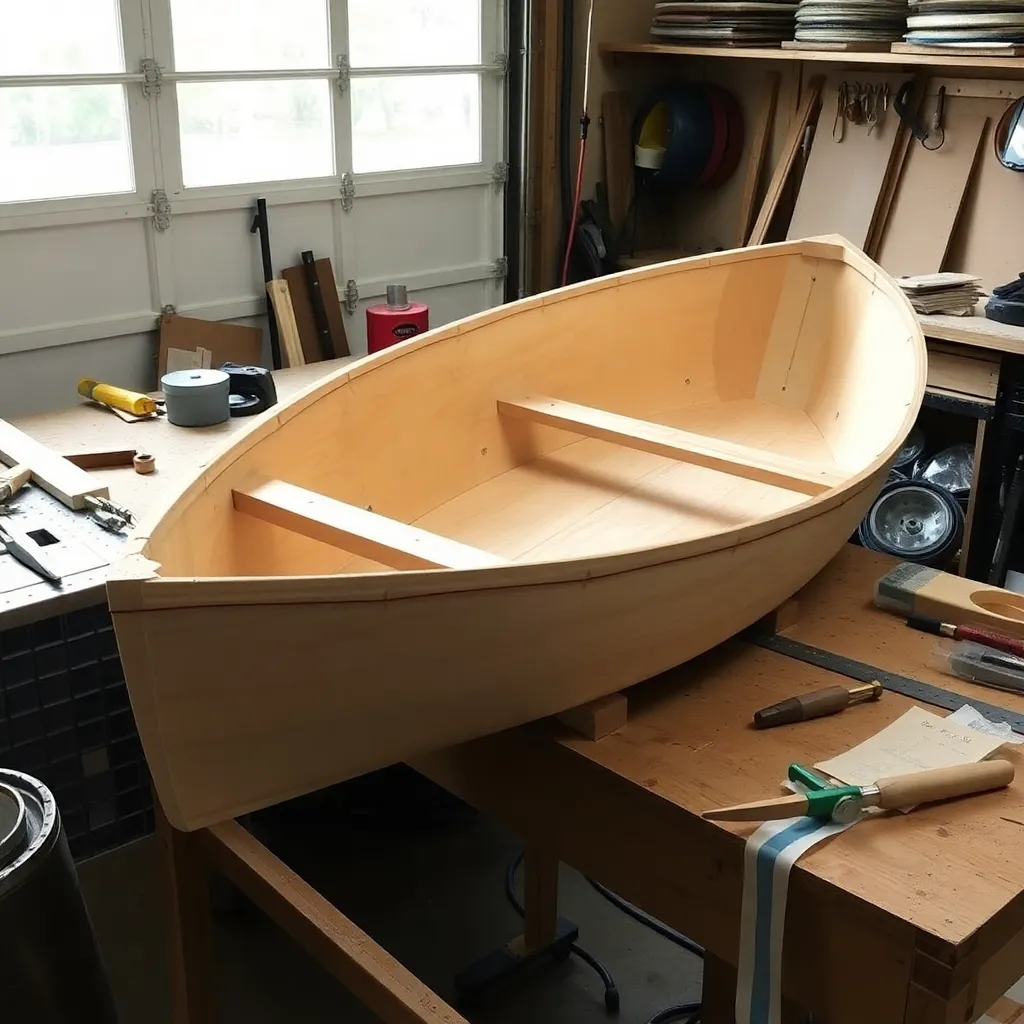
Goal: Build a complete materials list for a stitch-and-glue project.
Marine plywood: quantity per the plan (typically 3–8 sheets for a small dinghy or kayak)
Epoxy: two-part marine epoxy (West System, System Three, MAS, or similar). For a small dinghy: 1.5 gallon kit of resin and hardener. Epoxy comes in slow and fast hardener — use slow for warm shops (over 75°F), fast for cold shops.
Fiberglass tape: 4-inch or 6-inch woven fiberglass tape. Biaxial tape (±45° weave) is stronger at seams than standard woven. Quantity: approximately 2–3 times the total seam length of the hull.
Copper wire: 18-gauge copper wire for stitching. One pound is typically more than enough for a small boat.
Tools specific to boat building:
Standard woodworking tools needed: jigsaw or circular saw with fine blade, drill (for stitch holes), clamps, sander.
Milestone: Create a complete materials list from the plan’s bill of materials and price it out before committing to the build.
Step 5: Execute the Stitch Phase
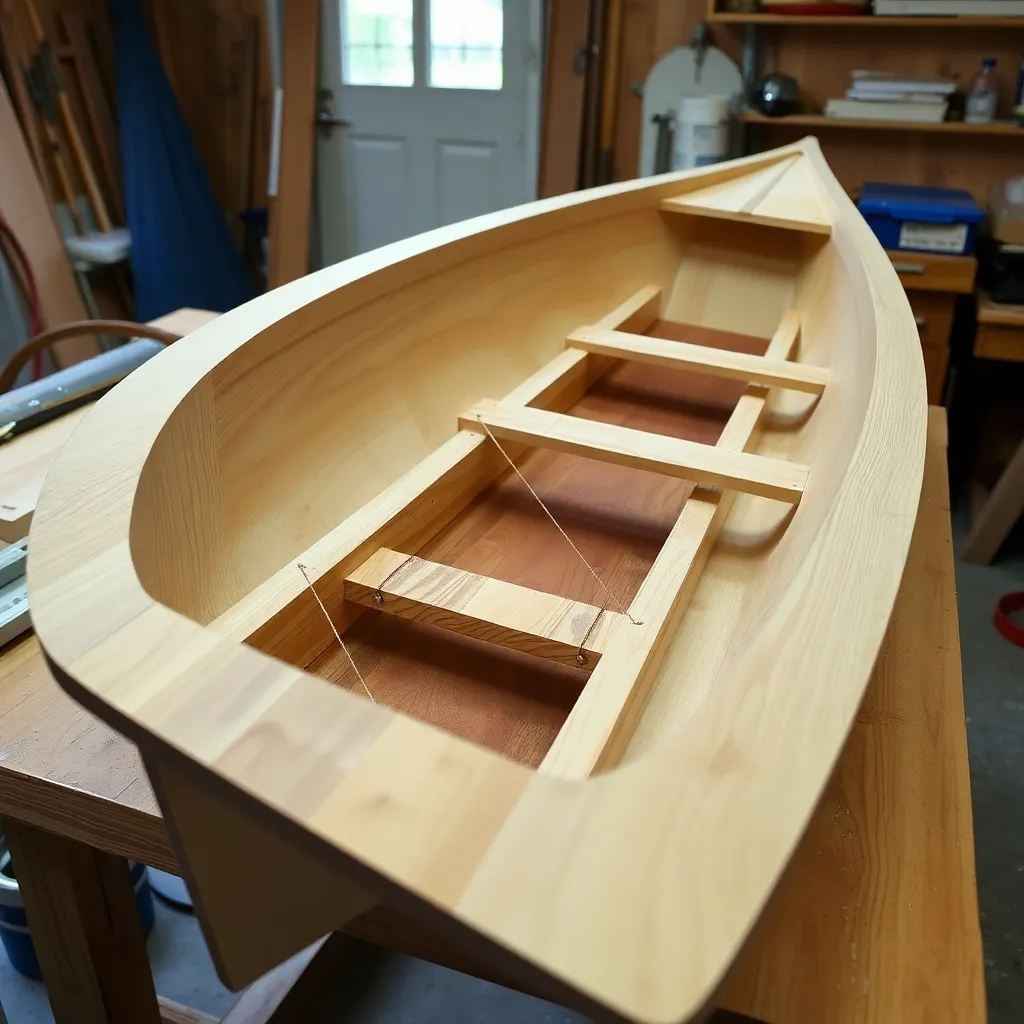
Goal: Assemble the hull panels into shape using wire stitches.
Milestone: Stitch the hull panels together and verify the hull is symmetrical by measuring diagonally from bow to stern at multiple points.
Step 6: Apply Epoxy and Fiberglass Tape
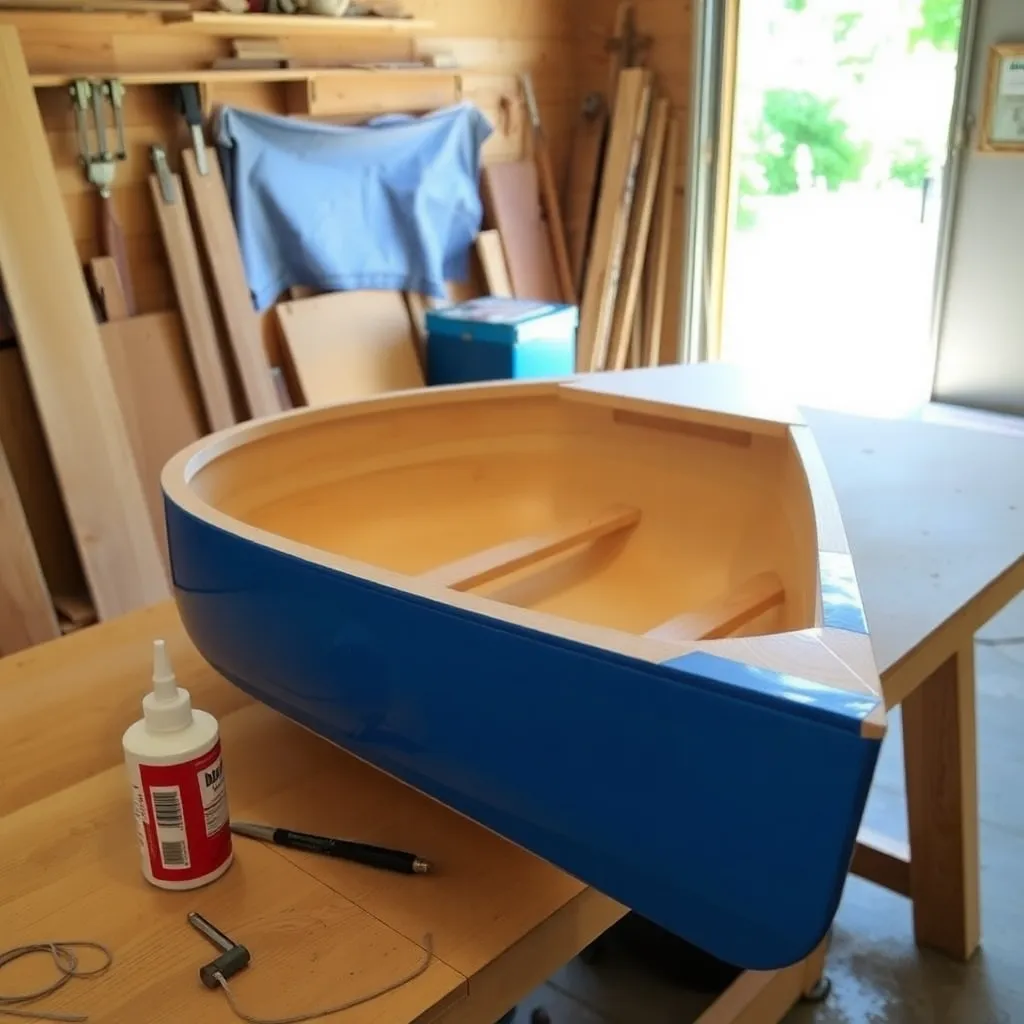
Goal: Permanently join the panels with fiberglass tape and epoxy.
Inside taping:
Fairing (smoothing): once the inside taping is cured, fill any gaps in the outside seams with thickened epoxy (epoxy mixed with fairing filler powder to the consistency of peanut butter). Apply with a putty knife and sand smooth after curing.
Outside taping: flip the hull and apply tape to all outside seams using the same technique as the inside. The outside tape doesn’t need to be as heavy as the inside (which is the structural layer) but should cover all seams.
Final coats: apply 2–3 coats of neat epoxy to the entire hull surface (inside and out) with a roller — this creates a moisture barrier that protects the wood indefinitely.
Milestone: Complete the inside taping on a test scrap (two pieces of plywood stitched at 90°) and examine the cured result for voids and adhesion quality.
Plywood Boat Plans FAQ
What is the best plywood for building a boat?
Marine-grade plywood certified to BS1088 standard is the correct choice for any serious boat building project. BS1088 certification guarantees: fully waterproof (boil-proof) phenolic glue, void-free veneer core, quality face veneers, and dimensional consistency. Okoume marine plywood is the most popular — it’s lightweight, flexible, takes epoxy well, and is widely available from marine suppliers. For a first small boat (rowing dinghy or kayak), 4mm or 6mm okoume BS1088 is the appropriate thickness. Never use standard exterior-rated plywood for a boat — the glue is moisture-resistant but not waterproof, and will delaminate under constant wet exposure even with epoxy sealing.
How many sheets of plywood do I need to build a boat?
For a small rowing dinghy (8–10 feet): 2–3 sheets of ¼” (6mm) marine plywood. For a kayak (10–14 feet): 4–6 sheets of 4mm marine plywood. For a 14-foot sailing dinghy: 5–8 sheets of 6mm marine plywood. These estimates assume no major cutting mistakes — order one extra sheet for each size project as insurance. The plans will specify exact quantities. For all projects, marine plywood comes in the standard 4×8 foot sheet size (some suppliers also offer 4×10 for longer hull sections).
Is it hard to build a boat from plywood?
A simple stitch-and-glue dinghy is achievable for a woodworker with basic skills — the techniques (cutting plywood, drilling holes, applying epoxy) are accessible to anyone who has built furniture or cabinets. The main challenges are: (1) following the plans accurately — hull shapes require precise panel cutting; (2) working with epoxy — it has a limited working time, is messy, and must be mixed accurately; (3) patience during fairing — smoothing the hull to a professional finish takes more time than most beginners expect. Budget 80–150 hours for a first small boat and follow the plans exactly rather than improvising.
What epoxy should I use for a plywood boat?
West System, System Three, and MAS Epoxies are the three most commonly recommended marine epoxy systems for stitch-and-glue boat building. All three are compatible with marine plywood and fiberglass tape, have documented working times and cure characteristics, and have long track records in boat building. The key selection criteria: (1) hardener speed — choose slow hardener for warm shops (above 75°F), fast for cool shops; (2) availability — can you get more quickly if you run short?; (3) price — two-part marine epoxy runs $80–120 per gallon equivalent; for a small boat you’ll need 1.5–2 gallons total. Follow the manufacturer’s mixing ratio exactly — the ratio is not adjustable.

“DIY woodworking enthusiast who started with zero experience and a YouTube tutorial.
I build simple, practical projects for my home and share free plans
so other beginners can skip the guesswork.If I can build it, you can too.”