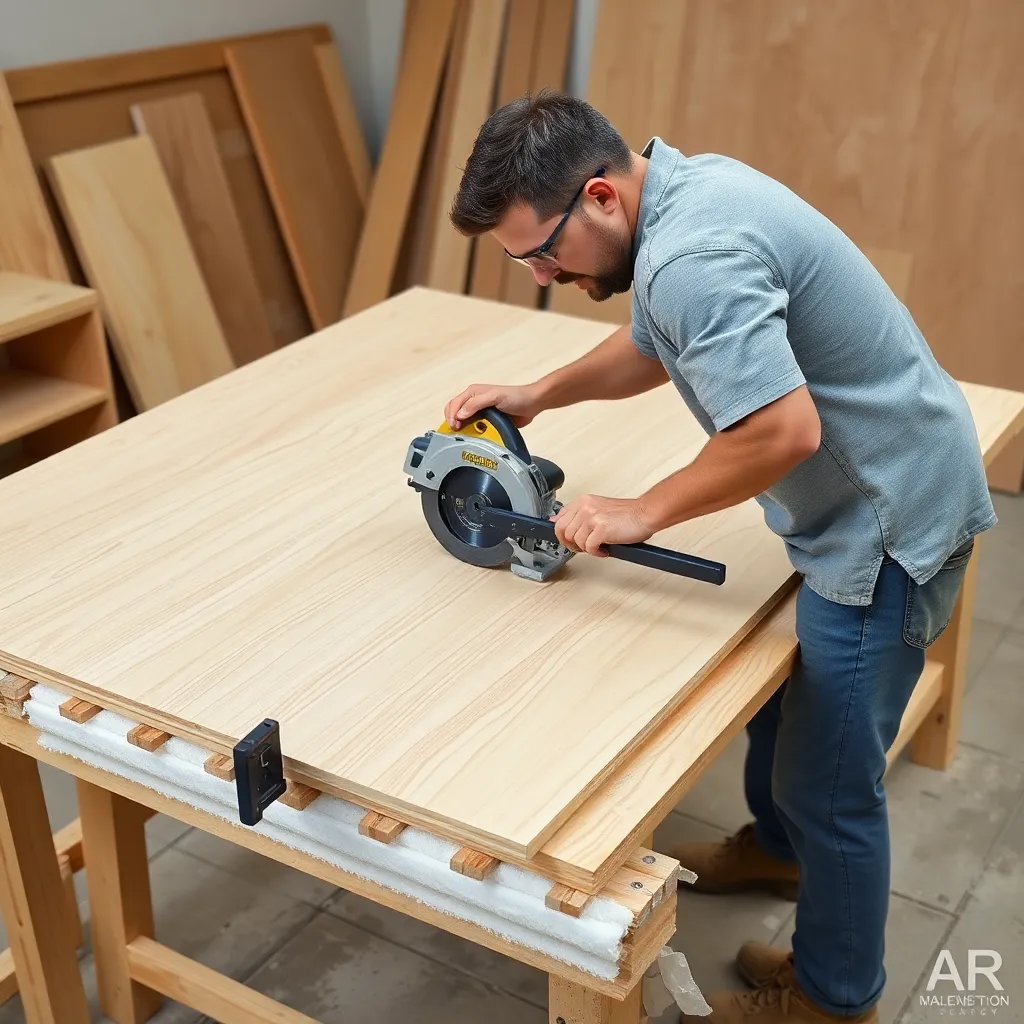
A full sheet of ¾” plywood weighs 60–70 lbs and measures 4×8 feet — too large and unwieldy to push safely through a table saw without significant support equipment. The circular saw with a straightedge guide is the professional solution for breaking down full sheets into manageable pieces. Done correctly, circular saw cuts in plywood are accurate, splinter-free, and repeatable. Done wrong, they produce jagged tearout, inaccurate dimensions, and dangerous kickback.
Ted’s Woodworking has complete plywood project plans with optimized cut diagrams. Browse Ted’s plans →
Step 1: Set Up Proper Sheet Support

Goal: Support the full sheet so both sides of the cut are supported and the offcut doesn’t fall.
The most dangerous circular saw cut in plywood is one where the offcut piece falls at the end of the cut — the falling piece binds the blade and causes kickback. Support both sides of the cut line.
Option 1 — Foam insulation sheets: Lay two 2-inch sheets of rigid foam insulation (the pink or blue foam sold for home insulation) on the shop floor. Place the plywood on top. Cut through the plywood and slightly into the foam — the foam supports both pieces right through the end of the cut, and the foam is sacrificial (the blade cuts it without damage).
Option 2 — 2×4 supports: lay four 8-foot 2×4s parallel on the shop floor, spaced so two support each side of the cut line. The plywood rests on the 2×4s with the cut line between a pair. This works but requires more setup than foam.
Option 3 — Dedicated panel saw: a commercial panel saw (vertical or horizontal) provides perfect support — but requires a significant equipment investment. Not practical for occasional use.
What NOT to do: cutting with one end of the plywood hanging off a table or sawhorses — the unsupported piece will sag and bind the blade.
Milestone: Set up foam or 2×4 supports in your shop and practice the layout before cutting.
Step 2: Select the Right Blade

Goal: Choose a blade that produces clean, splinter-free cuts in plywood.
Blade selection is the most important factor in cut quality. The wrong blade produces significant tearout (splinters on the face of the sheet).
Recommended blade: 40–60 tooth finish blade with carbide tips. The higher tooth count shears the wood fiber cleanly rather than chopping it. A 60-tooth blade produces nearly splinter-free cuts; a 24-tooth framing blade produces significant tearout.
Blade orientation: the circular saw blade cuts on the upstroke — the teeth cut from the bottom face through to the top face. This means tearout occurs on the TOP face of the plywood (the face that’s up during cutting).
Practical implication: always orient the plywood so the GOOD FACE IS DOWN when cutting with a circular saw. The bottom face (against the foam or supports) will be cut on the upstroke and produce a clean edge; the top face is cut on the downstroke and may have minor tearout.
Scoring option: for critical cuts where tearout on either face is unacceptable, score along the cut line with a sharp utility knife before cutting — this severs the face fibers and prevents tearout on that face.
Milestone: Make a test cut on a scrap piece with the blade you plan to use and examine both faces for tearout quality.
Step 3: Build or Buy a Straightedge Guide

Goal: Set up a guide system that produces straight, repeatable cuts.
The circular saw’s built-in fence is only accurate for narrow rip cuts. For breaking down full sheets, a straightedge guide (also called a cutting guide or ripping jig) is essential.
Shop-made straightedge guide:
Commercial guide rails: aluminum guide rails with a carriage (sold by Festool, Makita, and others) provide the same function with more precision and repeatability. A quality guide rail with saw carriage produces table-saw-quality cuts.
Setting the offset: if using a straightedge (not a shop-made guide with a trimmed base), you must account for the distance from the edge of the saw base to the blade. Measure this distance (typically 1.5–3 inches depending on the saw) and clamp the straightedge that distance from the cut line.
Milestone: Build a shop-made straightedge guide and make a test cut, then measure the resulting dimension against the intended measurement.
Step 4: Execute the Cut
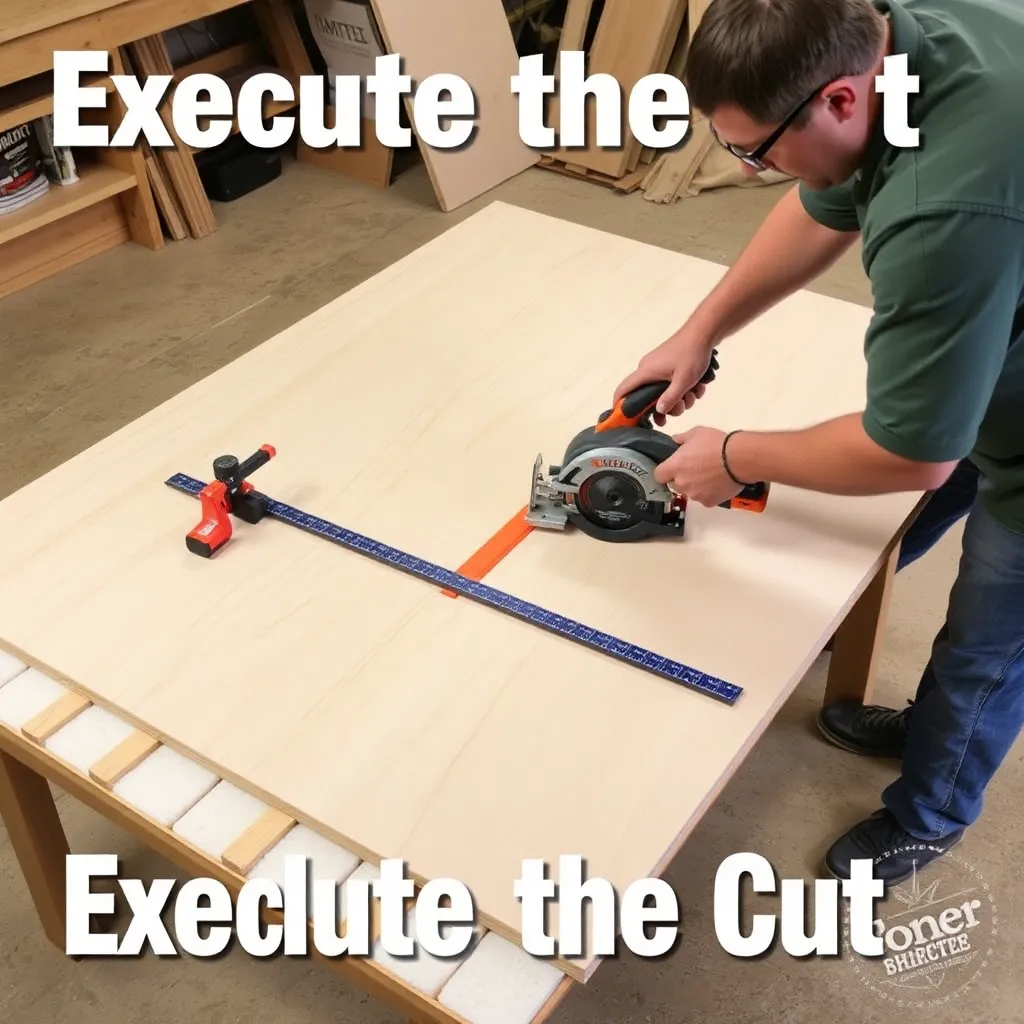
Goal: Make an accurate, safe cut using proper technique.
Pre-cut setup:
Cutting technique:
Avoiding kickback: the most common cause of kickback is the blade binding in the kerf — usually from an unsupported offcut pinching the blade. Proper foam or 2×4 support eliminates this. Never twist the saw in the cut or allow the kerf to close.
Milestone: Make three identical rip cuts and measure each resulting piece — they should be within 1/16″ of the target dimension.
Step 5: Minimize Tearout on the Show Face
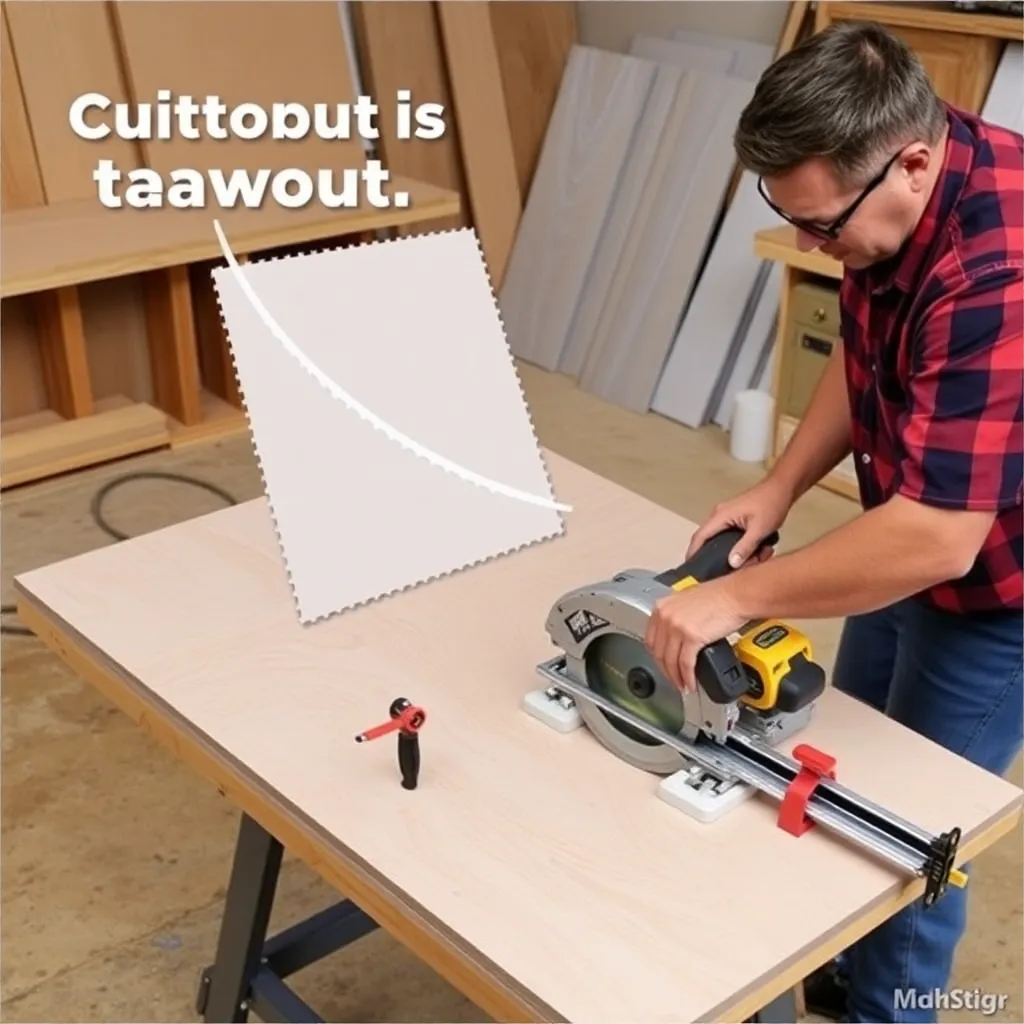
Goal: Produce cuts clean enough that no additional sanding or edge treatment is needed.
Even with a fine blade and good face down, some cuts will show minor tearout. Minimize it with these techniques:
Scoring first: run a sharp utility knife along the cut line on the good face before cutting. Score to about 1/32″ depth. The knife severs the face fibers so the blade doesn’t lift them.
Masking tape method: apply blue painter’s tape along the cut line on the good face. The tape fibers hold the wood fibers in place during the cut, then peel cleanly. Works well for occasional cuts but adds setup time.
Feed rate: too fast a feed rate causes the blade to climb rather than cut — producing rougher results. Find a steady, moderate pace where the saw cuts without bogging down.
Sharp blade: a dull blade tears more than a sharp one. If a blade has cut 50+ feet of plywood, it’s worth checking the edge quality on a scrap before a critical cut.
Finishing the edge: for cabinet work, a router with a straight bit or flush-trim bit can clean up minor tearout — run the bit along the edge to produce a factory-smooth result.
Milestone: Make a cut on a piece of hardwood veneer plywood using the scoring technique and examine the result for tearout on the scored face.
Step 6: Sequence Sheet Breakdown Efficiently
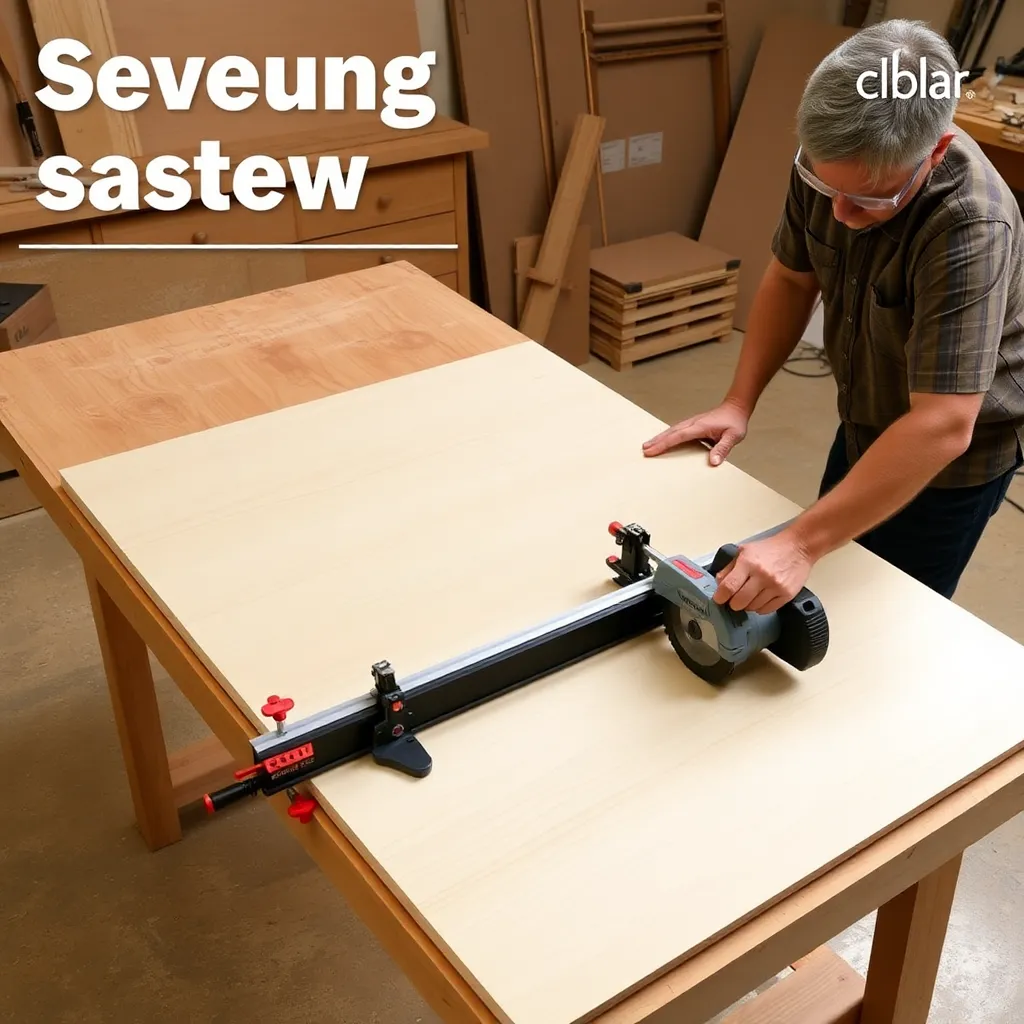
Goal: Plan the order of cuts to minimize the number of guide setups and produce accurate final parts.
The professional breakdown sequence:
Why oversize first? Full sheet breakdown with a circular saw leaves room for slight inaccuracy. Sizing to final dimension on the table saw produces precise, square parts. Never try to cut final parts from a full sheet in one pass.
Label parts as you go: mark each piece with its part name and final dimension as soon as it’s cut — full sheet pieces all look the same, and it’s easy to mix them up.
Milestone: Plan the breakdown sequence for a 3-sheet project before making the first cut, identifying the order of cuts and approximate intermediate dimensions.
Cutting Plywood with a Circular Saw FAQ
What blade is best for cutting plywood with a circular saw?
A 40–60 tooth carbide-tipped fine finish blade. The most important specification is tooth count — more teeth produce smoother cuts. A 60-tooth blade produces nearly tearout-free results in most plywood. A 40-tooth blade is a good compromise between cut quality and blade longevity. A 24-tooth framing blade produces significant tearout — unacceptable for cabinetry or furniture. Blade diameter must match your saw (most circular saws use 7-1/4″ blades). ATB (Alternate Top Bevel) tooth grind is preferred over flat-top for plywood — the alternating bevel angle shears fibers more cleanly.
How do I prevent the circular saw from splintering plywood?
Three techniques: (1) use a fine finish blade (40–60 tooth) with the good face down — circular saw blades cut on the upstroke, producing tearout on the top face; (2) score the cut line with a utility knife before cutting on the good face — this severs the surface fibers before the blade reaches them; (3) apply masking tape along the cut line on the good face — the tape holds the wood fibers in place during the cut. Using all three techniques together produces virtually tearout-free cuts. Also ensure the blade is sharp — dull blades tear more than sharp ones regardless of tooth count.
Can I cut plywood lengthwise with a circular saw?
Yes — this is the primary use case for the circular saw in plywood work. A rip cut (cutting along the length of the sheet) is more difficult to execute accurately than a crosscut because it requires guiding the saw straight for the full 8-foot length. Use a straightedge guide clamped to the plywood — the saw base rides against the guide for the full length of the cut. A shop-made guide (a strip of ¾” plywood with the edge trimmed by the first cut of the saw) is inexpensive and accurate. Commercial guide rails (Festool, Makita, and others) are more convenient and produce excellent results.
What is the best way to support plywood when cutting with a circular saw?
Two foam insulation sheets (2-inch thick rigid foam) laid on the shop floor, with the plywood on top, is the most practical solution for most shops. The foam supports the full sheet and both sides of every cut simultaneously — the blade cuts through the plywood and slightly into the foam without damage. The alternative is a grid of 2×4s positioned to support both sides of each planned cut. Never cut a full sheet with one side unsupported — the unsupported piece will sag, pinch the blade, and cause dangerous kickback.

“DIY woodworking enthusiast who started with zero experience and a YouTube tutorial.
I build simple, practical projects for my home and share free plans
so other beginners can skip the guesswork.If I can build it, you can too.”