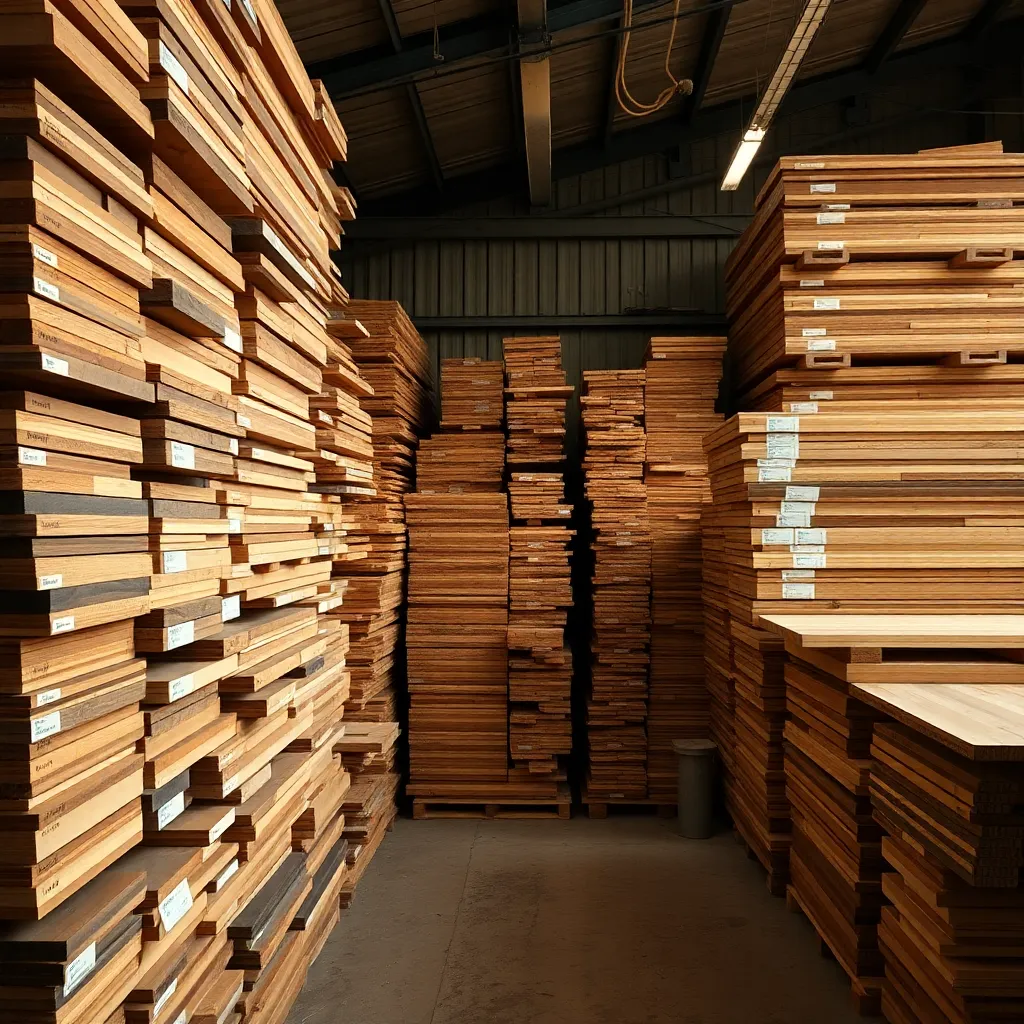
Choosing the right wood is the decision that determines everything that follows — how the project cuts, how it joints, how it finishes, and how it holds up over decades. This guide covers the complete wood selection landscape for woodworkers: the dimensions and measurement system used for lumber, the species that define fine furniture and structural work, and the plywood grades and projects that make sheet goods essential in the modern shop.
Ted’s Woodworking has 16,000+ plans with wood species recommendations, cut lists, and material specifications for every build. Browse Ted’s plans →
Lumber Dimensions and Measuring
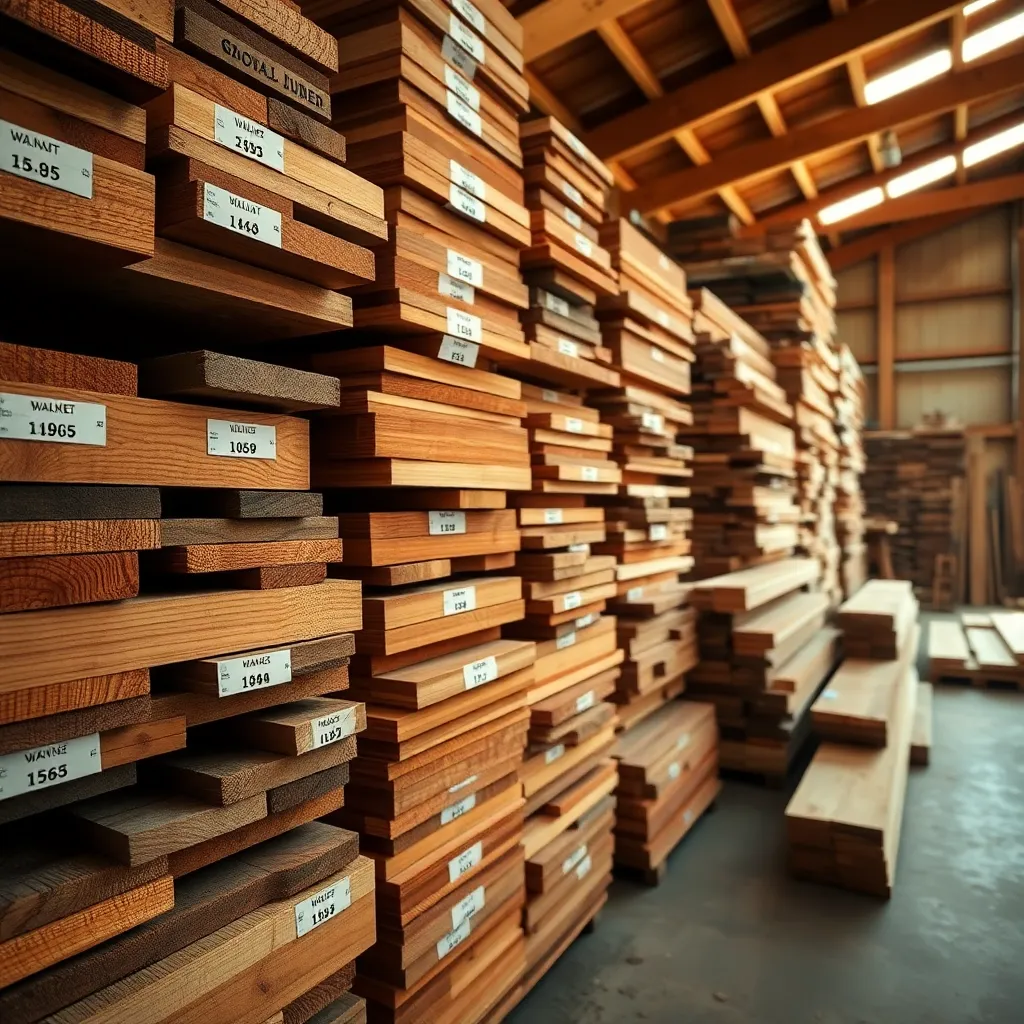
Before any wood can be selected, it has to be measured and ordered correctly — and lumber has one of the most confusing dimension systems in all of construction. A 2×4 is not 2 inches by 4 inches. Board feet don’t work like square feet. Tape measure fractions require reading the smallest graduation correctly. These aren’t obscure details — they’re the daily math of every woodworking project.
What’s covered: the nominal vs actual dimension system for dimensional lumber (a 2×4 is actually 1.5″×3.5″), how to read a tape measure to 1/16″ accuracy, the board foot calculation (thickness × width × length ÷ 144), lumber grades for both hardwood and softwood, and how to read a lumber tag at the yard or home center.
Why it matters: ordering lumber without understanding the dimension system leads to stock that’s the wrong size for joinery. A dado cut to 1.5″ for a nominal 2×4 divider leaves a 1/8″ gap on each side — the actual 2×4 is only 1.5″ wide, but a dado at the wrong nominal size gaps visibly. Getting dimensions right at the planning stage eliminates material waste and rework.
Key reference: the three most important lumber dimensions to memorize: 2×4 = 1.5″×3.5″, 1×6 = ¾”×5.5″, 1×12 = ¾”×11.25″. Everything else in the nominal-to-actual conversion follows the same pattern.
Wood Species Guide
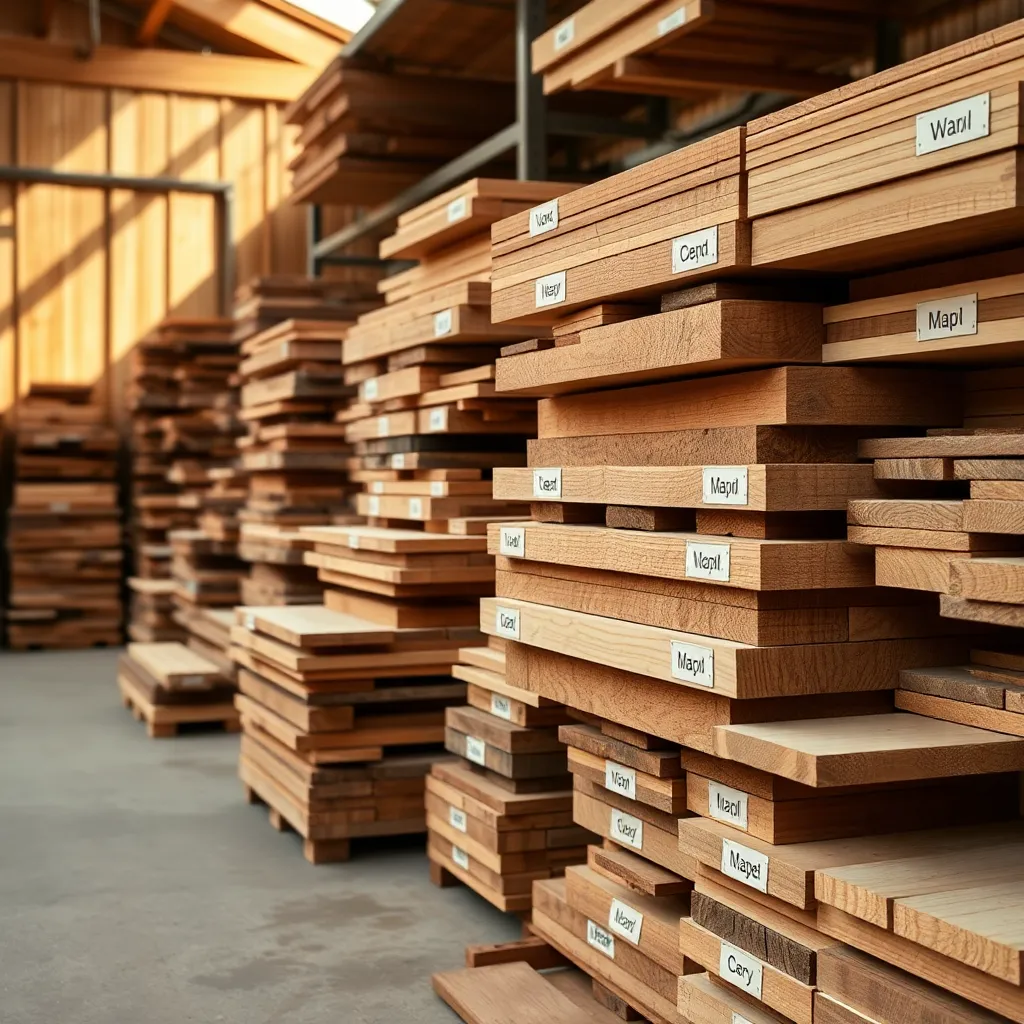
The species of wood determines color, grain, hardness, stability, workability, and cost — the complete set of properties that define whether a material is right for a given application. Oak looks and performs completely differently from walnut; cherry behaves differently from maple; mahogany is a different material from poplar despite all being classified as hardwoods.
What’s covered: how to identify unknown wood species using color, grain, pore structure, weight, and smell; the properties that define each species (Janka hardness, seasonal movement, workability, finishing behavior); the 12 most important hardwood species for furniture and cabinetry; the woodworking discipline that best matches each type of wood; and a species selection matrix for common project applications.
The most important species to know: red oak (most available, affordable, good for natural finishes), hard maple (hardest common domestic species, benchmark for cutting boards and bench tops), black cherry (one of the finest furniture woods, ages beautifully), black walnut (premium, prized for natural color), and poplar (the professional standard for painted work).
Species selection principle: match the species to the application’s most critical requirement. A tabletop that will see daily use needs hardness (maple, oak). A wide panel needs stability (mahogany, cherry). A carved element needs even, consistent grain (basswood, butternut). Choosing the most beautiful or most expensive species without matching its properties to the application is how expensive wood gets wasted.
Plywood Projects and Grades
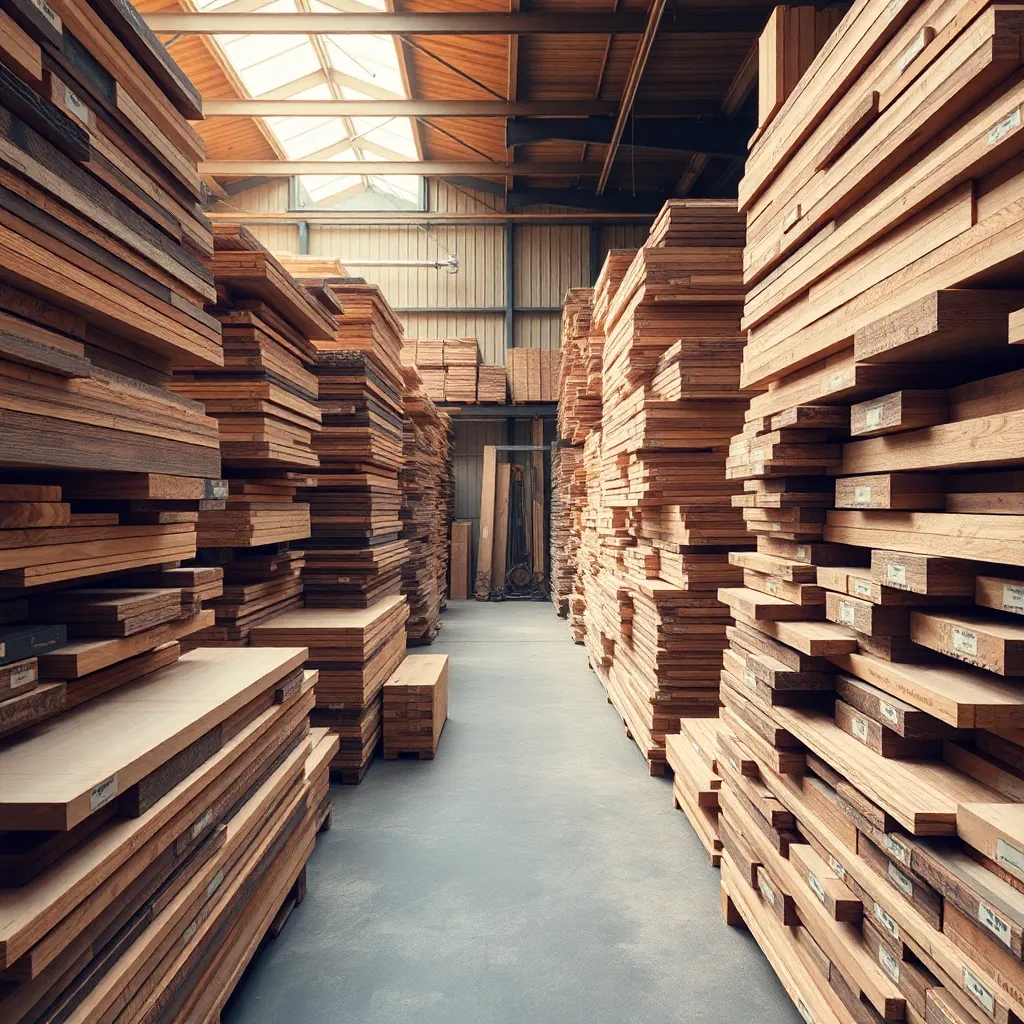
Solid wood is not always the right material — plywood’s cross-laminated construction makes it dimensionally stable across its width (no seasonal movement to design around), available in large panels, and workable with ordinary shop tools. The right plywood grade for each application, the types that range from cabinet-grade Baltic birch to marine-grade okoume, and the projects that play to plywood’s strengths are the third pillar of wood selection.
What’s covered: the A-D grading system for softwood plywood and the separate grading systems for hardwood veneer and Baltic birch; the construction types (veneer core, MDF core, particleboard core) and how each affects weight and screw-holding; standard sheet dimensions and actual vs nominal thickness; the correct technique for breaking down full sheets with a circular saw; plywood boat building with the stitch-and-glue method; and 8 DIY projects from beginner to advanced.
Grade selection principle: only pay for grade where it’s visible. A-grade hardwood veneer for exposed cabinet interiors and door faces; B-C or Baltic birch for hidden cabinet boxes; CDX for structural applications. Using A-1 veneer plywood for hidden cabinet sides is money spent without visual return; using CDX for kitchen cabinet interiors is a visible compromise that looks wrong every time the cabinet is opened.
Best plywood projects by skill level: beginners should start with a wall-hung shop cabinet or step stool (rectangular parts, pocket screws, immediately useful). Intermediate builders can tackle built-in bookshelves and shop workbenches. Advanced builders can take on frameless kitchen cabinets — the project that requires consistent precision across dozens of parts and teaches the tolerances that professional cabinetmaking demands.
Table of Contents
- Defining Wood Selection In Woodworking
- Key Types: Hardwoods Vs. Softwoods
- How Grain, Durability, And Appearance Influence Choice
- Cost, Availability, And Sourcing Concerns
- Common Mistakes And How To Avoid Them
Table of Contents
- Defining Wood Selection In Woodworking
- Key Types: Hardwoods Vs. Softwoods
- How Grain, Durability, And Appearance Influence Choice
- Cost, Availability, And Sourcing Concerns
- Common Mistakes And How To Avoid Them
Cost, Availability, and Sourcing Concerns
Wood prices fluctuate. Regional availability shifts. Quality varies wildly between suppliers. These practical realities shape every wood selection decision you make.
Ignoring these factors leads to budget overruns, project delays, or compromised quality. Smart woodworkers account for all three before committing to a design.
Understanding Wood Pricing
Wood cost varies dramatically based on species, grade, and current market conditions. Domestic hardwoods like oak run $4-8 per board foot. Exotic species like walnut or cherry cost $8-15 per board foot. Softwoods like pine start around $1-3 per board foot.
These prices fluctuate constantly based on supply and demand. A species readily available last year might become scarce this year, driving costs up significantly.
Budget impact matters for hobbyists. A small tabletop project using premium walnut could easily cost $200-400 in wood alone. The same design in pine might cost $30-50.
Availability Challenges
Not every species thrives locally. If you live in a region without hardwood forests, importing wood adds shipping costs and delivery time.
Global wood supply chains face complexity from trade dynamics and sustainability certifications. Local lumber yards stock common species but may need special orders for specialty woods.
Availability directly affects your timeline:
- Common woods: Usually in stock at local yards; order fulfilled in days
- Regional specialty woods: May require 1-2 week special order
- Exotic hardwoods: Typically 2-4 weeks; sometimes longer
- Reclaimed wood: Unpredictable availability; sourcing takes time
Planning ahead for wood sourcing prevents deadline pressure and allows you to comparison-shop for better prices.
Finding Reliable Suppliers
Quality varies drastically between suppliers. One yard’s premium grade might be another’s standard grade. Moisture content fluctuates, affecting how wood performs after purchase.
Sourcing wood requires evaluating supplier reliability and managing moisture content expectations. Develop relationships with suppliers who consistently deliver quality material and honest grading standards.
Build your sourcing strategy:
- Identify 2-3 local suppliers and visit in person
- Ask about their grading standards and moisture measurement practices
- Request references from other woodworkers
- Compare pricing across suppliers for your species
- Start with smaller purchases to verify quality before larger orders
Balancing Quality and Budget
You don’t need premium wood for every project. Practice pieces benefit from affordable softwoods. Visible surfaces justify premium hardwoods. Hidden structural components can use less expensive grades.
Consider hybrid approaches. Use premium walnut for the tabletop but pine for the undercarriage. This maximizes visual impact while controlling costs.
Pro tip: Call suppliers before visiting and ask which premium hardwoods are currently in stock at good prices, then build your project design around available materials rather than hunting for specific species that might cost extra.
Common Mistakes and How to Avoid Them
Beginners repeat the same selection errors. Most stem from rushing the decision or misunderstanding wood properties. Learning what not to do saves you material, time, and frustration.
These mistakes happen to experienced woodworkers too. The difference is they’ve learned to catch themselves.
Mistake 1: Ignoring Moisture Content
Wood absorbs and releases water constantly. If you select wood that’s too wet, it shrinks unpredictably after you build with it. Joints gap. Panels warp. Your beautiful piece becomes unstable.
Verifying moisture content with meters prevents warping and structural failure. Target 6-9% moisture for indoor furniture projects. Anything higher means the wood will continue shrinking.
You can’t judge moisture by looking or touching. Buy an inexpensive moisture meter (under $50) and use it on every batch of wood. Reputable suppliers should allow you to test before purchasing.
Mistake 2: Choosing the Wrong Species
Picking walnut because it looks gorgeous in a showroom, then discovering it’s too expensive or too soft for your project wastes money. Selecting unsuitable wood species causes durability and aesthetic problems.
Match wood properties to your actual needs first. Only then consider aesthetics.
Common mismatches:
- Using softwoods for high-traffic surfaces that need durability
- Choosing wood that’s too expensive for a practice project
- Selecting species that won’t finish the way you envision
- Building with wood that’s too brittle for the joinery you want
Mistake 3: Overlooking Grain Direction
Grain direction matters more than beginners realize. Planing against the grain tears out the surface. Staining follows grain direction unevenly. Strength varies with grain orientation.
Examine every board before buying. Trace the grain direction with your hand. Consider how you’ll cut and plane each piece. Plan your tool paths around grain direction before you start cutting.
Mistake 4: Accepting Defective Wood
Warped boards. Large knots. Checks and cracks. Discoloration. These aren’t character—they’re problems waiting to happen.
Inspect wood thoroughly before purchasing. Sight down the board’s length to catch warping. Look for splits that will grow when you cut. Ask questions about visible defects and whether they’ll affect your project.
Don’t feel pressured to buy substandard material. A good supplier has plenty of quality stock.
Use this summary as a quick reference when evaluating wood for any project:
| Key Consideration | Impact on Wood Selection | Tip for Best Results |
|---|---|---|
| Moisture Content | Affects stability/warping | Check with a meter before purchase |
| Species Fit | Determines durability/appearance | Align choice with project needs |
| Grain Direction | Influences strength and finish | Plan cuts along the grain |
| Surface Defects | Can undermine structural quality | Inspect boards for warps/cracks |
| Sourcing/Budget | May limit material choices | Compare multiple local suppliers |
The cheapest wood isn’t the best deal if it’s warped, cracked, or unsuitable for your design.
Mistake 5: Rushing the Selection Process
Making decisions under time pressure leads to poor choices. You grab whatever’s available instead of thinking through your project needs.
Build in planning time before building. Spend 1-2 weeks researching species, visiting suppliers, and comparing options. This upfront investment prevents expensive mistakes during construction.
Pro tip: Create a checklist for every wood purchase: species verified, moisture content tested with meter, grain direction examined, surface inspected for defects, and price compared across suppliers before committing to buy.
Understanding wood hardness and the Janka hardness scale
Wood hardness determines how well your project withstands daily use and accidental impacts. The Janka hardness scale measures this property by recording the force needed to embed a steel ball into wood, with higher ratings indicating greater durability and resistance to wear. This standardized test gives you an objective way to compare hundreds of domestic and exotic species before making purchasing decisions.
The test works by pressing a 0.444-inch steel ball halfway into a wood sample and measuring the pounds of force required. A red oak sample typically needs around 1,290 pounds of force, earning it a Janka rating of 1,290. Brazilian walnut, one of the hardest woods available, scores an impressive 3,680 on the same scale. These numbers translate directly to real-world performance in your finished projects.
The Janka Hardness Scale provides an objective way to compare the hardness of hundreds of domestic and exotic lumber species, helping you predict how well different woods will hold up in specific applications. Understanding these ratings prevents costly mistakes like choosing pine for a dining table that will show dents from daily plate impacts within months.
Common wood Janka ratings reveal clear patterns:
- Balsa: 100 (extremely soft, used mainly for models)
- Pine: 380-870 (varies by species, good for learning)
- Red oak: 1,290 (classic furniture choice)
- Hard maple: 1,450 (excellent for cutting boards)
- Brazilian cherry: 2,350 (premium flooring material)
- Lignum vitae: 4,500 (among the hardest woods globally)
Pro Tip: Woods with ratings above 1,200 work well for furniture that sees heavy use, while species below 1,000 suit decorative pieces or projects where you prioritize easy shaping over maximum durability.
Variation exists even within the same species depending on where the tree grew, which part of the trunk you’re using, and how the wood was cut. Quarter-sawn boards often test harder than plain-sawn pieces from the same tree. Moisture content at testing time also affects results, making standardized conditions essential for fair comparisons. Learning about wood types explained helps you understand these nuances and select materials that match your project requirements.
Balancing hardness and workability: choosing the right wood for your project
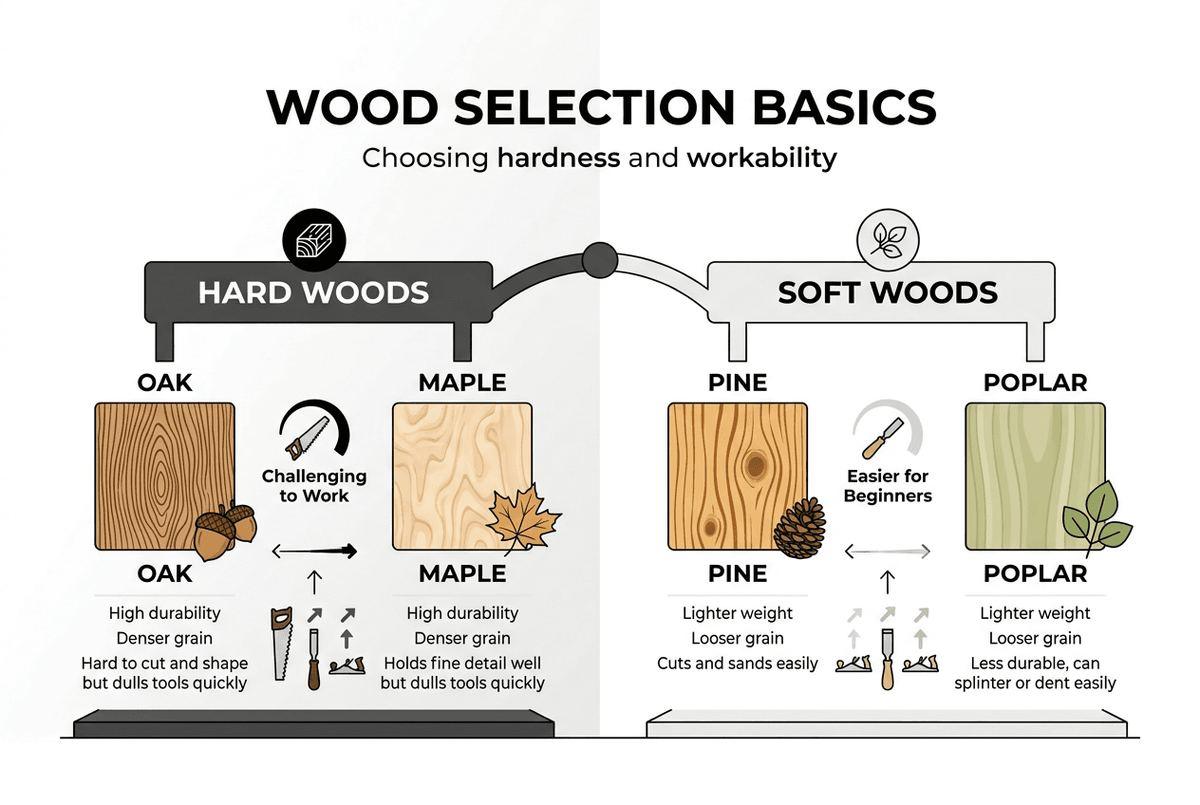
Selecting wood requires weighing durability against ease of working, especially when you’re building skills. Harder woods are generally more durable but can be harder to work with, requiring a balance between hardness and ease of handling based on the project’s needs. Softer species let you practice joinery and shaping techniques without fighting the material, while harder options deliver finished pieces that last decades.
Common woods ranked by hardness and typical applications:
| Wood Species | Janka Rating | Best Uses | Beginner Friendly |
|---|---|---|---|
| Pine | 380-870 | Practice projects, shelving, painted furniture | Yes |
| Poplar | 540 | Painted cabinets, secondary wood for drawers | Yes |
| Cherry | 950 | Fine furniture, decorative boxes | Moderate |
| Red oak | 1,290 | Tables, chairs, traditional furniture | Moderate |
| Hard maple | 1,450 | Cutting boards, workbenches, flooring | No |
| Hickory | 1,820 | Tool handles, high-impact applications | No |
Softer woods like pine and poplar cut cleanly with basic hand tools and forgive minor technique errors that would chip or tear harder species. You can shape them with standard drill bits and router bits without burning edges or dulling cutters quickly. These characteristics make them ideal for learning fundamental skills before investing in premium hardwoods.
For high-traffic areas, wood with a Janka rating of 1,200 or higher is recommended to ensure the surface resists daily wear without showing excessive damage. Kitchen tables, entryway benches, and desk tops benefit from this durability threshold. Decorative wall art and display shelves perform fine with softer species since they experience minimal physical stress.
Follow these steps to choose wood that matches your project:
- Identify how the finished piece will be used and how much wear it will experience
- Determine your skill level honestly and consider what tools you own
- Check Janka ratings for species available at your local suppliers
- Compare grain patterns and color to ensure they match your design vision
- Calculate project costs including waste, since harder woods typically cost more
- Purchase a small sample board to test cutting and finishing before buying full quantities
Pro Tip: Buy a variety pack of small offcuts from different species and practice your joinery techniques on each type to discover which woods suit your tools and working style before committing to large project purchases.
Exploring types of wood for furniture durability reveals that medium-hardness species often provide the sweet spot for hobbyist woodworkers. Cherry and walnut deliver beautiful results without requiring industrial-grade equipment or exceptional physical strength. Following proven woodworking tips for beginners helps you develop skills progressively while working with increasingly challenging materials.
What does furniture grade wood mean? Defining standards and qualities
Furniture grade wood isn’t just marketing language. It represents hardwoods with high durability, low defects, and fine grain patterns specifically suited for visible furniture components where both strength and appearance matter. Industry grading systems evaluate lumber based on the presence and size of natural defects like knots, splits, mineral streaks, and grain irregularities. The fewer and smaller these imperfections, the higher the grade and the more suitable the wood becomes for quality furniture construction.
Several characteristics define furniture grade lumber:
- Straight, consistent grain patterns that resist warping and splitting over time
- Minimal knots, particularly tight knots that won’t loosen or create weak points
- Uniform color throughout the board without dramatic sapwood variations
- Smooth surface texture that accepts finishes evenly without blotchiness
- Appropriate moisture content, typically 6 to 8 percent for indoor furniture
These qualities directly impact both structural integrity and aesthetic appeal. Straight grain provides predictable wood movement as humidity changes, preventing joints from failing or panels from cracking. Minimal defects mean more usable wood per board and surfaces that showcase natural beauty rather than requiring strategic placement to hide flaws. Color consistency allows you to match multiple boards in a single project without dramatic visual breaks.
The wood types for furniture durability you choose should align with your project’s functional demands. A dining table endures different stresses than a bookshelf, and selecting appropriate hardness prevents premature wear.
“The Janka hardness rating provides critical insight into a wood species’ ability to resist denting and wear, making it essential for furniture that will see daily use and contact.”
This measurement quantifies the force required to embed a steel ball into wood, giving you concrete data to compare species. Maple rates around 1450 on the Janka scale, making it ideal for tabletops and chair seats. Walnut measures approximately 1010, offering sufficient hardness for most furniture while remaining easier to work. Cherry falls near 950, providing adequate durability for case goods and decorative pieces. Understanding these numbers helps you match wood characteristics to specific furniture applications rather than guessing based on appearance alone.
How to identify and select furniture grade wood for your DIY projects
Successful lumber selection begins before you reach the lumberyard. Know your project requirements including finished dimensions, species preferences based on color and grain, and the specific characteristics each component demands. A table apron tolerates minor defects better than a tabletop, while chair legs need straight grain to prevent breaking under stress. This clarity guides your inspection process and prevents impulse purchases of beautiful but unsuitable boards.
Follow this systematic approach when evaluating lumber:
- Inspect both faces and all edges for knots, checking that any present are small, tight, and located where you can work around them
- Sight down the board’s length from one end to detect warping, cupping, bowing, or twisting that indicates instability
- Examine grain direction and figure, looking for straight, consistent patterns rather than wild grain that’s difficult to plane and finish
- Check color uniformity across the board, noting dramatic sapwood areas that will stain differently than heartwood
- Verify thickness consistency by measuring at multiple points, as variations complicate milling and joinery
- Assess surface quality for mill marks, tear out, or damage from handling that increases your prep work
Moisture content verification ranks among your most critical checks. Wood that’s too wet will shrink after you build with it, causing joints to loosen and panels to crack. Insert a pin type or pinless moisture meter into the board’s center, not just the surface which dries faster. Target 6 to 8 percent moisture for indoor furniture, slightly higher for pieces destined for covered outdoor spaces. Reject boards reading above 10 percent unless you can properly acclimate them in your shop for several weeks before milling.
Look for grade stamps or certifications when available, though specialty hardwood dealers often sell unstamped lumber graded by visual inspection. The National Hardwood Lumber Association establishes grading rules, with FAS (Firsts and Seconds) representing the highest grade containing boards at least 6 inches wide and 8 feet long with 83 percent clear face cuttings. Select grade allows slightly more defects, while Common grades contain increasing defect levels unsuitable for most furniture applications.
Storage conditions at the yard provide clues about lumber quality. Well maintained operations store wood under cover, stacked with spacers for air circulation, and protected from ground moisture. Boards exposed to weather, stacked directly on concrete, or showing mold and staining have likely experienced moisture cycling that reduces stability. Even if current moisture readings seem acceptable, this wood may move unpredictably after you bring it home.
Pro Tip: Purchase lumber several weeks before you need it and store it in your shop environment, allowing the wood to equalize to your workspace humidity. This acclimation period reveals any hidden instability through warping or movement before you invest hours of work, and it ensures your finished furniture remains stable in its final environment.
Wood Selection Guide FAQ
What is the best wood for beginner woodworkers?
Pine (construction lumber from the home center) for the first projects: inexpensive, soft enough to work with dull tools, available at every hardware store. The upgrade path for natural-finish work is poplar → red oak → cherry or walnut as skills improve. Poplar is the professional standard for painted furniture (smooth surface, stable, inexpensive). Red oak is the entry point for natural-finish hardwood work (most available, affordable). Cherry and walnut reward the extra cost and effort with results that look genuinely professional without requiring expert finishing technique. Avoid very hard species (hard maple, hickory) until basic cutting and jointing technique is consistent — they’re unforgiving of dull tools and imprecise technique.
How do I choose between solid wood and plywood?
Use solid wood when: grain direction and figure are the dominant visual element (furniture faces, tabletops), the piece needs to be carved or shaped with curves, or the joinery requires the long-grain strength of solid wood (mortise-and-tenon, dovetail). Use plywood when: large flat panels are required without wood movement concerns (cabinet sides, shelves, drawer bottoms), the piece will be painted (MDF-core birch produces a flatter, smoother paint surface than solid wood), or the project benefits from dimensional consistency across many identical parts (kitchen cabinet boxes). Most real furniture and cabinetry uses both: solid wood for face frames, door frames, and table legs; plywood for panels, cabinet boxes, and wide flat surfaces.
What wood is most stable for furniture?
Stability refers to seasonal movement with humidity changes. The most stable furniture woods (least movement per inch of width): Honduras mahogany, teak, western red cedar, and black locust. Among the common cabinet hardwoods: cherry and walnut are moderately stable; hard maple and red oak move significantly more. For wide panels (tabletops, cabinet sides) where stability matters most: use species with low movement coefficients, or use quartersawn lumber (the most stable cut for any species — tangential shrinkage is roughly double radial shrinkage, so quartersawn moves less). Plywood is the most stable option of all — the cross-laminated construction cancels the movement of individual plies.
Do I need special tools to work with hardwood vs softwood?
The same tools handle both, but hardwoods demand sharper edges and higher-power machinery than softwoods. A dull chisel that works acceptably in pine will tearout in oak; a router bit that runs cool in poplar will overheat in maple. The practical requirements for hardwood: carbide tooling (not high-speed steel), sharp edges maintained by regular honing, slower feed rates on power tools, and a sharp crosscut blade (60-tooth or finer) for plywood and veneer. For hand tool work: a well-tuned plane with a fresh edge is more important than any other preparation — a properly sharpened plane on a straight-grained hardwood produces a better surface than a belt sander.

“DIY woodworking enthusiast who started with zero experience and a YouTube tutorial.
I build simple, practical projects for my home and share free plans
so other beginners can skip the guesswork.If I can build it, you can too.”