
Most store-bought computer desks get one thing wrong: they are too shallow. A 24″ deep desk forces your monitor within arm’s reach, which is bad for your eyes and worse for your neck. This guide walks you through building a 60″W by 30″D computer desk with an integrated monitor riser and real cable management. It is a weekend build for an intermediate DIYer, costs roughly $150 to $220 in materials depending on your leg choice, and takes about 6 to 8 hours of active work spread over two days (most of that is finish drying).
You will build a single-piece hardwood plywood desktop, add iron-on edge banding for a finished look, drill two grommet-lined cable holes, mount a 4″ tall monitor riser across the back, and hang a steel mesh cable tray underneath. This guide is part of our complete desk plans series.
Why Depth Is More Important Than Width
Looking for more desk ideas?
This guide is part of our complete desk plans series — compare all options by skill level, cost, and build time.
Want 16,000+ woodworking plans?
Ted’s Woodworking has step-by-step plans for every skill level. Browse Ted’s plans.
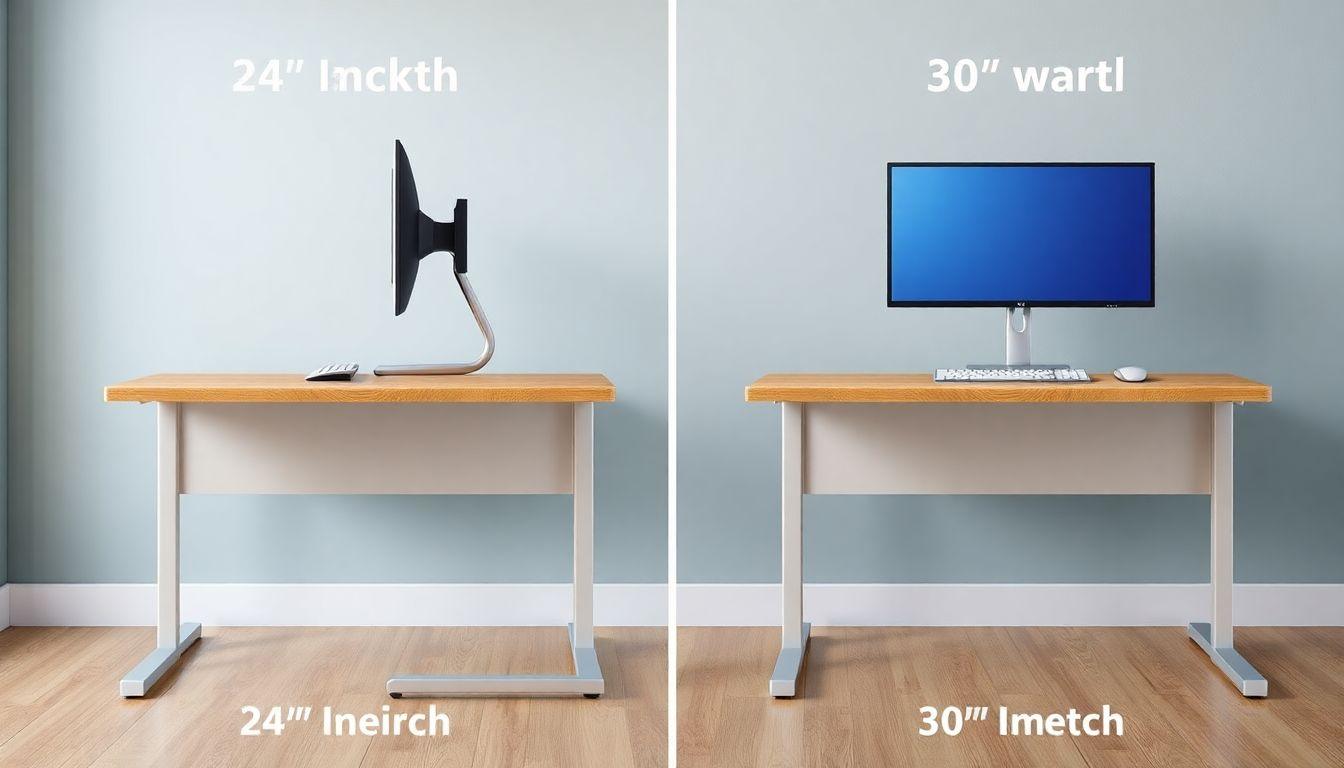
Everyone shops for desks by width. That is the wrong instinct for a computer desk. Width buys you elbow room. Depth buys you your eyesight.
Ergonomic guidelines put your monitor at least 20″ to 24″ from your eyes, with 24″ being the comfortable minimum for a 27″ screen. On a 24″ deep desk, once you account for the desk edge, your keyboard, and the monitor stand’s footprint, the screen ends up around 16″ to 18″ from your face. You lean back, you squint, or you push the monitor to the very back edge where it wobbles.
Build at 30″ deep instead. That extra 6″ is the difference between a monitor sitting 18″ away and one sitting a comfortable 24″ to 26″ away, with room left for a keyboard and a coffee mug. It also gives you space for the monitor riser we add later without eating into your working surface. Depth is cheap to add at build time and impossible to add later, so get it right now.
Materials and Cut List
This cut list builds a 60″W by 30″D desk with a hardwood plywood top and hairpin legs. See the leg comparison below if you want a different base.
Panels:
– Desktop: 3/4″ hardwood plywood, 60″ x 30″ (1)
– Monitor riser shelf: 3/4″ plywood, 60″ x 12″ (1)
– Riser supports: 3/4″ plywood, 4″ x 12″ (2)
Hardware and trim:
– Iron-on hardwood veneer edge banding, 18 linear feet
– Hairpin legs, 28″ tall, set of 4 (or 4x 3″x3″ wooden legs at 27-1/4″ tall)
– Cable grommets, 2″ diameter (2)
– Under-desk cable tray, steel mesh, 18″ to 24″ long (1)
– Wood screws: 1-1/4″ for legs and riser, roughly 30 total
– Wood glue
– Finish: wipe-on polyurethane or hardwaxoil, 1 quart
A Note on Surface Material
You have three realistic options for the top:
- 3/4″ MDF with hardwood edge banding. Dead flat, cheap, and paintable. It does not hold screws well on edges and it is heavy, but if you plan to paint the desk it is hard to beat.
- 3/4″ hardwood plywood (recommended here). Real wood face veneer, takes a clear finish beautifully, holds screws far better than MDF, and stays flat. This is the best all-around choice and what this build uses.
- Solid wood glue-up. Premium look and feel, but it moves seasonally and requires attention to grain direction and expansion. Save it for when you are ready for that complexity.
We build with hardwood plywood because it gives you a real wood surface, stays flat, and forgives beginner mistakes.
Width Sweet Spot
A standard plywood sheet is 48″ wide, so anything wider than 48″ in a single piece means you are cutting the 60″ length along the 96″ dimension of the sheet, which works fine. The practical maximum for a single-board desktop is 55″ to 60″. Go wider than that and a single sheet cannot give you the depth and width together without a glue-up or a visible seam. At 60″W by 30″D you get a generous surface from one clean cut off a standard sheet.
Tools Required
- Circular saw with a straightedge guide, or a table saw
- Household iron (for edge banding)
- Drill/driver
- 2″ hole saw
- Random orbital sander
- Clamps
- Tape measure and square
- Utility knife or edge banding trimmer
- Sandpaper: 120, 150, 220 grit
Step 1: Cut the Desktop and Riser
From your sheet of 3/4″ hardwood plywood, cut the desktop to 60″ x 30″. Use a straightedge clamped to the sheet as a guide for your circular saw, and put painter’s tape along the cut line to reduce tearout on the good face. Cut with the good face down if using a circular saw, since the blade tears on the exit side.
Next cut the riser shelf to 60″ x 12″, and the two riser supports to 4″ x 12″. Sand all pieces through 120, 150, and 220 grit. Ease every sharp edge slightly with 220 so the finish and edge banding adhere cleanly.
Step 2: Edge Banding or Edge Trim
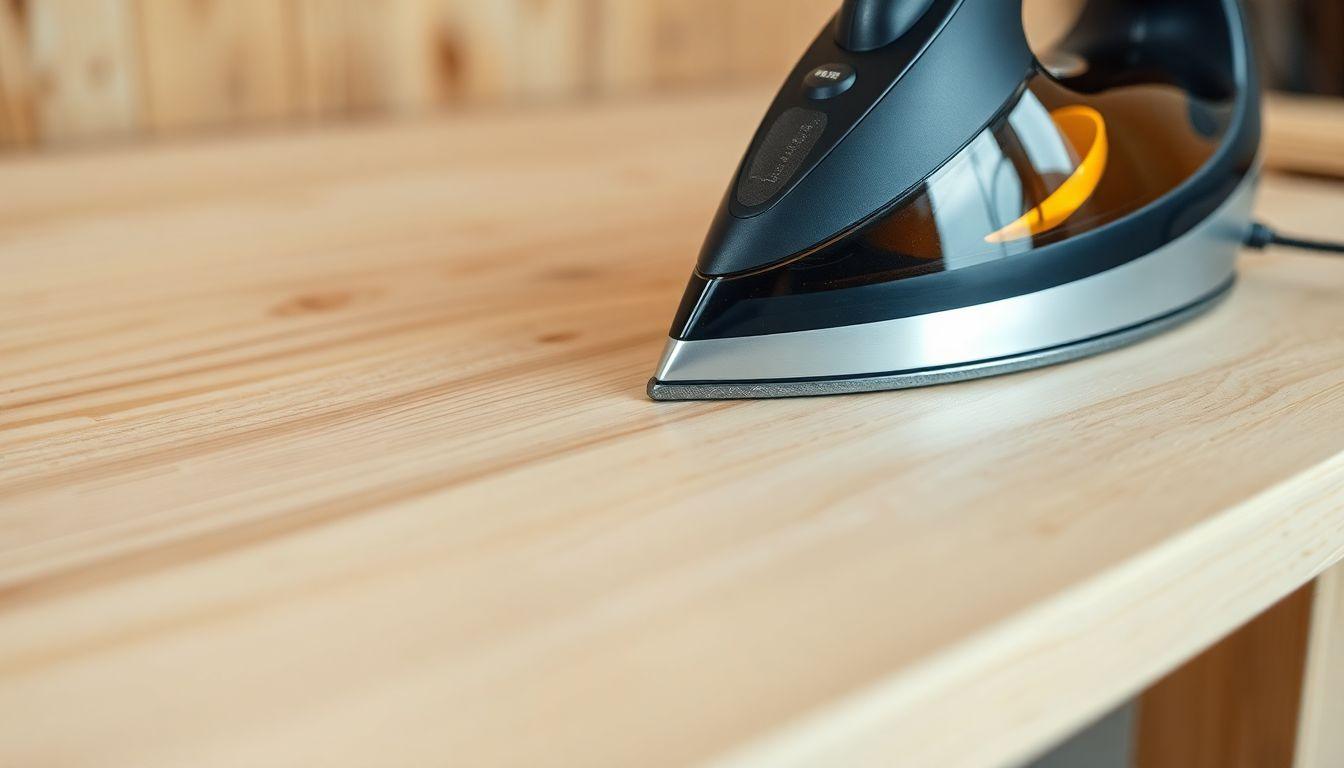
The raw plywood edges show the ply layers, which looks unfinished. Iron-on hardwood veneer banding hides them.
Cut a strip of banding slightly longer than each edge. Set your iron to medium-high, no steam. Press it along the edge for a few seconds at a time, keeping the strip centered so it overhangs both faces slightly. The heat melts the pre-applied glue. Once cool, trim the overhang flush with a dedicated edge trimmer or a sharp utility knife held flat against the face, then lightly sand the edges with 220 grit. Band all four edges of the desktop and the front edge of the riser shelf. You will use about 18 linear feet total.
Step 3: Drill Cable Management Holes
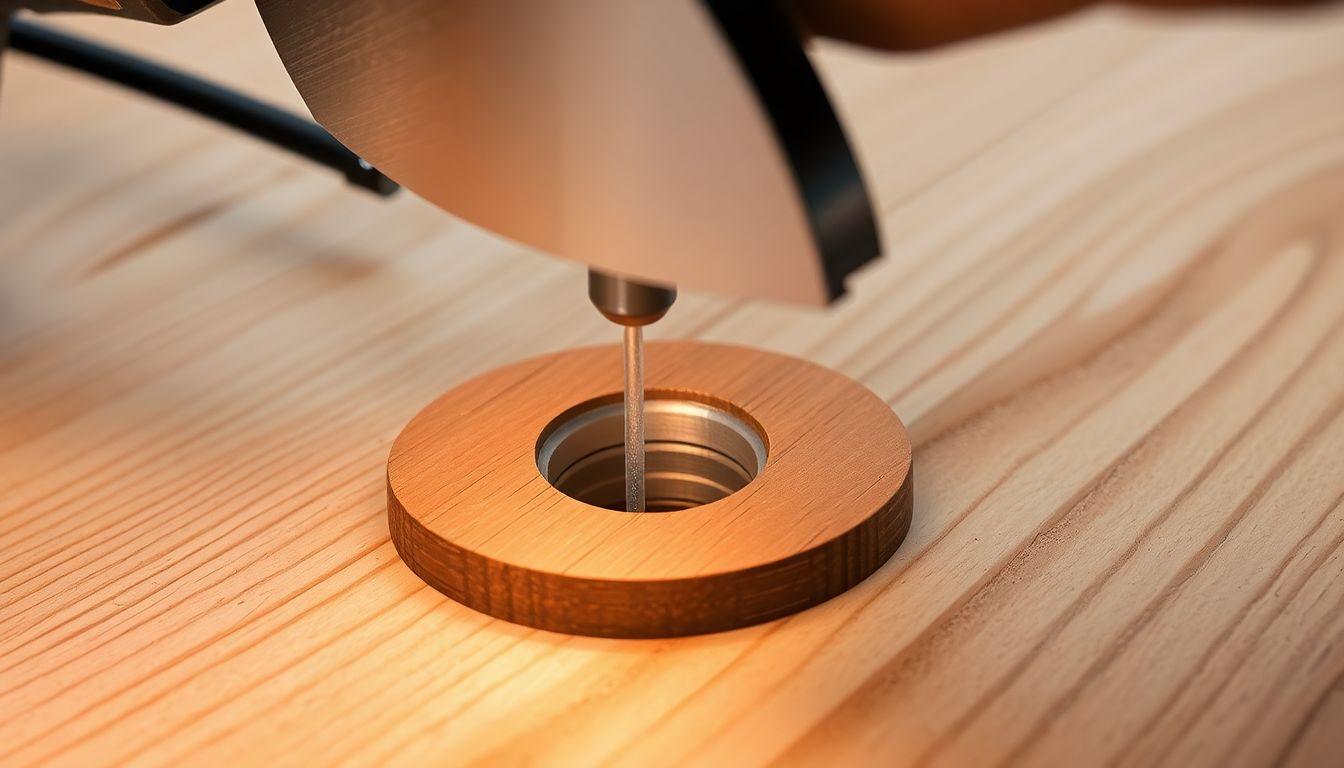
This is where a DIY desk beats a store-bought one. You control exactly where the cables go.
Mark two hole centers on the desktop, one near each rear leg, roughly 4″ in from the back edge and 6″ in from each side. Drilling near the legs keeps cables running down the leg line instead of dangling in the middle. Clamp a scrap board under the desktop where you will drill to prevent blowout on the underside.
Drill each hole with the 2″ hole saw. Go slow, let the pilot bit lead, and ease off pressure as the saw breaks through. Drop a 2″ grommet into each hole. Grommets give a clean finished edge and stop cables from chafing on raw plywood.
Step 4: Build or Attach the Legs
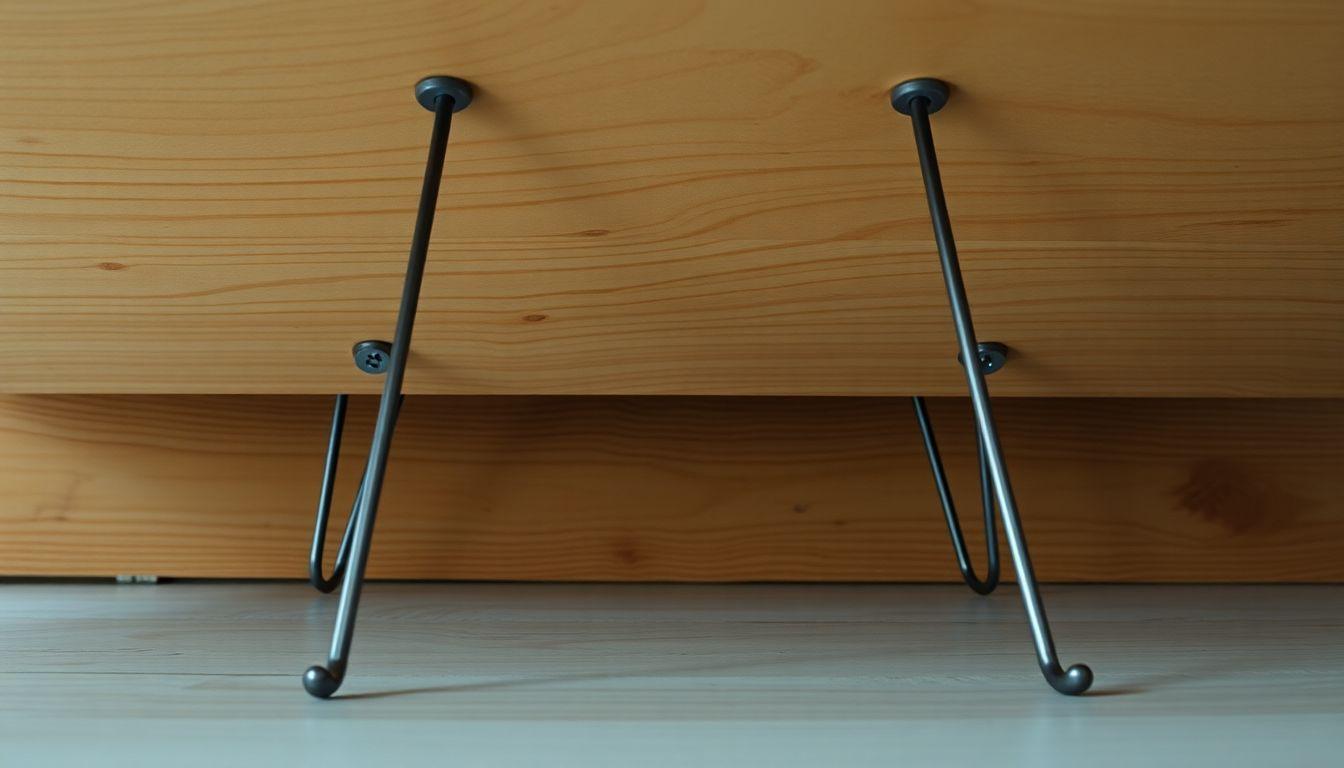
Your base choice sets the character and cost of the desk:
- Hairpin legs (used here). Fastest option, about $40 for a set of 4. They bolt straight to the underside with four screws each. Light, modern, and no joinery. The tradeoff is less lateral stability on very wide desks, though at 60″ they are fine.
- Wooden legs. 3″x3″ stock, more work to attach with cleats or aprons, but they match a wood top better and feel more substantial. Cut them to 27-1/4″ so the finished desk sits at the standard 29″ to 30″ height once you add the 3/4″ top.
- Trestle base. The most stable option and the best choice if you go wider than 60″ or want to eliminate all wobble. More material and more joinery.
For hairpin legs, flip the desktop good-face-down on a padded surface. Position each leg 2″ to 3″ in from the corners, check it is square to the edges, and drive the screws. Use 1-1/4″ screws so you do not blow through the 3/4″ top. With 28″ hairpin legs plus the 3/4″ top, the finished height lands at about 28-3/4″, right in the ergonomic range.
Step 5: Attach the Monitor Riser
The riser lifts your monitor to eye level without buying a separate stand, and it reclaims desk space underneath for a keyboard or notepad.
Stand the two 4″ x 12″ supports on edge at each end of where the riser will sit, flush with the back edge of the desktop. Set the 60″ x 12″ shelf on top of them. The supports raise the shelf 4″ off the desktop, which lifts the top of a typical monitor to roughly eye level for a seated adult. Glue and screw the supports to the desktop from underneath, then screw the shelf down into the supports from above. Keep the riser at the back so your monitor sits about 24″ from your eyes on the deep 30″ surface. Cables from a monitor on the riser drop straight to the nearest grommet hole.
Step 6: Install Cable Tray and Finish
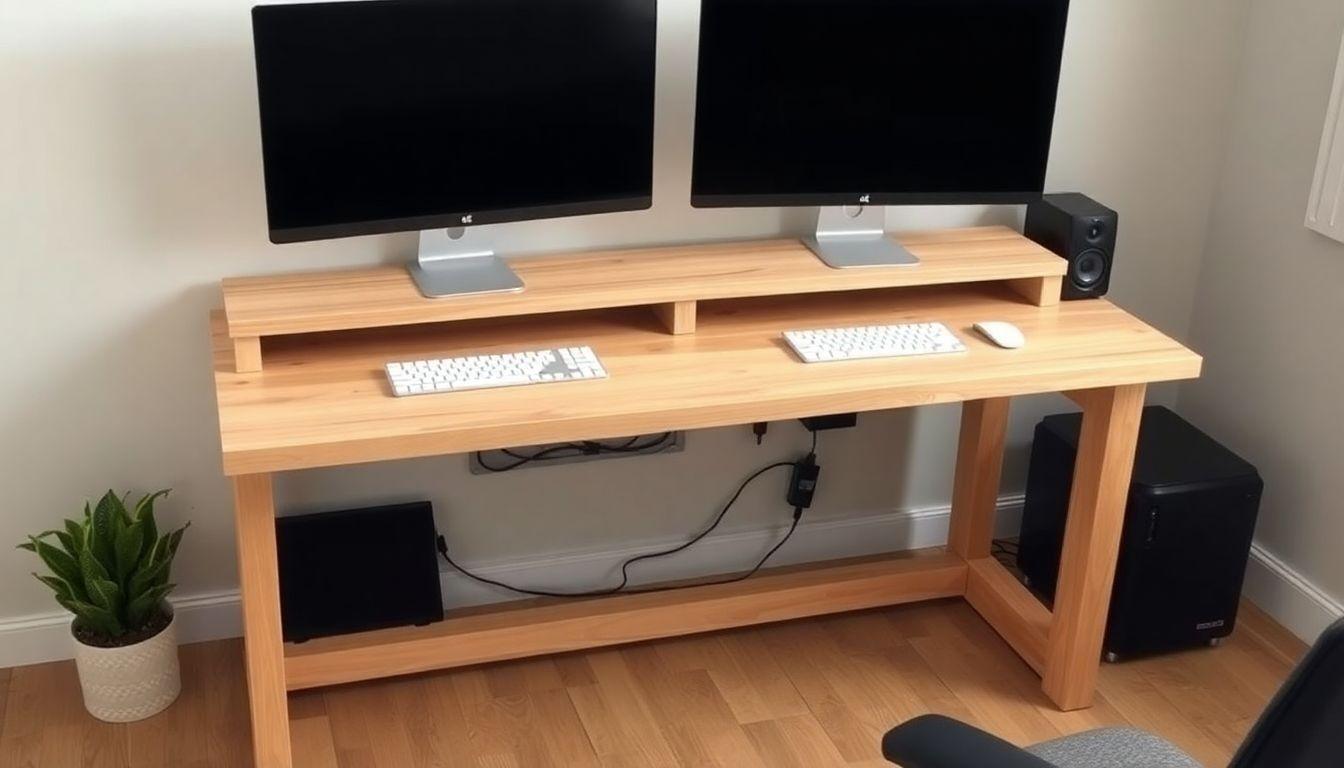
Center the steel mesh cable tray under the desktop, a few inches back from the front edge so it stays hidden from a seated view. It should sit between the two grommet holes so cables dropping through the grommets land in the tray. Screw the tray brackets up into the underside of the desktop with short screws. This holds your power strip and the slack from every cable, keeping the floor clear.
Finish the whole desk with two or three coats of wipe-on polyurethane or a hardwaxoil, sanding lightly with 220 grit between coats. Let each coat cure fully. Once dry, route your monitor and peripheral cables through the grommets into the tray, and the build is done.
Looking for more desk ideas?
This guide is part of our complete desk plans series — 6 desk types compared by skill, cost, and build time.
Want 16,000+ woodworking plans?
Ted’s Woodworking has step-by-step plans for every skill level. Browse Ted’s plans.
FAQ
How deep should a computer desk be?
Build it 30″ deep. That lets your monitor sit 24″ or more from your eyes, the ergonomic minimum, while leaving room for a keyboard. The common 24″ depth forces the monitor too close.
What is the best material for a DIY computer desk top?
3/4″ hardwood plywood is the best all-around choice. It has a real wood face, stays flat, holds screws well, and takes a clear finish. Use MDF only if you plan to paint, and save solid wood glue-ups for when you can manage seasonal movement.
How wide can I make the desktop from one sheet?
Up to about 55″ to 60″ from a single standard sheet. Wider than that requires a glue-up or a visible seam, since plywood sheets are 48″ wide and you need depth as well as width.
Are hairpin legs stable enough for a computer desk?
Yes, for a 60″ desk hairpin legs are fine. If you build wider than 60″ or want zero wobble, use a trestle base instead.
Do I really need a monitor riser?
It is optional, but integrating a simple 4″ tall riser shelf across the back raises your monitor to eye level without buying a separate stand and reclaims the space under it. It costs almost nothing since it uses offcuts from the same sheet.
How do I handle cable management on a wooden desk?
Drill a 2″ hole near each rear leg, line it with a grommet, and mount a steel mesh cable tray underneath to hold your power strip and cable slack. Place the tray between the two holes so dropped cables land in it.
Related Articles

“DIY woodworking enthusiast who started with zero experience and a YouTube tutorial.
I build simple, practical projects for my home and share free plans
so other beginners can skip the guesswork.If I can build it, you can too.”