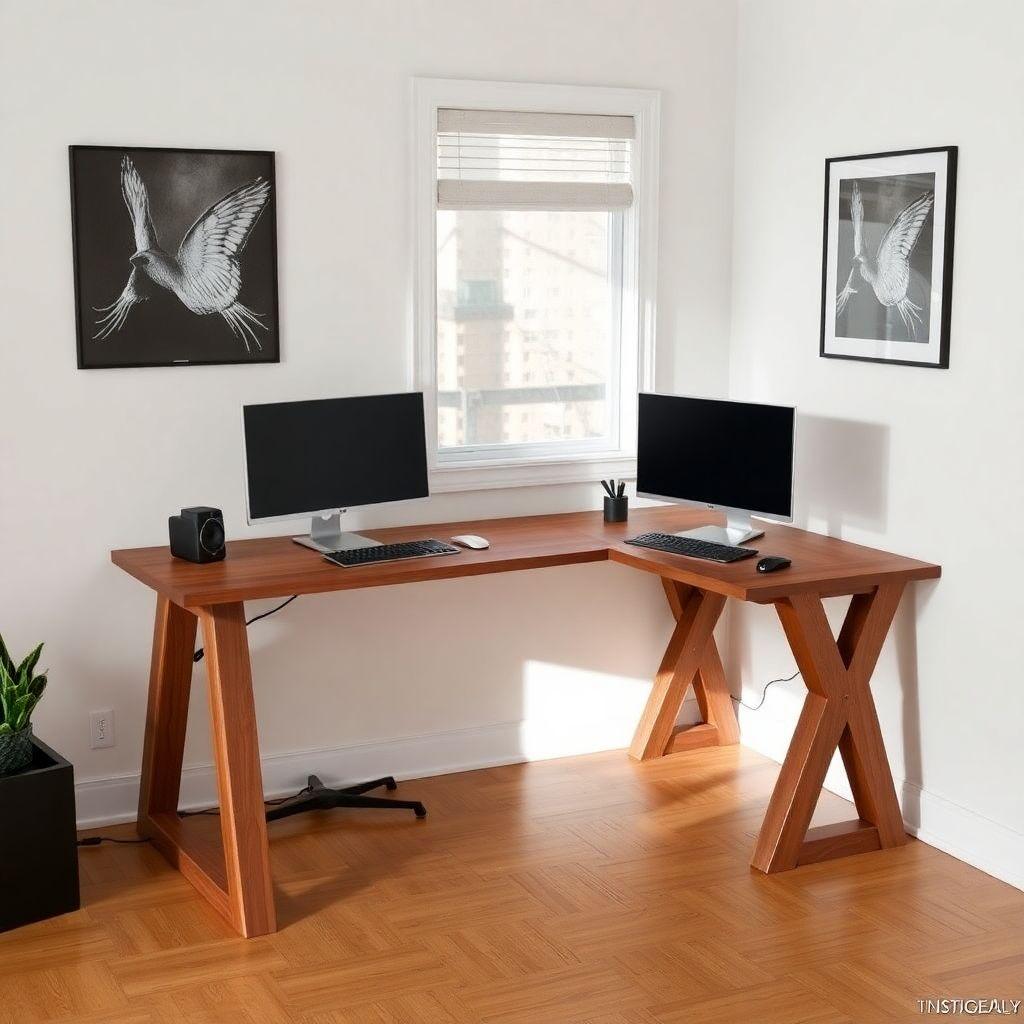
An L shaped desk turns a dead corner into the most productive spot in your home office. You get one deep surface for your monitors and a second wing for a laptop, notes, or a second display, all without buying a $600 factory unit. This guide walks through a complete DIY L desk build using two plywood panels and simple leg assemblies. Expect to spend about $150 in materials and a full weekend of work. It is an intermediate project: nothing requires exotic tools, but the corner joinery and squaring steps reward patience.
This build is part of our full desk plans series, where we compare six desk types by skill, cost, and build time. If a straight desk fits your space better, start there. If you have a corner to fill, keep reading.
Plan Your L: Asymmetric Depth Is More Useful
Looking for more desk ideas?
This guide is part of our complete desk plans series — compare all options by skill level, cost, and build time.
Want 16,000+ woodworking plans?
Ted’s Woodworking has step-by-step plans for every skill level. Browse Ted’s plans.
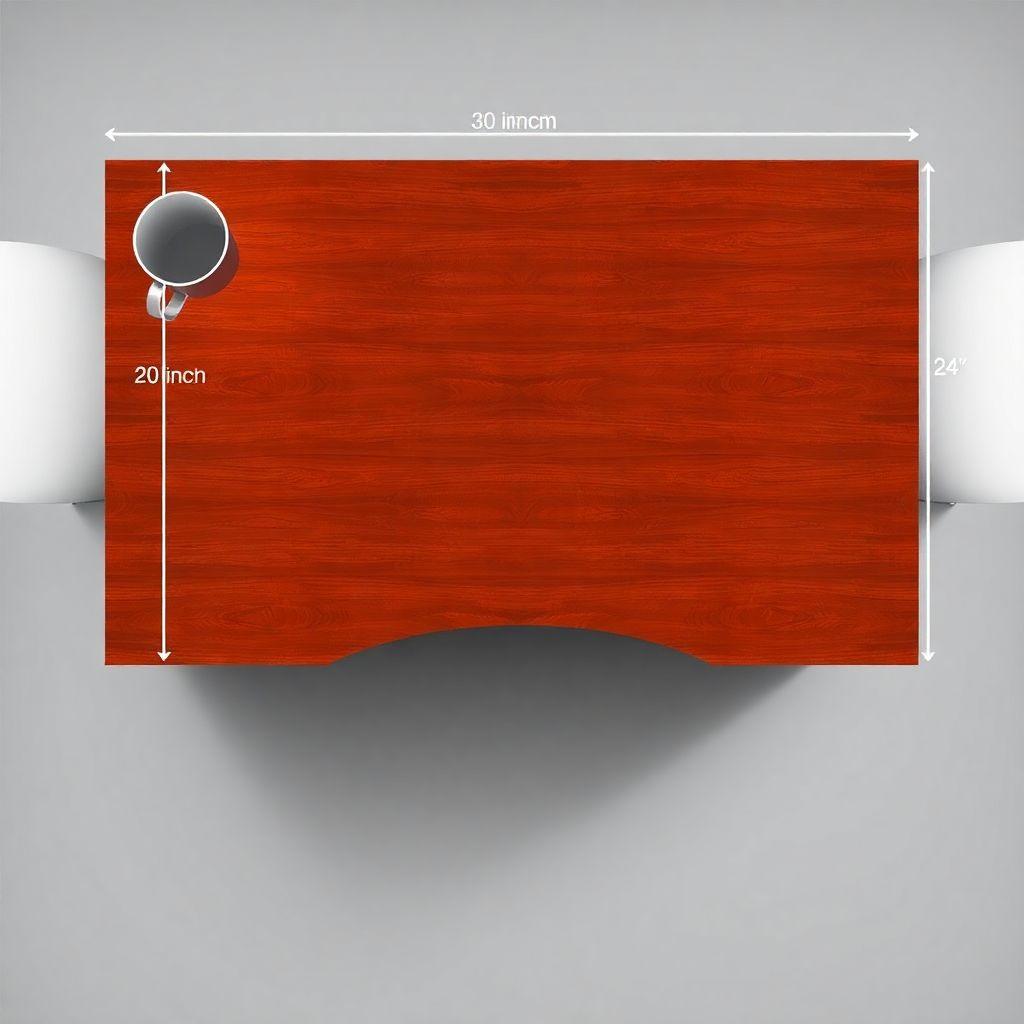
The biggest mistake in most corner desk plans is making both wings the same depth. Equal-depth Ls waste material and legroom. In practice you only need one deep surface: the main wing where your monitor sits. The return wing is for a laptop, a notebook, or a second screen, and it works fine shallower.
We build the main wing 60″ wide by 30″ deep and the return wing 48″ wide by 24″ deep. The 30″ main depth gives your monitor proper viewing distance and leaves room for a keyboard. The 24″ return keeps the desk from crowding the second wall and frees up floor space for a chair to roll between both surfaces.
Before cutting anything, measure your corner. Check that both walls are actually square to each other. Older homes often run a degree or two off, and that error shows up at the seam. If your corner is out of square, you will trim the inside corner of one panel slightly during dry fit rather than forcing the joint.
Decide your corner strategy now, because it changes your cut list. You have three ways to handle where the wings meet:
- Butt joint: the simplest. One panel edge meets the face of the other. Fast, but the joint carries no strength on its own and needs a bracket underneath.
- Miter joint: both panels cut at 45 degrees for a seamless diagonal seam. It looks clean but is genuinely hard to cut accurately across a 30″ panel. A blade that wanders even slightly leaves a gap.
- Separate corner leg: each wing ends at a shared leg in the inside corner. No long-grain joint to fail, and the leg carries the load directly to the floor.
For a DIY build we recommend the separate corner leg. It removes the hardest joinery from the project and gives you the most stable desk. The rest of this guide uses that approach.
Materials and Cut List
Everything here comes from a single sheet of 3/4″ hardwood plywood plus a few lengths of 2×2. Buy cabinet-grade plywood with a smooth face veneer if you plan to stain rather than paint.
| Part | Material | Size | Qty |
|---|---|---|---|
| Main desktop | 3/4″ hardwood plywood | 60″ x 30″ | 1 |
| Return desktop | 3/4″ hardwood plywood | 48″ x 24″ | 1 |
| Outer legs | 2×2 hardwood (or 28″ hairpin legs) | 28″ | 4 |
| Corner leg | 2×2 hardwood | 28″ | 1 |
| Corner support bracket | 3/4″ plywood, L-shaped | 6″ x 6″ | 1 |
| Edge banding | iron-on veneer | 22 linear feet | 1 roll |
| Cable grommets | plastic or metal | 2″ diameter | 2 |
You will also need 1-1/4″ and 2-1/2″ wood screws, wood glue, wood filler, and your finish of choice (stain and polyurethane, or paint and primer). A single 4×8 sheet of plywood yields both desktops with room to spare for the corner bracket.
Budget runs about $150: roughly $70 for a good plywood sheet, $25 for 2×2 hardwood, $20 for edge banding, $15 for grommets and hardware, and $20 for finish. Swapping the wooden legs for four steel hairpin legs adds around $40 but saves you the leg-building step.
Tools Required
- Circular saw with a straightedge guide, or a track saw (cleaner cuts on large panels)
- Drill/driver and a set of bits
- Kreg pocket-hole jig (optional but makes leg attachment cleaner)
- 2″ hole saw for the grommets
- Speed square and a framing square
- Long tape measure (at least 16 feet)
- Household iron for the edge banding
- Clamps, sandpaper (120 and 220 grit), and safety glasses
A track saw earns its keep on this project. Cutting a straight 60″ line freehand with a circular saw is where beginners lose accuracy. If you only have a circular saw, clamp a straightedge and cut slow.
Step 1: Cut the Desktop Panels
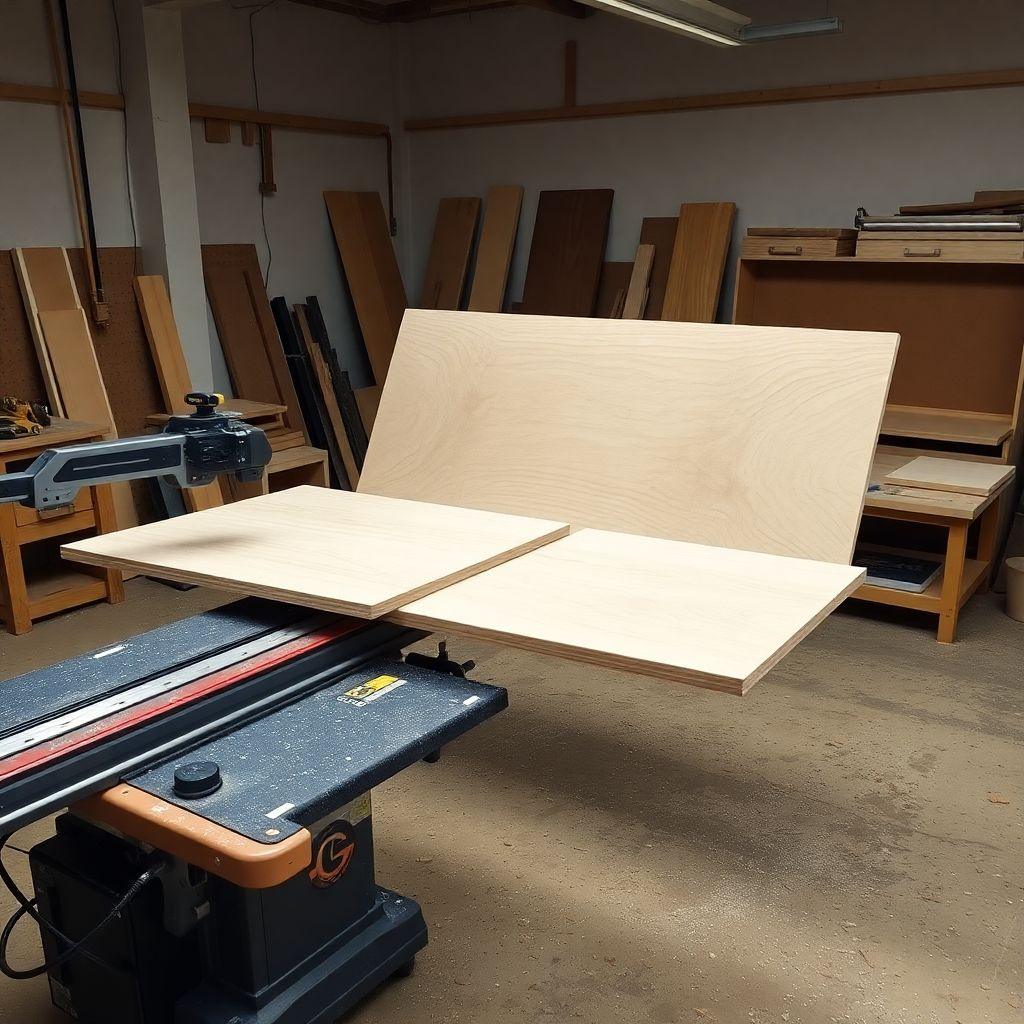
Lay your plywood sheet on sawhorses or foam insulation board on the floor. Mark the main desktop at 60″ x 30″ and the return at 48″ x 24″. Always measure twice and mark with a knife line rather than a pencil for the cleanest cut.
Cut the main panel first. Set your track or straightedge, support both sides of the cut so the offcut does not tear out at the end, and let the saw do the work. Repeat for the return panel.
Sand every cut edge to 120 grit before banding. Then apply iron-on edge banding to all exposed edges: the front and both ends of each wing, and the outer long edge. You do not need to band the two inside edges that meet at the corner, since they butt against the corner leg. Trim the banding flush with a sharp chisel or a banding trimmer, then sand to 220.
If you are using plywood, the inside corner seam where the two wings meet will show once assembled. You have two clean options: fill the seam with matching wood filler and sand it smooth, or cover it with a thin corner trim piece cut from the same stock. Filler is faster; trim hides a wider gap.
Step 2: Build the Leg Assemblies
Cut five legs from 2×2 hardwood at 28″ each. That height puts the desktop surface at 28.75″ once you account for the 3/4″ top, which is standard desk height. Adjust up or down for your chair.
For a rigid desk, do not just screw single legs to the underside. Build a simple apron frame under each wing: a rail running front-to-back and side-to-side, set back about 3″ from the edges, that the legs attach to. Join the apron rails to the legs with pocket screws or glue and screws driven through the rail into the leg.
The corner leg is shared. It sits at the inside corner of the L and receives an apron rail from both wings. Position it so both desktops rest on it. This single leg is what makes the separate-corner-leg approach so stable: the load from both wings lands on one post straight to the floor.
If you bought hairpin legs, skip the apron. Attach one hairpin at each of the four outer corners and use the wooden corner leg only at the inside corner.
Step 3: Join the Two Wings at the Corner
Set both desktops upside down on a padded surface, arranged in their final L. The two inside edges should meet at the corner where the shared leg will sit.
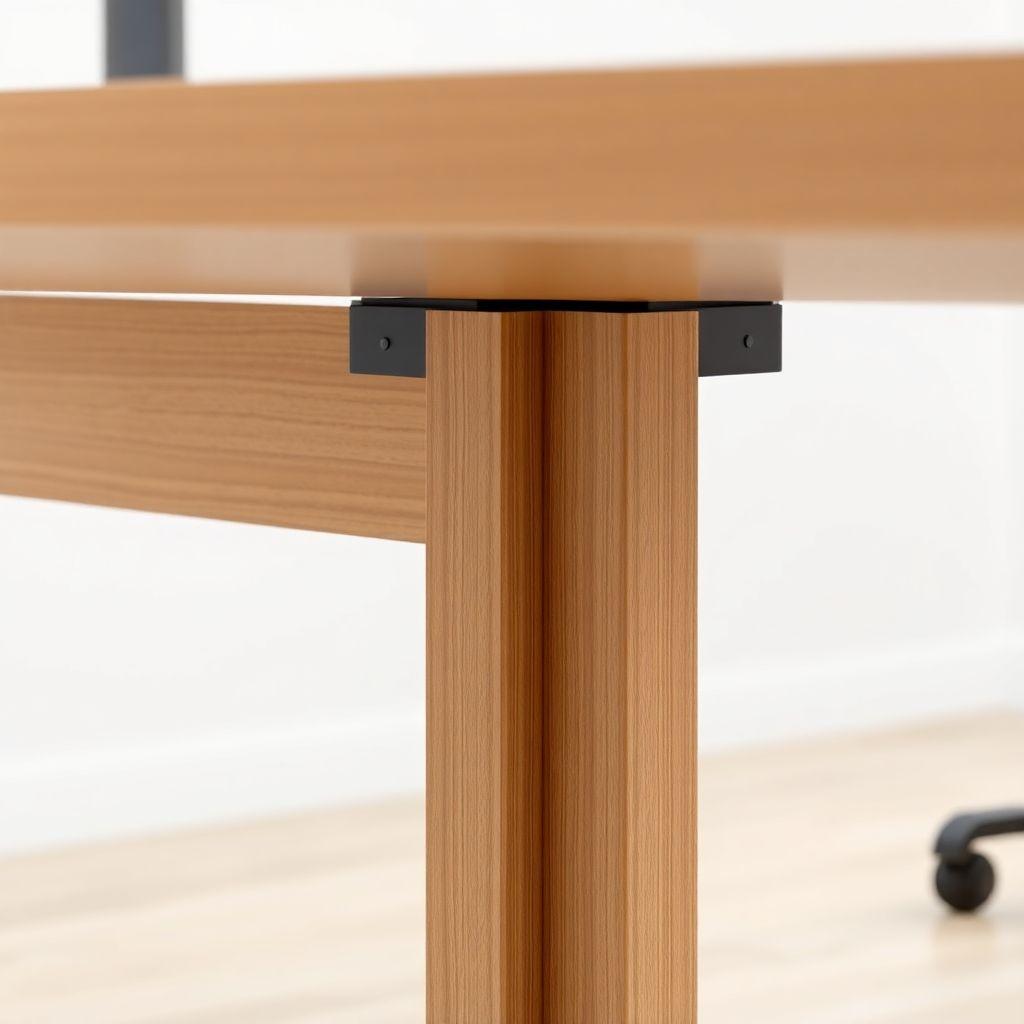
Position the 6″ x 6″ L-shaped plywood bracket across the underside seam where the wings meet. Glue it and drive 1-1/4″ screws up through the bracket into both panels, keeping screws short enough not to poke through the top. This bracket ties the two surfaces together and, combined with the corner leg directly below, carries the joint load.
Now attach the corner leg so it sits directly under the bracket. Both apron rails and the bracket should tie into this leg. When you flip the desk upright, the corner should feel solid with no flex between the wings.
Wall-mounting one wing for more legroom
If one wing runs along a wall, you can eliminate the corner leg entirely. Mount a French cleat to the wall studs at desk height and hang the back edge of that wing on it, then support the front with two legs. The cleat carries the back load, the two front legs carry the front, and you gain open legroom under the corner with nothing to knock your knees on.
The freestanding version with a corner leg is more forgiving and works anywhere. The French cleat version needs solid studs and a level mount, but gives the cleanest, most open result. Choose based on whether your corner has a usable wall.
Step 4: Square and Brace
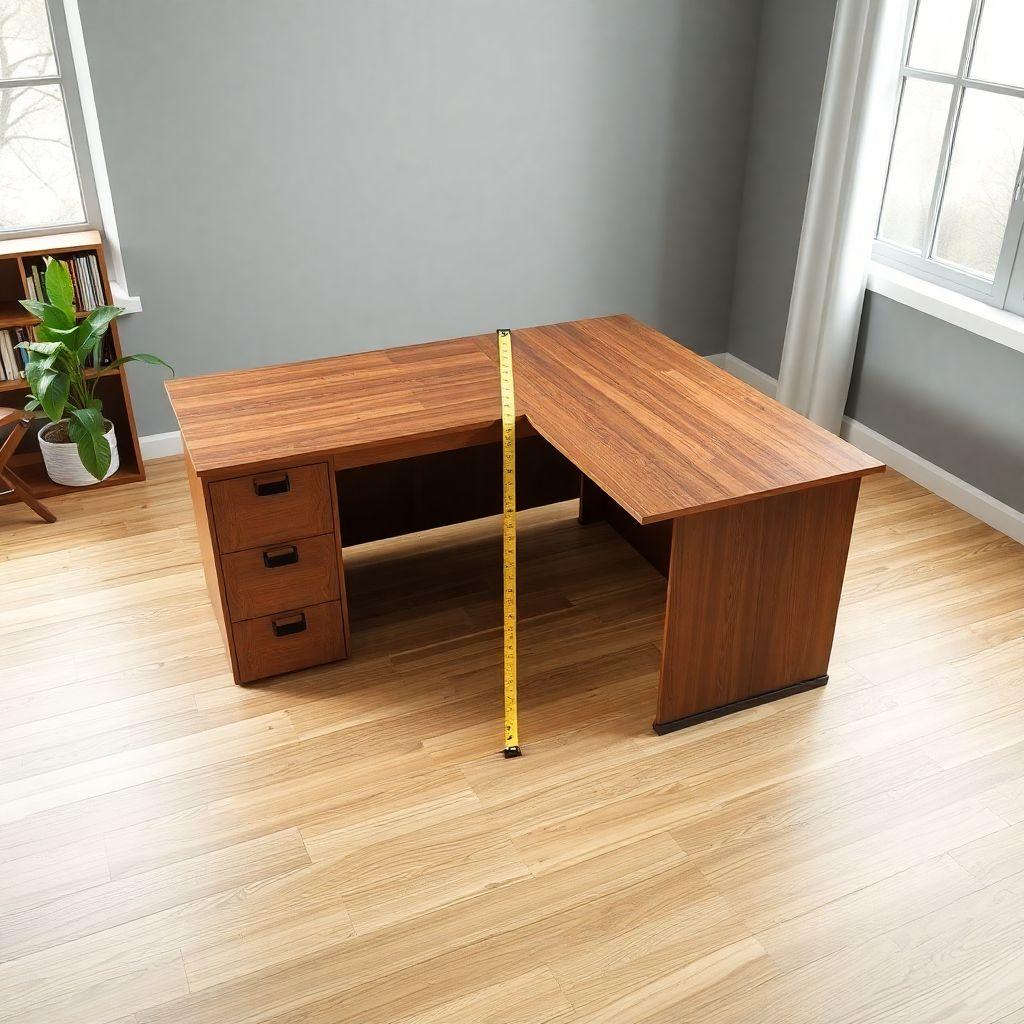
This is the step most tutorials skip, and it is the one that matters most. Each wing might be a perfect rectangle on its own, but the L as a whole can still rack out of square. A small error at the corner multiplies across five feet of desk.
Stand the desk upright in position. Measure diagonally across the entire L shape, corner to opposite corner, not just across each wing. Compare the two long diagonals. When they match, the L is square. If they differ, gently push the far ends of the wings until the diagonals equalize, then lock it in.
Once square, add corner bracing to hold it there. A diagonal brace or a metal L-bracket at the underside of the inside corner, plus the apron frames you already built, keeps the whole assembly from racking over time. Recheck your diagonals after every fastener you drive; it is easy to nudge the desk out of square while working under it.
Step 5: Add Grommets and Finish
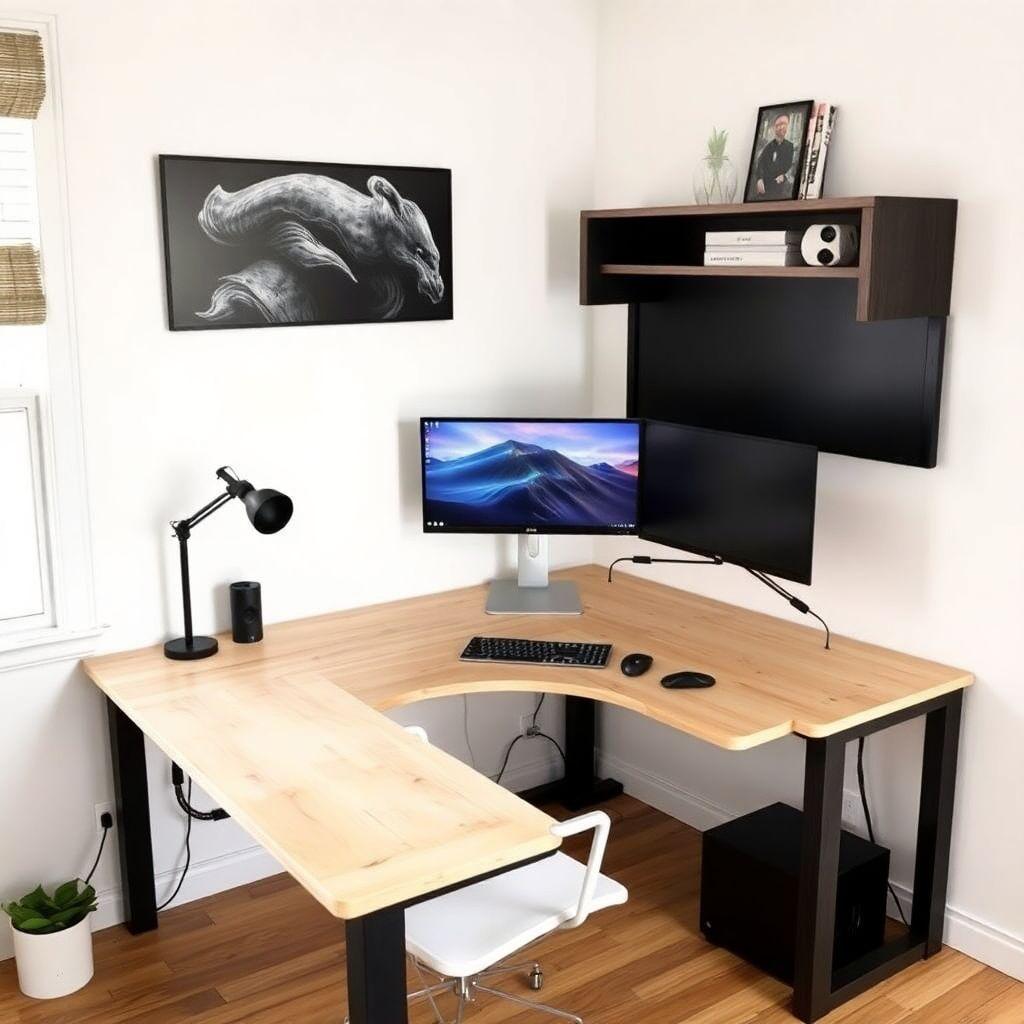
Drill one 2″ grommet hole per wing. Position each hole 8″ to 10″ from the inside corner, which is exactly where cables from both wings naturally collect. Set the hole back a few inches from the rear edge so the grommet sits behind your monitors, not in your working area. Drill with the 2″ hole saw, sand the rim, and press in the grommets.
Now finish the desk. Sand everything to 220 grit and wipe clean. For a stained look, apply stain, let it dry, then two or three coats of polyurethane, sanding lightly between coats. For paint, prime first, then two topcoats. A desk gets daily wear from arms, mugs, and keyboards, so do not skip the protective topcoat.
Let the finish cure fully before loading it up. Then route your cables down through the grommets, mount your monitors, and the corner that was wasted space is now your command center.
Looking for more desk ideas?
This guide is part of our complete desk plans series — 6 desk types compared by skill, cost, and build time.
Want 16,000+ woodworking plans?
Ted’s Woodworking has step-by-step plans for every skill level. Browse Ted’s plans.
FAQ
How much does it cost to build an L shaped desk?
About $150 in materials: one sheet of 3/4″ hardwood plywood, 2×2 hardwood for legs, edge banding, grommets, and finish. Swapping in steel hairpin legs adds roughly $40 but removes the leg-building step. A comparable factory L desk runs $400 to $600.
What is the best corner joint for a DIY L desk?
A shared corner leg. Instead of joining the two panels with a butt or miter joint, each wing ends at a single leg in the inside corner. It removes the hardest joinery, and the leg carries the load straight to the floor. Miter joints look cleaner but are hard to cut accurately across a 30″ panel.
How deep should each wing of the desk be?
Make them asymmetric. The main wing 30″ deep for proper monitor distance, the return wing 20″ to 24″ deep for a laptop or notes. Equal-depth Ls waste material and crowd the second wall.
How do I make sure the L is square?
After assembling both wings, measure diagonally across the entire L shape, corner to opposite corner, not just across each individual wing. When the two long diagonals match, the desk is square. Adjust the wing ends until they equalize, then brace it.
Can I mount an L desk to the wall instead of using a corner leg?
Yes. If one wing runs along a wall, hang its back edge on a French cleat anchored to the studs and support the front with two legs. This removes the corner leg and opens up legroom, but it requires solid studs and a level mount.
Where should I put the cable grommets?
One per wing, 8″ to 10″ from the inside corner where cables from both surfaces naturally gather. Set them back toward the rear edge so they sit behind your monitors rather than in your working space.
Related Articles

“DIY woodworking enthusiast who started with zero experience and a YouTube tutorial.
I build simple, practical projects for my home and share free plans
so other beginners can skip the guesswork.If I can build it, you can too.”