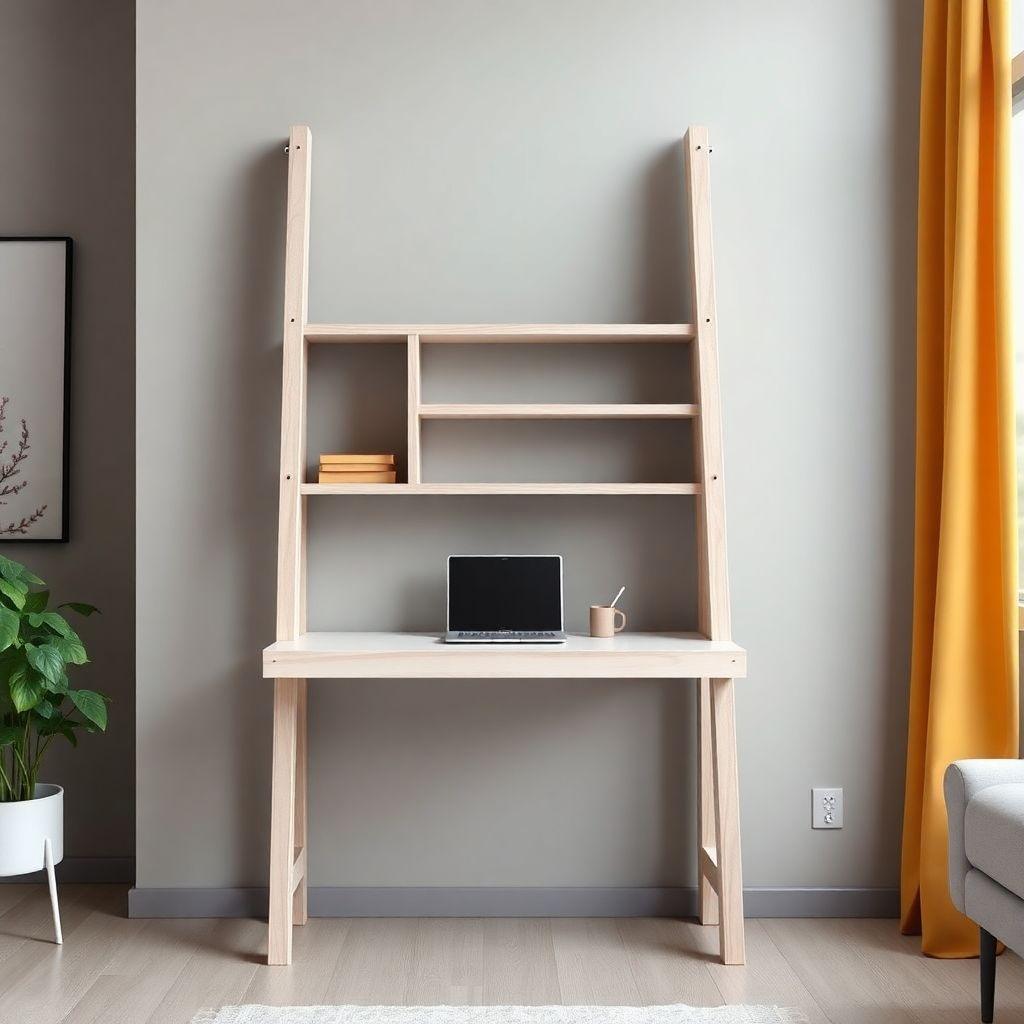
A ladder desk leans against the wall instead of standing on four legs, which makes it a smart pick for a small apartment or a tight corner. This guide gives you full ladder desk plans for a 72-inch tall, 36-inch wide unit with four shelves and a built-in desktop surface, all from pine. Expect to spend about $60 in materials and a weekend of build time. Basic tools and beginner skills are enough. This build is part of our full desk plans series if you want to compare it against other desk styles first.
The result is a leaning desk that holds a monitor, gives you shelf storage above the work surface, and takes up almost no floor space. Below you get the lean-angle math, a complete cut list, and step-by-step instructions.
How a Ladder Desk Stays Upright
Looking for more desk ideas?
This guide is part of our complete desk plans series — compare all options by skill level, cost, and build time.
Want 16,000+ woodworking plans?
Ted’s Woodworking has step-by-step plans for every skill level. Browse Ted’s plans.

A ladder desk works because it leans. Two tall uprights rest against the wall at an angle, and a perpendicular base keeps the feet from sliding out. Get the angle and the weight right and the desk is rock solid. Get them wrong and it either tips forward or looks like it is falling over.
The sweet spot is 15 to 20 degrees from vertical, with 18 degrees being the target for this build. Less than 15 and the desk feels tippy and wants to pull away from the wall. More than 20 and it looks awkward and eats floor space.
To find how far the feet sit out from the wall, use the base offset formula: offset = tan(angle) times height. For an 18-degree lean on a 72-inch upright, that is tan(18) times 72, which is 0.325 times 72, or about 23 inches. So the bottom of the feet sits roughly 23 inches out from the wall at full height. You do not need to measure this precisely during assembly. The perpendicular base pieces set the angle for you, but it helps to know why the desk sits where it does.
Two things keep it from tipping forward. First, load the bottom shelf. Books, a monitor base, or anything heavy on the lowest shelf lowers the center of gravity and anchors the desk. Second, add rubber feet to the base and put one screw through the top of an upright into a wall stud. That anchor screw hides behind the desk and stops any chance of walk-out. On carpet or with kids around, use both.
Materials and Cut List
This cut list is for a 72-inch tall by 36-inch wide ladder desk with four shelves, built from pine. Substitute 3/4-inch plywood for the shelves if you want a more stable, warp-resistant surface.
| Part | Material | Dimensions | Qty |
|---|---|---|---|
| Uprights | 1×6 pine | 72″ long | 2 |
| Shelves | 1×10 pine (or 3/4″ plywood ripped to 9-1/4″) | 35″ long | 4 |
| Base feet | 1×6 pine | 18″ long | 2 |
Use 1×6 for the uprights, not 1×4. A 1×4 is only 3-1/2 inches wide (actual), which looks too thin on a 72-inch tall desk and flexes under a monitor. The 1×6 at 5-1/2 inches actual gives you rigidity and a better look.
Note the shelves are cut to 35 inches, one inch short of the 36-inch overall width. That inch accounts for the dado depth on each side, so the shelf seats fully into both uprights.
Additional materials:
- Wood glue
- 1-1/4″ wood screws (for base and anchor points)
- 4 rubber feet
- 1 wood screw plus wall anchor or stud screw for the top
- Primer and paint (or stain and poly)
- 120 and 220 grit sandpaper
Total material cost runs about $60 with pine and standard paint.
Tools Required
- Circular saw or miter saw (to cut boards to length)
- Router with a straight bit, or a table saw with a dado stack (to cut the dados)
- Drill and driver
- Tape measure and pencil
- Square
- Clamps
- Sander or sanding block
A router is the cleanest way to cut the shelf dados. If you do not have one, pocket screws are a fallback, covered below.
Step 1: Cut the Uprights and Mark Shelf Positions
Cut both 1×6 uprights to 72 inches. Cut the two base feet to 18 inches from the remaining 1×6.
Lay the two uprights side by side, edges flush, so your shelf marks line up across both. Mark shelf positions from the top down. Shelf spacing is what makes a ladder desk usable, so follow these heights:
- Top shelf: 16 to 18 inches from the top. This holds a monitor riser, a lamp, or a light. Keep it high and clear.
- Middle shelves: 12 inches of clear space between them for books and binders.
- Bottom shelf (desktop): set so the top of this shelf sits 29 to 30 inches from the floor once the desk is leaning. That is standard desk height. Because the desk leans, mark this a little higher along the upright than 30 inches, since the angle drops the effective height.
Mark the top and bottom edge of each shelf position on both uprights so your dados land square and even.
Step 2: Cut the Dados
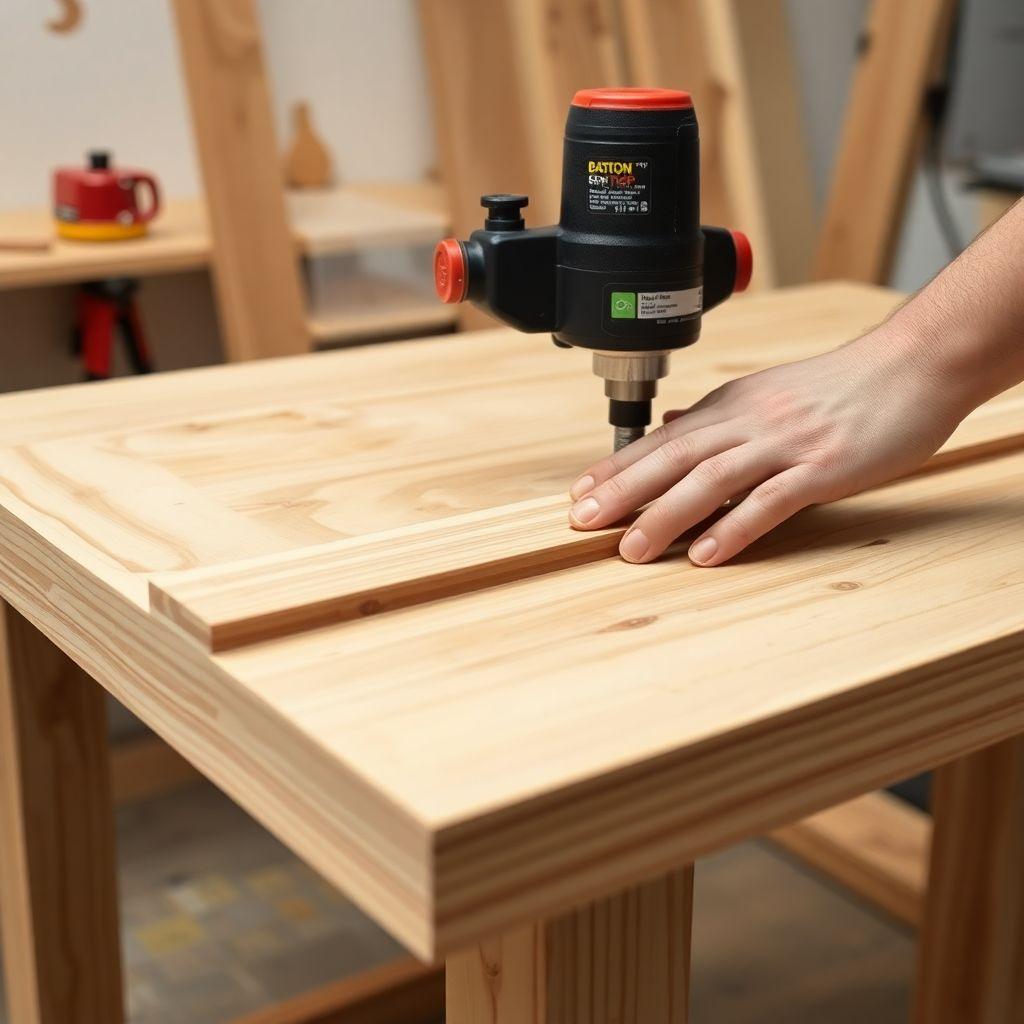
A dado is a flat-bottomed groove cut across the upright that the shelf slides into. This is the joint that carries the load. A dado holds a shelf under a heavy monitor because the weight pushes down into solid wood on both sides of the groove. Pocket screws alone will hold at first, but under a heavy load they creep and loosen over time. Cut dados if you can.
Set your router or dado stack to cut 3/8 inch deep and exactly as wide as your shelf thickness (3/4 inch for standard 1×10 or plywood). Clamp a straight edge as a guide and run each groove across the inside face of both uprights at your marked positions. Test the depth on a scrap first.
If you have to use pocket screws instead, drill two pocket holes at each end of every shelf and plan to add a small cleat under the heavier shelves for support.
Step 3: Cut and Fit the Shelves
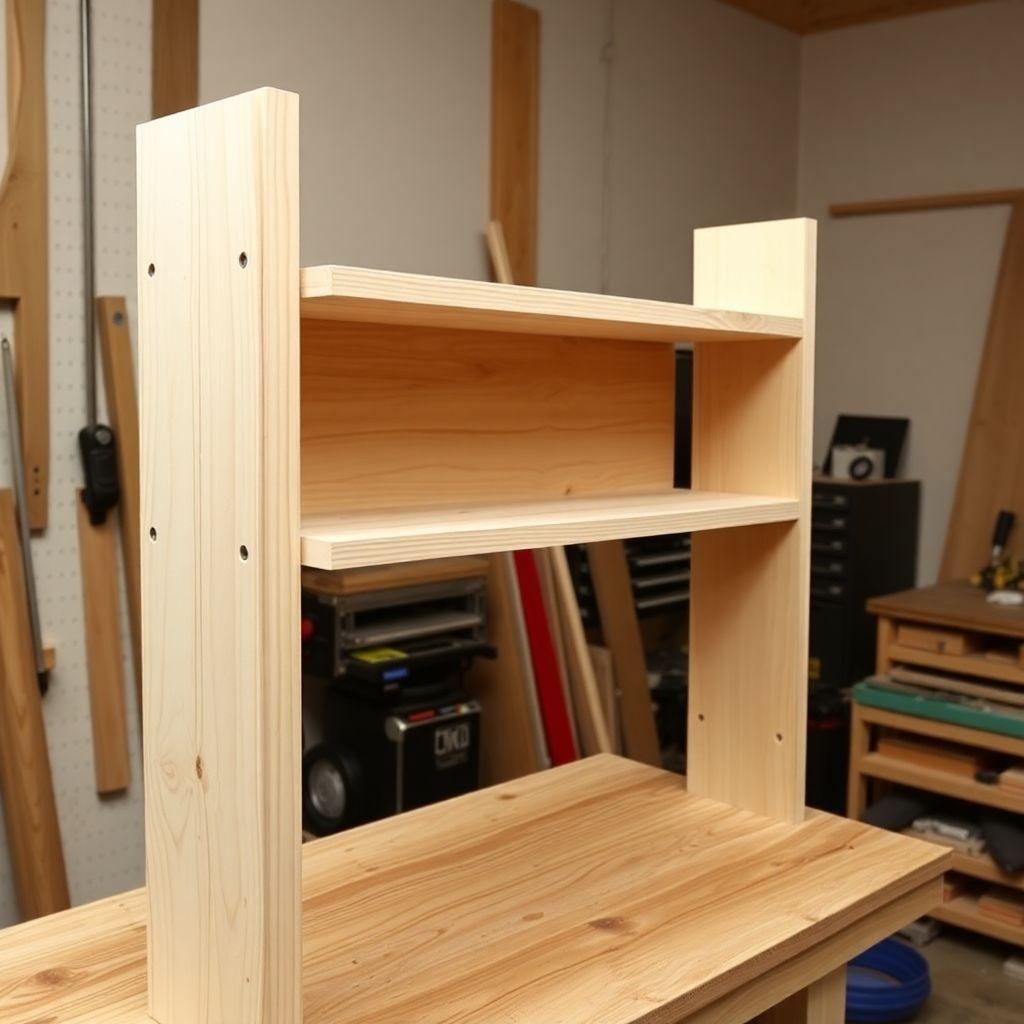
Cut all four shelves to 35 inches. If you are using 1×10 pine, the 9-1/4 inch depth is ready to go. If you are using plywood, rip it to 9-1/4 inches wide first, then cut to 35 inches long.
Dry fit each shelf into its dados before any glue or finish. The shelf should slide in snug with light hand pressure. If it is too tight, sand the shelf ends slightly. If it is loose, you can shim with a thin strip of veneer later. A good fit now saves you from gaps and wobble after assembly.
Sand all parts to 120 then 220 grit while everything is still loose and easy to reach. Knock down every edge.
Step 4: Finish Before Assembly
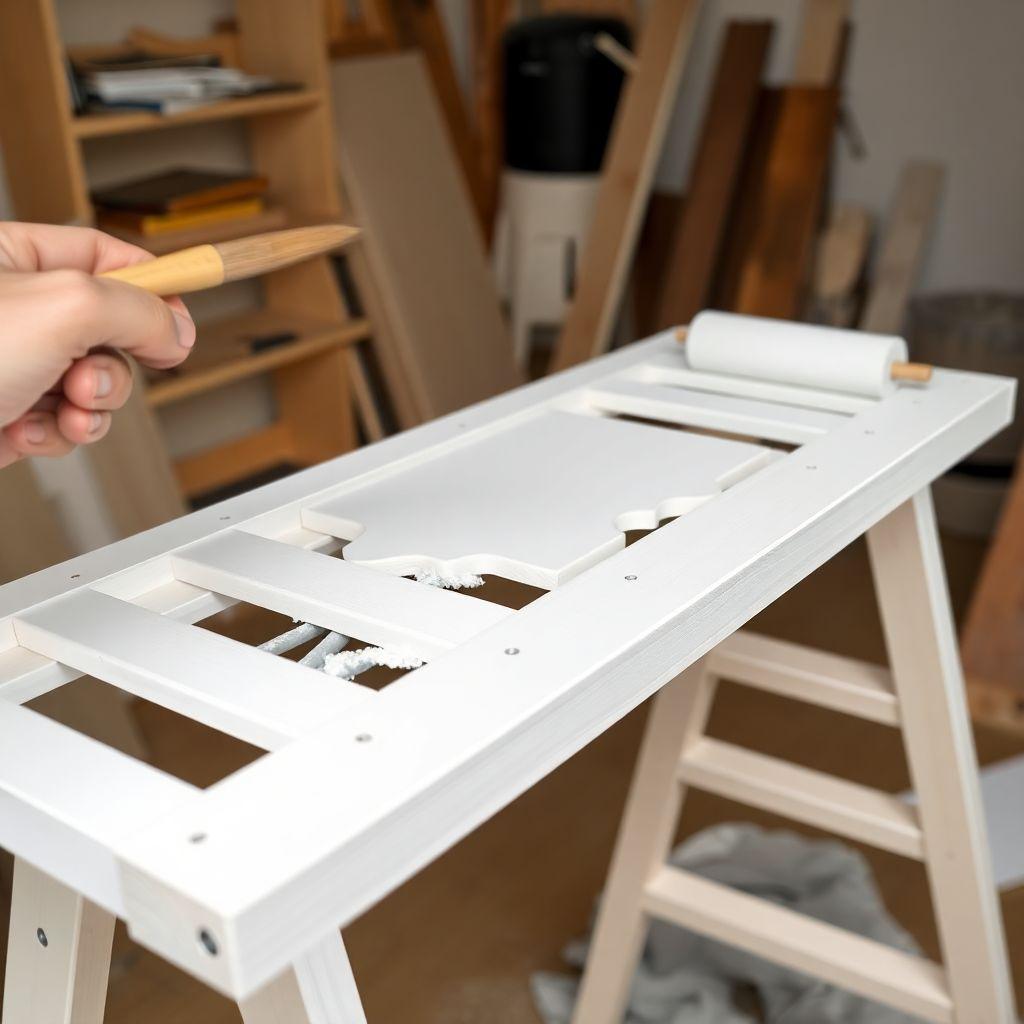
Finish every part before you assemble the desk. This is the step most people skip and regret. If you paint or stain after assembly, you get brush marks and thin coverage in the tight inside corners where shelves meet uprights, and you cannot reach inside the dado grooves at all.
Prime and paint the uprights, shelves, and base feet separately while they lie flat. Coat the inside of each dado groove too, but keep the finish thin there so the shelf still seats. Let everything cure fully. Two thin coats beat one thick coat every time.
If you are staining instead of painting, the same rule holds. Stain and seal each piece flat, then assemble.
Step 5: Assemble the Desk
Once the finish is dry, assemble on a flat floor.
- Run a thin bead of glue into each dado groove. Do not flood it.
- Slide the shelves into one upright, then fit the second upright onto the other ends of all four shelves at once. A helper makes this easier.
- Square the assembly with your square and check that both uprights are parallel.
- Drive one 1-1/4 inch screw through the outside of each upright into each shelf end for mechanical strength on top of the glue. Countersink and fill if you want them hidden.
- Attach the two 18-inch base feet perpendicular under the bottom of the uprights, one under each foot, forming a T. Glue and screw them. These feet set the lean angle and stop the desk sliding out.
Clamp anything that needs it and let the glue cure before standing the desk up.
Step 6: Position and Secure
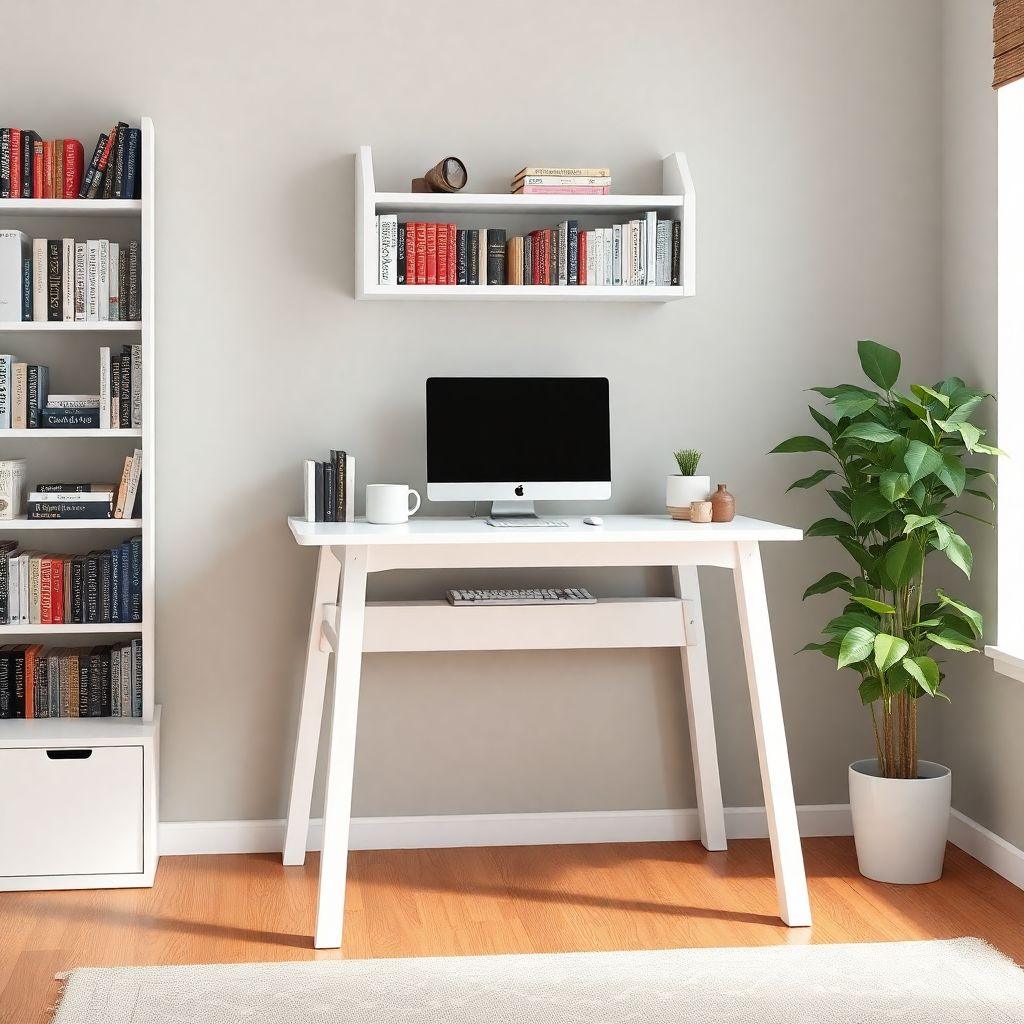
Stand the desk up and lean it against the wall. Check the angle by eye against the 18-degree target and confirm the desktop shelf sits at 29 to 30 inches.
Stick a rubber foot under each corner of the base to stop sliding and protect the floor. Then drive one screw through the top of one upright into a wall stud, or into a drywall anchor if no stud is in reach. This single hidden screw is your tip-over insurance and it disappears behind the desk.
Finally, load the bottom shelf with something heavy. Books, a monitor, a printer. The weight down low is what keeps a leaning desk planted. Now it is ready to use.
Looking for more desk ideas?
This guide is part of our complete desk plans series — 6 desk types compared by skill, cost, and build time.
Want 16,000+ woodworking plans?
Ted’s Woodworking has step-by-step plans for every skill level. Browse Ted’s plans.
FAQ
How much weight can a ladder desk hold?
With dado joints and 1×6 uprights, each shelf easily holds a monitor plus books, roughly 20 to 30 pounds per shelf. The desktop shelf handles a full workstation. Pocket-screw joints hold less over time, which is why dados are recommended for the loaded shelves.
Do I have to anchor it to the wall?
Not strictly, if you load the bottom shelf and use rubber feet. But one hidden screw into a stud at the top removes any tip-over risk and takes two minutes. On carpet or in a home with kids or pets, anchor it.
What lean angle should I use?
Aim for 18 degrees from vertical, anywhere in the 15 to 20 degree range works. Less than 15 feels tippy, more than 20 looks off and takes up more floor. The perpendicular base feet set this angle for you.
Can I use 1×4 boards instead of 1×6 for the uprights?
You can, but do not. A 1×4 is only 3-1/2 inches wide and looks flimsy on a 72-inch desk, plus it flexes under a monitor. The 1×6 gives you the rigidity and proportion a tall ladder desk needs.
Why finish the parts before assembly?
Painting or staining after assembly leaves brush marks and thin spots in the tight corners where shelves meet uprights, and you cannot coat the inside of the dado grooves at all. Finishing flat parts gives a clean, even result.
Can I make it taller or wider?
Yes. Keep the uprights as 1×6 or step up to 1×8 if you go past 72 inches, and recalculate the base offset with tan(angle) times height so the feet sit far enough out. Do not exceed about 40 inches wide with a single mid-span shelf or the shelves will sag; add a center support if you go wider.
Related Articles

“DIY woodworking enthusiast who started with zero experience and a YouTube tutorial.
I build simple, practical projects for my home and share free plans
so other beginners can skip the guesswork.If I can build it, you can too.”