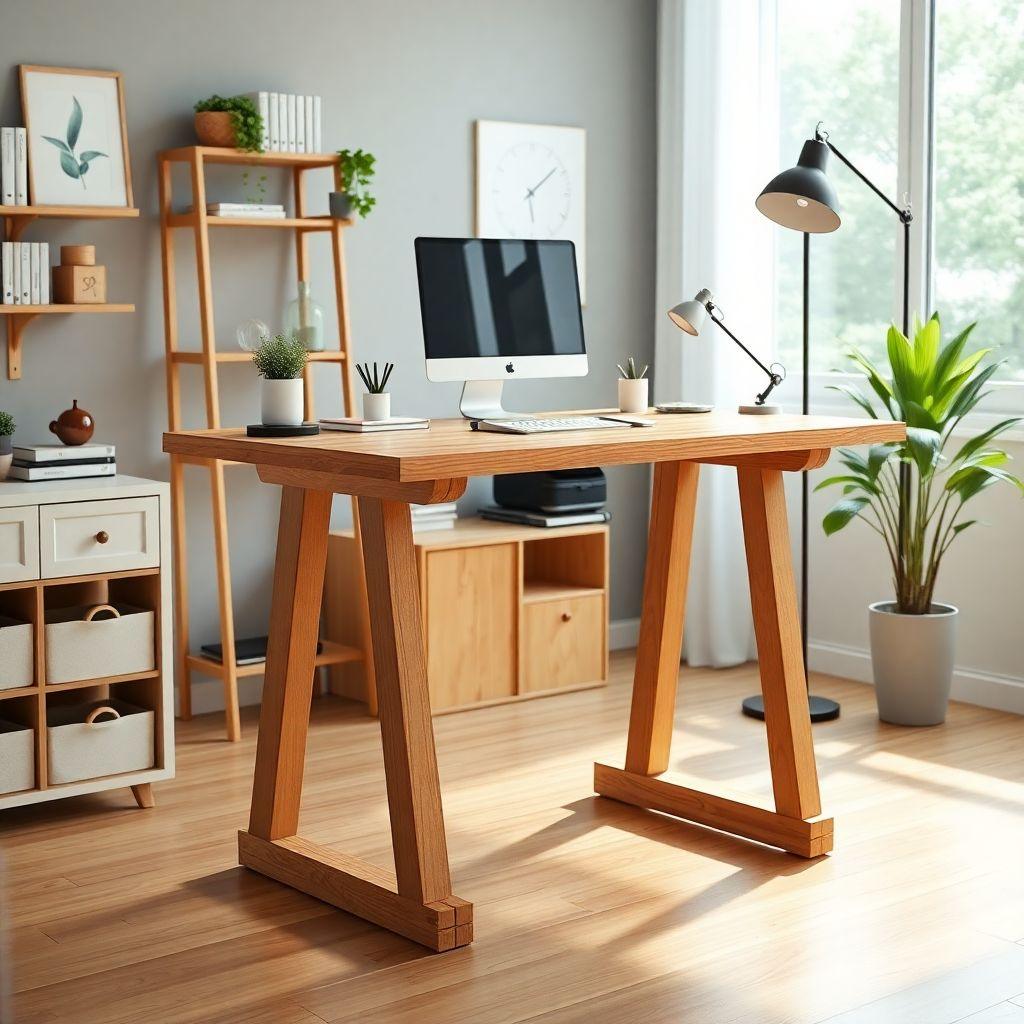
A motorized standing desk runs $400 to $800. This one costs about $120 in lumber and hardware, takes a weekend, and does the same job for anyone who does not need to switch between sitting and standing every twenty minutes. You will build a U-frame standing desk that measures 48″ wide, 30″ deep, and 42″ tall, with a hardwood plywood top and threaded leveling feet so it sits dead flat on any floor.
This guide is part of our desk plans series. If you want a sitting desk or a compact writing table instead, start there and compare build times first. If a fixed-height standing desk is what you want, keep reading.
The build is intermediate level. If you can drill a pocket hole and drive a screw straight, you can do this.
Find Your Ideal Standing Desk Height
Looking for more desk ideas?
This guide is part of our complete desk plans series — compare all options by skill level, cost, and build time.
Want 16,000+ woodworking plans?
Ted’s Woodworking has step-by-step plans for every skill level. Browse Ted’s plans.

The single most common standing desk mistake is building it too tall. A desk that forces you to shrug your shoulders will wreck your neck faster than sitting ever did.
Here is the formula. Stand up straight in the shoes you actually wear at your desk. Bend your elbows to 90 degrees, forearms parallel to the floor. Measure from the floor to the bottom of your elbow. That is your elbow height. Your ideal desk surface sits 2 to 4 inches below that number.
For a 5’10” person, elbow height is usually around 44 to 46 inches, which puts the desktop near 42 inches. That is why this plan is built to 42″. Measure yourself before you cut anything. If your number comes out different, adjust the leg length up or down by the same amount.
The anti-fatigue mat trap. If you stand on a 3/4″ anti-fatigue mat, that mat raises you 3/4″ relative to the desk. A desk built to your exact floor measurement will now be 3/4″ too high. Subtract the mat thickness from your leg length. Build for how you will actually stand, mat included.
To find your leg length: take your target surface height and subtract the desktop thickness (3/4″ plywood plus any edge banding is effectively 3/4″) and subtract the leveling foot travel you plan to leave (about 1/2″). For a 42″ surface that gives roughly 40-3/4″ legs, which is what the cut list below uses.
Materials and Cut List
This is a U-frame design: two end frames joined by two horizontal stretchers, with the desktop screwed on from below. It is the sweet spot between the rock-solid 4-leg trestle and the space-saving wall-mounted cantilever (more on those three options in Step 1).
Built dimensions: 48″W x 30″D x 42″H. Frame is construction pine; top is hardwood plywood.
| Part | Material | Dimensions | Qty |
|---|---|---|---|
| Desktop | 3/4″ hardwood plywood | 48″ x 30″ | 1 |
| Frame legs | 2×4 pine | 40-3/4″ | 4 |
| End frame rails (top + bottom) | 2×4 pine | 27″ | 4 |
| Stretchers (join end frames) | 2×4 pine | 44-1/2″ | 2 |
| Leveling feet | Threaded insert + bolt style | – | 4 |
| Edge banding | Iron-on, matching plywood | 12 linear feet | – |
Also grab: 2-1/2″ pocket screws, 1-1/4″ wood screws for the desktop, wood glue, and 220-grit sandpaper. Finish of your choice (a wipe-on poly holds up best, see Step 5).
On the desktop material. Use hardwood plywood or solid hardwood. Do not use MDF. A standing desk takes more abuse than a sitting desk: you lean on it, set tools and mugs on it, catch it with your elbows. MDF dents and swells at the edges within a year. Hardwood plywood gives you a stable, flat surface that shrugs off daily use, and edge banding hides the plies so it looks like solid wood.
Tools Required
- Pocket hole jig (Kreg or similar)
- Drill/driver
- Circular saw or track saw (or have the plywood cut at the store)
- Miter saw or a speed square and handsaw for the 2×4 crosscuts
- Tape measure and pencil
- Clamps (at least two, more is better)
- Countersink bit
- Iron (for edge banding)
- 220-grit sandpaper or sander
Step 1: Build the End Frames
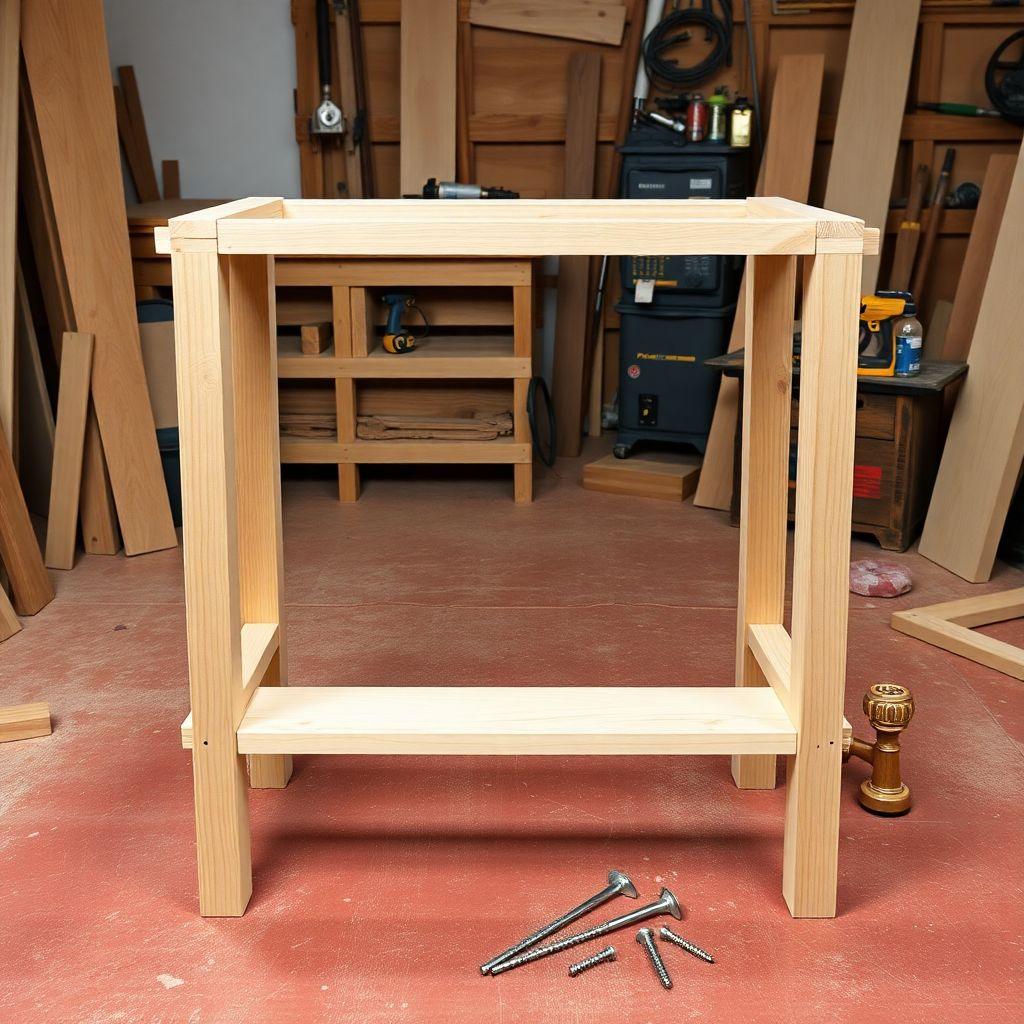
Before you cut, know your three leg-structure options so you understand why this build is a U-frame:
- 4-leg trestle: the most stable, four independent legs with rails. Best if you plan to lean hard or mount a heavy monitor arm. Uses more lumber.
- U-frame (this build): two end frames joined by stretchers. Nearly as stable, less material, faster to assemble. The right default for most people.
- Wall-mounted cantilever: the desktop hangs off a wall cleat with no floor legs. Saves floor space in a tight room, but you are limited by your wall studs and it cannot be moved.
We are building the U-frame. Each end frame is a rectangle: two legs (40-3/4″) with a top rail and a bottom rail (27″ each) between them.
Drill two pocket holes into each end of all four rails. Lay out one end frame on the floor: two legs standing parallel 27″ apart (outside to outside), the top rail flush with the top of the legs, the bottom rail about 4 inches up from the floor end. Apply glue at the joints, clamp, and drive the pocket screws. Repeat for the second end frame.
Check each frame for square with a speed square or by measuring both diagonals. If the diagonals match, it is square. Do this now, because a racked frame means a wobbly desk later.
Step 2: Cut and Join the Stretcher
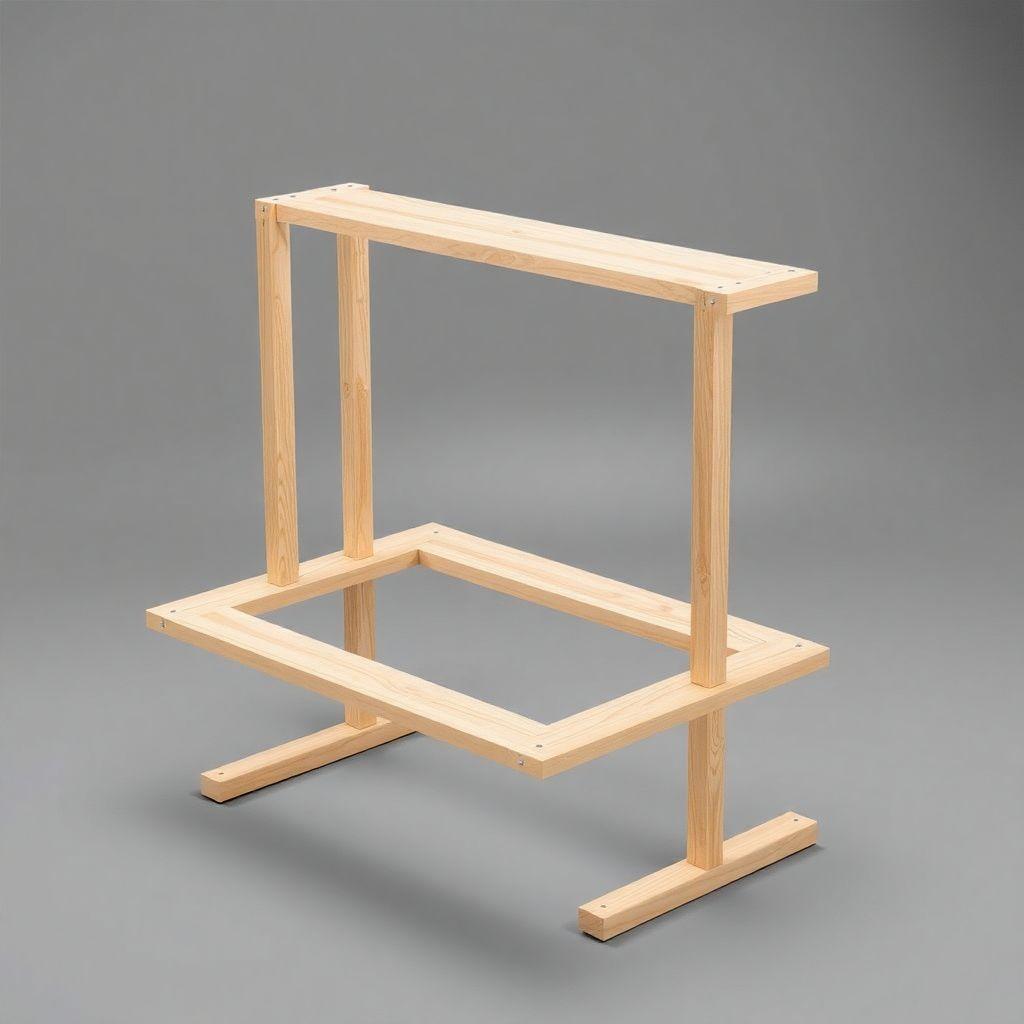
The two stretchers (44-1/2″ each) connect the end frames and set the desk width. One stretcher goes near the top and one near the bottom, mirroring the rails.
Drill two pocket holes into each end of both stretchers. Stand the two end frames upright, parallel, 44-1/2″ apart (measured on the inside faces). Glue and clamp the top stretcher between the upper inside faces of the two end frames, then the bottom stretcher between the lower inside faces. Drive the pocket screws.
You now have the full U-frame base. Set it on a flat surface and press each corner. If it rocks, one leg is slightly long or a joint is not seated. Sort that out before the top goes on, because leveling feet correct floor unevenness, not a twisted frame.
Step 3: Build the Desktop
Cut the desktop to 48″ x 30″ if the store did not do it for you. Sand the face and all four edges to 220 grit.
Apply the iron-on edge banding to all four edges: set the iron to medium, run it slowly along the banding to melt the adhesive, press it down with a block of scrap, then trim the overhang flush with a sharp chisel or an edge-banding trimmer. Sand the edges lightly so they are smooth to the hand. This step is what makes plywood read as a finished furniture top instead of a construction offcut.
Step 4: Attach the Desktop to the Frame
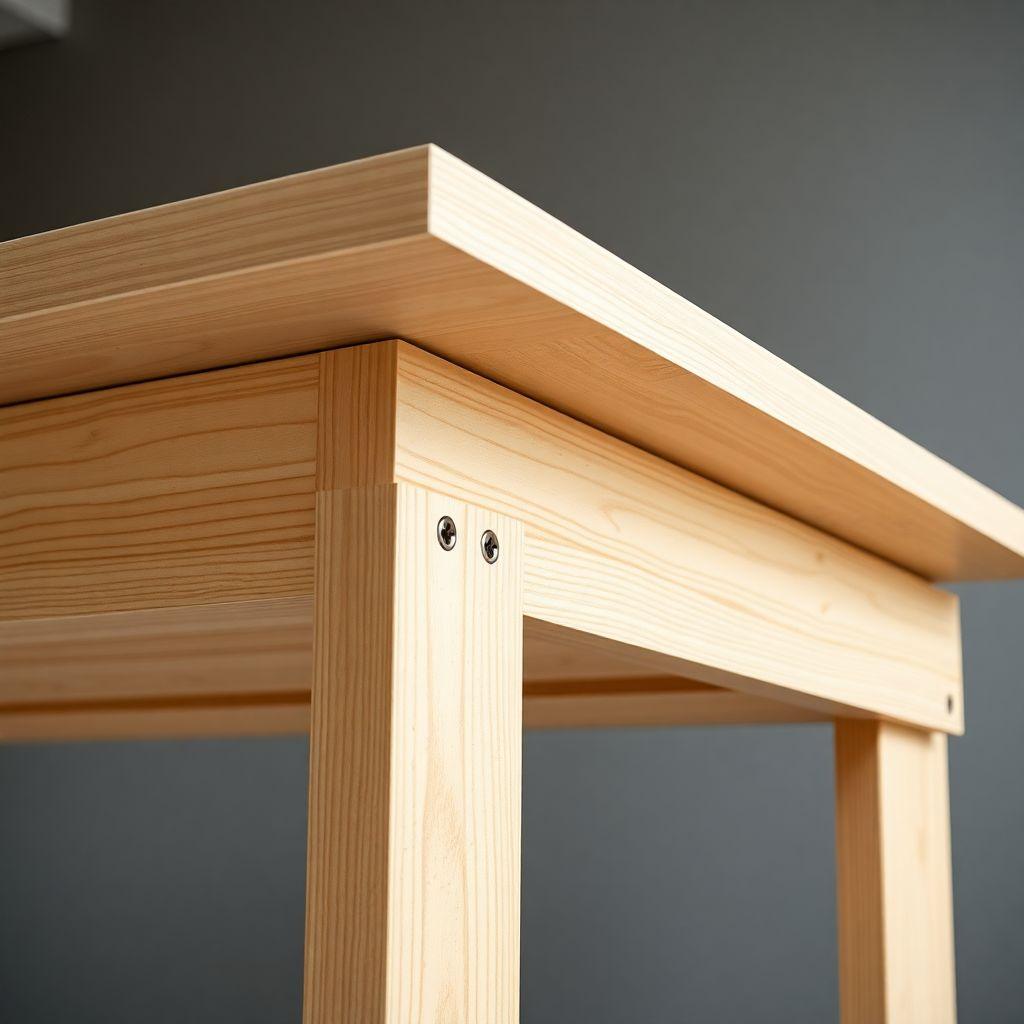
Flip the desktop face-down on a padded surface (a blanket or cardboard protects the finish). Center the U-frame base upside-down on top of it. You want a consistent overhang on all sides: with a 48×30 top on a frame that is roughly 46 wide, you get about 1″ of overhang front and back and on the ends. Adjust until even.
Drive 1-1/4″ wood screws up through the top rails and stretchers into the underside of the desktop. Countersink so the heads sit flush and do not catch anything stored under the frame. Use at least six screws: two through each top rail and one through each top stretcher. Do not use screws so long they punch through the 3/4″ top.
Flip the whole desk upright. It should feel solid and heavy.
Step 5: Add Leveling Feet and Finish
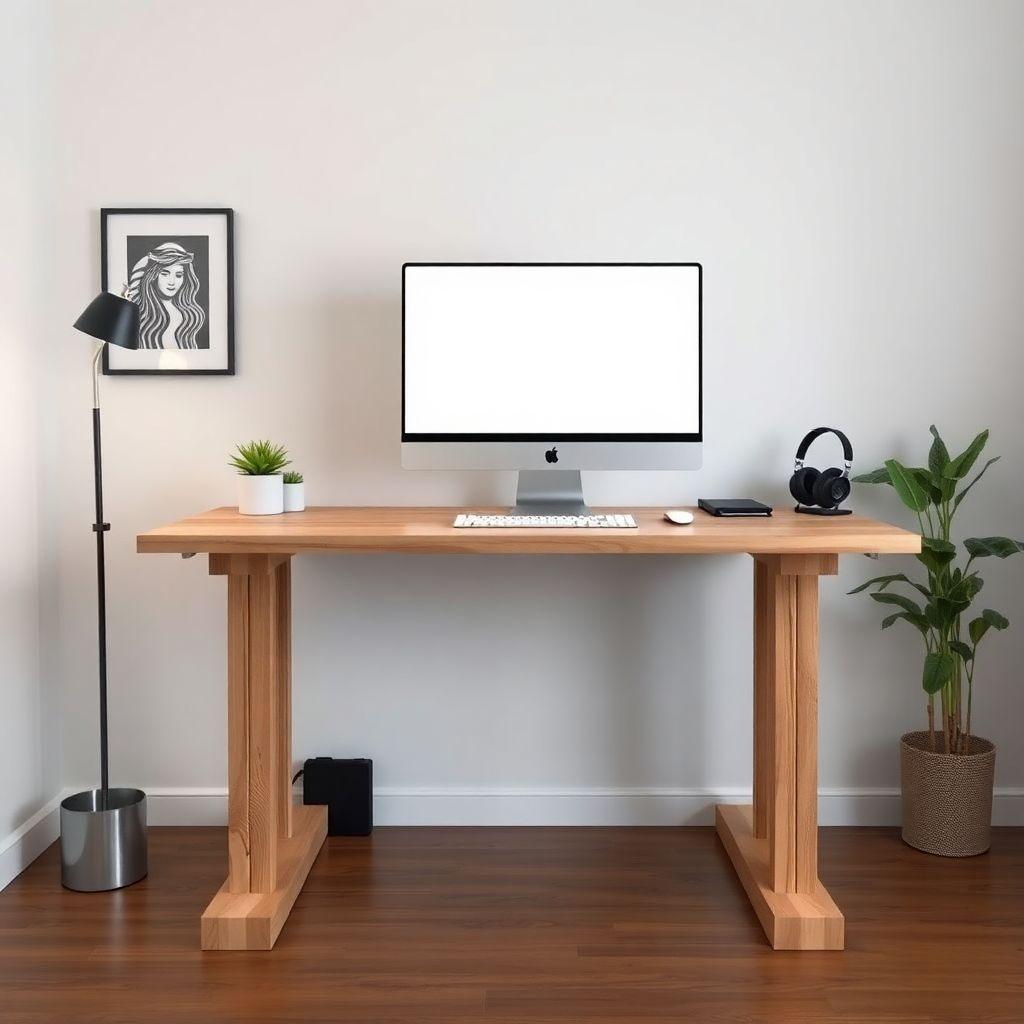
A standing desk magnifies floor unevenness. At 42 inches of leverage, a floor that is 1/8″ out of level turns into a noticeable wobble every time you lean in. This is why leveling feet belong on every standing desk, not just this one. They cost about $2 each and take ten minutes to install.
Drill a hole centered in the bottom end of each leg, sized for the threaded insert. Thread or tap the insert in, then screw in the leveling foot bolt. Leave roughly 1/2″ of thread showing so you have travel in both directions.
Set the desk in its spot. Find the leg that leaves the floor, and turn that foot down until all four are planted and the desk stops rocking. Check the top with a level and fine-tune.
Finish the frame and top with your chosen product. A wipe-on polyurethane, two or three thin coats sanded lightly between, gives the surface hardness a standing desk needs and is easy to reapply if it wears. Let it cure fully before you load it up.
A note on value. For roughly $120 you now have a desk that a motorized unit charges $400 to $800 for. Pair it with a tall stool (a $30 to $50 counter-height stool) and you get sitting breaks without a motor to break. For most people this is the better buy, and the only trade-off is you cannot change the height on a whim.
Looking for more desk ideas?
This guide is part of our complete desk plans series — 6 desk types compared by skill, cost, and build time.
Want 16,000+ woodworking plans?
Ted’s Woodworking has step-by-step plans for every skill level. Browse Ted’s plans.
FAQ
How tall should a standing desk be for a 5’10” person?
Around 42 inches. Measure your own elbow height standing in your usual shoes, then set the surface 2 to 4 inches below that. Adjust the leg length in the cut list to match your number.
Is a fixed-height standing desk worse than a motorized one?
Only if you need to switch positions constantly. A fixed-height build at your correct standing height, paired with a tall stool for breaks, does the same job for $120 instead of $400 to $800, with nothing electronic to fail.
Can I use MDF for the desktop?
No. MDF dents and swells at the edges under the abuse a standing desk takes. Use 3/4″ hardwood plywood or solid hardwood. Edge band the plywood and it looks like solid wood.
Why does my standing desk wobble more than my old sitting desk?
More height means more leverage on any floor unevenness. Threaded leveling feet in each leg fix it in minutes and cost about $2 each. They are worth including in every standing desk build.
How long does this build take?
A weekend for an intermediate builder. Roughly half a day for the frame, and the rest is edge banding, attaching the top, and finishing, most of which is drying time.
Do I need the anti-fatigue mat before I calculate the height?
Yes. A 3/4″ mat raises you 3/4″ relative to the desk, so a desk built without accounting for it ends up too high. Subtract the mat thickness from your leg length before cutting.
Related Articles

“DIY woodworking enthusiast who started with zero experience and a YouTube tutorial.
I build simple, practical projects for my home and share free plans
so other beginners can skip the guesswork.If I can build it, you can too.”