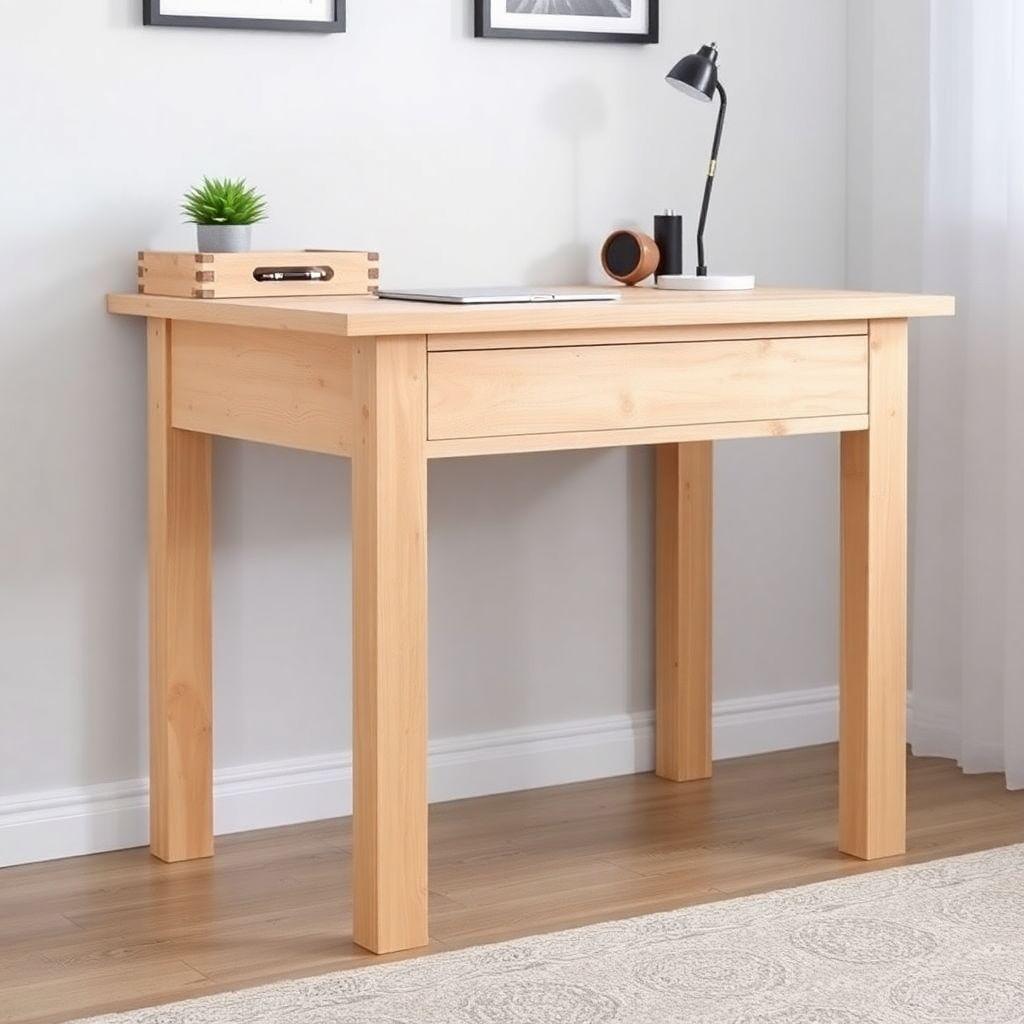
A desk is one of the best first furniture builds you can take on. It is flat, it is rectangular, and it does not require a single curved cut. With these DIY desk plans you will build a sturdy 48-inch writing desk with a plywood top, a pine apron frame, and four straight legs. Total material cost runs about $65, and a first-timer can finish the build over a weekend with a few hours of hands-on time.
This guide walks through the whole process: sizing the top so it does not sag, cutting the parts, assembling the apron, attaching the legs, and applying a beginner-friendly finish. It is part of our full desk plans series, where we compare six desk types by skill level, cost, and build time.
What you are building: a 48″ wide by 24″ deep by 29″ tall writing desk. Simple lines, no drawers, no fuss. Just a solid surface to work at.
Desktop Size and Thickness: Get These Right First
Looking for more desk ideas?
This guide is part of our complete desk plans series — compare all options by skill level, cost, and build time.
Want 16,000+ woodworking plans?
Ted’s Woodworking has step-by-step plans for every skill level. Browse Ted’s plans.
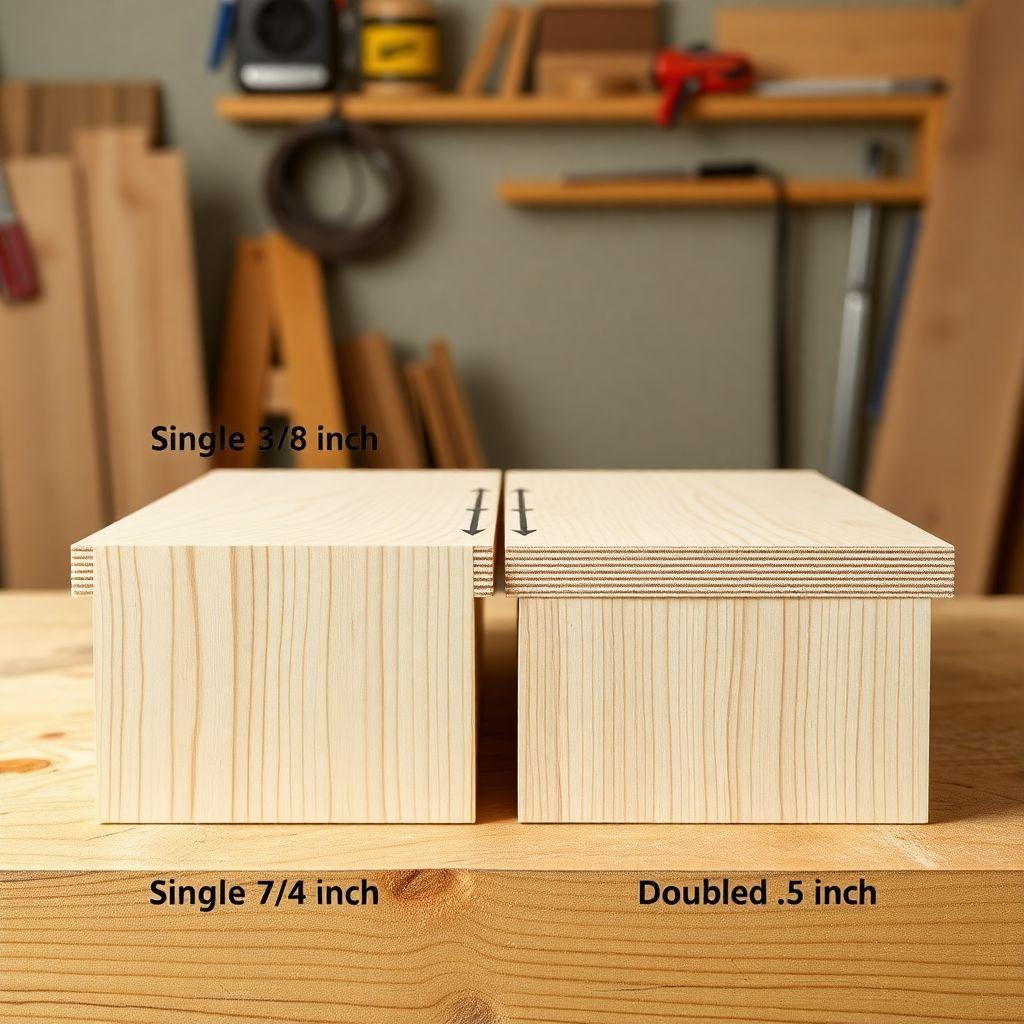
Before you buy anything, settle the top. This is the one decision that separates a desk that feels solid from one that flexes every time you lean on it.
A single sheet of 3/4″ plywood is fine for a top up to about 36″ wide. Past that span, 3/4″ plywood will sag under the weight of a monitor and your forearms over time. For a 48″ desk, you have three ways to handle it:
- Double the top. Glue two sheets of 3/4″ plywood together for a 1-1/2″ thick slab. This is the strongest option and gives the desk a substantial, furniture-grade edge.
- Add a center support. Keep a single 3/4″ top but run an extra apron rail or a center leg underneath to break up the span.
- Add a full apron. A frame around the underside (covered in the next sections) stiffens a single 3/4″ top considerably and is enough for most writing-desk use.
For this build we use a single 3/4″ top braced by a full apron. That combination handles a laptop, a monitor, and normal desk work without flexing. If you plan to load the desk heavily or want the thicker look, double the top instead.
On height: a standard desk is 28″ to 30″ tall. The ergonomic sweet spot for most seated adults is 29″. Do not guess this. Our cut list is built around a 29″ finished height (28″ legs plus a 3/4″ top plus apron stack lands you right there).
Materials and Cut List (48″W x 24″D Writing Desk)
Everything here comes from a standard home center. Buy one 4×8 sheet of 3/4″ hardwood plywood and a few pine boards.
| Part | Material | Dimensions | Qty |
|---|---|---|---|
| Desktop | 3/4″ hardwood plywood | 48″ x 24″ | 1 |
| Long apron rails | 3/4″ x 3″ pine | 46-1/2″ long | 2 |
| Short apron rails | 3/4″ x 3″ pine | 21″ long | 2 |
| Legs | 1-3/4″ x 1-3/4″ pine or poplar | 28″ long | 4 |
| Edge banding | Iron-on veneer or solid wood strips | 12 linear feet | 1 |
Also needed: wood glue, 1-1/4″ pocket screws, 2-1/2″ pocket screws (or corner brackets, see leg section), 120 and 220 grit sandpaper, water-based polyurethane.
Estimated cost: about $65 in materials, assuming you buy a full plywood sheet and standard pine. Poplar legs add a few dollars but take finish more evenly.
Tools Required
You do not need a full shop. Here is the minimum:
- Circular saw or table saw (for the top and legs)
- Pocket hole jig (a Kreg jig or similar) for the apron and legs
- Drill/driver
- Clamps (at least two, four is better)
- Router with a 1/8″ roundover bit (optional but recommended)
- Tape measure, pencil, square
- Sandpaper or a random orbital sander
- Iron (if using iron-on edge banding)
Step 1: Cut the Desktop
Cut the plywood top to 48″ x 24″. If the home center cut your sheet down for transport, verify the dimensions before you trust them, panel saws drift.
For a clean edge with a circular saw, clamp a straightedge guide to the panel and run the saw against it. Cut with the good face down to keep splintering on the underside. A table saw makes this easier if you have one.
Once the top is cut, apply edge banding to hide the raw plywood edges. Iron-on veneer banding is the fastest: run a hot iron along the strip, press it down as the glue sets, then trim the overhang with a flush-cut trimmer or a sharp chisel. For a more durable edge, glue on thin solid-wood strips instead. Sand the banding flush with the top face.
Step 2: Build the Apron Frame
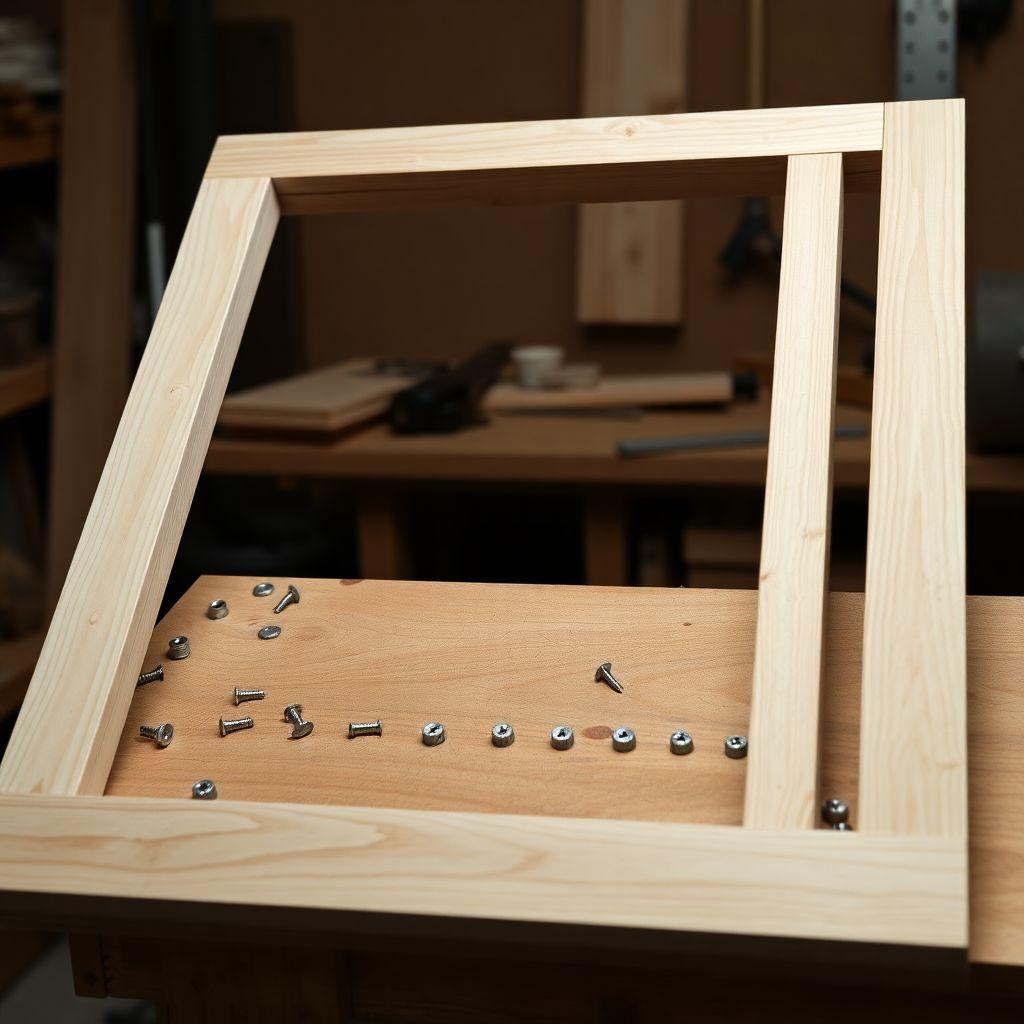
The apron is the rectangular frame that mounts under the top. It does two jobs: it stiffens the desktop so a single 3/4″ panel does not sag, and it gives you solid wood to screw the legs into. Screwing legs directly into the end grain of a plywood top would never hold, the apron solves that.
You can build a desk without an apron by attaching legs straight to the underside of the top with brackets, and for a light desk that works. But the apron is worth the extra 20 minutes. It is the difference between a desk that feels like furniture and one that racks side to side.
Assemble the frame:
- Set the two long rails (46-1/2″) and two short rails (21″) into a rectangle on edge. The outside dimensions come to roughly 46-1/2″ x 22-1/2″, which insets the apron about 3/4″ from each edge of the top.
- Drill two pocket holes near each end of the short rails.
- Join the corners with glue and 1-1/4″ pocket screws, short rails into the long rails. Check the frame is square with a framing square before the glue sets.
- Once the frame is assembled, center it under the top with an even inset all around. Attach it to the underside with pocket screws driven up through the apron into the top, or with figure-8 fasteners. Do not glue the top to the apron if you want to allow for wood movement.
Step 3: Attach the Legs
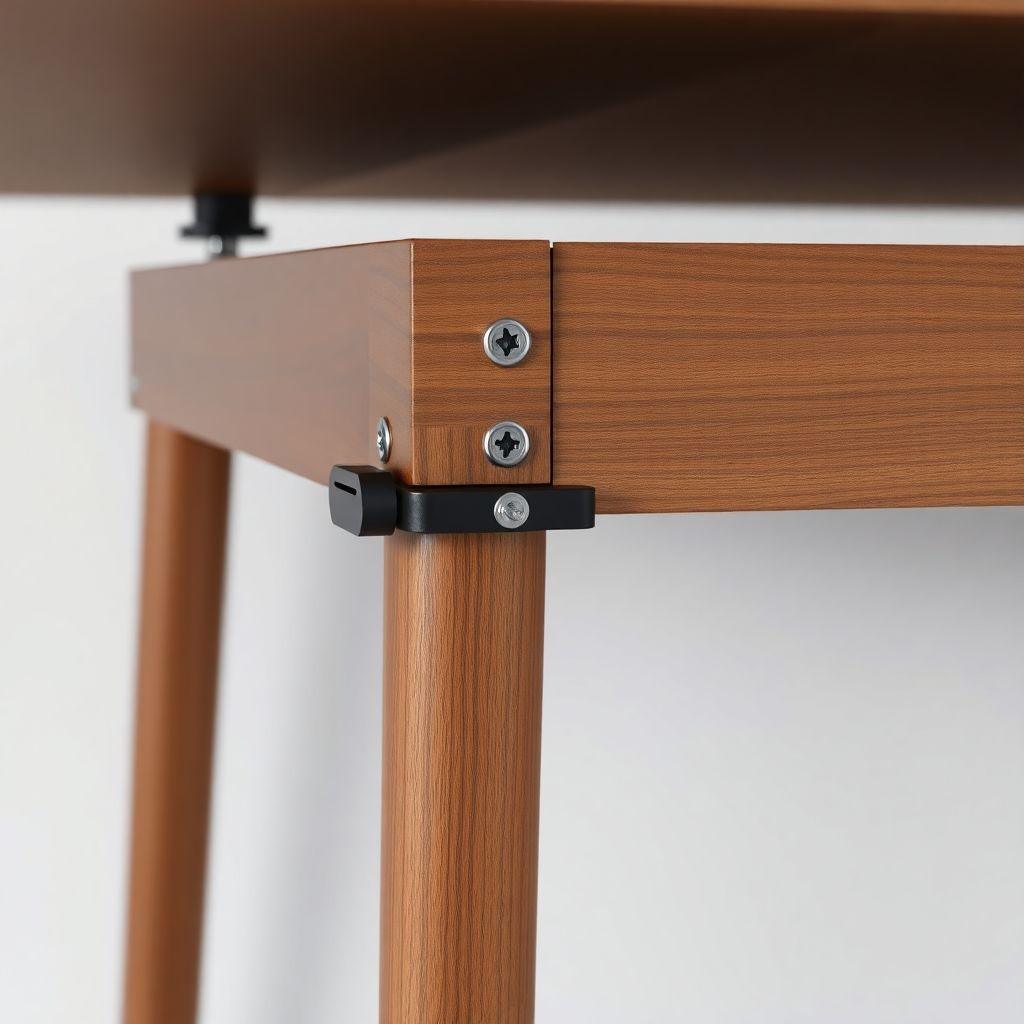
You have three ways to attach legs, ranked here from easiest to most advanced. Pick based on your comfort level and the look you want.
- Metal corner brackets (easiest). Bolt a bracket into each inside corner of the apron, then thread a hanger bolt into the top of each leg and tighten it into the bracket. No precise drilling into the legs, and the legs come off for transport. This is the most forgiving method for a first build.
- Pocket screws into the apron (fastest). Set each leg into an apron corner, clamp it, and drive 2-1/2″ pocket screws through the apron rails into the leg. Fast, strong, and hidden from the top. This is what we recommend for most builders.
- Dowels (cleanest look). Drill matching dowel holes in the leg and apron, glue in dowels, and clamp. No visible hardware at all, but it demands accurate drilling and gives you no room to adjust once the glue is in.
Whichever method you use, clamp each leg in position and check it for square against the apron in both directions before you commit a fastener. A leg that is off by a couple of degrees will make the desk rock.
Step 4: Round the Edges and Sand

Sharp plywood edges splinter and feel unfinished. Break every top edge and corner with a 1/8″ roundover.
The fast way is a router with a 1/8″ roundover bit. Run it along all the top edges and it takes about 10 minutes for a smooth, consistent radius. If you do not have a router, you can get the same result by hand with sandpaper, it just takes closer to 30 minutes and a bit more care to keep the roundover even.
After the edges are eased, sand the whole desk. Start with 120 grit to knock down any glue squeeze-out and level the surfaces, then finish with 220 grit for a smooth base that takes finish evenly. Wipe off all the dust with a tack cloth before you open the can of finish.
Step 5: Apply the Finish
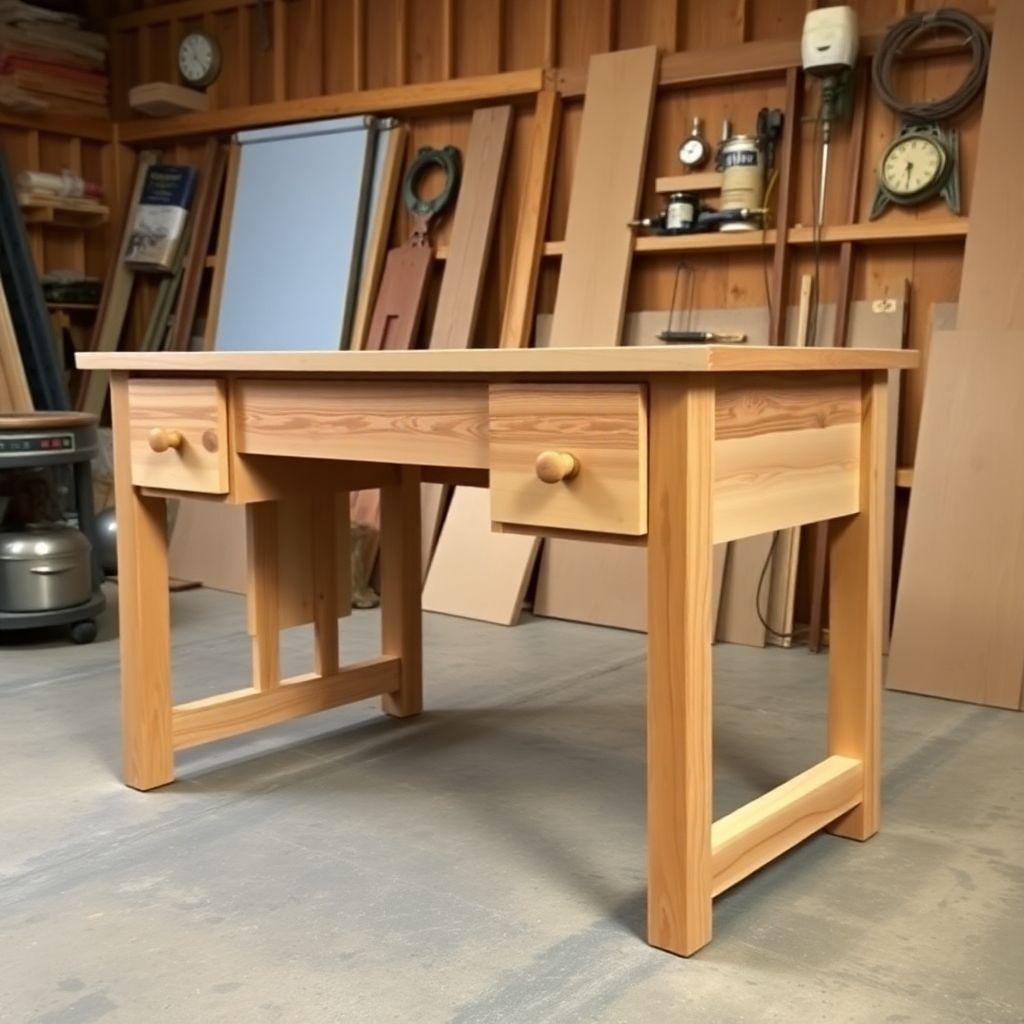
For a first-time builder, use water-based polyurethane. It is the most forgiving finish on the shelf: it dries fast, cleans up with plain water, has low odor, and levels out well so brush marks are less likely to show. Oil-based poly is more durable but harder to apply cleanly, it stays wet longer and shows every brush stroke if your technique is not dialed in.
Apply it in thin coats:
- Stir the poly gently, do not shake it. Shaking whips in bubbles that dry into the surface.
- Brush a thin coat along the grain with a quality synthetic brush. Keep a wet edge and do not overwork it.
- Let it dry (usually 2 hours for water-based), then scuff-sand lightly with 320 grit. Wipe off the dust.
- Apply a second coat. For a desk that sees daily use, a third coat on the top surface is worth it.
Let the final coat cure before you put a monitor and full weight on it. Water-based poly is dry to the touch fast but keeps hardening for several days.
Looking for more desk ideas?
This guide is part of our complete desk plans series — 6 desk types compared by skill, cost, and build time.
Want 16,000+ woodworking plans?
Ted’s Woodworking has step-by-step plans for every skill level. Browse Ted’s plans.
FAQ
How much does it cost to build a DIY desk?
This build runs about $65 in materials: one sheet of 3/4″ hardwood plywood, a few pine boards for the apron and legs, edge banding, screws, and finish. Upgrading to poplar or oak, or doubling the top for a thicker slab, will push the cost higher.
What is the standard height for a desk?
Standard desk height is 28″ to 30″. For most seated adults, 29″ is the ergonomic sweet spot. This plan is built around a 29″ finished height using 28″ legs plus the top and apron.
Is 3/4″ plywood strong enough for a desktop?
For a top up to about 36″ wide, yes. Past that, a single 3/4″ sheet will sag over time under a monitor. For the 48″ top in this plan, brace it with a full apron frame, add a center support, or double the top to 1-1/2″ thick.
Do I need an apron on a desk?
Not strictly. You can attach legs directly to the underside with brackets. But an apron adds real rigidity, stops the top from sagging, and gives you solid wood to fasten legs into instead of weak plywood end grain. It is worth the extra 20 minutes.
What is the easiest way to attach desk legs for a beginner?
Metal corner brackets with hanger bolts. You bolt a bracket into each apron corner and thread a bolt into each leg, no precise joinery required, and the legs unscrew for transport. Pocket screws are the fastest strong method if you have a pocket hole jig.
What finish should a first-time builder use?
Water-based polyurethane. It dries fast, cleans up with water, has low odor, and levels well so brush marks are less of a problem. Apply two to three thin coats, scuff-sanding lightly between them.
Related Articles

“DIY woodworking enthusiast who started with zero experience and a YouTube tutorial.
I build simple, practical projects for my home and share free plans
so other beginners can skip the guesswork.If I can build it, you can too.”