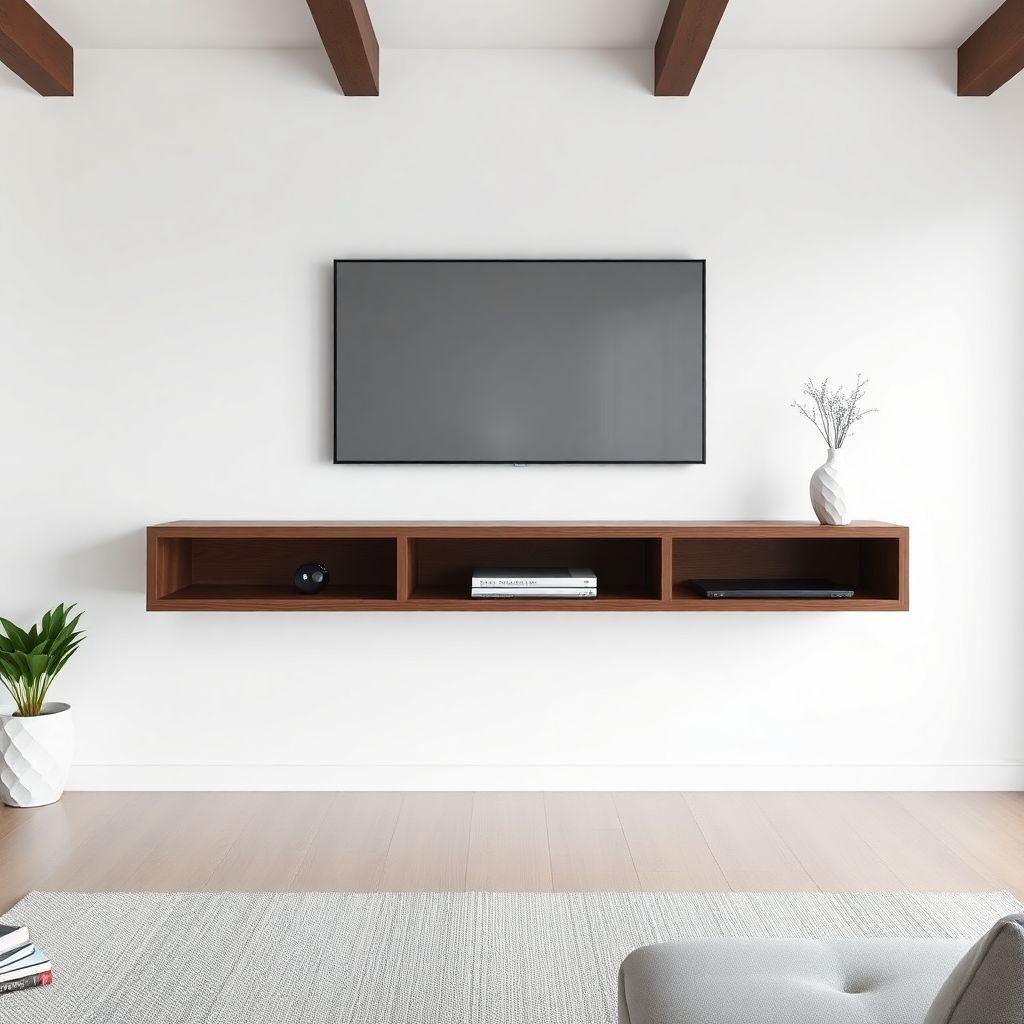
A floating media console gets your components off the floor, opens up the room visually, and makes the whole wall easier to clean under. This guide walks through building a 60″ wall-mounted console in walnut plywood using a French cleat, the same mounting method cabinet installers use for heavy uppers. You will end up with a clean, modern unit rated for far more weight than you will ever load onto it.
Expect to spend about $180 to $250 in materials depending on plywood grade, and a full weekend from cut to finish. This is an intermediate build: nothing here is hard, but the cuts need to be square and the cleat needs to hit real studs. It is part of our complete entertainment center plans series, so if a floating unit is not quite what you want, start there to compare six build types.
By the end you will have built and hung a boxed console, cut a matched-bevel French cleat, run your cables cleanly, and installed push-to-open doors that keep the front panel free of hardware.
French Cleat vs Wall Bracket: Which to Use
Looking for more entertainment center ideas?
This guide is part of our complete entertainment center plans series — compare all options by skill level, cost, and build time.
Want 16,000+ woodworking plans?
Ted’s Woodworking has step-by-step plans for every skill level. Browse Ted’s plans.
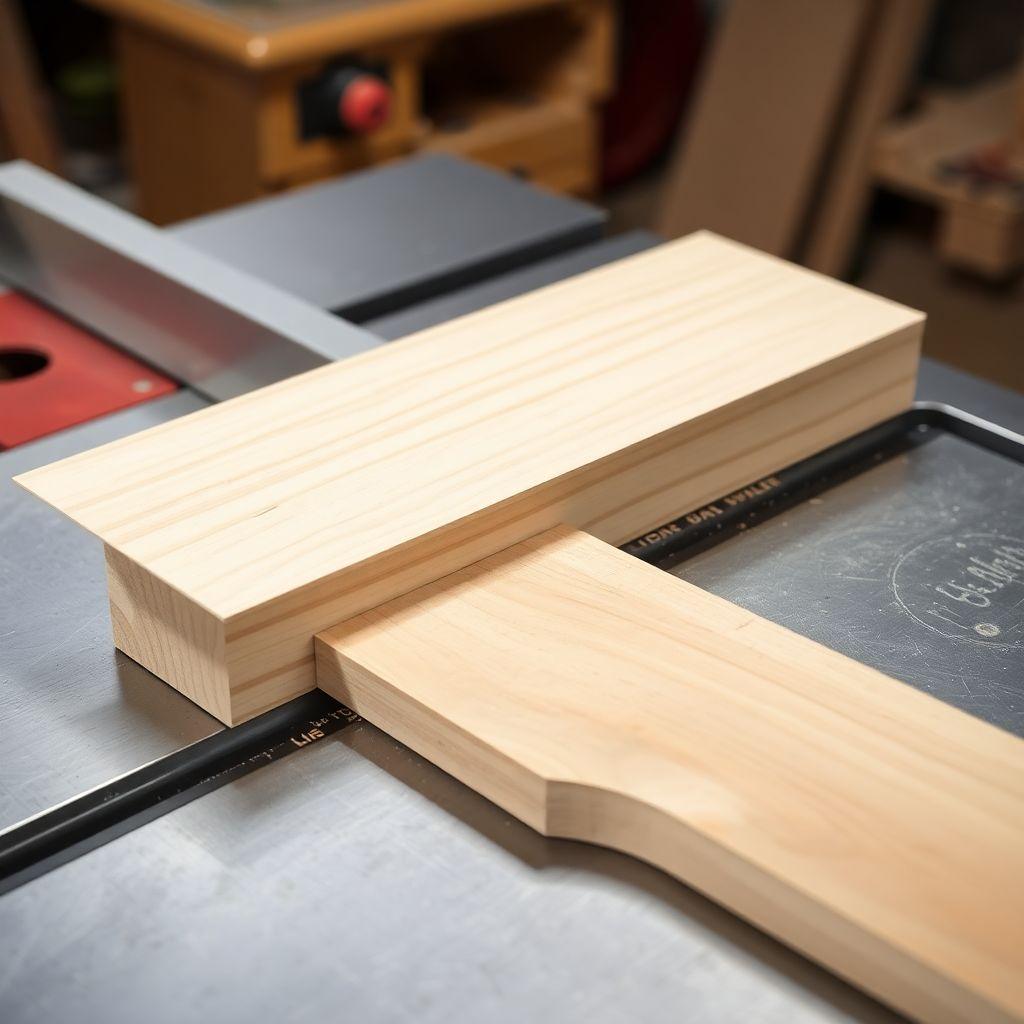
There are two realistic ways to hang a heavy console on a wall: a French cleat you make yourself, or a purchased steel wall bracket.
A French cleat is two boards, each with a 45-degree bevel cut along one long edge. One board screws to the wall with the bevel facing up and toward the wall. The matching board mounts inside the top of your console with the bevel facing down. The console drops on and the two bevels lock together, wedging the load back against the wall. It is the DIY standard for good reasons: it gives you infinite horizontal adjustment (slide the console left or right before it settles), it is trivial to level because you only have to level one board, and a 3/4″ plywood cleat easily handles 150 lbs and up.
A purchased wall bracket (the steel Z-bracket or a floating-shelf bracket rated for cabinets) is faster to install and needs no table saw. The trade-off is that it locks the console to fixed mounting points. Once it is up, you cannot nudge it sideways, and if your studs do not line up with the bracket holes you are stuck shimming or re-drilling.
For this build we use the French cleat. It costs almost nothing, it is more forgiving during install, and it is the stronger long-term mount.
Materials and Cut List
This console is 60″ wide, 14″ deep, and 12″ tall, sized to sit under a wall-mounted TV in a modern living room. All main panels are 3/4″ walnut plywood; the back is 1/4″ ply.
| Part | Material | Dimensions | Qty |
|---|---|---|---|
| Top + bottom | 3/4″ plywood | 60″ × 13-1/4″ | 2 |
| Sides | 3/4″ plywood | 12″ × 13-1/4″ | 2 |
| Back panel | 1/4″ plywood | 58-1/2″ × 10-1/2″ | 1 |
| Internal shelf (optional) | 3/4″ plywood | 28-1/2″ × 13-1/4″ | 1 |
| Wall cleat | 3/4″ plywood | 57″ × 4″, 45° bevel top edge | 1 |
| Cabinet cleat | 3/4″ plywood | 57″ × 4″, matching bevel | 1 |
| Doors (optional) | 3/4″ plywood | 28-1/4″ × 10-1/8″ | 2 |
Also grab: 1-1/4″ pocket screws or 1-5/8″ wood screws, 3″ wood screws for the wall cleat, wood glue, 1/4″ brad nails for the back, edge banding to hide the plywood plies, and finish of your choice. Rough cost runs $180 to $250; a single 4×8 sheet of walnut ply plus a partial second sheet covers everything.
Tools Required
- Table saw (for panel cuts and the 45-degree cleat bevel)
- Circular saw with a straightedge, if you do not have a table saw large enough for full sheets
- Pocket hole jig (Kreg or similar) for the box joinery
- Drill/driver
- Stud finder
- 4-foot level
- Tape measure and square
- Clamps
- Brad nailer or hammer for the back panel
- Countersink bit
Step 1: Build the Console Box
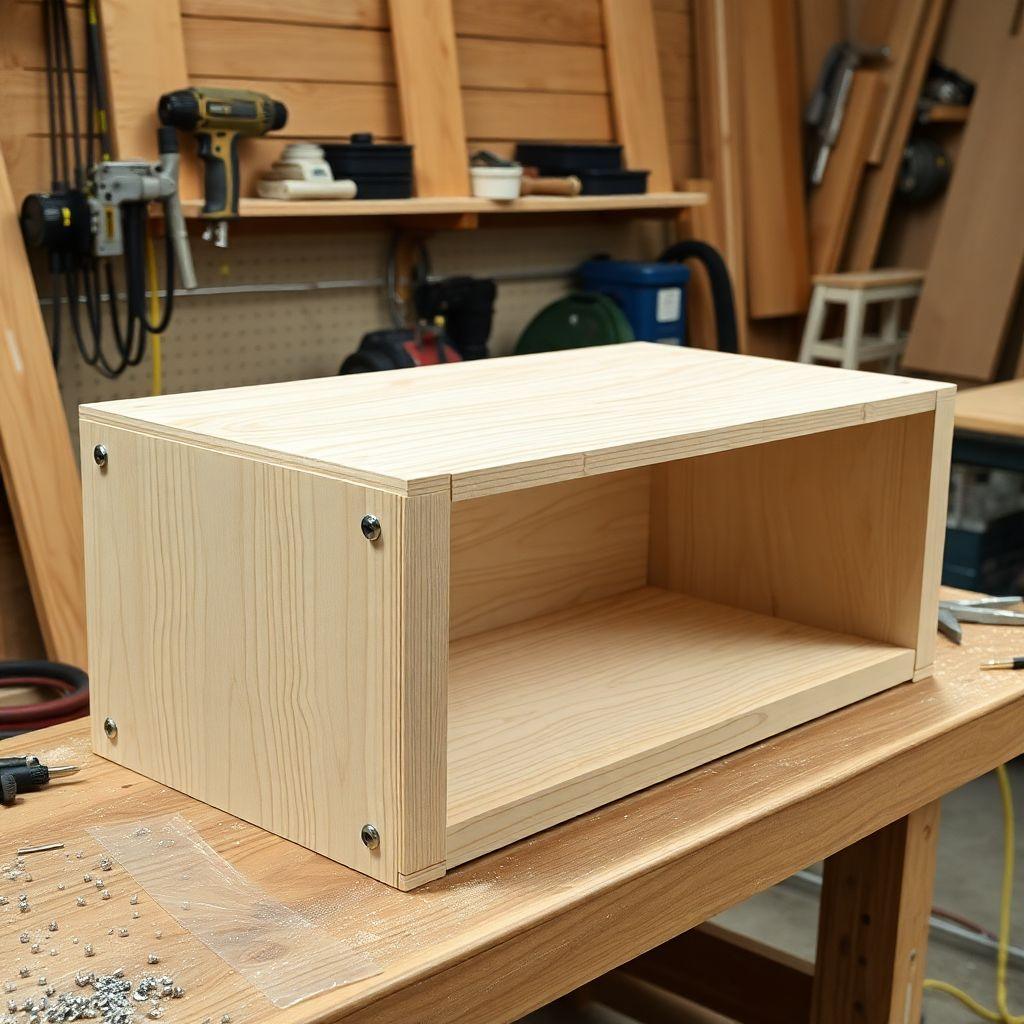
Cut your top, bottom, and two sides. Dry-fit them into a box: the sides sit between the top and bottom, so the top and bottom run the full 60″ and cap the ends. Confirm everything is square with your square before you drill anything.
Drill pocket holes along the ends of both side panels (three per joint is plenty for this span). Apply glue to the mating edges, clamp each corner square, and drive the pocket screws. Work one corner at a time and check for square as you go, because a box that racks even 1/8″ will fight you when you try to fit the back and doors.
If you want the optional internal shelf, install it now. Center it at 28-1/2″ and pocket-screw it to the top and bottom, or set it on shelf pins if you would rather keep it adjustable. A center divider also stiffens the long span, which is worth doing on a 60″ box.
Once the glue is dry, cut the 1/4″ back panel and set it aside. You will notch it for cables in Step 5 before nailing it on.
Step 2: Cut and Install the French Cleat
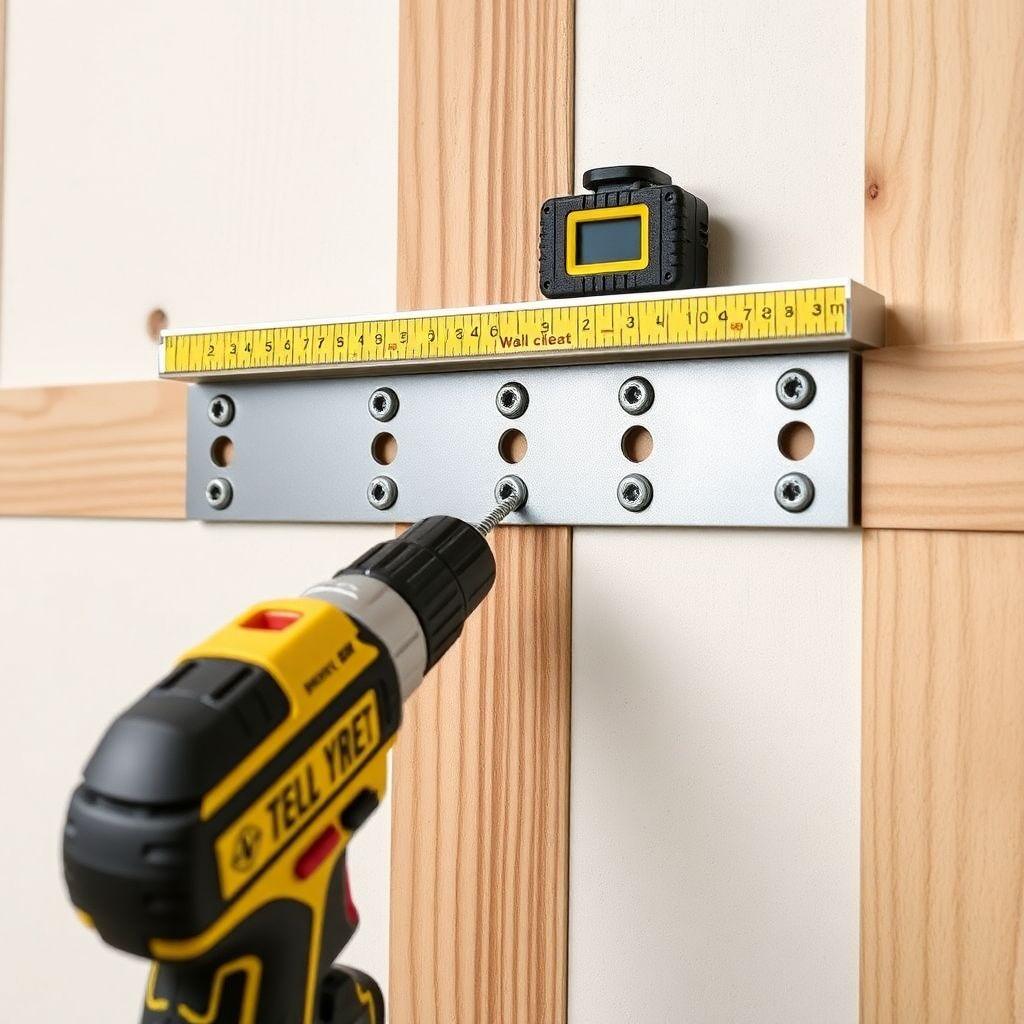
This is the heart of the build. Take your 3/4″ plywood and rip two strips 4″ wide and 57″ long. Tilt your table saw blade to 45 degrees and rip one long edge off each strip. The goal is two boards with matching bevels: when you set them bevel-to-bevel they nest like two ramps facing opposite directions.
Label them: one is the wall cleat, one is the cabinet cleat. On the wall cleat, the beveled edge points up and back (toward the wall). On the cabinet cleat, the bevel points down and back so it can hook over the wall cleat.
Before you touch the wall, do the stud math. Studs are typically 16″ on center. A 57″ cleat will cross at least three studs no matter where it lands, and often four. Use your stud finder and mark every stud in the mounting zone. You want each screw driven into solid framing, not drywall. Because the cleat spans the full width, you are guaranteed multiple stud hits even if the console itself does not line up neatly with any single stud, which is exactly why the full-width cleat board is the right call over short brackets.
Now set your mounting height. A floating console typically sits with its bottom 24″ to 30″ off the floor. Rather than guess, work backward from the TV. A seated viewer wants the TV center at eye level, roughly 42″ to 48″ from the floor. Position the TV first, then drop the console so there is a comfortable gap (usually 4″ to 8″) between the top of the console and the bottom of the TV. Mark the top line of the wall cleat at that height.
Screw the wall cleat into the studs with 3″ screws, one per stud, countersunk. Rest your 4-foot level on the top edge and adjust before you drive the second screw. Level here is everything: the console inherits whatever angle this board has.
Step 3: Hang the Console
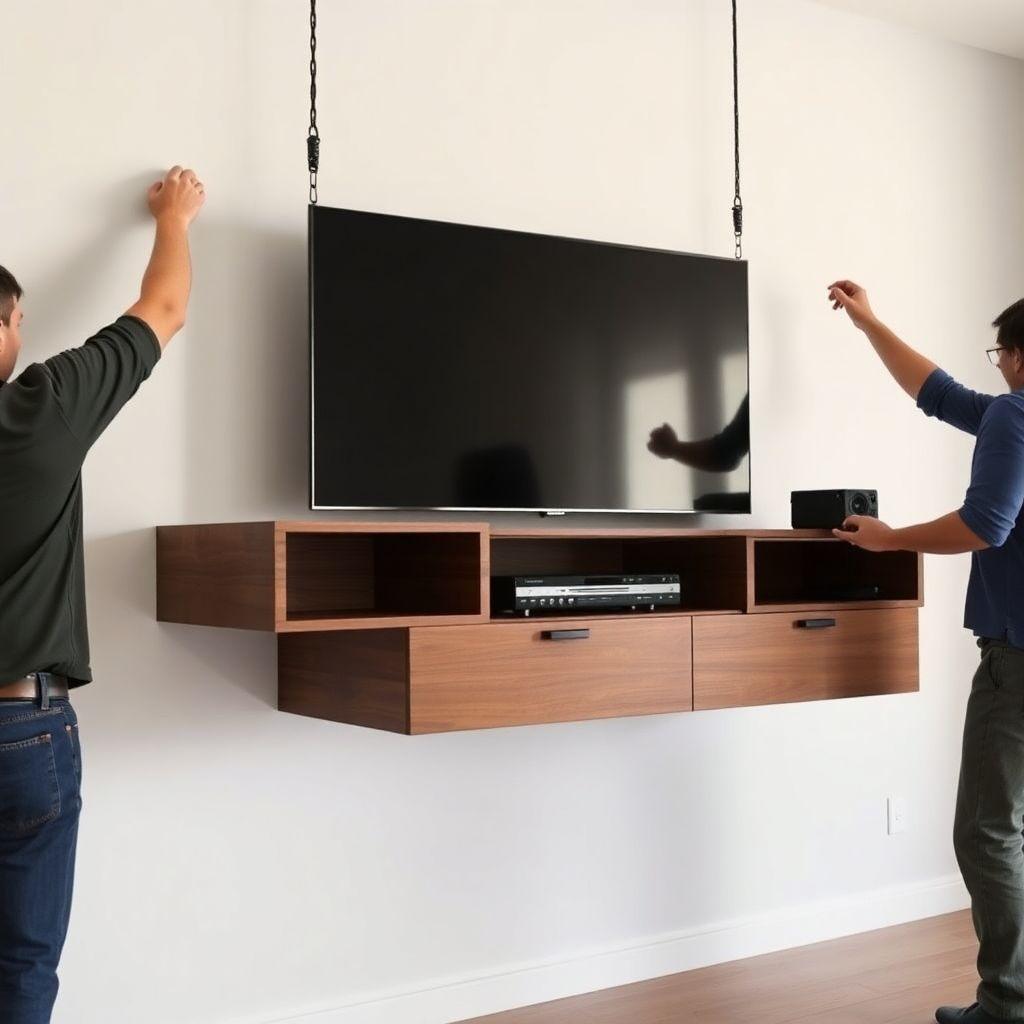
Mount the cabinet cleat inside the console first. It goes at the very top of the box, tight against the underside of the top panel, bevel facing down and back. Screw it into the top and into both side panels so the load transfers into the whole box, not just the top.
Now hang it. This is a two-person job for a 60″ console. Lift the box, tip the top toward the wall, and lower the cabinet cleat’s bevel onto the wall cleat’s bevel. It will slide down and seat with a solid, reassuring thunk. Slide the whole console left or right along the cleat to center it on the wall or line it up under the TV. That horizontal freedom is the French cleat’s best feature.
Once positioned, drive two or three screws up through the bottom-back of the console into the wall cleat (or into a stud) to keep it from lifting off. On a floating console this anti-lift step matters more than on a shelf, because someone will eventually lean on it.
A quick word on weight, because floating furniture makes people nervous. Each stud connection with a 3″ screw holds roughly 100 lbs in shear. A 60″ cleat hitting three studs gives you about 300 lbs of capacity. A fully loaded console (receiver, console, sound bar, a few games) rarely tops 80 lbs. You are running at less than a third of capacity. Hit four studs and the margin only grows. This is not a mount you need to worry about.
Step 4: Add Doors or Open Shelves
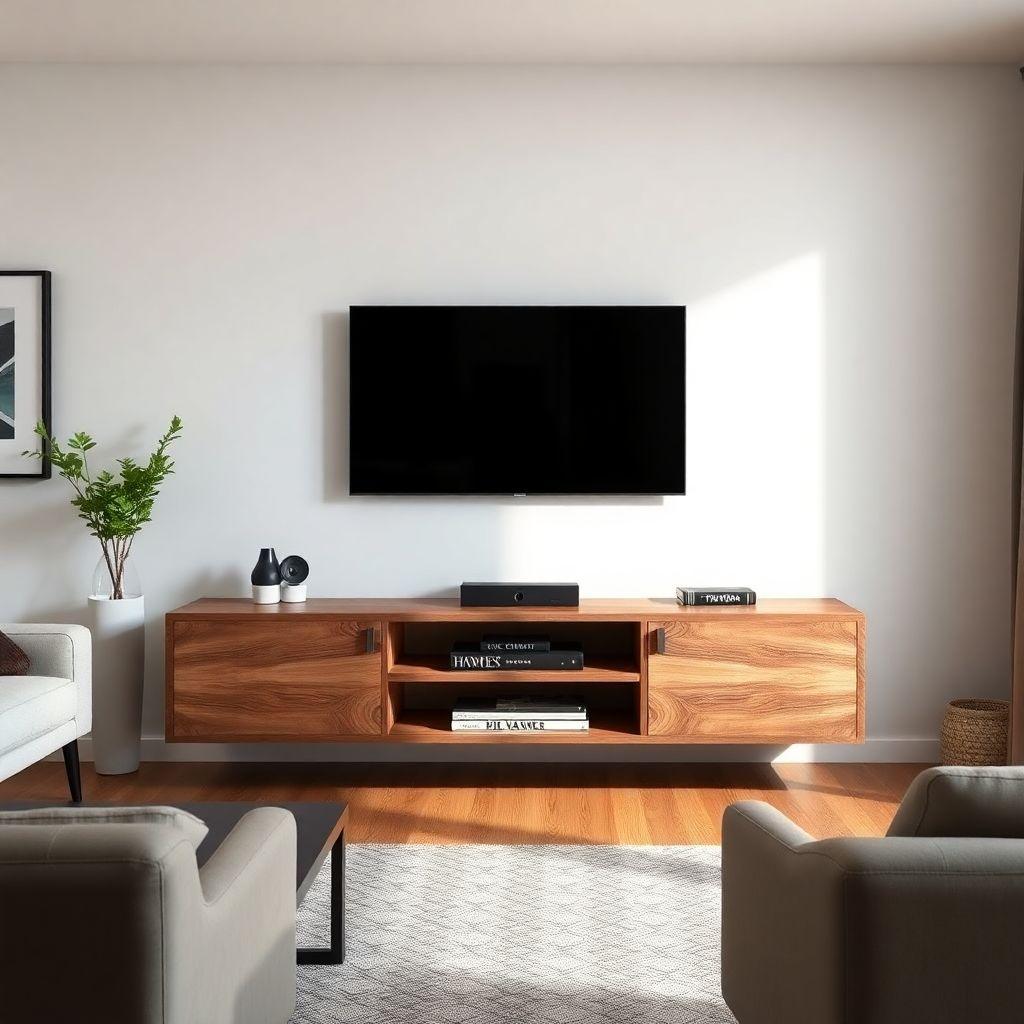
You have two looks here. Open shelves show off the walnut and keep everything reachable, but an open floating console collects dust fast, and cables stay visible. Doors hide the clutter and give you that flat, seamless minimalist front, at the cost of a little reach-around access.
If you go with doors, the cleanest option is a push-to-open door with a magnetic touch latch and no visible handles or knobs. Here is the install:
- Hang each door on concealed European (cup) hinges, bored 35mm into the back of the door. These are frameless and hide completely when the door is shut.
- Mount a magnetic touch latch to the inside top or side of the cabinet, positioned so its plunger meets the door near the outer edge (the far corner from the hinges gives the best leverage).
- Stick or screw the small strike plate to the inside of the door where the latch plunger lands.
- Adjust the latch depth so the door sits flush when closed. Push the door in, the latch releases and springs it open about an inch, then you swing it the rest of the way by hand.
The result is a front panel with zero hardware. Fingerprints are the only downside, and a matte finish hides those well.
Step 5: Run Cables and Finish
Before you nail the back panel on, deal with cables. You have two clean options:
- Cable slot: cut a 2″ wide slot in the back panel where it sits behind the console’s open bays. A jigsaw or a couple of overlapping drill holes cleaned up with a file does it. This lets you run every cable through to the wall without pinching.
- Cord pass-through: drill a single 1-1/2″ hole at the bottom-back of the console. Pair it with an in-wall cable kit (a pair of low-voltage brackets, drywall-legal) so power and HDMI drop straight down inside the wall to an outlet behind the TV. This is the invisible-cable look.
Cut the slot or hole, then brad-nail the back panel into the rabbet or against the back edges. With the console floating, nobody sees the back, so function beats fuss here.
For finish: sand to 220, apply edge banding to any exposed plywood edges, then finish to taste. A wipe-on satin polyurethane or a hardwax oil both let the walnut grain show while resisting the rings a media console inevitably collects. Two or three thin coats, sanding lightly between, gives a durable surface.
Looking for more entertainment center ideas?
This guide is part of our complete entertainment center plans series — 6 types compared by skill, cost, and build time.
Want 16,000+ woodworking plans?
Ted’s Woodworking has step-by-step plans for every skill level. Browse Ted’s plans.
FAQ
How much weight can a floating media console hold?
A 60″ French cleat screwed into three studs with 3″ screws holds roughly 300 lbs. A loaded console with components rarely exceeds 80 lbs, so you are running well under a third of capacity. Hitting a fourth stud only widens that safety margin.
Do I need to hit studs, or will drywall anchors work?
Hit studs. Drywall anchors are not rated for the leverage a floating console puts on the wall. The full-width cleat is designed so it crosses at least three studs no matter where it lands, so there is no reason to rely on anchors.
What height should I mount a floating console under a TV?
Set the TV first. A seated viewer wants the TV center around 42″ to 48″ from the floor. Then place the console so its top sits 4″ to 8″ below the TV, which usually puts the bottom of the console 24″ to 30″ off the floor.
Can I build this without a table saw?
You can cut the panels with a circular saw and a straightedge. The one cut that really wants a table saw is the 45-degree cleat bevel, since it must be straight and consistent along 57″. A track saw set to 45 degrees also works.
How do I hide the cables?
Either cut a 2″ slot in the back panel to pass cables to the wall, or drill a 1-1/2″ hole and pair it with an in-wall cable kit so wires drop inside the wall to a hidden outlet. The in-wall route gives the fully cable-free look.
Why choose a French cleat over a store-bought bracket?
The cleat costs almost nothing, lets you slide the console sideways to fine-tune position after it is hung, and is easier to level because you only level one board. A purchased bracket is faster but locks the console to fixed points and depends on your studs lining up with its holes.
Related Articles

“DIY woodworking enthusiast who started with zero experience and a YouTube tutorial.
I build simple, practical projects for my home and share free plans
so other beginners can skip the guesswork.If I can build it, you can too.”