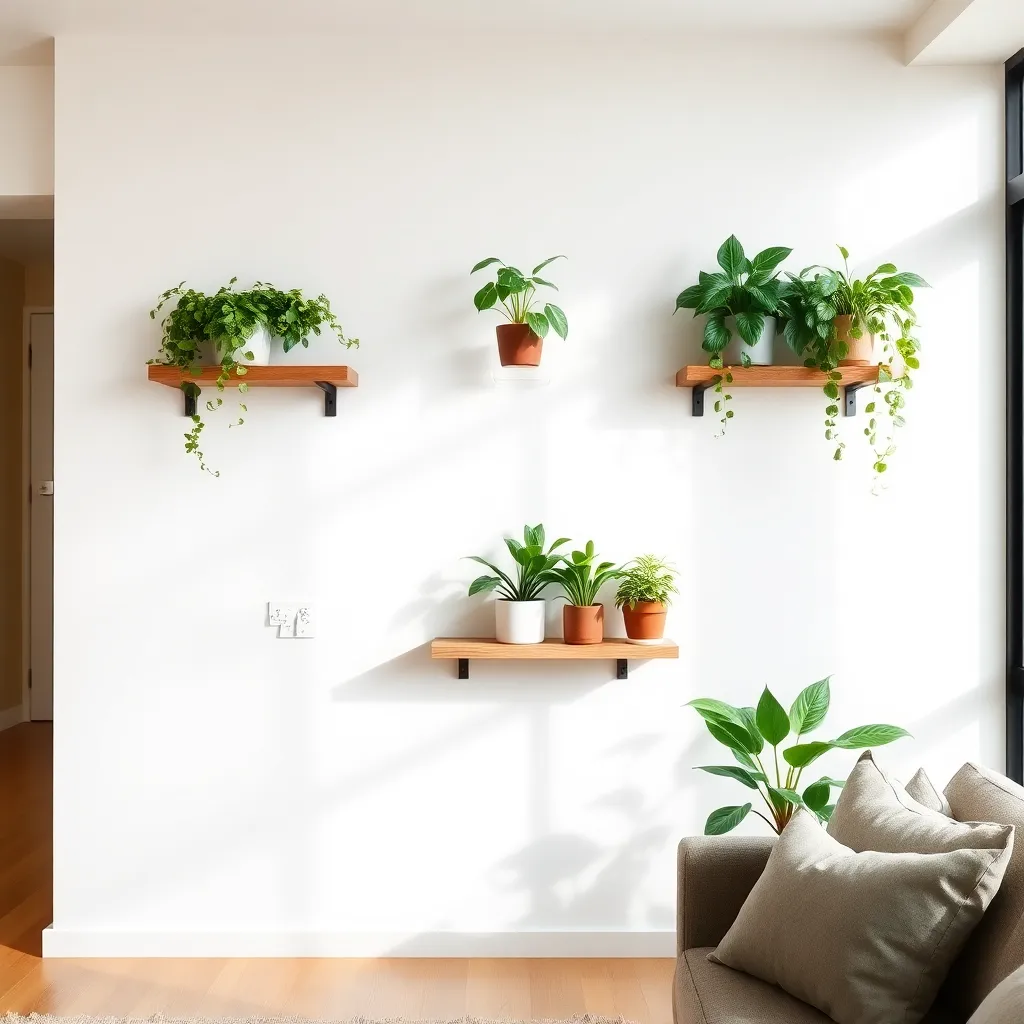
A plant shelf is the quickest way to turn a blank wall into a living display. Done right, it holds heavy pots without sagging, keeps water off your walls, and stays level for years. Done wrong, you get a warped shelf that pulls out of the wall the first time someone bumps a pot.
These plant shelf plans cover three designs: a simple single floating shelf for a window ledge or accent wall, a two-shelf bracket system for a full wall display, and a wooden wall-mounted ladder shelf that leans without permanent attachment. All three work with standard dimensional lumber and basic tools.
Step 1: Choose Your Design
Want 16,000+ step-by-step woodworking plans?
Ted’s Woodworking has plans for every skill level — from simple shelves to full bedroom sets. Each plan includes a cut list, material list, and detailed diagrams. Browse Ted’s plans →
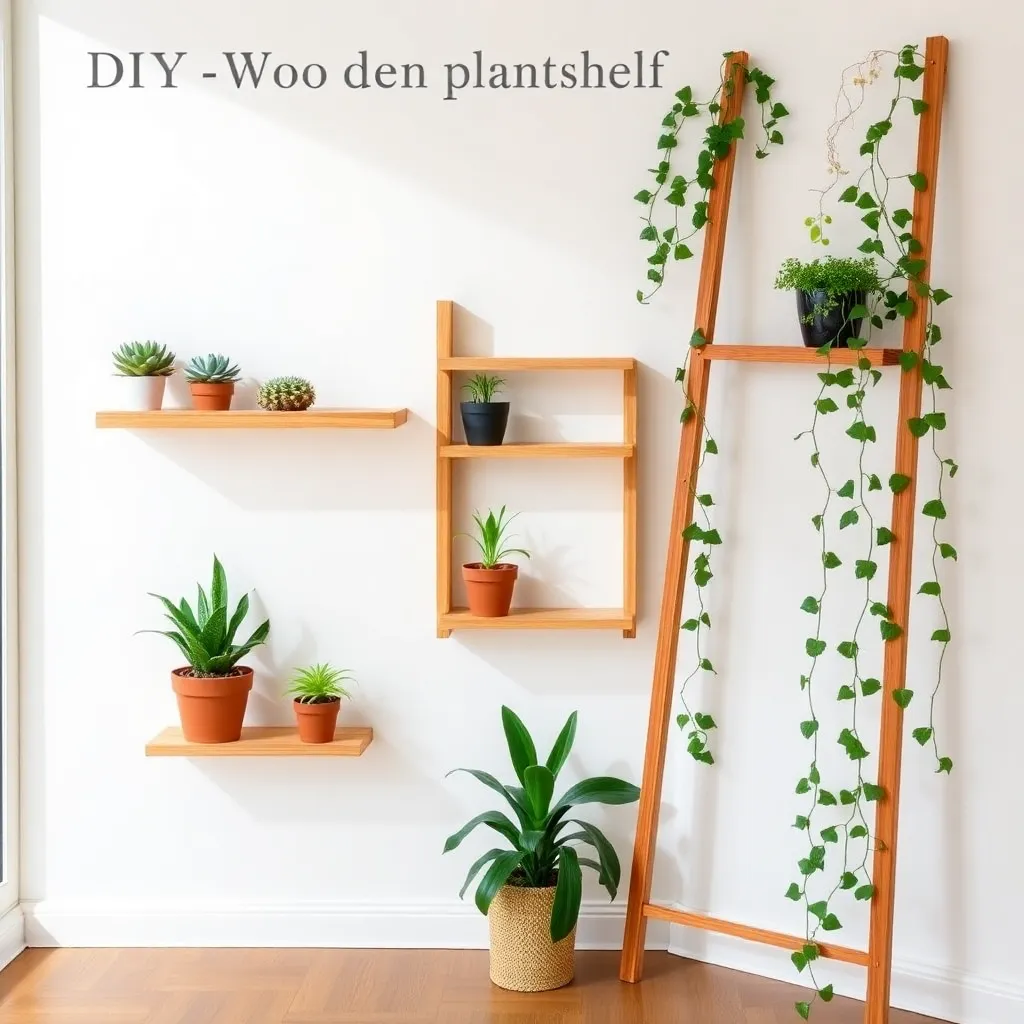
Floating plant shelf — A single shelf mounted flush to the wall with hidden brackets, no visible hardware. Clean, minimal look. Depth: 8 inches (fits most 6″ pots with room to water). Length options: 24″, 36″, or 48″. Best for a single row of plants along a window or accent wall. Build time: 1.5 hours.
Two-shelf bracket system — Two shelves at different heights, supported by visible L-brackets or wooden corbels. More rustic, farmhouse-style look. Easier to level and install than hidden brackets. Holds more weight per shelf. Depths: 8″ and 10″. Build time: 2 hours.
Leaning ladder shelf — Five rungs at varying heights, leans against the wall at a slight angle, no wall drilling required. Good for renters or anyone who wants flexibility to move the display. Holds plants on each rung. Dimensions: 60″ tall × 20″ wide at base, tapering to 14″ at top. Build time: 3 hours.
Step 2: Materials and Cut Lists
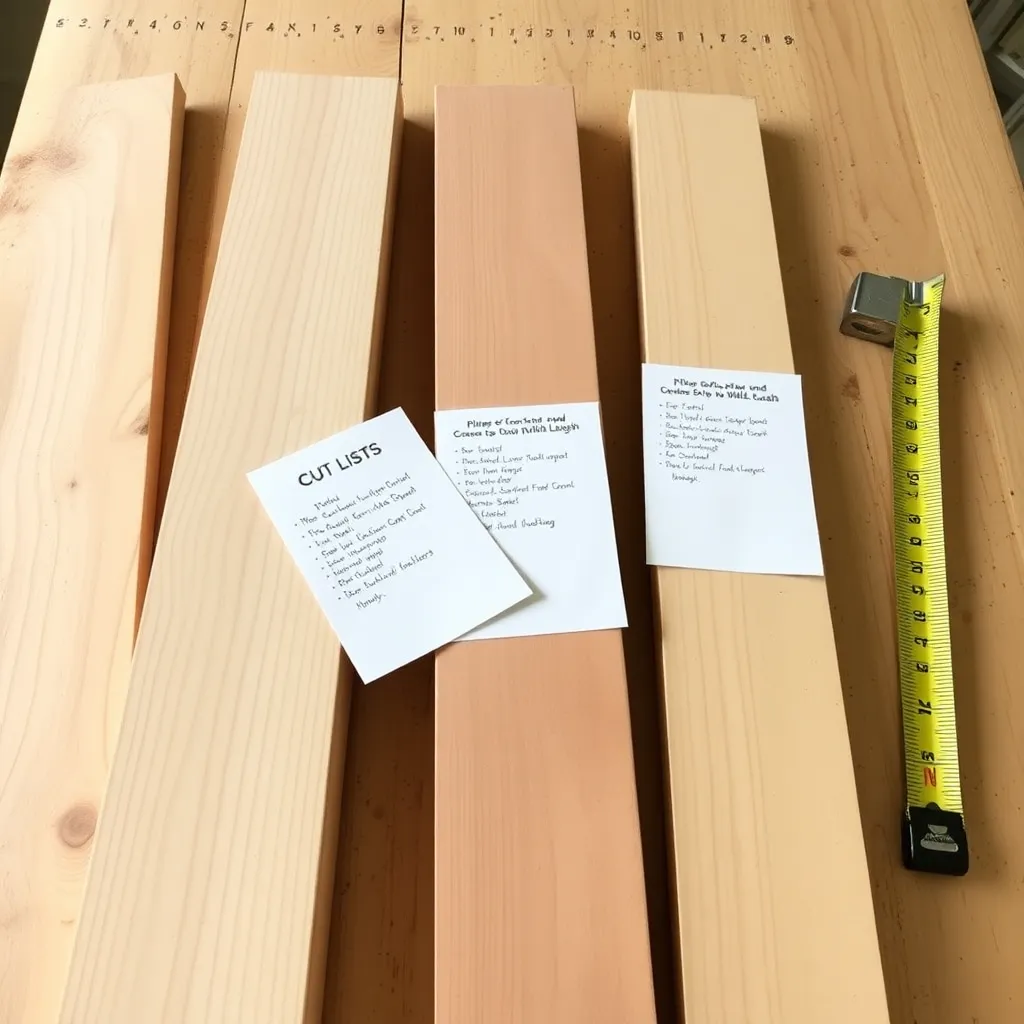
Floating Plant Shelf (36″ version)
| Part | Qty | Size | Board |
|---|---|---|---|
| Shelf top | 1 | 36″ × 8″ × ¾” | 1×8 pine, poplar, or oak |
| Shelf front lip | 1 | 36″ × 1½” × ¾” | 1×2 pine or poplar |
| Shelf back cleat | 1 | 34″ × 3½” × ¾” | 1×4 pine |
| Side returns | 2 | 7¼” × 3½” × ¾” | 1×4 pine |
Hardware: 2½” screws for cleat-to-wall (into studs), 1¼” brad nails or screws for lip and returns, sandpaper, primer and paint or stain of choice.
Two-Shelf Bracket System (36″ wide)
| Part | Qty | Size | Board |
|---|---|---|---|
| Upper shelf | 1 | 36″ × 8″ × ¾” | 1×8 pine, poplar, or oak |
| Lower shelf | 1 | 36″ × 10″ × ¾” | 1×10 pine, poplar, or oak |
| Shelf front lips | 2 | 36″ × 1½” × ¾” | 1×2 pine or poplar |
| L-brackets or corbels | 4 | 6″ × 8″ | heavy-duty steel or wood corbels |
Hardware: 2½” lag screws into studs (8), 1¼” screws for lips, sandpaper, finish of choice.
Leaning Ladder Shelf
| Part | Qty | Size | Board |
|---|---|---|---|
| Side rails | 2 | 60″ × 1½” × 1½” | 2×2 pine or poplar |
| Rungs (shelves) | 5 | 20″ × 5½” × ¾” | 1×6 pine or poplar |
| Base feet | 2 | 6″ × 3½” × ¾” | 1×4 pine |
| Top wall bumpers | 2 | 2″ × 2″ | felt pads or rubber feet |
Hardware: 2½” screws (10), wood glue, sandpaper, finish of choice.
Step 3: Build the Floating Plant Shelf
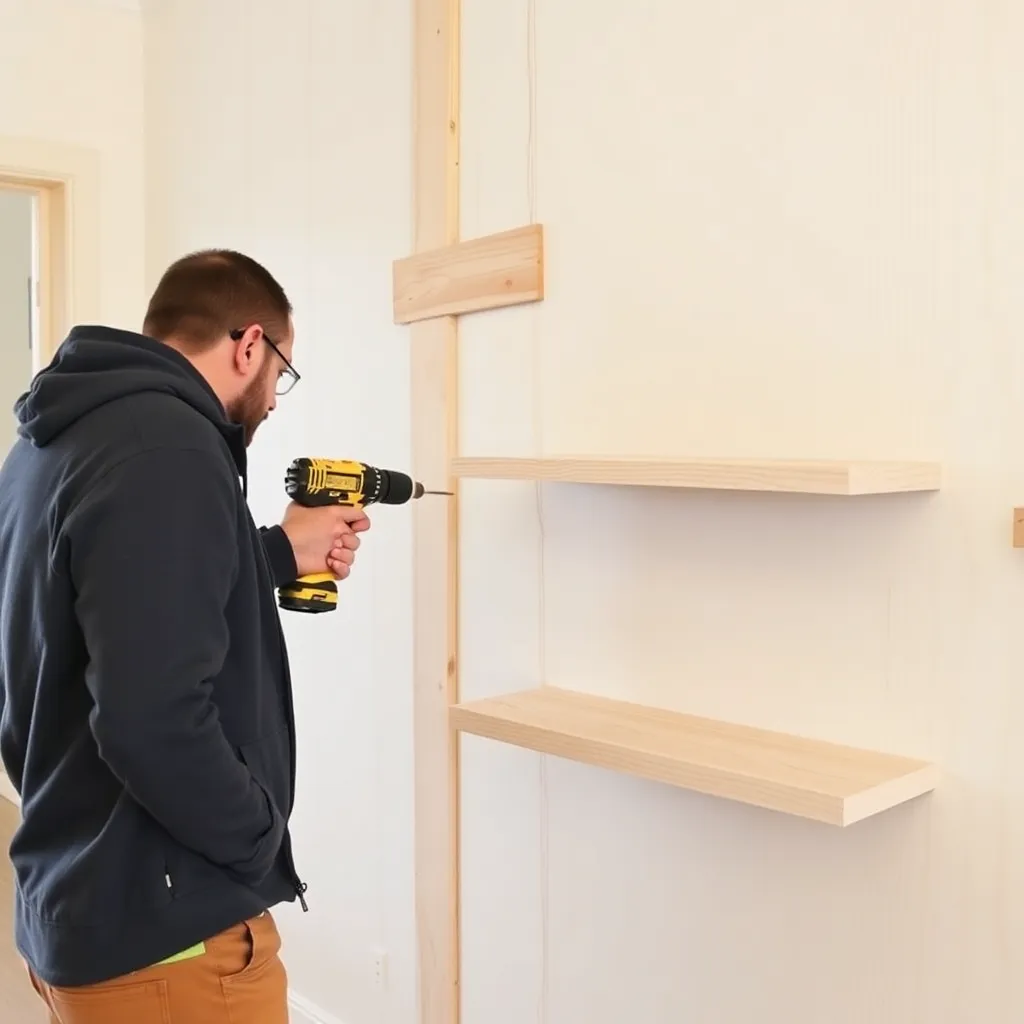
The floating shelf gets its strength from the back cleat — a 1×4 board screwed directly into wall studs. Everything else hangs from it.
Install the back cleat first. Use a stud finder to locate two studs within the 36″ span. Mark them with light pencil lines. Hold the 34″ cleat against the wall at your desired shelf height (the shelf top surface will sit 3½” above the cleat top edge — account for this when choosing height). Drive 2½” screws through the cleat into each stud — two screws per stud, staggered vertically. Pull firmly on the cleat after installation: it should not move at all.
Cut the shelf top. Sand all faces to 180-grit before assembly — it’s much easier to sand flat panels before they’re attached. Rip or buy a 1×8 board to 36″ length. If you want an ogee or roundover edge on the front, now is the time to run it through a router.
Build the shelf box. Attach the two side returns to the ends of the shelf top, flush at the back, using glue and 1¼” screws. Then attach the front lip along the front edge — this hides the shelf top’s end grain and gives the front a thicker, more substantial look. The assembled shelf is now a U-shaped box open at the back.
Hang the shelf on the cleat. Slide the shelf box over the cleat from the front — the cleat should fit snugly inside the U. Drive two screws down through the shelf top into the cleat to lock it in place. These screws are on top of the shelf and hidden by plants.
Step 4: Build the Two-Shelf Bracket System
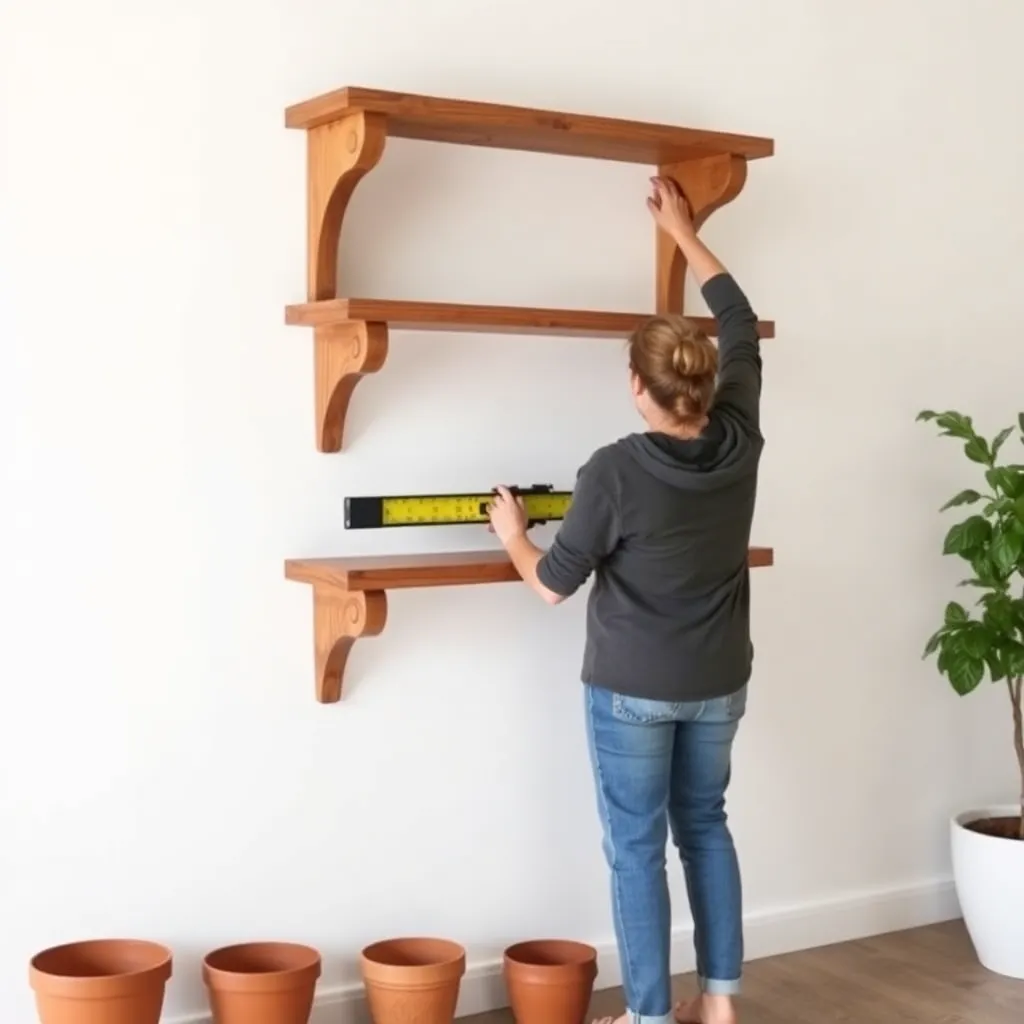
The bracket system trades the invisible cleat for visible supports — faster to install and easier to level, especially on plaster walls where studs are harder to hit precisely.
Mark stud locations and bracket positions. The upper shelf brackets go at the desired height; space the lower shelf at least 14″ below to fit taller plants on the lower tier. Mark all four bracket positions with a level line — both brackets for each shelf must be at exactly the same height or the shelf will tilt.
Attach the brackets. For steel L-brackets, drive 2½” screws into studs through the wall-side holes. For wooden corbels, pre-drill through the corbel into the stud and use 3″ screws — corbels need longer fasteners because the wood itself eats up length before hitting the stud.
Cut and finish the shelves before mounting. Sand to 180-grit and apply your chosen finish now — painting a shelf while it’s on the wall is frustrating. Let dry completely.
Set the shelves on the brackets. Rest each shelf on its pair of brackets and check level with a 4-foot level. Drive 1¼” screws up through the bracket into the shelf bottom — two screws per bracket. The front lip goes on last: glue and brad-nail it along the front edge of each shelf, flush with the top surface.
Step 5: Build the Leaning Ladder Shelf
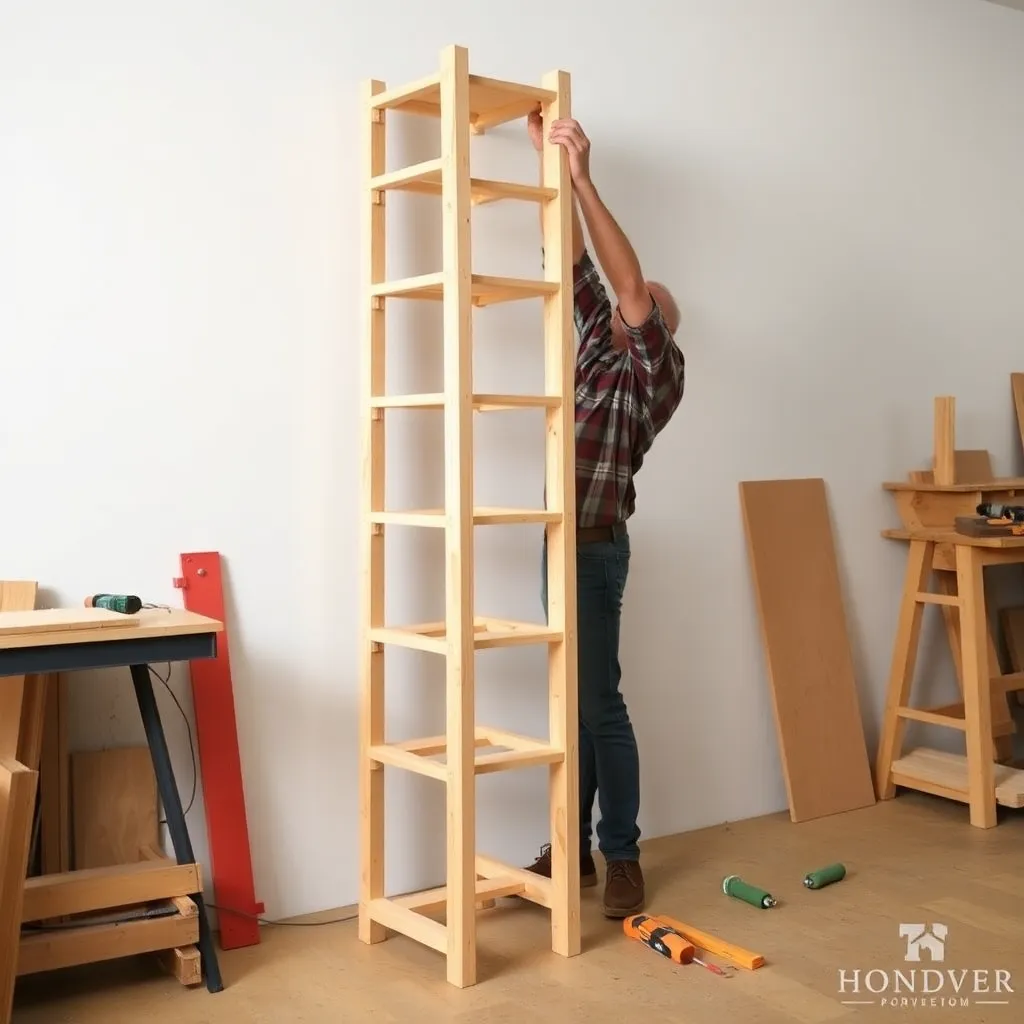
The ladder shelf is the most forgiving of the three builds — small angle variations look intentional, and nothing is permanently attached to the wall.
Cut the side rails. The ladder leans at roughly 10–15 degrees from vertical. To get this angle, mark the top and bottom of each rail: the top leans back 4″ from vertical over 60″ of height. Cut a 4-degree bevel at the top of each rail (where it contacts the wall) and a matching bevel at the bottom so the rail sits flat on the floor. These cuts are identical on both rails — set your miter saw to 4 degrees and make all four cuts at once.
Mark rung positions. With both rails flat on the floor, parallel and 20″ apart, mark the five rung positions: 6″, 17″, 28″, 39″, and 50″ from the bottom. These positions give graduated spacing that looks balanced and allows taller plants at the bottom, trailing plants at the top.
Attach the rungs. Apply glue to the end of each rung and drive two 2½” screws through the rail into the rung end. Work from the bottom rung up, checking that each rung is perpendicular to the rails before the glue sets. A small square helps here. The rungs should all be parallel — if they’re not, the shelf will rack side to side.
Add base feet and top bumpers. Glue and screw a 6″ base foot flush with the bottom of each rail, extending toward the front. This widens the footprint by 4″ per side and prevents the base from sliding on hard floors. On the top of each rail (the part that touches the wall), attach a self-adhesive felt pad or rubber bumper — this protects your wall paint and prevents the top from sliding down.
Step 6: Finish and Style
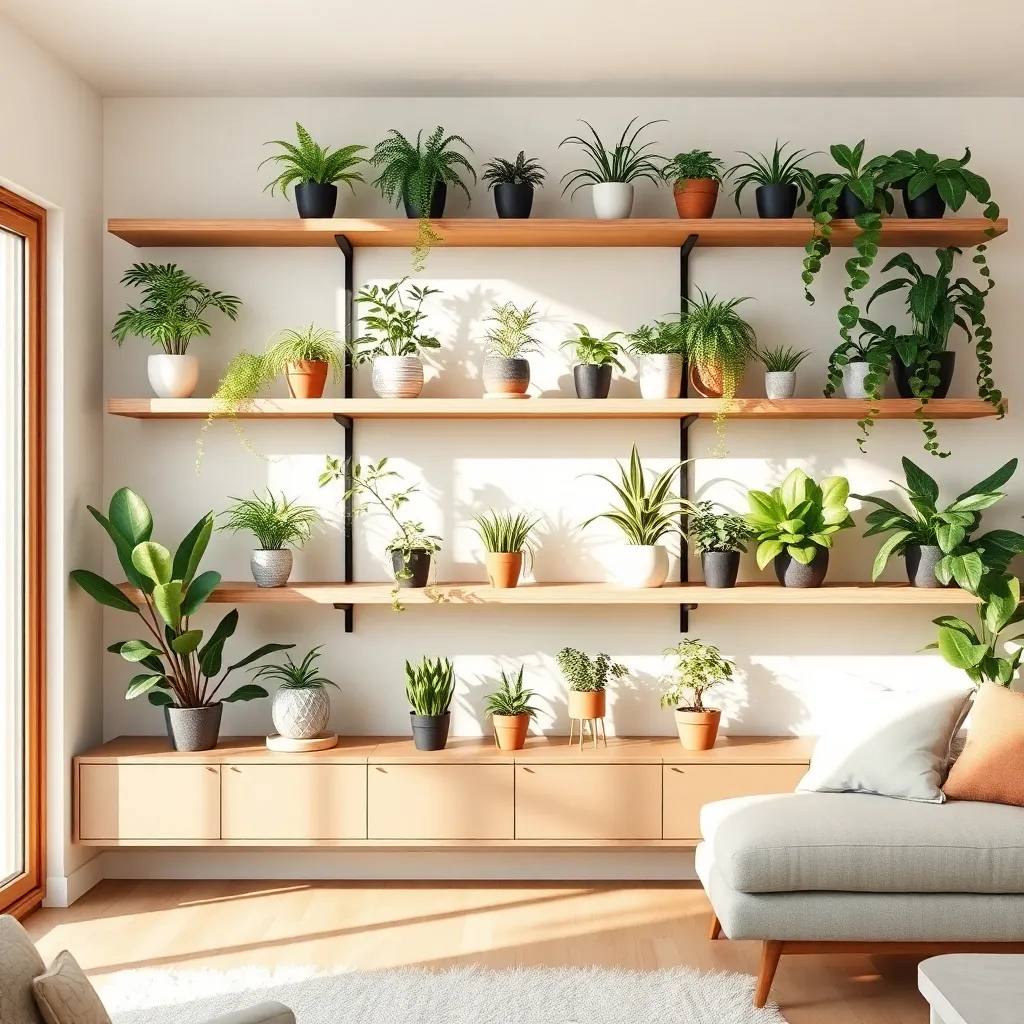
Sand any remaining rough spots with 220-grit. Wipe with a tack cloth before finishing.
Paint: Two coats of interior latex in eggshell or satin sheen. Prime first if using a dark color over bare wood or if switching from dark to light. White and warm off-whites (Sherwin-Williams Alabaster, Benjamin Moore White Dove) are perennially popular for plant shelves — they photograph well and make green plants pop.
Natural wood stain: A medium-tone walnut or warm oak stain gives a warm, organic look that pairs well with terracotta and natural ceramic pots. Apply one coat, wipe back within 5 minutes, let dry 24 hours, and follow with a coat of matte polyurethane for durability.
Bare wood with oil: For live-edge or figured wood shelves, a single coat of hardwax oil (Rubio Monocoat or similar) brings out grain without adding plastic sheen. Wipe on, wipe off — one coat covers most species.
Styling tips: Group plants in odd numbers (three or five per shelf reads better than two or four). Mix heights — one tall plant, one medium, one trailing — for visual rhythm. Leave 20–30% of each shelf empty so the wood itself reads as part of the display.
For more outdoor and indoor planter projects, visit our planter box plans hub.
Want 16,000+ step-by-step woodworking plans?
Ted’s Woodworking has plans for every skill level — from simple shelves to full bedroom sets. Each plan includes a cut list, material list, and detailed diagrams. Browse Ted’s plans →
Plant Shelf Plans FAQ
How deep should a plant shelf be?
Eight inches (the actual width of a 1×8 board) fits most 4″ and 6″ pots with enough room to water without dripping off the front. For 8″ pots, go to 10″ depth (1×10 board). Avoid going deeper than 12″ on a floating shelf — the hidden cleat system works best with shallower shelves; deeper shelves need additional support.
How much weight can a floating plant shelf hold?
A properly built floating shelf with the back cleat screwed into two studs holds 50–75 lbs distributed across the shelf length. Individual plant weight isn’t usually the concern — the concern is point loads. One large 15-lb ceramic pot centered on a 36″ floating shelf is fine; three 15-lb pots clustered in one spot is not.
Do plant shelves need to be waterproofed?
The top surface benefits from a water-resistant finish — a coat of matte polyurethane or hardwax oil protects against watering drips. Use saucers under every pot. Avoid saucers that pool water directly on the shelf for extended periods; standing water will raise wood grain and eventually blister most finishes.
What wood is best for a plant shelf?
Poplar is the best budget choice for painted shelves — stable, smooth, takes paint beautifully, and widely available. For natural wood or stained shelves, red oak is the best value with visible grain. Pine works but has more knots and is softer. Walnut and maple are premium options worth the cost on a single accent shelf where the wood is part of the look.
Can I build a plant shelf without a drill?
For the leaning ladder shelf, yes — you could use dowels and a hand-driven mallet for all joints. For the floating shelf and bracket system, you need to drive screws into wall studs, which really requires a drill. A hand screwdriver into a pre-drilled pilot hole can work in a pinch, but it’s slow and makes hitting studs accurately much harder.
How far apart should plant shelves be spaced?
Minimum 12″ between shelf surfaces for small plants and trailing varieties. If you’re placing plants taller than 6″, space shelves 14–16″ apart vertically. The two-shelf bracket system in these plans uses 14″ of clearance between shelves, which fits plants up to 12″ tall on the lower shelf with room to water.
How do I keep a leaning ladder shelf from sliding?
Felt pads on the top rails protect the wall and reduce sliding. On the floor, rubber feet on the base extensions grip better than bare wood. On tile or polished concrete, add a thin rubber mat under the base. If the shelf still slides with heavy loads, a single small hook-and-eye latch from the top rail to the wall (one small hole) stabilizes it completely without permanent mounting.

“DIY woodworking enthusiast who started with zero experience and a YouTube tutorial.
I build simple, practical projects for my home and share free plans
so other beginners can skip the guesswork.If I can build it, you can too.”