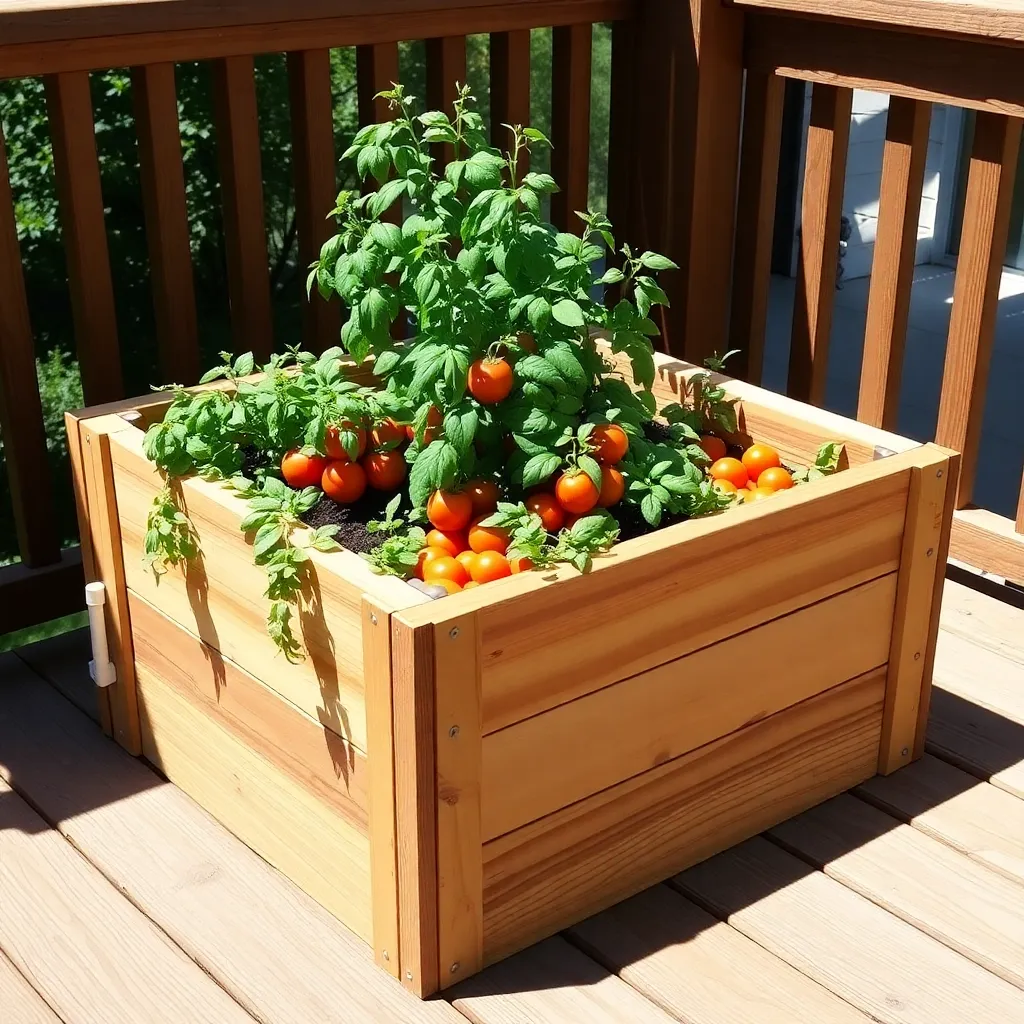
A self-watering planter box sounds complicated but works on a simple principle: water sits in a reservoir below the soil, and plant roots draw it up by capillary action as needed. The result is a planter that needs water two to three times less often than a standard box, produces bigger harvests because roots never dry out between waterings, and wastes almost no water to evaporation or runoff.
These self-watering planter box plans build a cedar box with a built-in plastic liner reservoir, a wicking soil column, an overflow drain, and a fill tube — the same sub-irrigation design used in commercial self-watering containers, built to any size you need.
Step 1: Understand How Sub-Irrigation Works
Want 16,000+ step-by-step woodworking plans?
Ted’s Woodworking has plans for every skill level — from simple shelves to full bedroom sets. Each plan includes a cut list, material list, and detailed diagrams. Browse Ted’s plans →
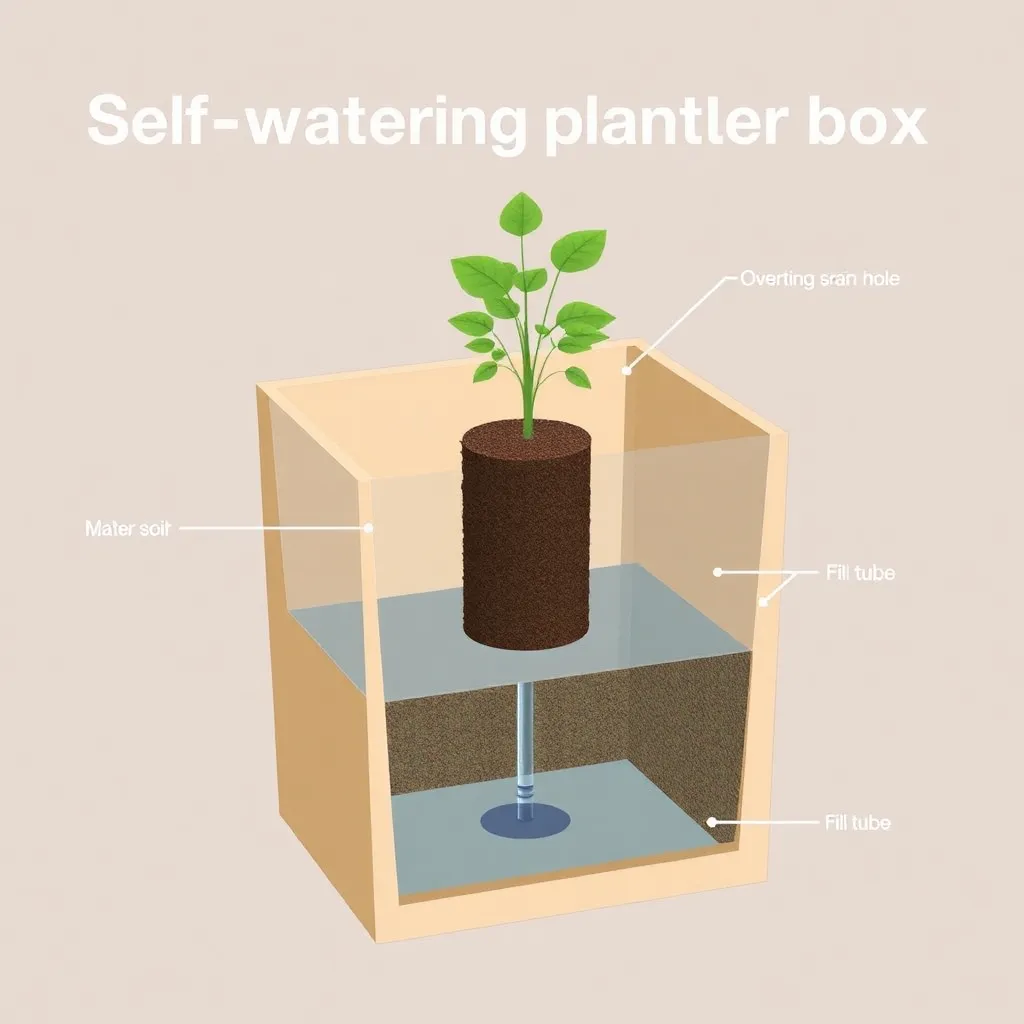
Before cutting a single board, it helps to understand the four components that make sub-irrigation function:
Reservoir: A waterproof chamber in the bottom third of the planter holds the water supply. In this design, a plastic liner (pond liner or heavy-duty landscape fabric liner) sits inside the cedar box and forms a watertight reservoir. The reservoir capacity determines how many days the planter goes between refills.
Wicking column: A central column of soil sits inside the reservoir, in direct contact with both the reservoir water at the bottom and the main soil mass above. Water wicks upward through this column continuously, driven by the roots’ demand. A perforated basket or mesh container holds the wicking soil in place.
Overflow drain: A hole drilled through the cedar box at exactly the maximum reservoir water level prevents overfilling. When you add water beyond the reservoir capacity, excess drains out the side — which means you can water generously without risk of root rot from a flooded reservoir.
Fill tube: A PVC pipe running from the soil surface down into the reservoir lets you add water directly to the reservoir without watering the soil surface. Watering the surface wastes water to evaporation and can cause fungal problems on foliage; the fill tube bypasses all of that.
Step 2: Choose Your Size and Materials
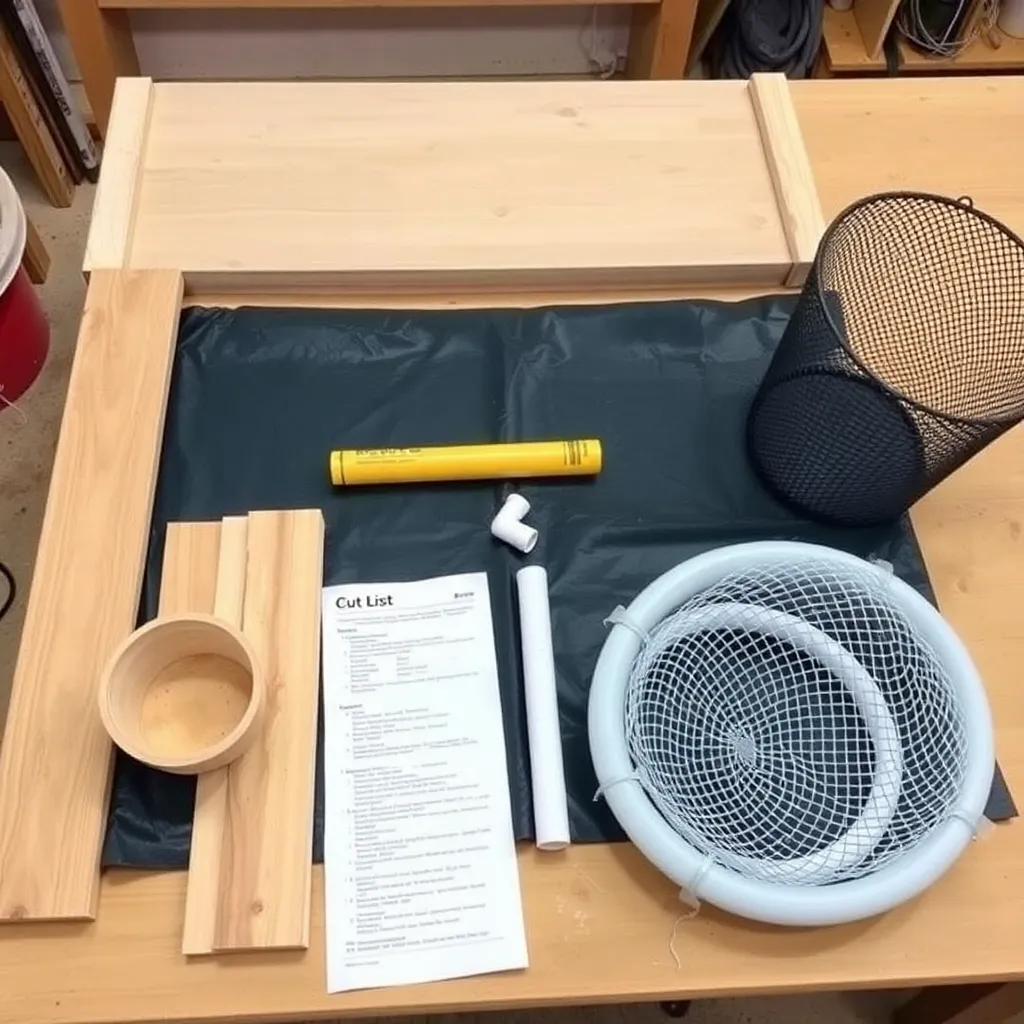
This design scales easily. The instructions below build a 36″ × 14″ × 16″ box — a good size for tomatoes, peppers, or herbs. Adjust the length and width to suit your space; keep the height at 14–16″ to allow adequate reservoir depth (4–5″) and soil depth (10–11″) above it.
Cut List (36″ × 14″ × 16″ box)
| Part | Qty | Size | Board |
|---|---|---|---|
| Long sides | 2 | 36″ × 15¼” × ¾” | 1×16 cedar or glued-up 1×8 |
| Short ends | 2 | 12½” × 15¼” × ¾” | 1×16 cedar or glued-up 1×8 |
| Bottom panel | 1 | 34½” × 12½” × ¾” | 1×14 cedar or glued-up panels |
| Top cap rails | 2 | 36″ × 1½” × ¾” | 1×2 cedar |
| Top cap stiles | 2 | 15¼” × 1½” × ¾” | 1×2 cedar |
| Wicking basket support | 2 | 12½” × 1½” × ¾” | 1×2 cedar |
| Reservoir divider ledge | 2 | 34½” × 1½” × ¾” | 1×2 cedar |
Additional materials:
- Heavy-duty pond liner or 20-mil PVC liner, cut to 48″ × 30″ (enough to line interior with overlap)
- 1″ PVC pipe, 18″ length (fill tube)
- ¾” drill bit and 1″ hole saw
- Mesh laundry bag or plastic berry basket (wicking column container)
- Landscape fabric, 1 square foot
- 1¼” stainless screws, exterior wood glue
- Potting mix (not garden soil) — fill the wicking column with a peat/perlite mix
Step 3: Build the Cedar Box
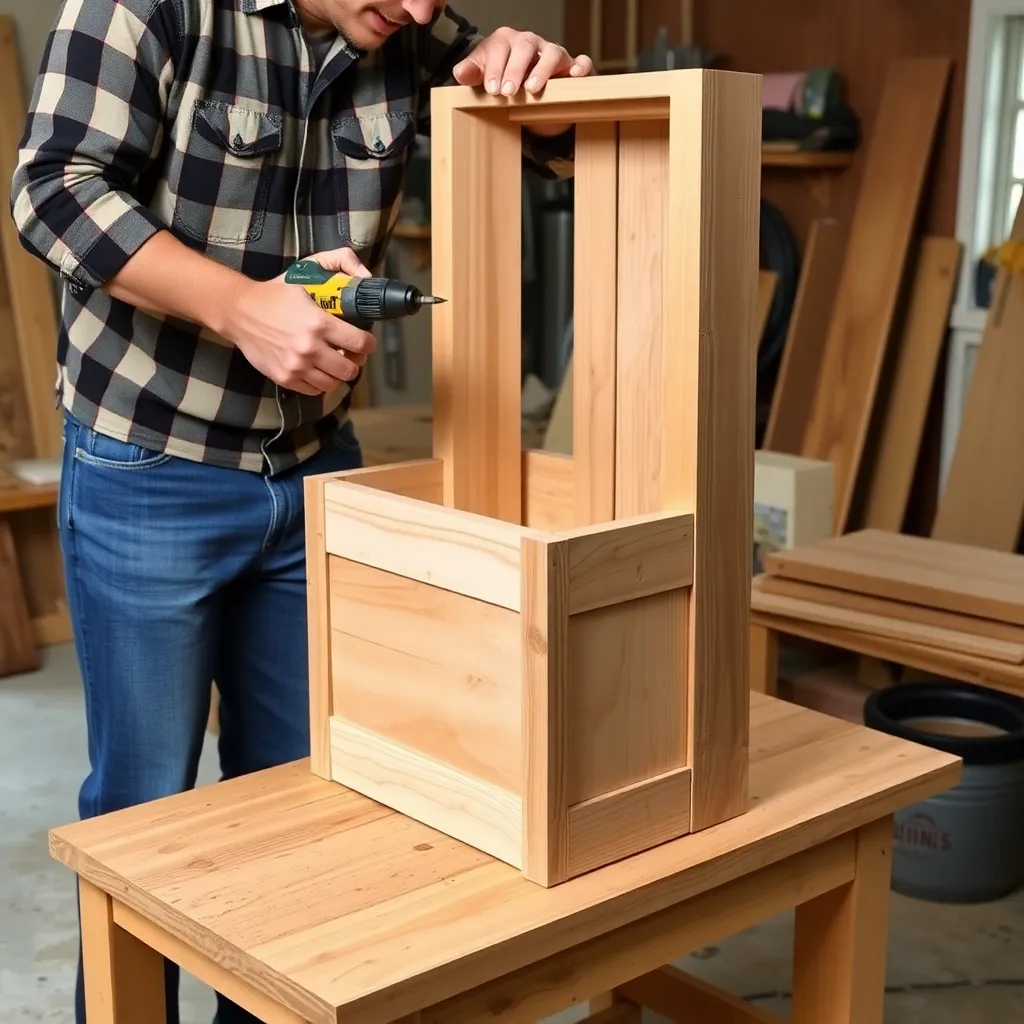
Assemble the cedar box first — the liner and reservoir system goes in afterward.
Cut all boards to length. The long sides are 36″; the short ends are 12½” (the 14″ outside width minus two ¾” side board thicknesses). Dry-fit all four sides before gluing to confirm the box measures 36″ × 14″ outside.
Attach the reservoir divider ledges. Before assembling the box, glue and screw a 1×2 ledge strip along the inside face of each long side board, positioned 5″ up from the bottom edge. These ledges will support the liner’s reservoir fold and create the separation between reservoir and soil zones. Use 1¼” screws, pre-drilled, every 8″.
Assemble the four sides. Stand the short end boards between the long sides — the end boards sit inside, between the long sides, so the outside dimension is 36″ × 14″. Apply exterior glue to each joint, clamp, and drive two 1¼” screws through the long side into the end board end grain at each corner. Pre-drill every screw to prevent splitting.
Attach the bottom panel. Flip the assembled sides upside down. Set the bottom panel on the four sides and drive 1¼” screws through the bottom into the side boards every 6″ around the perimeter. Do not glue the bottom — in the rare event the liner fails, a removable bottom lets you replace it without demolishing the box.
Drill the overflow drain. With the box right-side up, drill a ¾” hole through one long side at exactly 5″ from the bottom inside (matching the reservoir ledge height). This is the overflow drain — water above this level drains out automatically.
Drill the fill tube hole. Drill a 1″ hole through one short end, positioned 2″ from the top and 3″ from one side. The fill tube will pass through this hole down into the reservoir.
Add the top cap. Glue and screw the 1×2 cap rails along the top of the long sides (flush with the outside face), then the cap stiles across the ends. This cap adds visual weight and protects the top edge of the liner from UV degradation.
Step 4: Install the Liner and Reservoir
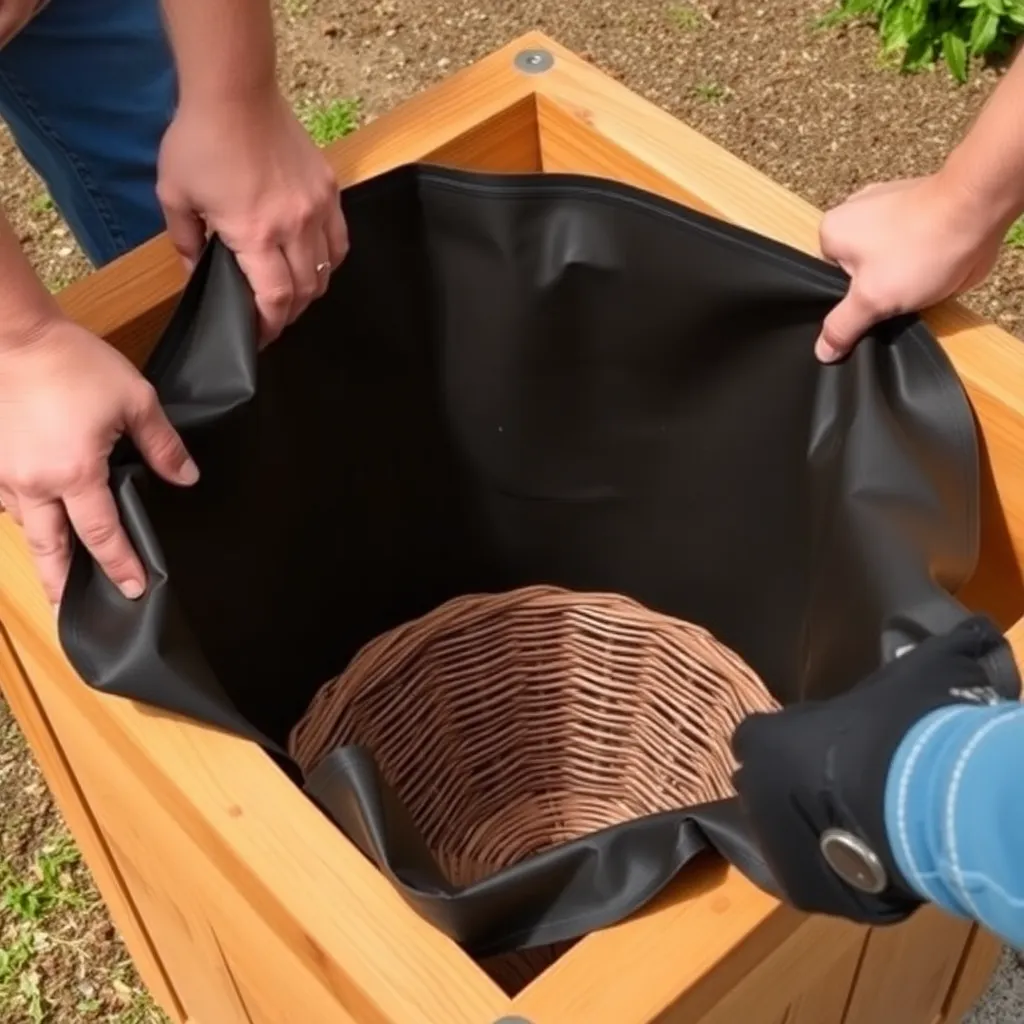
Cut and fit the liner. Lay the pond liner flat and set the assembled box in the center. Bring the liner up the inside walls on all four sides, letting it drape over the top edge. Press the liner into the bottom corners — make neat diagonal folds at each corner to keep the liner flat against the walls. Staple the liner to the outside top edge of the box every 6″ using a staple gun with ½” stainless staples. Trim the excess liner ½” below the staple line.
Form the reservoir pocket. The liner must be pressed into and held against the reservoir ledges so that a sealed pocket forms in the bottom 5″ of the box. Tuck the liner firmly into the corner where the ledge meets the side wall. The ledge holds the liner horizontal at the 5″ height, creating a trough around the perimeter.
Install the wicking column basket. Take a mesh laundry bag or plastic berry basket and fill it with a peat-heavy potting mix (70% peat, 30% perlite). This is your wicking column. Position it in the center of the box bottom, sitting on the bottom of the liner inside the reservoir zone. The basket should extend from the box bottom up through the reservoir zone and into the soil zone above — typically 8–9″ tall for this box size. If needed, cut a hole in the liner for the basket bottom to contact the cedar floor directly and wick moisture upward from the cedar grain.
Install the fill tube. Cut a 1″ PVC pipe to 15″ length. Push it through the fill hole in the short end of the box, angling it so the bottom rests inside the reservoir zone. The top of the tube should stick out 1–2″ from the outside of the box for easy access with a hose or watering can. Seal around the pipe at the box wall with silicone caulk.
Test the overflow drain. Pour water slowly into the fill tube until it overflows. Water should appear at the overflow drain hole at the 5″ level. If it doesn’t, check that the liner is fully seated against the reservoir ledges.
Step 5: Add Soil and Set Up for Planting
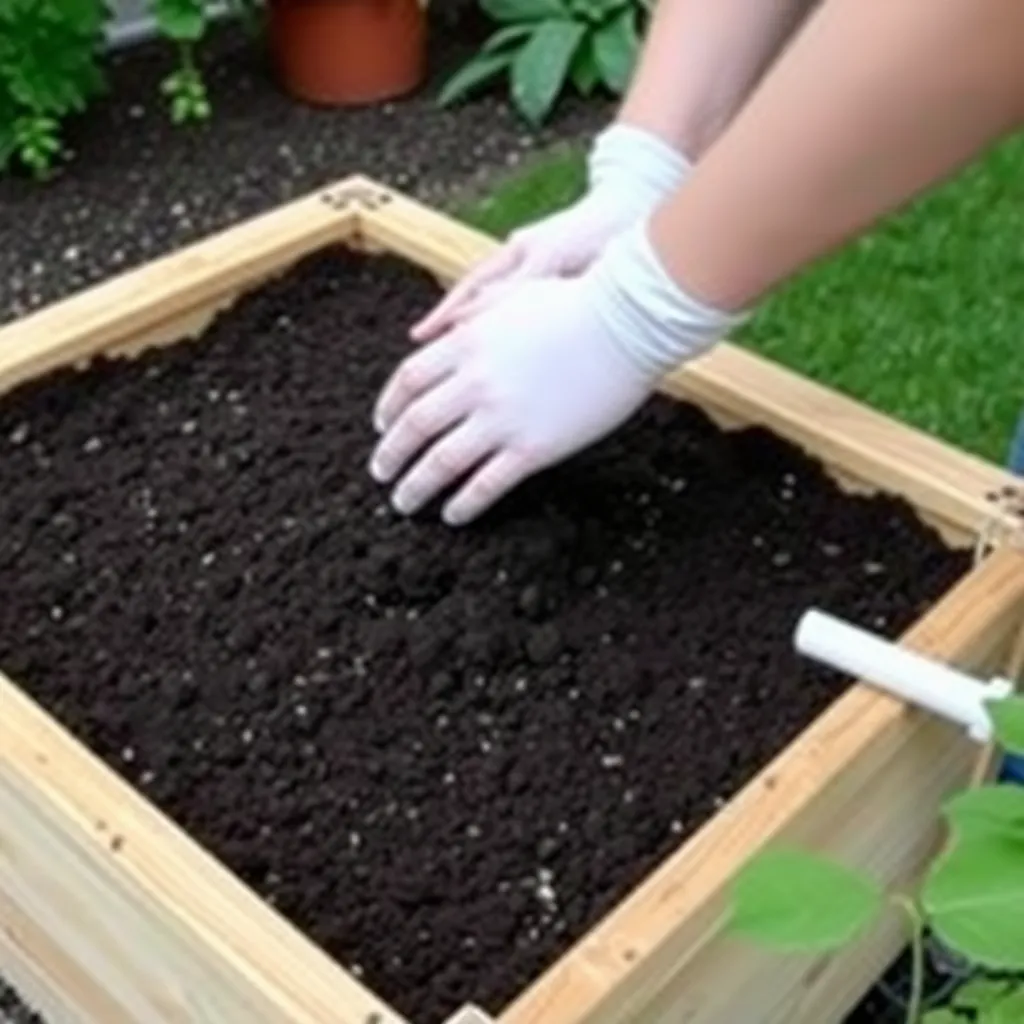
Line the soil zone with landscape fabric. Cut a piece of landscape fabric to cover the entire soil zone (above the reservoir level) and lay it loosely on top of the liner. This prevents soil from washing down through any gaps into the reservoir, which would cloud the water and reduce wicking efficiency over time.
Fill with potting mix. Use a high-quality potting mix — not garden soil, which compacts and prevents wicking. A mix with coconut coir, perlite, and compost works well. Fill to 1″ below the top of the box walls. Do not pack the soil down; sub-irrigation depends on the soil staying loose enough for capillary action.
First watering — saturate from the top. The first time you plant, water the soil surface thoroughly from above to establish contact between the soil, the wicking column, and the reservoir. After the soil is saturated once, switch to reservoir-only filling from the fill tube. For the first two weeks, water the surface every few days to help new transplants establish roots before they reach the wicking column.
Fertilize with slow-release granules. Because sub-irrigation delivers water from below, liquid fertilizers applied to the soil surface wash sideways rather than down to the roots efficiently. Use a slow-release granular fertilizer mixed into the top few inches of soil at planting time.
Step 6: Finish the Exterior and Maintain
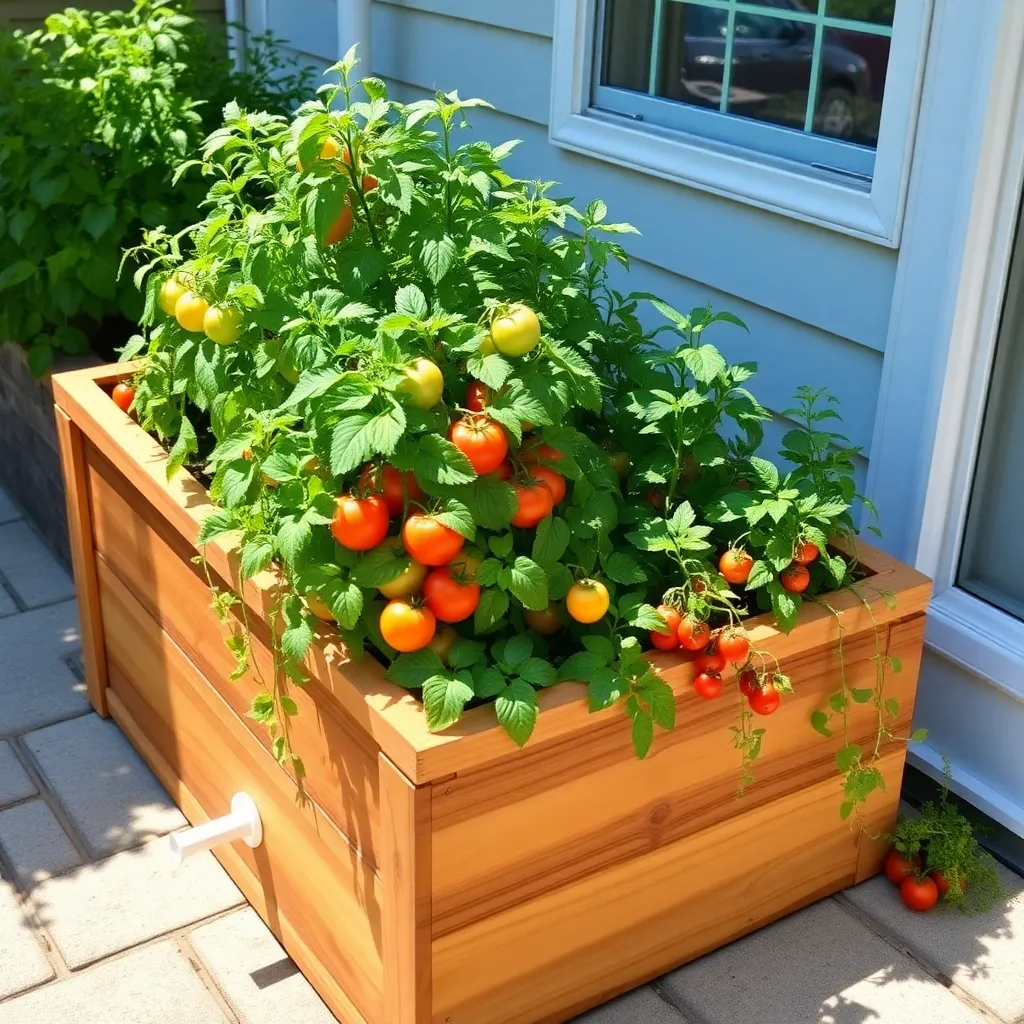
Sand the cedar exterior with 120-grit, then 180-grit. Apply two coats of exterior penetrating oil (teak oil, outdoor wood conditioner) to all exterior surfaces. Avoid finishing the interior wood surfaces that are covered by the liner — those surfaces don’t need protection and the liner adhesion is better on bare wood.
Seasonal maintenance: At the end of each growing season, drain the reservoir completely by removing a drain plug (add a ¾” removable rubber plug to the overflow hole when building if you want this option) or by tipping the box. Leaving standing water in the reservoir over winter can freeze and crack the liner in cold climates.
Liner replacement: The liner will eventually degrade — typically after 5–8 years for quality pond liner. Removing it requires unscrewing the bottom panel and peeling the old liner out. A new liner drops in the same way the original did.
For more outdoor planter projects, visit our planter box plans hub.
Want 16,000+ step-by-step woodworking plans?
Ted’s Woodworking has plans for every skill level — from simple shelves to full bedroom sets. Each plan includes a cut list, material list, and detailed diagrams. Browse Ted’s plans →
Self-Watering Planter Box FAQ
How does a self-watering planter box work?
Water sits in a sealed reservoir in the bottom of the planter. A central wicking column of peat-heavy soil draws water upward by capillary action, keeping the main root zone consistently moist. Plant roots grow down toward the moisture supply rather than drying out between waterings. An overflow drain prevents overfilling.
How often do you fill a self-watering planter?
It depends on plant size, weather, and reservoir capacity. A 36″ box with a 5″ reservoir holds roughly 2–3 gallons. In summer heat with established tomatoes, you might refill every 2–3 days. In spring or with herbs, the same reservoir lasts 5–7 days. The fill tube makes checking easy — insert a finger or a stick to feel the water level.
What soil do you use in a self-watering planter?
Use a high-quality potting mix, never garden soil. Garden soil compacts and blocks the capillary action that makes sub-irrigation work. A mix with coconut coir retains moisture well without compacting. Fill the wicking column specifically with a peat-heavy mix (70% peat, 30% perlite) for maximum wicking efficiency.
Can you grow tomatoes in a self-watering planter box?
Yes — tomatoes are one of the best crops for sub-irrigation. They’re heavy water users that stress easily between waterings, and consistent moisture dramatically reduces blossom end rot. Use a box at least 14″ deep and 12″ wide per plant, and choose determinate (bush) varieties for best results in a contained planter.
What is the best liner for a self-watering planter?
20-mil PVC pond liner is the most durable option — it’s UV-stabilized, flexible, and rated for 10+ years of outdoor use. Heavy-duty landscape fabric works as a temporary liner but isn’t truly waterproof; it will allow slow seepage over time. Avoid thin plastic sheeting (drop cloths, garbage bags) — they degrade quickly under UV and puncture easily.
Does a self-watering planter work for all plants?
Most vegetables, herbs, and annuals thrive in sub-irrigation. Tomatoes, peppers, eggplants, lettuce, spinach, basil, and most herbs are excellent choices. Avoid plants that prefer dry-and-wet cycles (succulents, lavender, rosemary) — the consistent moisture from sub-irrigation doesn’t suit them. Also avoid very deep-rooted crops like carrots in a standard depth box.
How do I prevent mosquitoes in the reservoir?
The fill tube is the entry point. Cap it with a small piece of fine mesh or a cap with holes drilled in it — this lets you fill the reservoir while blocking mosquito access. In most climates, the reservoir refills and empties fast enough that mosquito larvae can’t complete their life cycle (they need 7–10 days of standing water). The overflow drain also prevents water from sitting at the surface level.

“DIY woodworking enthusiast who started with zero experience and a YouTube tutorial.
I build simple, practical projects for my home and share free plans
so other beginners can skip the guesswork.If I can build it, you can too.”