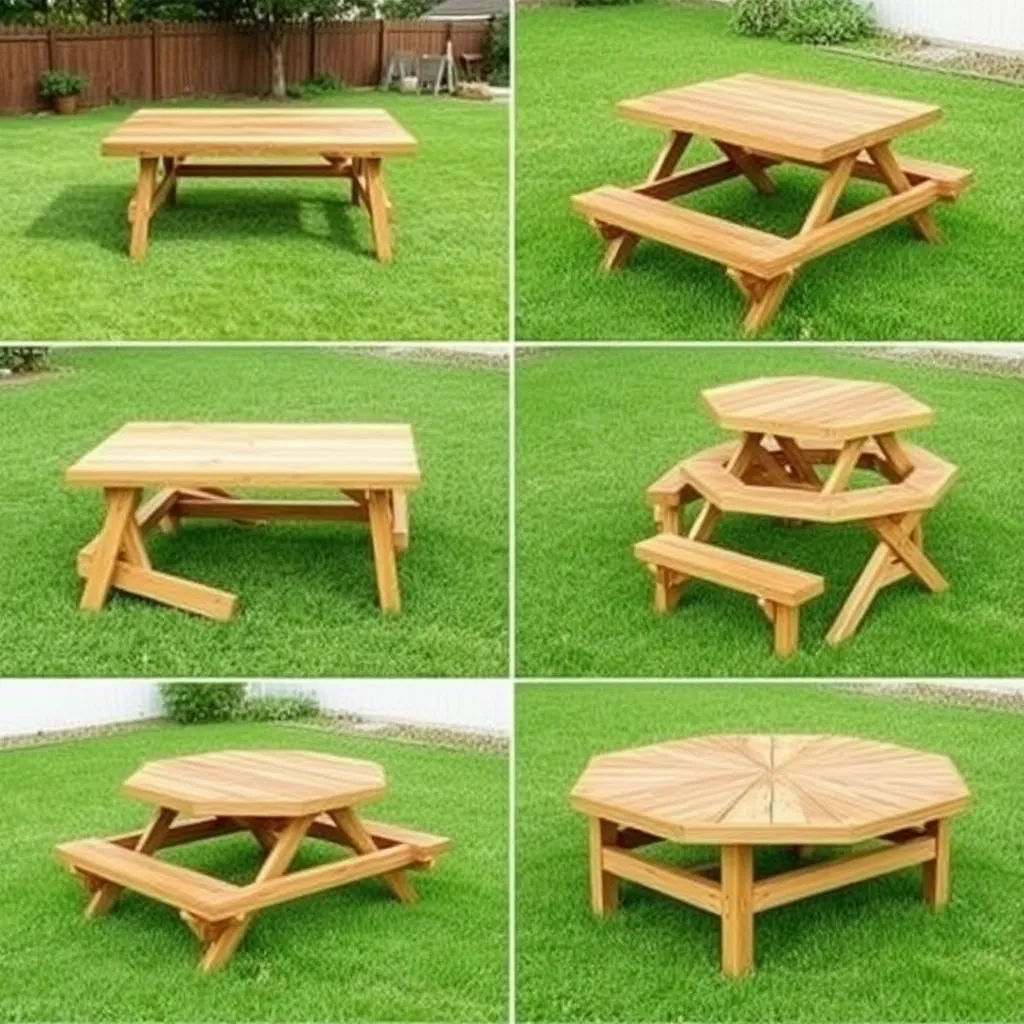
A picnic table is one of the most used pieces of outdoor furniture a family can own — and one of the most straightforward to build. No complicated joinery, no special tools, and lumber costs that make a store-bought table look absurd by comparison. The average DIY picnic table costs $80–160 in materials; retail equivalents start at $300 and top out well over $1,000 for the quality that lasts.
These picnic table plans cover six designs from the simplest rectangular table a beginner can build in an afternoon to a hexagonal design that seats six with no awkward corner spots. Each plan links to a dedicated page with a full cut list, step-by-step instructions, material costs, and assembly tips for that specific design.
Want 16,000+ step-by-step woodworking plans?
Ted’s Woodworking has plans for every skill level — from simple shelves to full bedroom sets. Each plan includes a cut list, material list, and detailed diagrams. Browse Ted’s plans →
1. Classic Rectangular Picnic Table Plans
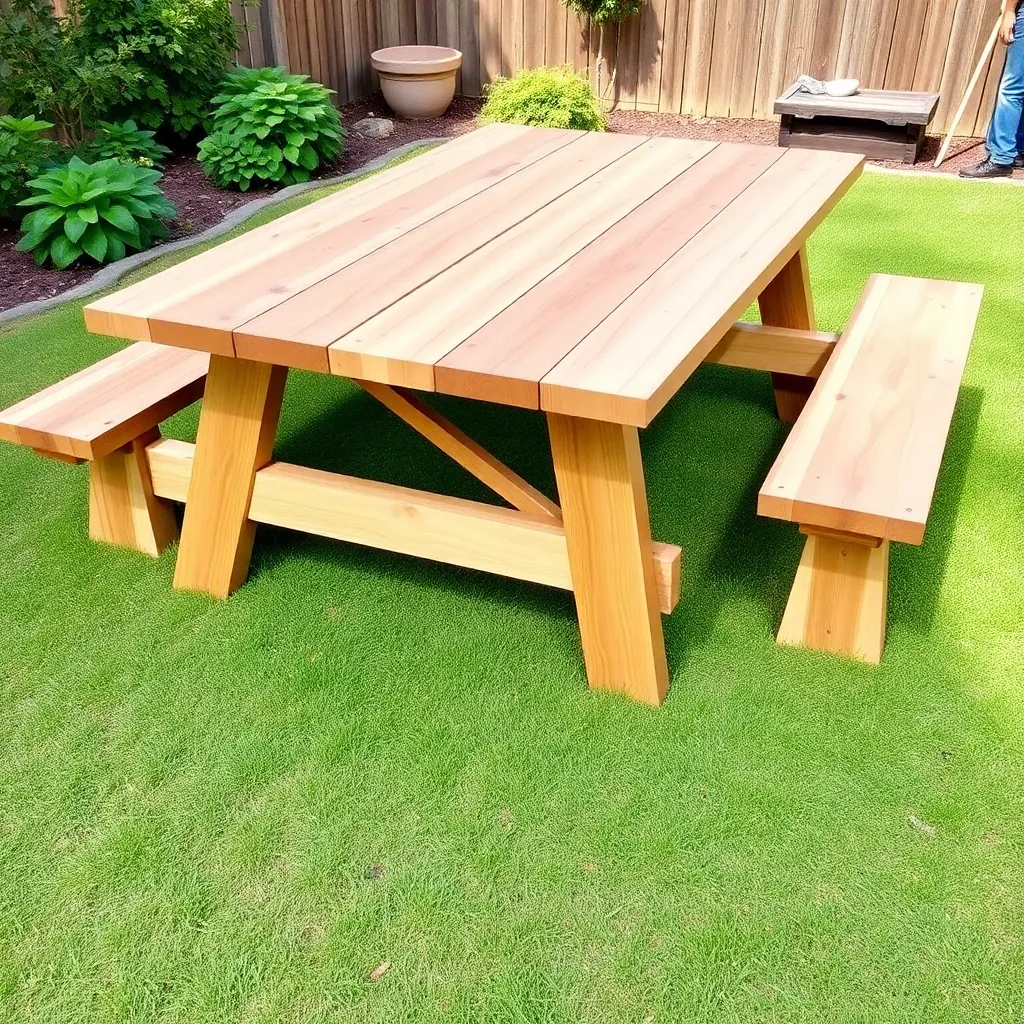
The standard 2×4 rectangular picnic table is the most-built outdoor project in woodworking — and for good reason. It seats six adults comfortably, uses common lumber available at any home center, and goes together in three to four hours with basic tools. This design uses 2×6 boards for the tabletop and 2×4 boards for the frame and benches, with angled leg assemblies that provide stability without requiring complex cuts.
Who it’s for: First-time builders, anyone wanting a proven design with no surprises.
Key specs: 6 feet long, seats 6 adults, 2×4 and 2×6 pressure-treated pine or cedar, no special tools required.
Build time: 3–5 hours. Material cost: $85–130.
2. Foldable Picnic Table Plans
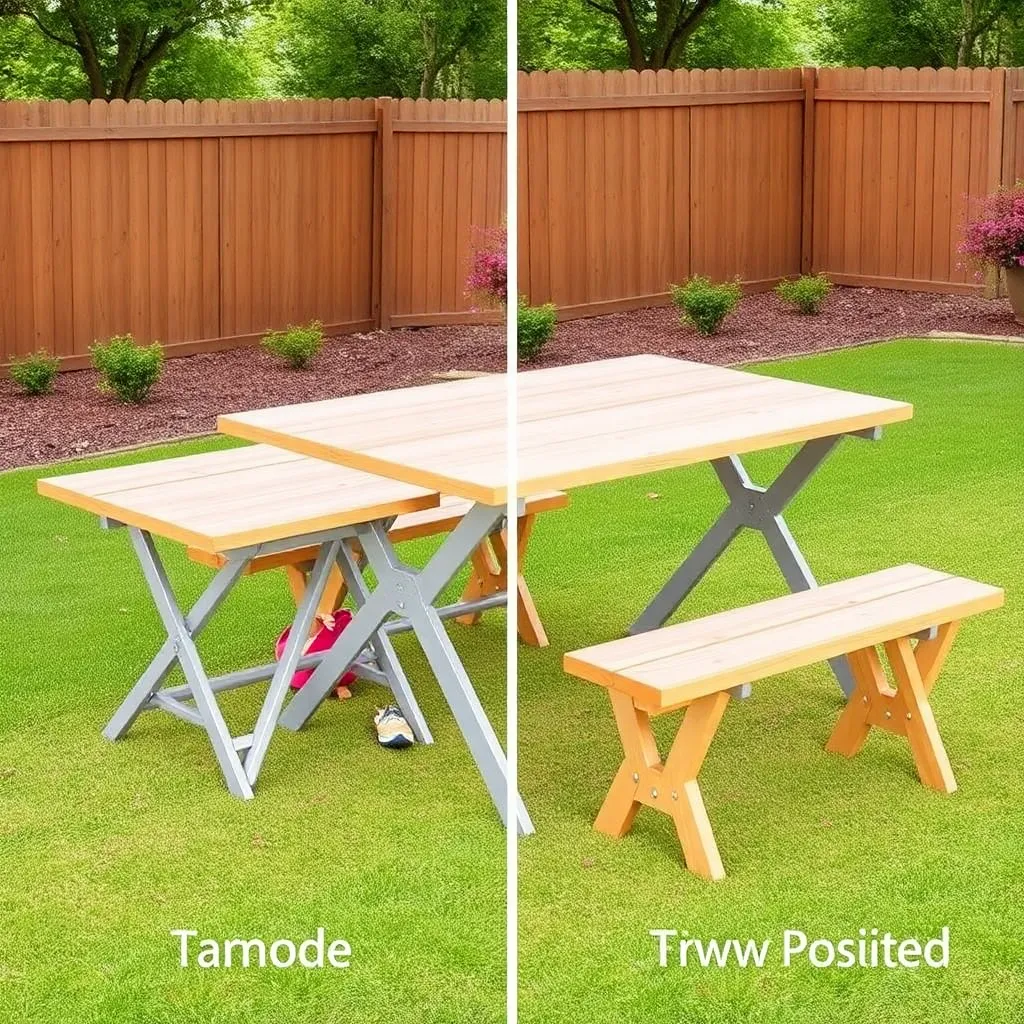
A foldable picnic table converts from a standard picnic table to two separate benches in under 60 seconds — no tools, no disassembly. The same piece of furniture serves as a table for outdoor meals and as bench seating for events when table space isn’t needed. The folding mechanism uses hinged center boards and leg pivots that lock flat in table position and fold down flat for storage or transport.
Who it’s for: Anyone with limited storage space, renters who need portable furniture, families who host events with different seating configurations.
Key specs: Folds to approximately 6″ flat profile, seats 4–6, fits in a garage or shed upright against a wall.
Build time: 4–6 hours. Material cost: $95–145.
3. Kids Picnic Table Plans
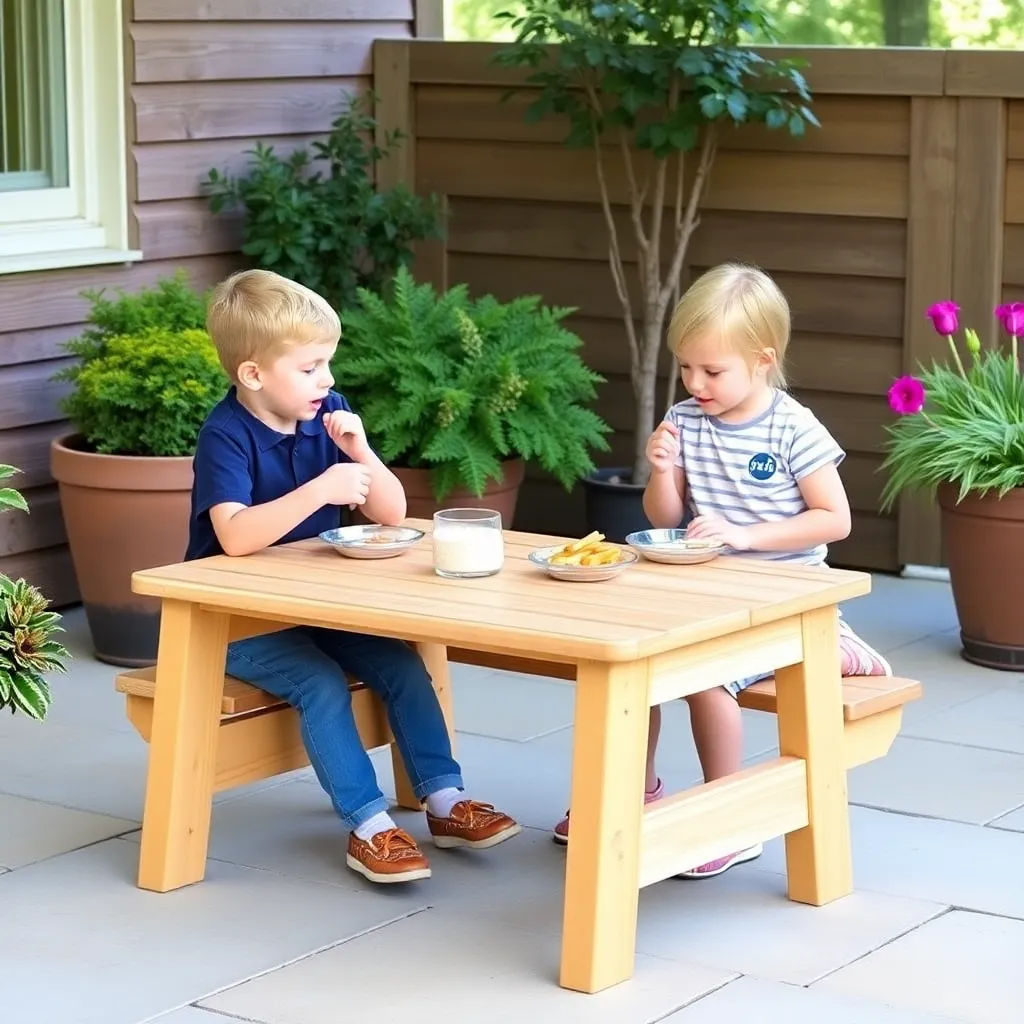
A scaled-down picnic table sized for children 2–8 years old — lower seat height, narrower bench depth, and shorter table height that puts a toddler’s elbows at the right working height for crafts, meals, and outdoor activities. Built from untreated cedar so there’s no chemical concern with small children, and sized to fit on a deck or patio without dominating the space.
Who it’s for: Parents, grandparents, daycares, preschools, anyone building for young children.
Key specs: 36″ table length, 20″ table height (vs. 30″ adult), 11″ seat height (vs. 18″ adult), seats 4 young children.
Build time: 2–3 hours. Material cost: $45–70.
4. Round Picnic Table Plans
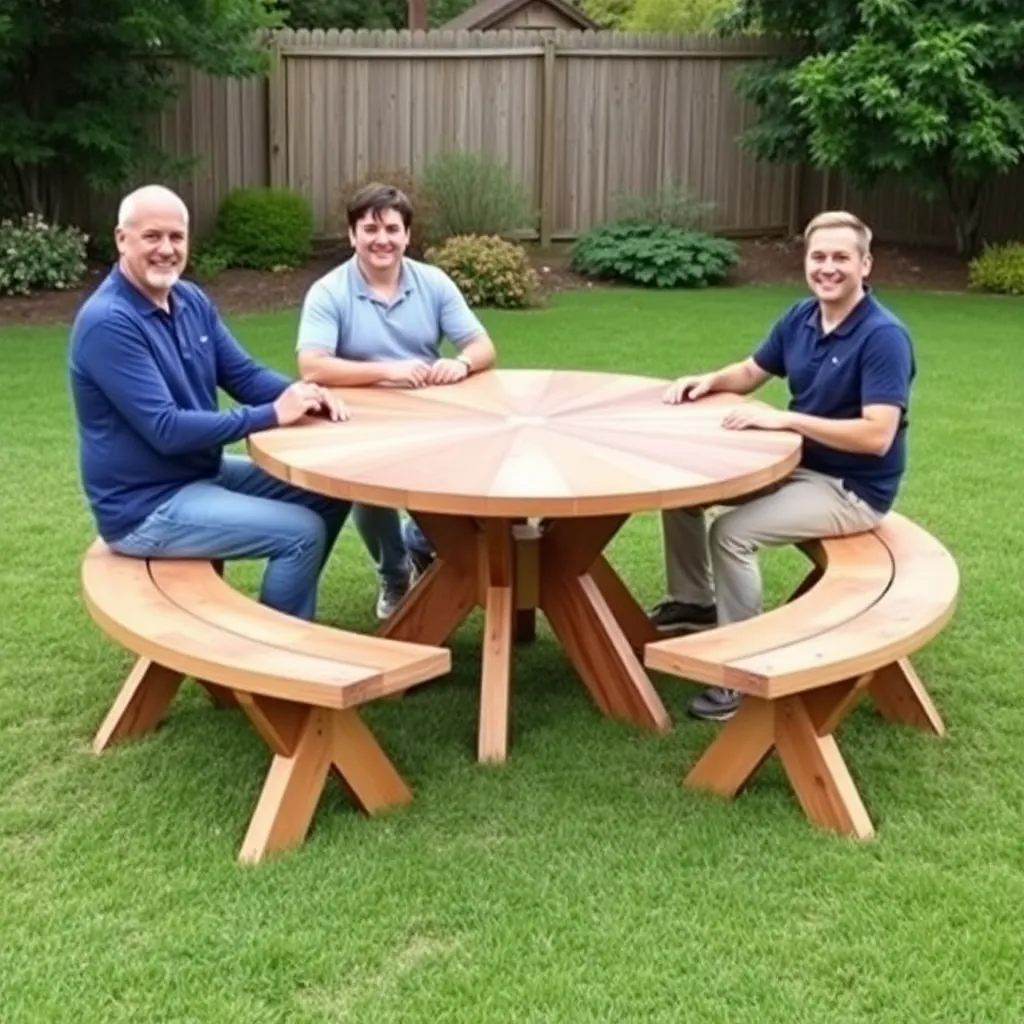
A round picnic table eliminates the awkward end seats and seats everyone equally — no one is stuck at the corner with half a bench to sit on. This design builds a 48-inch diameter round top from 2×6 boards arranged in a starburst pattern, with a central pedestal base and four outward-angled legs for stability. The round top is cut to shape with a jigsaw after the boards are glued together.
Who it’s for: Families that eat together frequently, anyone who prefers conversation-friendly seating where everyone faces the center.
Key specs: 48″ diameter tabletop, seats 4–5 adults, pedestal base with four angled legs, 2×6 cedar or pressure-treated pine.
Build time: 5–7 hours (includes glue cure time). Material cost: $110–160.
5. Hexagonal Picnic Table Plans
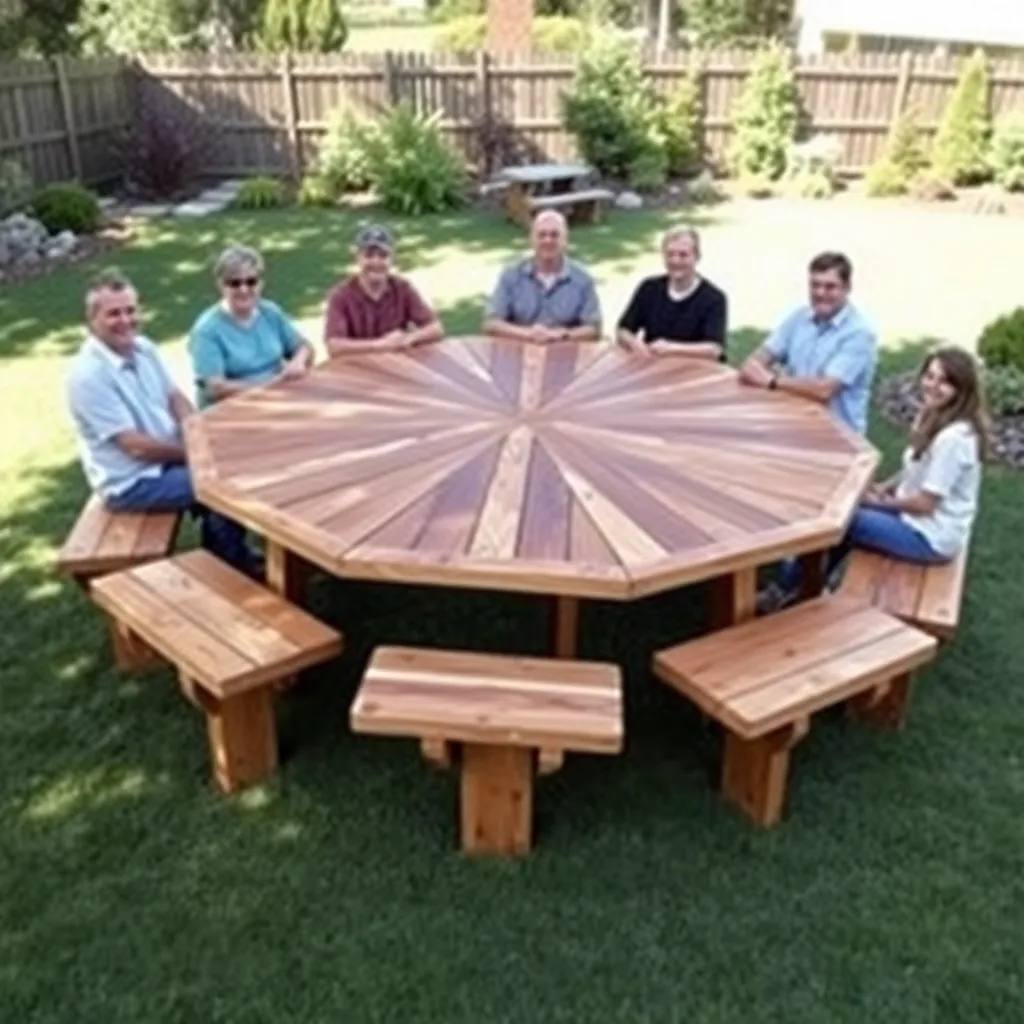
Six equal sides, six equal bench sections, six people seated with equal space and no awkward ends. The hexagonal picnic table is more complex to build than a rectangular design — every cut involves a 30-degree angle — but the result seats a full family symmetrically and becomes a centerpiece of the outdoor space rather than just a utility table. A central post and six radiating support beams hold the hexagonal top, with attached bench sections on each side.
Who it’s for: Intermediate builders comfortable with miter cuts, families of 4–6, anyone with a larger yard where the table can be a visual feature.
Key specs: 72″ across flat sides, seats 6 adults, all miter cuts at 30 degrees, cedar recommended.
Build time: 6–8 hours. Material cost: $140–200.
6. Farmhouse Picnic Table Plans
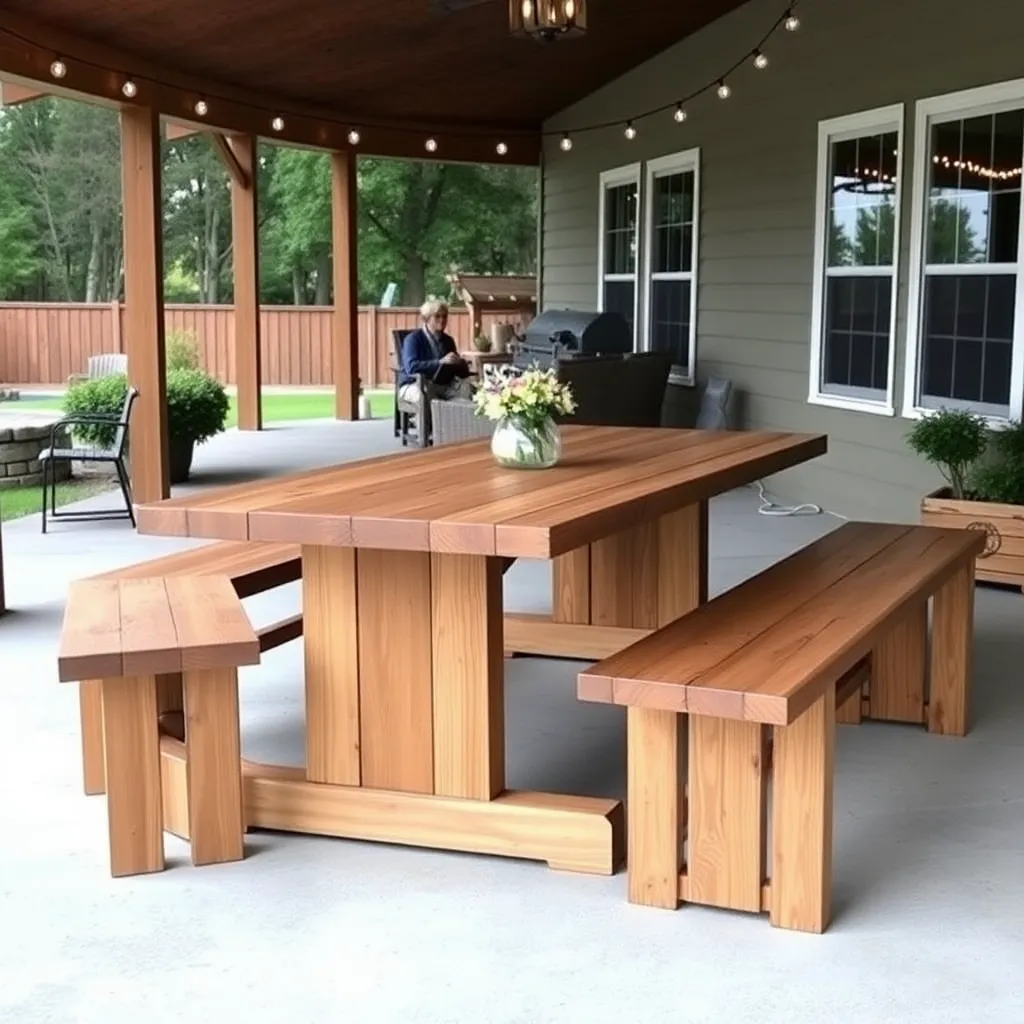
The farmhouse picnic table trades the angled leg design of a classic picnic table for straight vertical legs with a box frame base — similar to a farmhouse dining table brought outdoors. The result is a sturdier, heavier table with a more refined look, detached benches rather than attached bench planks, and a thicker tabletop (2×8 boards) that reads as intentional furniture rather than a utility table. Better suited for covered patios and outdoor dining spaces than open yards.
Who it’s for: Builders who want an outdoor dining table aesthetic rather than a traditional picnic table look, covered patio setups.
Key specs: 6–8 feet long, detached benches, 2×8 tabletop boards, straight leg base, seats 6–8.
Build time: 5–7 hours. Material cost: $120–180.
Want 16,000+ step-by-step woodworking plans?
Ted’s Woodworking has plans for every skill level — from simple shelves to full bedroom sets. Each plan includes a cut list, material list, and detailed diagrams. Browse Ted’s plans →
Picnic Table Plans FAQ
What is the standard size of a picnic table?
A standard adult picnic table is 6 feet (72 inches) long, 29–30 inches tall at the tabletop, and 58–60 inches wide (including the bench overhangs on each side). Bench seat height is 17–18 inches from the ground. These dimensions work for adults seated with normal outdoor dining posture. For children, reduce table height to 20–22 inches and bench height to 10–12 inches.
What wood is best for a picnic table?
Pressure-treated pine is the most common choice — it’s widely available, inexpensive ($85–130 for a standard table), and resistant to rot and insects when rated for ground contact (look for UC4A or UC4B rating). Cedar is the premium alternative: naturally rot-resistant without chemical treatment, lighter than pressure-treated pine, and better-looking as it ages to a natural silver-grey. Avoid untreated pine or spruce outdoors — they rot within 3–5 years.
How long does it take to build a picnic table?
A standard rectangular picnic table takes 3–5 hours for a first-time builder with all materials cut and ready. The hexagonal and farmhouse designs take 6–8 hours due to angled cuts and more complex assembly. The foldable design takes 4–6 hours including fitting and testing the folding mechanism. All designs can be completed in a single day.
Do I need special tools to build a picnic table?
The classic rectangular design requires only a circular saw, drill/driver, tape measure, and square — tools most homeowners already own. The round and hexagonal designs additionally require a jigsaw (for curved cuts) and a miter saw (for angled cuts). None of the designs require a table saw, router, or jointer — they’re intentionally designed around accessible tools.
Should I use screws or bolts for picnic table construction?
Use both: exterior screws for most connections, and carriage bolts at the highest-stress joints (leg-to-frame connections, bench bracket connections). Exterior screws should be stainless steel or coated (ACQ-rated for pressure-treated lumber — regular galvanized screws corrode quickly in contact with treated wood chemicals). Carriage bolts with washers and nuts at the leg connections prevent the joint from loosening over years of use and temperature cycling.
How do I protect a picnic table from weather?
For pressure-treated pine: let the wood dry for 2–3 months after purchase (new treated lumber is too wet to accept finish), then apply a penetrating water repellent or semi-transparent stain annually. For cedar: apply a UV-blocking semi-transparent exterior oil stain (Cabot Australian Timber Oil, TWP 100) in the first season, reapply every 2–3 years. Both woods weather to a grey-silver if left unfinished — structurally fine, aesthetically a personal choice.

“DIY woodworking enthusiast who started with zero experience and a YouTube tutorial.
I build simple, practical projects for my home and share free plans
so other beginners can skip the guesswork.If I can build it, you can too.”