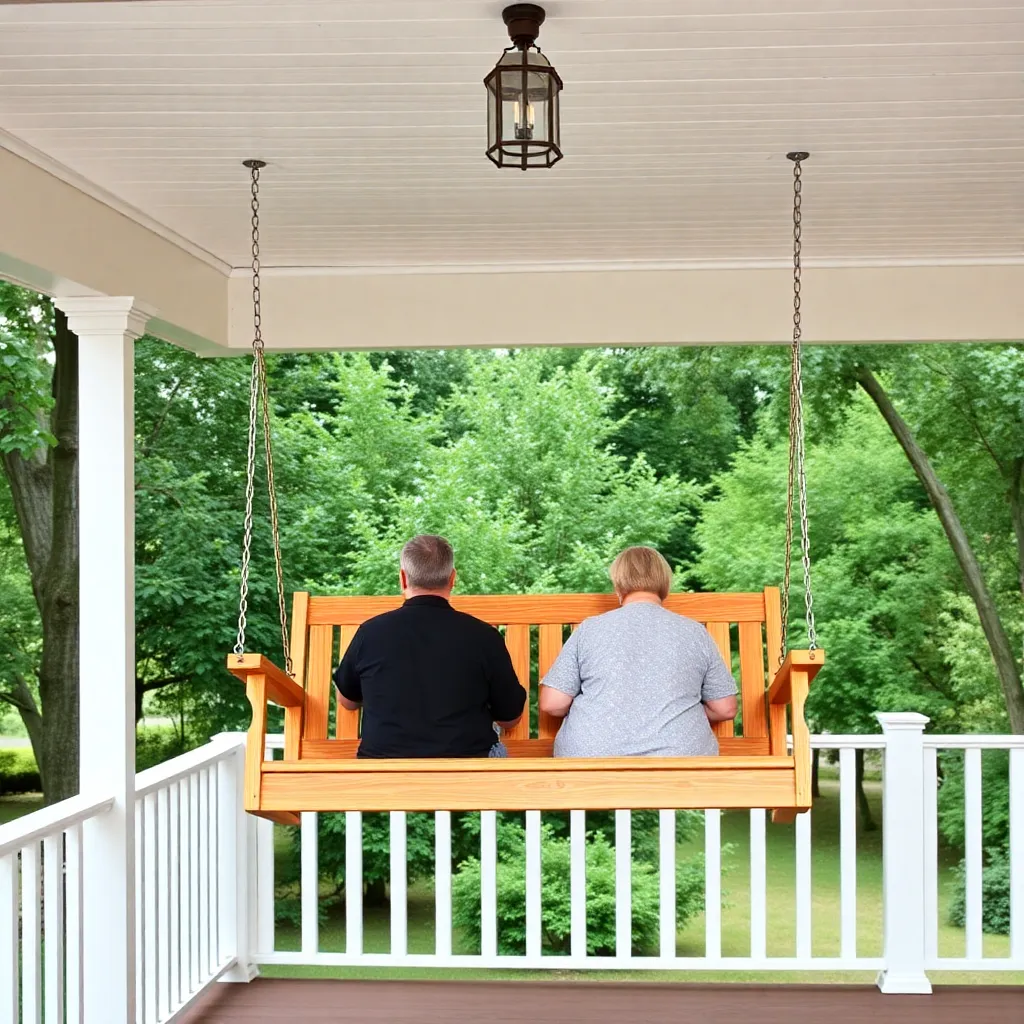
A classic porch swing is a 48-inch-wide slat-back seat hung from a porch ceiling by rope or chain. It seats two adults comfortably, weighs 35–45 pounds, and fits in any standard 8-foot porch bay with room to swing freely. The design is simple: a 2×4 structural frame with 1×4 cedar slats across the seat and back. No compound angles, no complex joinery — just square cuts, a drill, and basic hardware.
These classic porch swing plans build a 48-inch swing in six steps: frame the seat box, build the back frame, cut and attach the seat slats, cut and attach the back slats, install the armrests, and hang the swing. Cedar is the recommended material — lightweight, rot-resistant, and it weathers to a natural grey if left unfinished or takes exterior stain beautifully.
Want 16,000+ step-by-step woodworking plans?
Ted’s Woodworking has plans for every skill level — from simple shelves to full bedroom sets. Each plan includes a cut list, material list, and detailed diagrams. Browse Ted’s plans →
Step 1: Plan the Dimensions and Choose Lumber
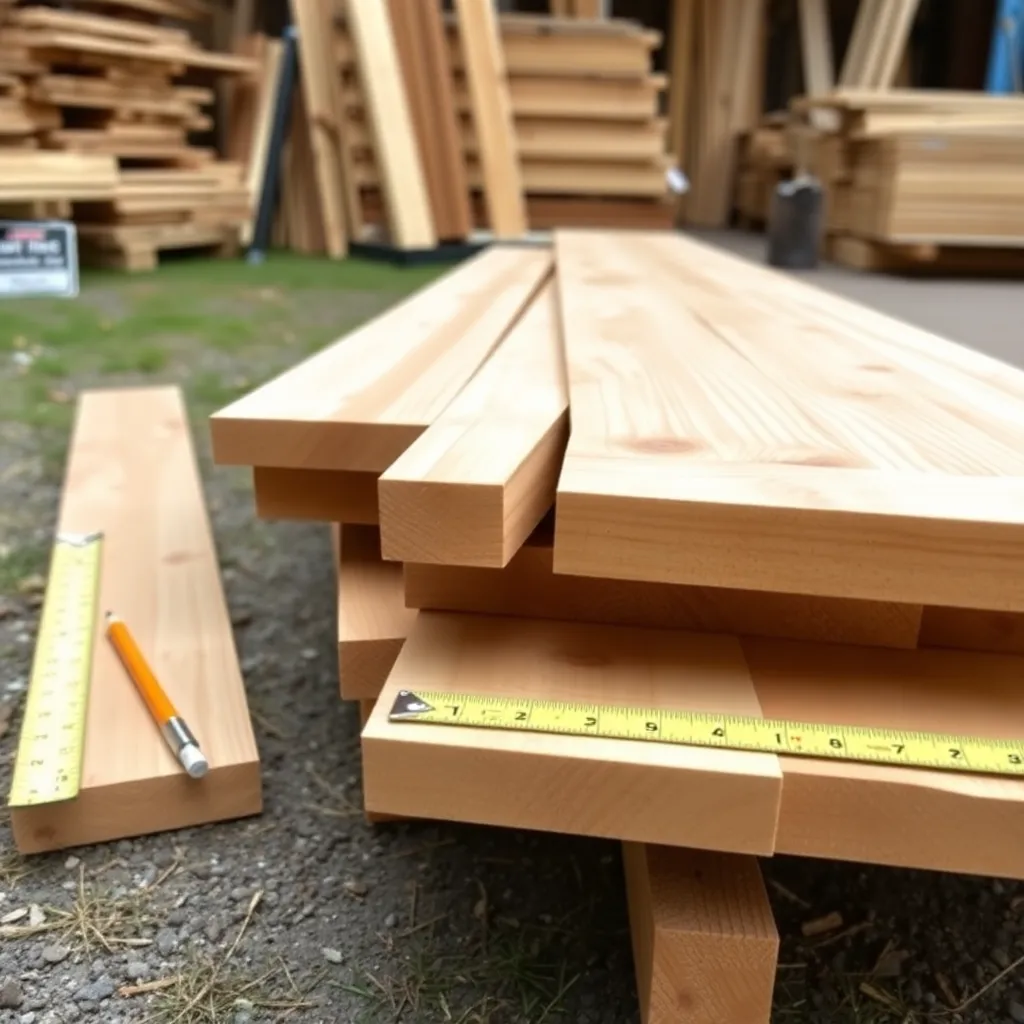
The classic swing uses a box frame of 2×4 lumber with 1×4 cedar slats. The frame carries the structural load; the slats provide the seating surface and visual character.
Key dimensions:
- Overall width: 48 inches
- Seat depth: 20 inches
- Back height (above seat): 24 inches
- Armrest height (above seat): 8 inches
- Seat angle: flat (0°) or 3° recline (optional)
- Back angle: 10–15° recline from vertical
Lumber selection. Choose straight, knot-free 1×4 cedar boards for the slats — any knot at a slat end becomes a weak point under dynamic swing load. For the 2×4 frame, select straight boards; avoid bowed pieces that make square assembly difficult.
Finish planning. Apply a semi-transparent exterior stain or clear exterior finish before assembly — it’s far easier to coat individual boards than the assembled swing. Finish all six faces of every slat, including the ends (end grain absorbs moisture fastest).
Step 2: Materials and Cut List
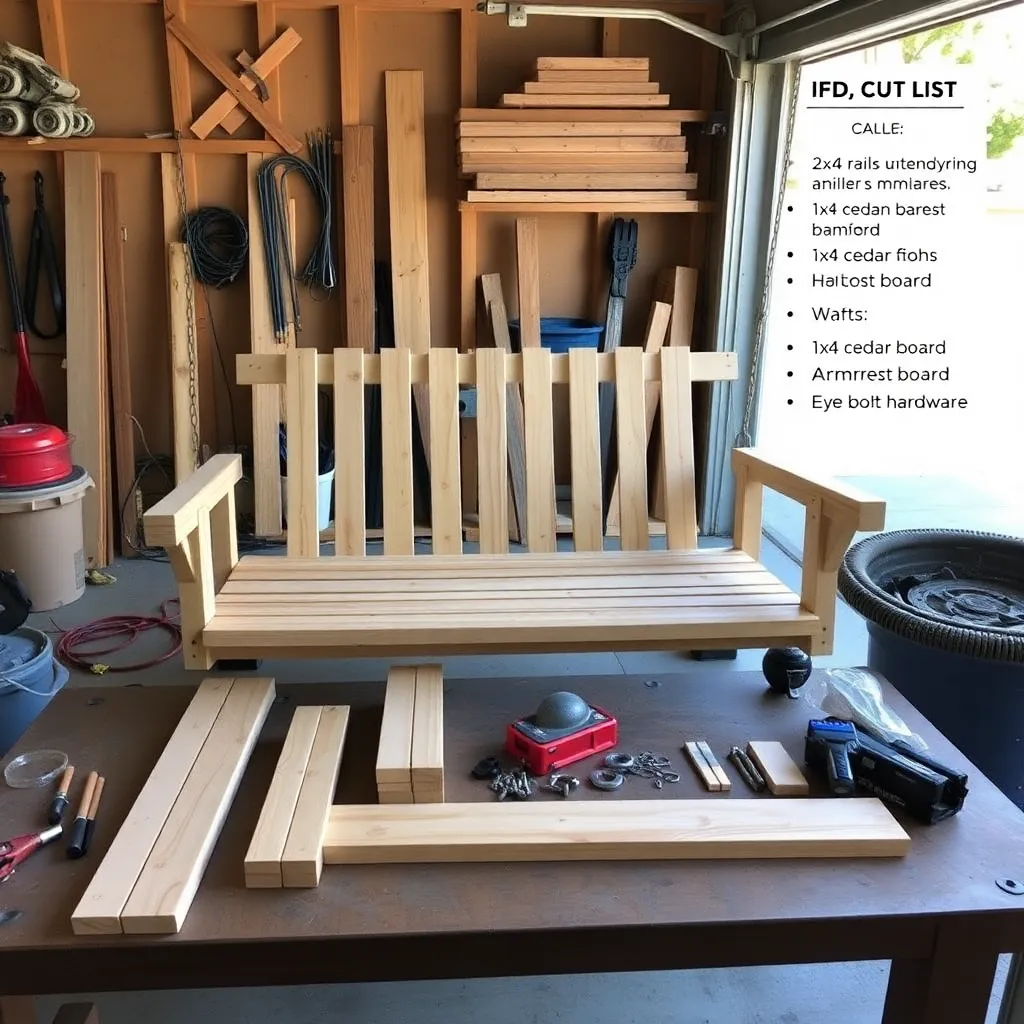
| Part | Qty | Length | Board Size | Notes |
|---|---|---|---|---|
| Front seat rail | 1 | 48″ | 2×4 cedar | Top face flush with slats |
| Back seat rail | 1 | 48″ | 2×4 cedar | Top face flush with slats |
| Side seat rails | 2 | 17″ | 2×4 cedar | Connects front and back rail |
| Back bottom rail | 1 | 48″ | 2×4 cedar | Base of back frame |
| Back top rail | 1 | 48″ | 2×4 cedar | Top of back frame |
| Back stiles | 2 | 22″ | 2×4 cedar | Sides of back frame |
| Seat slats | 4 | 48″ | 1×4 cedar | Evenly spaced across seat depth |
| Back slats | 7 | 20″ | 1×4 cedar | Evenly spaced across back width |
| Armrests | 2 | 22″ | 2×6 cedar | 90° end cuts |
| Armrest supports | 2 | 8″ | 2×4 cedar | Vertical post under armrest front |
| Eye bolt hardware | 4 sets | — | 3/8″ eye bolt | Washer + nut per bolt |
| Exterior screws | 1 box | 2″ and 2½” | — | Stainless or coated |
| Chain or rope | 4 lengths | per hang height | 5/16″ chain | Adjust to ceiling height |
Total estimated cost: $60–90 for cedar, $25–40 for hardware.
Step 3: Build the Seat Frame
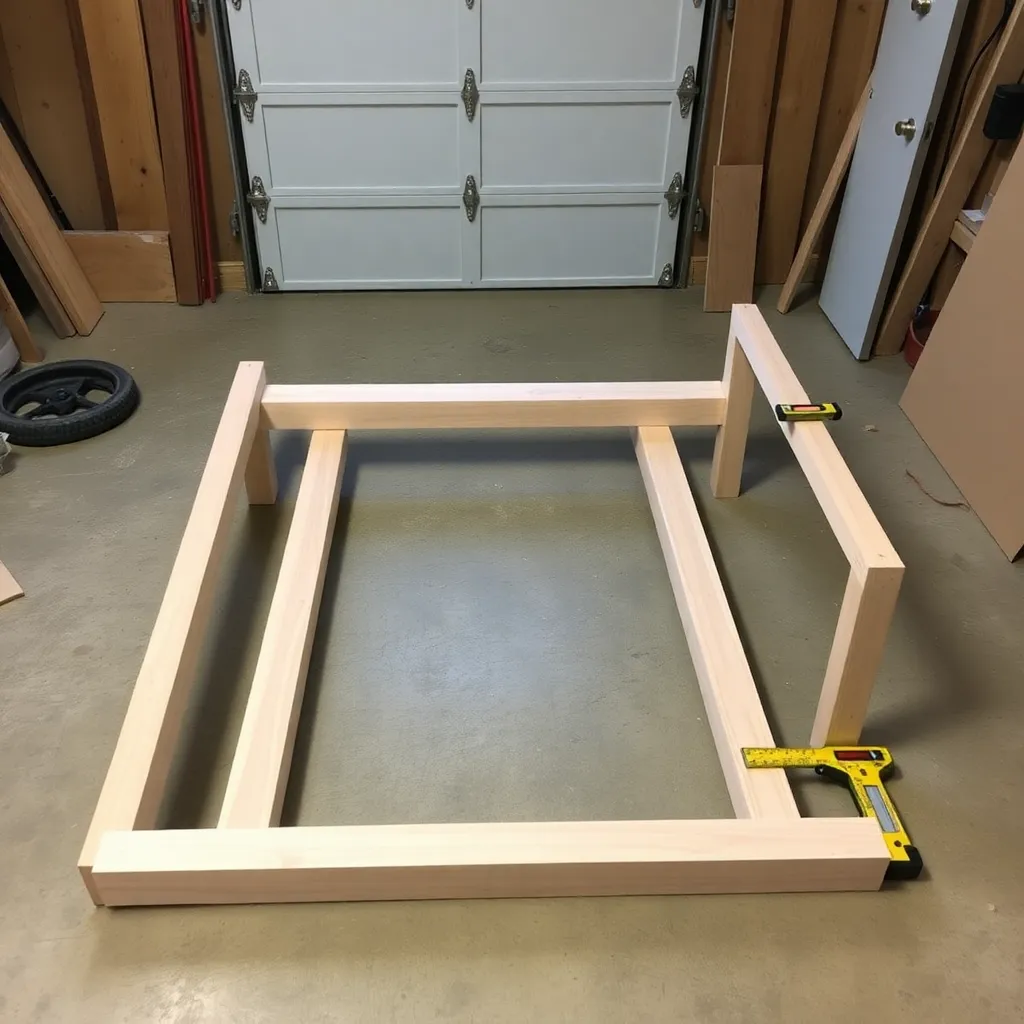
The seat frame is a simple rectangular box: two long rails (front and back) spanning the full 48-inch width, connected at each end by short side rails.
Cut and lay out the pieces. Cut the front seat rail, back seat rail, and both side rails to length. The side rails run inside the front and back rails — the overall outside dimension is 48 inches wide × 20 inches deep.
Assemble with screws. Butt-join each corner with two 2½” exterior screws driven through the front or back rail into the end grain of the side rail. Pre-drill with a ⅛” bit to prevent splitting. Check square after assembly — measure the two diagonals and confirm they’re equal. Clamp into square and add a temporary diagonal brace if needed.
Add center support if desired. For extra rigidity, add a center support rail running front-to-back, centered on the 48-inch width. This is optional for cedar but recommended if building from heavier wood.
Locate eye bolt positions. Mark the four eye bolt positions on the front and back rails: 8 inches in from each end on the front rail, 8 inches in from each end on the back rail. These positions set the hanging angle and determine where the rope or chain attaches. Drill the eye bolt holes now — ⅜” diameter through the rail, before slats are attached makes drilling easier.
Step 4: Build and Attach the Back Frame
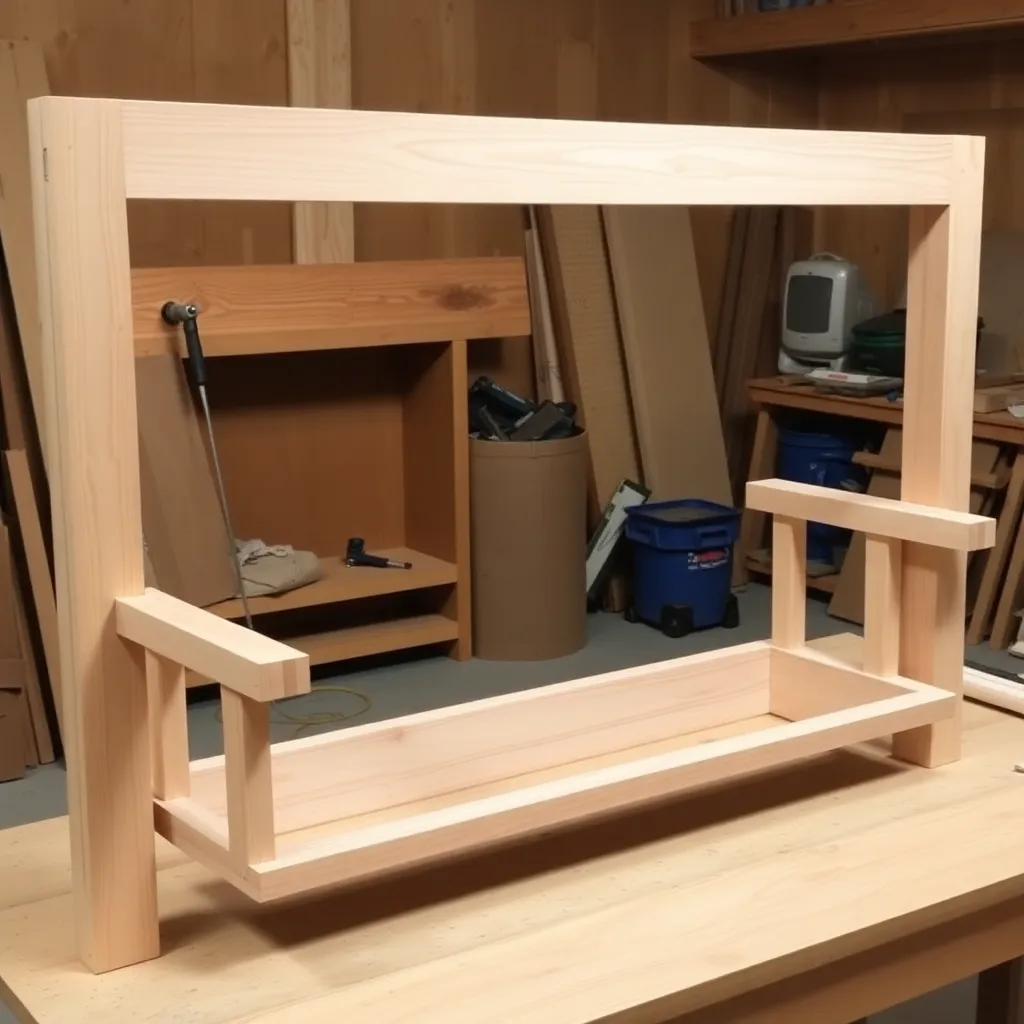
The back frame is a separate rectangular assembly that attaches to the rear of the seat frame at a reclined angle of 10–15° from vertical.
Cut the back pieces. Cut the back bottom rail (48″), back top rail (48″), and both back stiles (22″). The stiles run inside the top and bottom rails.
Assemble the back frame. Butt-join corners with two 2½” screws per corner — same process as the seat frame. The assembled back frame is 48 inches wide × 22 inches tall (outside dimensions).
Attach the back to the seat frame. Stand the back frame at the rear of the seat frame, angled backward at 10–15° from vertical. The back bottom rail sits flush with the top back edge of the rear seat rail. Drive two 3″ screws through the back bottom rail into the rear seat rail to secure the connection. The 10–15° angle is held by the back slats once they’re installed across the back — temporary clamps or a helper hold it in position during fastening.
Step 5: Install Seat Slats and Back Slats
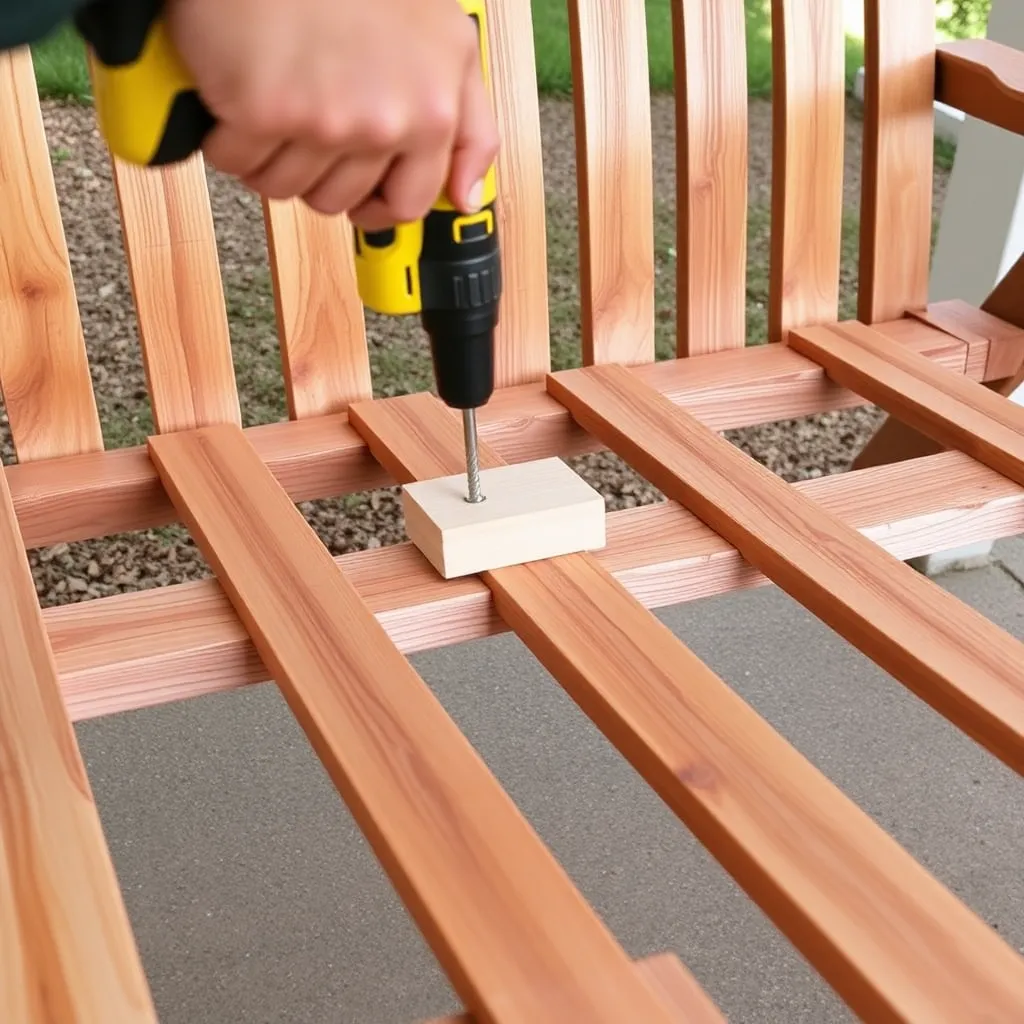
Seat slats. Lay four 1×4 × 48″ slats across the seat frame, face up, with equal spacing between them. Start with the front slat flush with the front edge of the front seat rail. The remaining three slats distribute evenly across the 17-inch seat depth — approximately 3–4 inch spacing between slats (exact spacing depends on the 1×4 actual width of 3½”). Fasten each slat to the front and back seat rails with two 2″ screws per end, pre-drilled.
Back slats. Lay seven 1×4 × 20″ slats across the back frame, face out, with equal spacing between them. The slats span from the back bottom rail to the back top rail. Space them evenly — approximately ¾” to 1″ gaps between slats — and fasten with two 2″ screws per end into the back stiles. The back slats lock the 10–15° lean of the back frame into place as they’re fastened across the diagonal.
Spacing consistency. Use a scrap of ¾” wood as a spacer between slats to keep gaps consistent. Consistent spacing looks far better than eyeballed gaps.
Step 6: Install Armrests and Hang the Swing
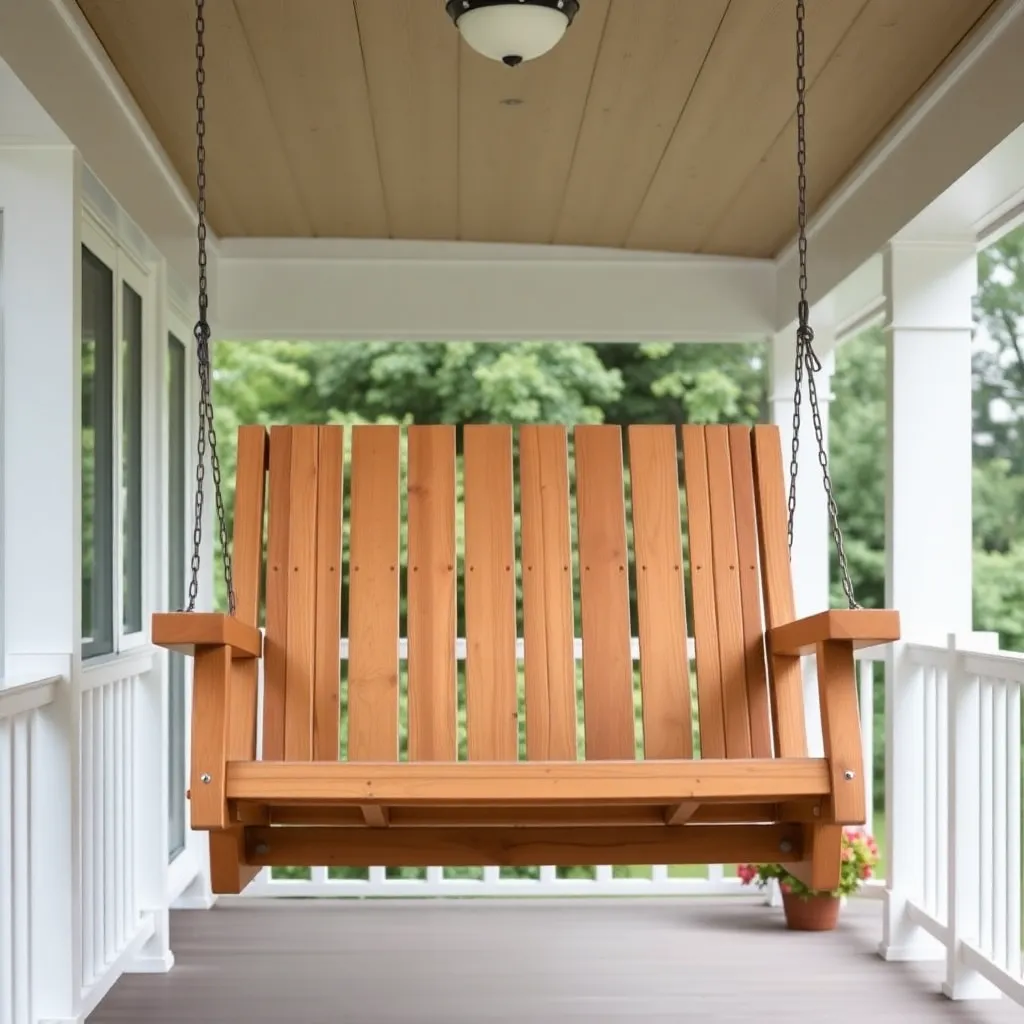
Build the armrest assemblies. Each armrest is a 2×6 board supported by a short 2×4 vertical post at the front. The post sits on top of the side seat rail at the front corner, 8 inches tall. Fasten the post to the side seat rail with two 2½” screws from below. Set the 2×6 armrest board on top of the post and flush with the top of the back stile at the rear — the armrest slopes slightly downward toward the front when the back is angled. Fasten the armrest to the post with two 2½” screws from above, and to the back stile with two screws at the rear.
Round all edges. Before hanging, use 80-grit sandpaper to round all exposed edges — seat slat edges, back slat edges, armrest edges, and the front corners of the armrests. This prevents splinters and gives the swing a finished appearance.
Install eye bolts. Thread each 3/8″ eye bolt through its pre-drilled hole with a washer on top, then tighten the nut below. The eye of the bolt faces outward (perpendicular to the seat rail length) so chain or rope can run vertically without binding.
Hang the swing. Confirm the porch beam is solid structural lumber rated to carry 500+ pounds. Drive a 3/8″ eye bolt through the beam at each of the four hanging positions — 8 inches from the side of the swing on each side, same spacing as the swing eye bolts. Attach chain or rope from the ceiling eye bolts to the swing eye bolts, adjusting length so the front hangs 1–2 inches lower than the back and the seat sits 17–19 inches from the floor when loaded.
For more outdoor swing designs, visit our porch swing plans hub.
Want 16,000+ step-by-step woodworking plans?
Ted’s Woodworking has plans for every skill level — from simple shelves to full bedroom sets. Each plan includes a cut list, material list, and detailed diagrams. Browse Ted’s plans →
Classic Porch Swing Plans FAQ
How much weight can a classic porch swing hold?
A properly built 48-inch cedar swing with 2×4 frame and correct hanging hardware holds 500–600 pounds. The limiting factor is almost always the hanging hardware and ceiling beam, not the swing itself. Use 3/8″ eye bolts (working load rated at 500 lbs minimum), 5/16″ proof-coil chain (rated 1,900+ lbs), and verify that your porch beam is solid structural lumber before hanging. A decorative or engineered-lumber beam may look solid but lack the shear strength to carry a loaded swing.
How far should a porch swing hang from the wall?
Leave at least 3 feet between the back of the swing (at rest) and the porch wall, and at least 14 inches between the front of the swing and any post or railing when the swing is fully forward. On a standard 8-foot deep porch, a 20-inch-deep swing hung 18 inches from the back wall gives enough forward travel. Test the swing travel before committing to a hanging position.
What rope or chain is best for a porch swing?
5/16″ proof-coil chain is the most durable option — it doesn’t stretch, doesn’t rot, and the rated working load of 1,900+ lbs gives a large safety margin. 3/4″ braided nylon rope is visually warmer and rated to 1,000+ lbs, but it stretches slightly when first loaded and will eventually need replacement. Avoid manila rope (rots in outdoor conditions) and lightweight decorative chain (not load-rated). Chain length is easier to adjust than rope — use S-hooks at both ends so you can add or remove links to fine-tune the hang angle.
Should I sand my porch swing before finishing?
Yes — sand all slat faces and edges with 80-grit before finishing, then resand with 120-grit. The finish bonds better to a sanded surface than to rough-sawn cedar. Pay particular attention to the end grain of every slat (the cut ends) — end grain is highly absorbent and benefits from two coats of finish, with the first coat thinned slightly to penetrate deeply.
How do I stop my porch swing from squeaking?
Squeaks come from two sources: friction between the chain/rope and the eye bolts, and friction between the swing frame joints under load. For hardware squeaks, apply a light coat of exterior-grade chain lubricant or paste wax to the eye bolt threads and the chain links. For frame squeaks, tighten all screws and add construction adhesive to any loose joints. If the swing still squeaks after these steps, check whether the ceiling eye bolts are loose — a loose bolt rotating in its hole creates a distinctive squeak with every swing.

“DIY woodworking enthusiast who started with zero experience and a YouTube tutorial.
I build simple, practical projects for my home and share free plans
so other beginners can skip the guesswork.If I can build it, you can too.”