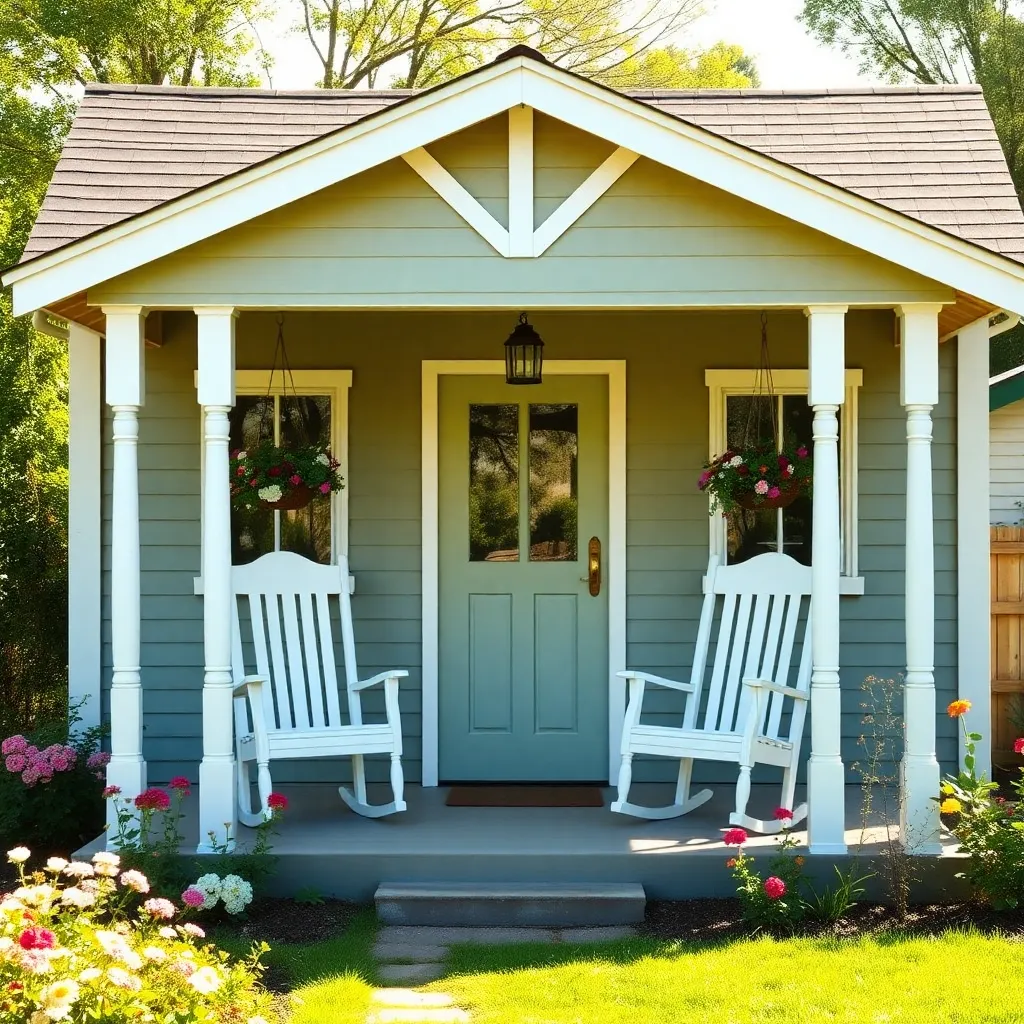
A she-shed is a backyard retreat built to be used, not just stored in. The difference between a she-shed and a standard utility shed is in the details: insulation, finished interior walls, real windows, a porch, and a door with a proper lockset. The structure itself isn’t much more complex than a standard gable shed — the upgrade is in the finish level and the intent.
This plan covers a 10×12-foot she-shed with a 4-foot covered front porch, 4/12-pitch gable roof, two double-pane windows, bead-board interior walls, and spray foam insulation. It can serve as a home office, craft room, garden studio, or reading room. Estimated material cost: $3,500–$5,500 depending on finish choices.
Step 1: Plan the Footprint and Orientation
Want 16,000+ step-by-step woodworking plans?
Ted’s Woodworking has plans for every skill level — from simple shelves to full bedroom sets. Each plan includes a cut list, material list, and detailed diagrams. Browse Ted’s plans →
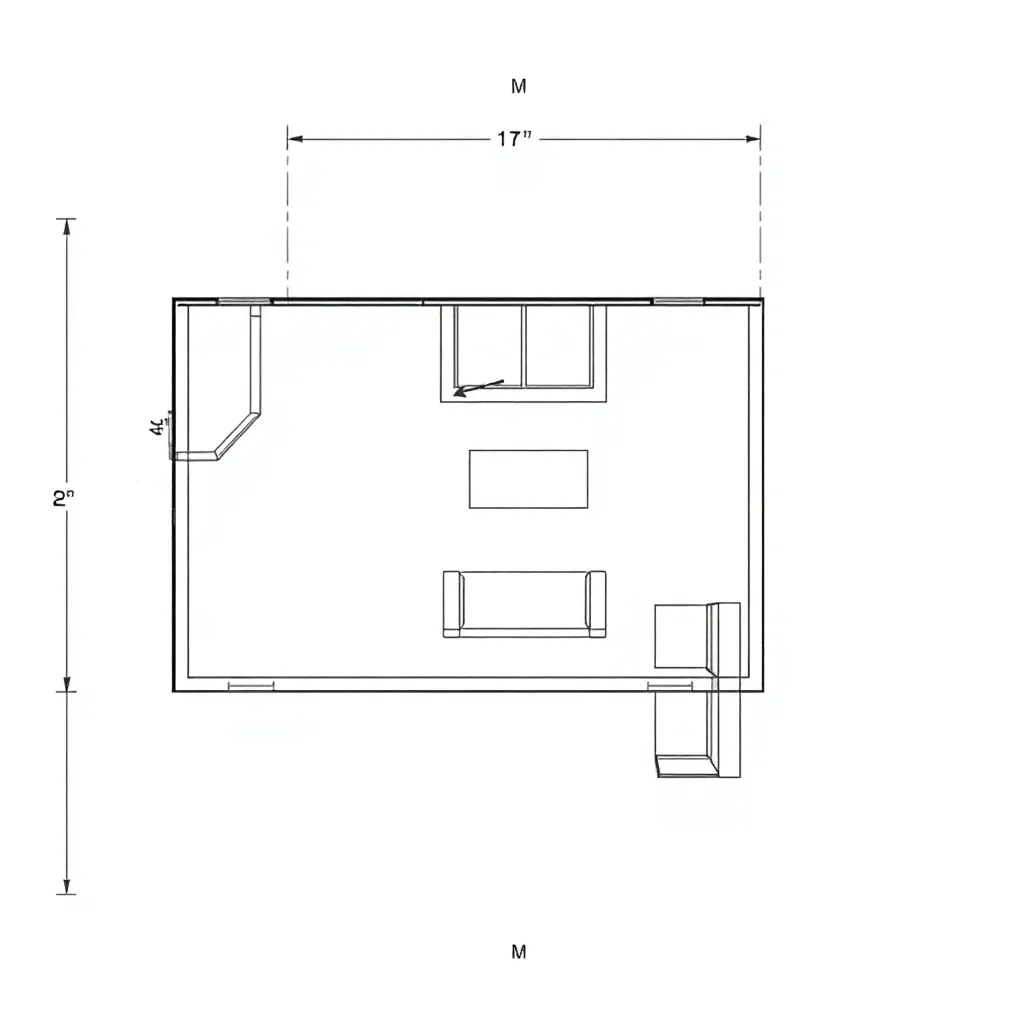
Orient the she-shed to maximize natural light into the interior — face the main window wall south or east if possible. The 10×12-foot interior footprint (plus a 4-foot porch) means the total structure is 10 feet wide and 16 feet deep. Leave 3 feet of clearance on all sides for maintenance access and check local setback requirements before placing the structure.
Foundation options for a finished structure: concrete deck blocks on compacted gravel work fine in most climates. For a year-round heated studio in cold climates, consider helical piers or poured concrete piers below the frost line — a heaving foundation will crack your interior finish. Frame the floor with 2×8 PT joists on 12-inch centers (tighter than a utility shed, for a stiffer floor) and sheathe with 3/4-inch tongue-and-groove plywood subflooring.
Key Specs (10×12 She-Shed With Porch):
| Element | Spec |
|---|---|
| Interior footprint | 10 ft × 12 ft |
| Porch | 10 ft × 4 ft covered |
| Wall height | 9 ft (taller than standard) |
| Roof pitch | 4/12 |
| Windows | Two 30×36 double-pane |
| Door | 36″ fiberglass with deadbolt |
| Insulation | Spray foam 2″ walls, 3″ ceiling |
Step 2: Frame the Walls and Windows
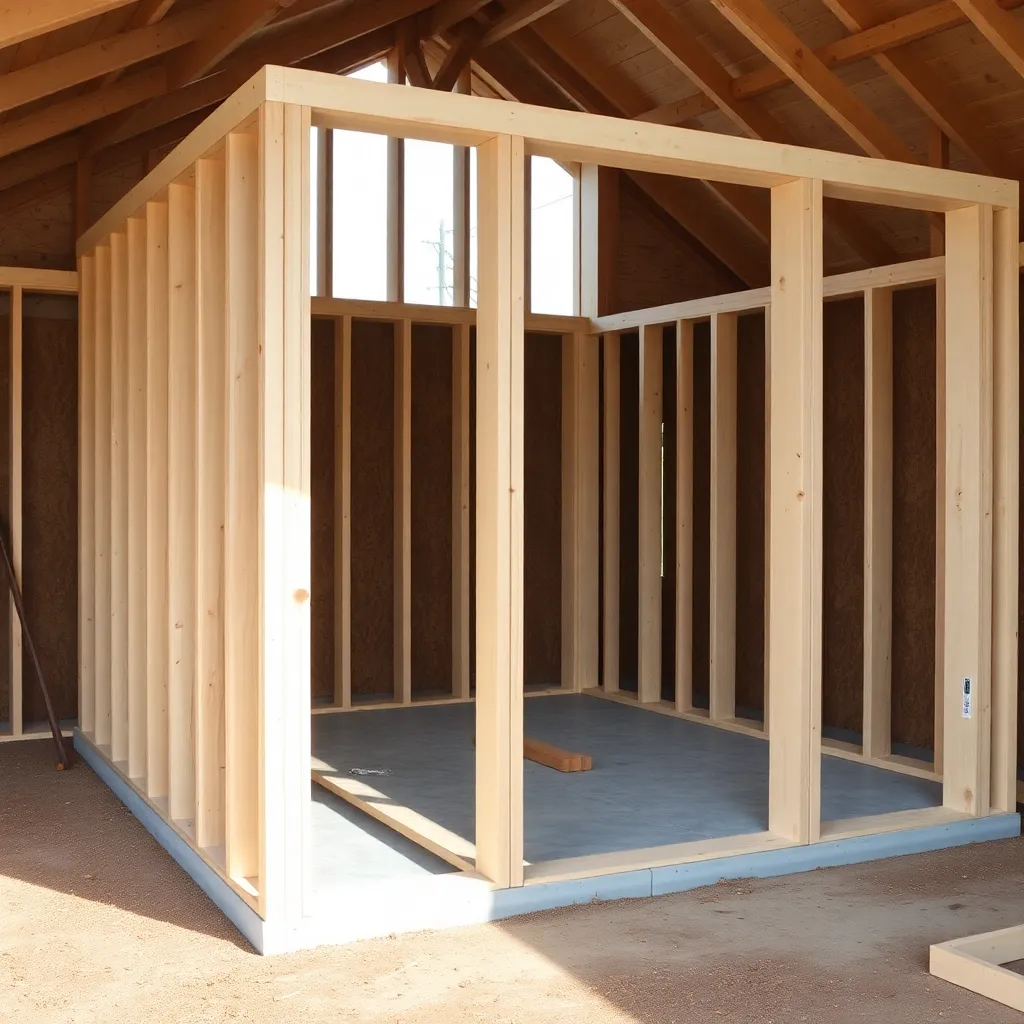
She-shed walls run 9 feet — a foot taller than a standard utility shed — to create a more interior-feeling room. Frame from 2×4 studs on 16-inch centers. Locate two windows on the end walls or front wall: rough openings for standard 30×36-inch double-pane windows are 32×38 inches. Use doubled 2×6 headers over each opening — a properly sized header prevents settlement cracks in the finished interior walls.
The porch is framed as an extension of the main structure: the porch rafters are a continuation of the main roof, dropped 12 inches from the ridge to create a 3/12 slope for the porch ceiling. Two 4×4 cedar posts support the outer beam. Frame the porch deck separately from the main floor, pitched 1/4 inch per foot away from the building for drainage, and sheathe with 5/4×6 cedar decking boards.
Step 3: Roof Framing and Insulation Strategy
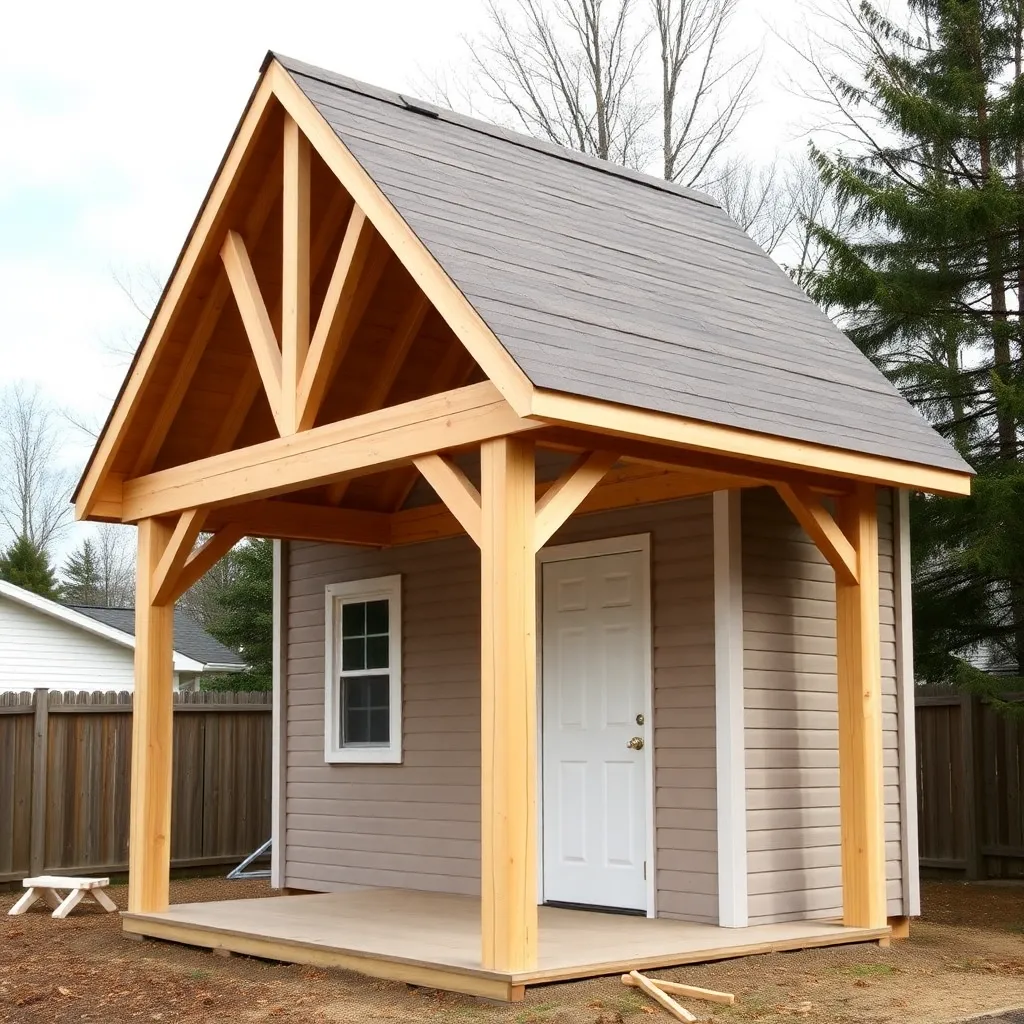
A 4/12-pitch roof on a 10-foot-wide shed provides 20 inches of rise from plate to ridge — not quite standing height at the ridge. If you plan to use the ceiling space for storage, add a collar tie loft. If you want cathedral ceilings (which feel larger), leave the rafters exposed and spray foam between them.
The insulation strategy for a finished she-shed differs from a utility shed: you want a continuous thermal envelope. Spray foam (closed-cell, 2 inches minimum in walls, 3 inches in the ceiling) is the best option because it air-seals and insulates simultaneously. It eliminates condensation inside the wall cavities and doesn’t require a separate vapor barrier. Open-cell is cheaper but requires a vapor barrier on the warm side in cold climates.
Step 4: Install Windows, Door, and Electrical Rough-In
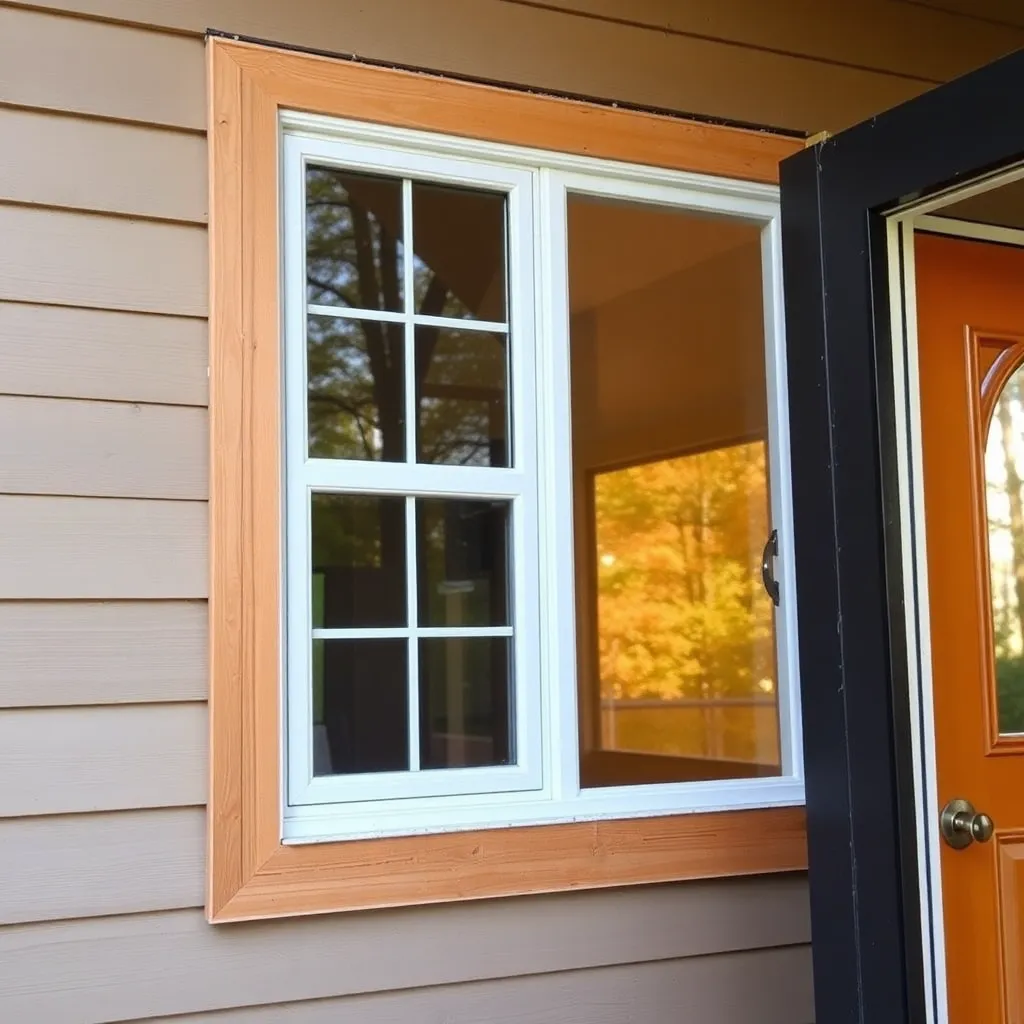
Install the windows before siding — flash the rough opening with self-adhesive membrane flashing, set the window frame on sill pan flashing, and nail through the flanges into the framing. A fiberglass exterior door with a double-pane glass insert balances weatherproofing with visual appeal. Install a deadbolt (not just a knob lock) — a backyard retreat deserves real security.
Rough in electrical before closing up the walls: a 20-amp subpanel fed from the main panel gives you capacity for a mini-split, a few circuits for outlets and lighting, and USB charging stations. Run 12/2 wire for 20-amp circuits and 14/2 for 15-amp lighting circuits. Staple cables every 24 inches along studs and use proper staples — not cable staples that can damage the wire. Get the rough-in inspected before you close up walls.
Step 5: Interior Finish — Bead-Board and Trim
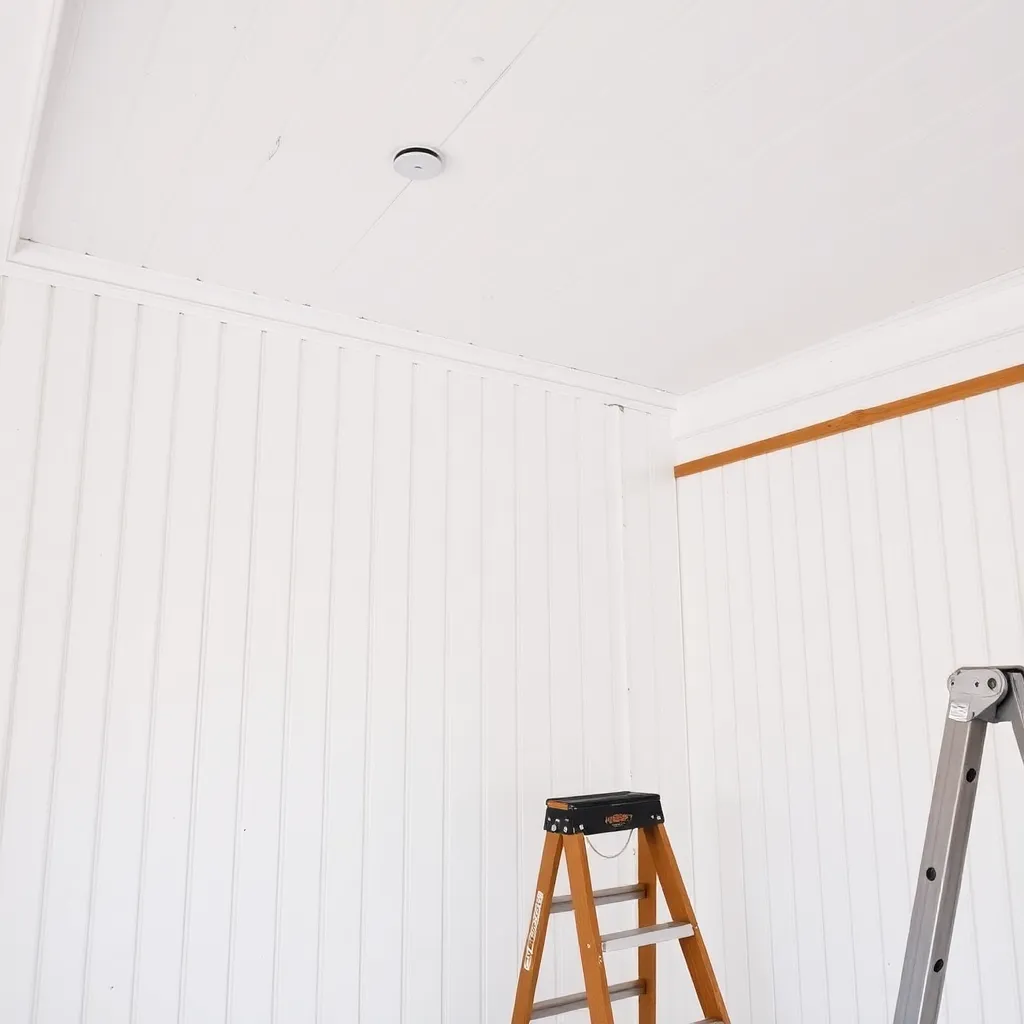
Bead-board paneling (5/8-inch plywood with routed grooves at 4-inch spacing) is the classic she-shed interior — clean, cottage-style, and easy to wipe down. Install it vertically from floor to ceiling over the spray-foamed walls. Run 3.5-inch base molding at the floor and 3-inch crown molding at the ceiling for a finished look. Paint the interior white or cream — it bounces light and makes the small space feel larger.
For the ceiling, 1×6 tongue-and-groove pine boards in a natural finish are beautiful and add character. Install them perpendicular to the rafters, nailing through the tongue with a finish nailer. Stain or seal the pine before installation — it’s far easier to finish the boards before they’re nailed overhead.
Step 6: Flooring, Porch, and Final Details
For interior flooring, luxury vinyl plank (LVP) over the plywood subfloor is the most practical choice — waterproof, durable, comfortable to stand on, and available in convincing wood-grain patterns. Install it floating (no glue or nails) for easy replacement. Alternatively, painted porch-and-floor enamel over the plywood gives a crisp cottage look with zero cost for the flooring itself.
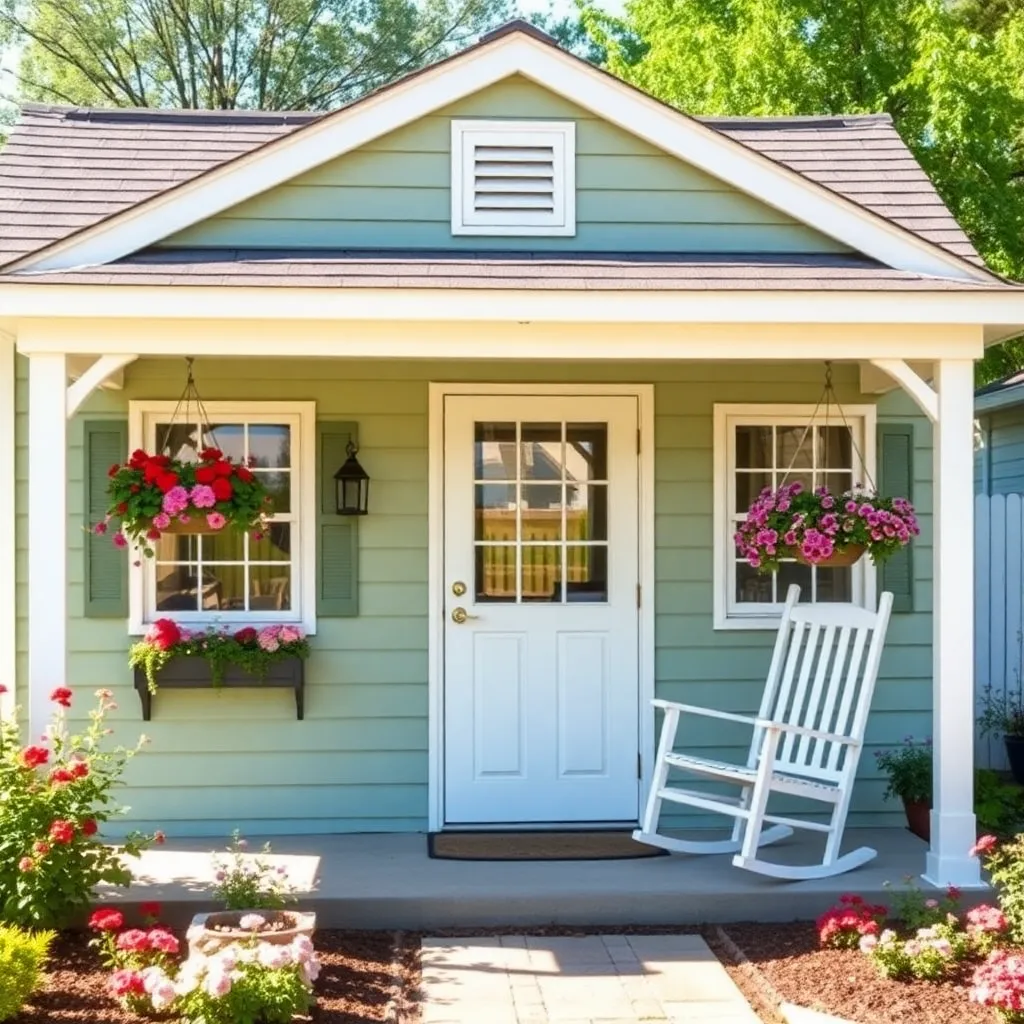
For the porch: paint the deck boards in porch-and-floor enamel, add a simple railing between the posts at 36-inch height, and hang a couple of potted baskets from the porch ceiling. Add window boxes under each window, paint the exterior in a cottage color with contrasting trim, and install a small sign or house number above the door. The she-shed is now a destination.
Want 16,000+ step-by-step woodworking plans?
Ted’s Woodworking has plans for every skill level — from simple shelves to full bedroom sets. Each plan includes a cut list, material list, and detailed diagrams. Browse Ted’s plans →
She-Shed Plans FAQ
How much does it cost to build a she-shed?
A 10×12-foot she-shed with a porch, insulation, windows, and finished interior typically costs $3,500–$6,000 in materials. The wide range reflects finish choices: basic siding and no interior finish sits at the low end; spray foam insulation, real windows, bead-board walls, and LVP flooring push toward the high end. Labor to hire a contractor adds another $5,000–$10,000.
Does a she-shed need to be insulated?
Only if you plan to use it year-round or in temperature extremes. An uninsulated shed stabilizes near outdoor temperature within hours. If you want to use it in summer heat or winter cold, spray foam insulation combined with a mini-split (for heating and cooling) is the most effective and space-efficient combination for a small structure.
Do I need electricity in a she-shed?
You don’t need it, but adding a subpanel while you’re building costs a fraction of what it costs to retrofit later. Even a single 20-amp circuit from the main panel gives you lighting, phone charging, and a small heater. Running conduit underground to the shed requires a trench but is straightforward if planned before the shed floor is in place.
What is the best size for a she-shed?
10×12 feet is the most common — enough room for a desk or craft table, a small loveseat or chair, and storage along one wall, without overwhelming a typical backyard. 8×10 feet is workable for a pure reading room. Go to 12×16 feet if you want dedicated workspace and sitting area.
How long does a she-shed last?
A well-built she-shed on a proper foundation with quality siding and roofing will last 30–50 years with basic maintenance (painting every 8–10 years, re-caulking joints, replacing roofing at 20–25 years). The biggest threat is moisture at the foundation — a properly graded site and gutters that direct water away from the structure eliminate most longevity risks.

“DIY woodworking enthusiast who started with zero experience and a YouTube tutorial.
I build simple, practical projects for my home and share free plans
so other beginners can skip the guesswork.If I can build it, you can too.”