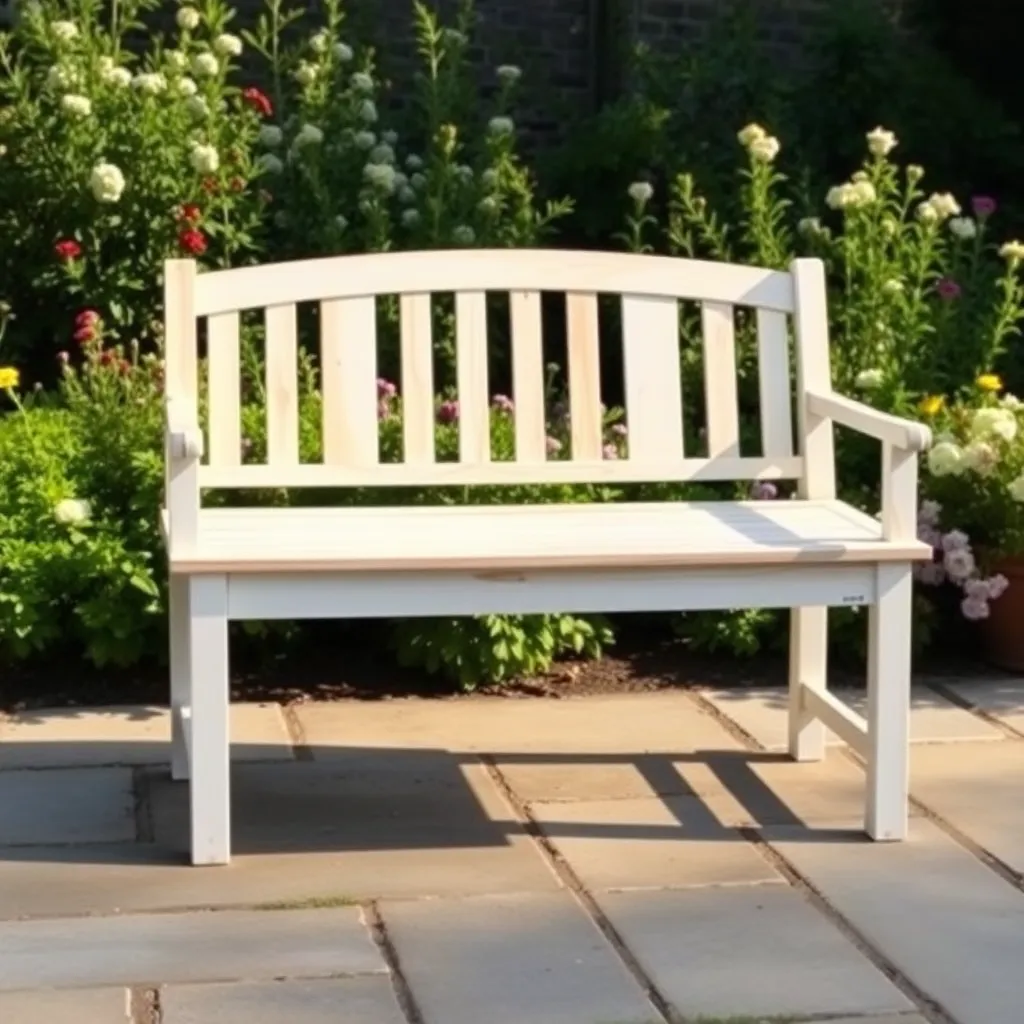
A garden bench is the most forgiving outdoor furniture project there is. You need four legs, two rails, and some slats — and you can adapt the design to almost any space, style, or budget. A solid cedar bench takes a weekend, costs under a hundred dollars in materials, and will still be standing in two decades if you paint it once. These three outdoor bench plans cover the most useful configurations: a classic slatted back bench for patios and gardens, a backless storage bench for tight spaces, and a quick 2×4 bench you can build in an afternoon.
Step 1: Plan the Size and Choose Your Wood
Want 16,000+ step-by-step woodworking plans?
Ted’s Woodworking has plans for every skill level — from simple shelves to full bedroom sets. Each plan includes a cut list, material list, and detailed diagrams. Browse Ted’s plans →
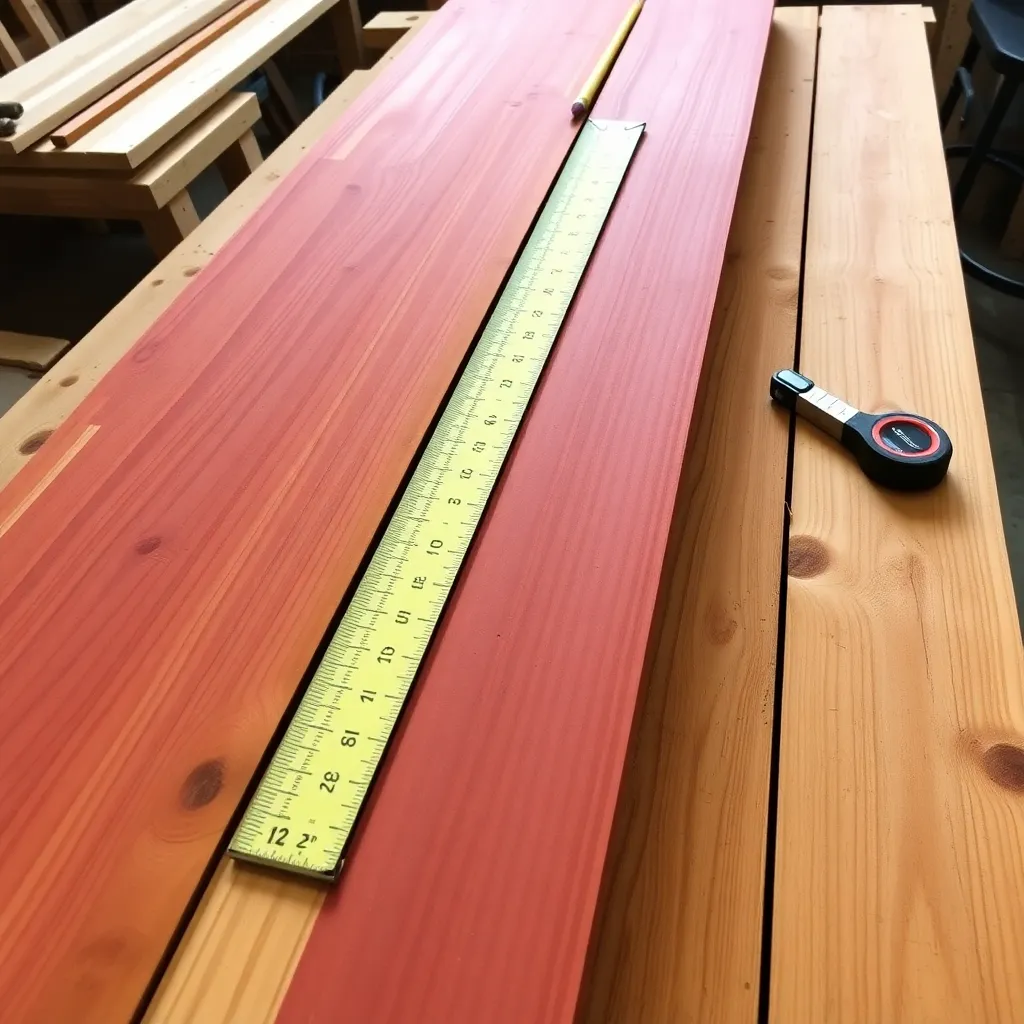
Standard outdoor bench height is 17–18 inches from ground to seat — the same as a kitchen chair. Width is typically 48 to 72 inches for a two- or three-person bench. Depth (front to back) is 16–18 inches for a seat only, 20–24 inches with an angled back.
For wood species: Western red cedar is the best all-around choice — naturally rot-resistant, lightweight, and takes paint or stain well. Pressure-treated pine is cheaper and equally rot-resistant, but heavier and needs to fully off-gas before painting (let it weather for 60–90 days or use kiln-dried treated lumber). Teak is the premium option — no maintenance required, but three to five times the cost of cedar.
Cut list for a 6-foot cedar slatted bench with back:
- 4 × legs: 2×4 at 30 inches (angled 5° at top for back rake)
- 2 × front/back seat rails: 2×4 at 69 inches
- 2 × side seat rails: 2×4 at 16 inches
- 2 × back rails: 2×4 at 69 inches
- 5 × seat slats: 2×4 at 72 inches
- 3 × back slats: 1×4 at 69 inches
- 2 × back posts: 2×4 at 22 inches
Step 2: Build the End Assemblies
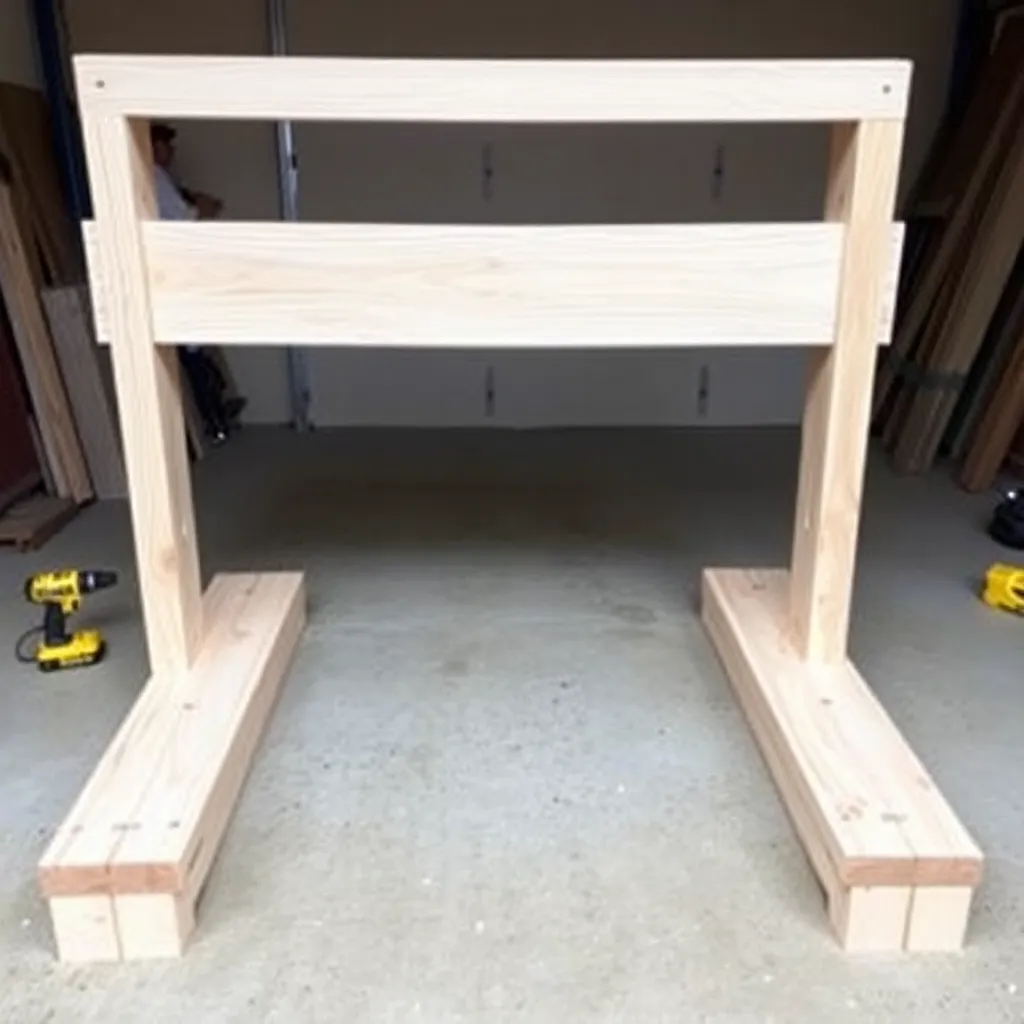
The end assembly is the structural heart of the bench. It consists of two legs joined by a front seat rail (below the seat) and a back seat rail (just below seat height, running front to back). Assemble each end flat on the floor or a work table.
Drill 3/8-inch holes through the legs for carriage bolts. Use two 3/8×3½-inch carriage bolts at each leg-to-rail joint. This creates a joint that can be re-tightened as the wood seasons and is far stronger than screws alone. Countersink the bolt heads into the leg face.
For a bench with a back, extend one leg on each end assembly to 30 inches above the seat line to become the back post. Cut a 5° angle at the top so the back slats rake slightly for comfort.
Step 3: Connect End Assemblies with Rails
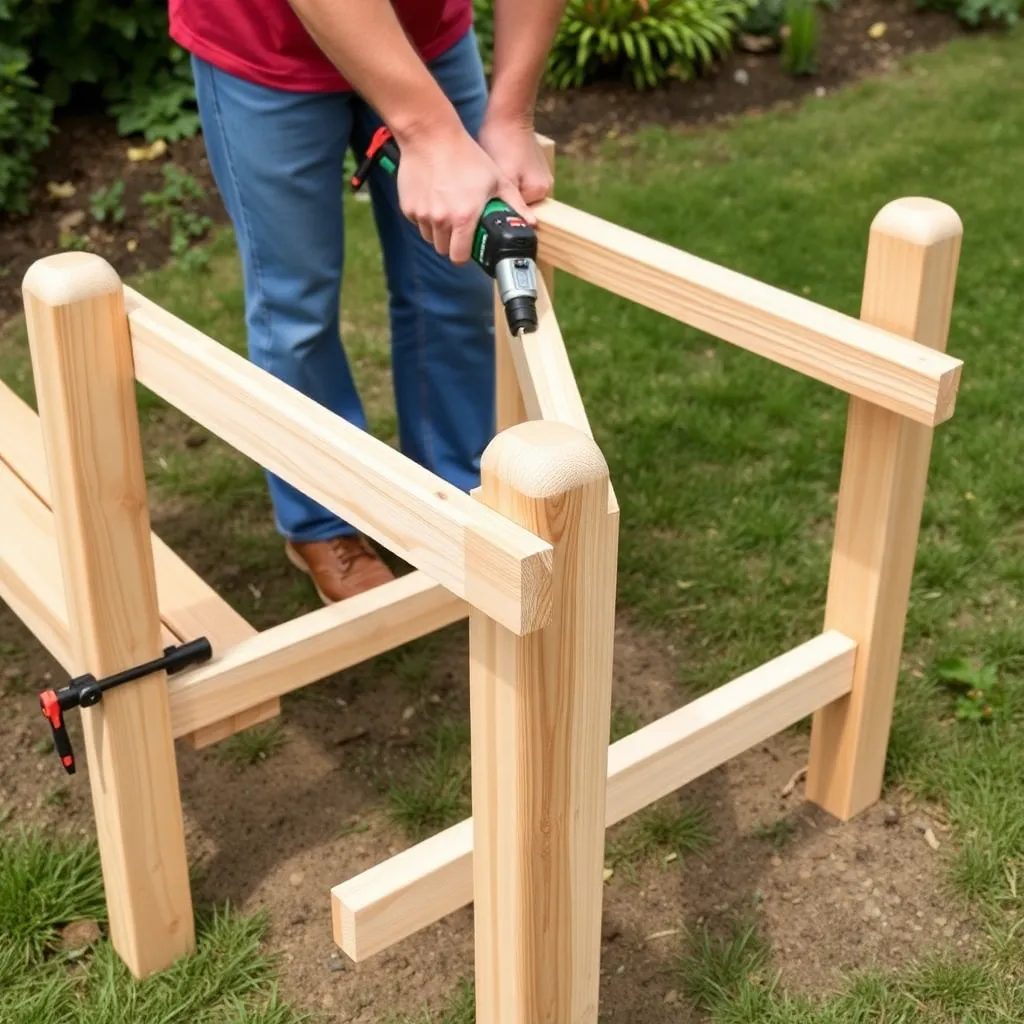
Stand both end assemblies upright and connect them with the long front rail, back rail, and any stretchers. Clamp everything in position before fastening. Use 3-inch exterior deck screws through the rails into the end assemblies, plus one carriage bolt at each connection point for rigidity.
Check for square by measuring diagonals before fastening: both diagonals should be equal within 1/8 inch. If the frame racks, shift one end assembly slightly until square, then fasten.
Step 4: Attach the Seat Slats
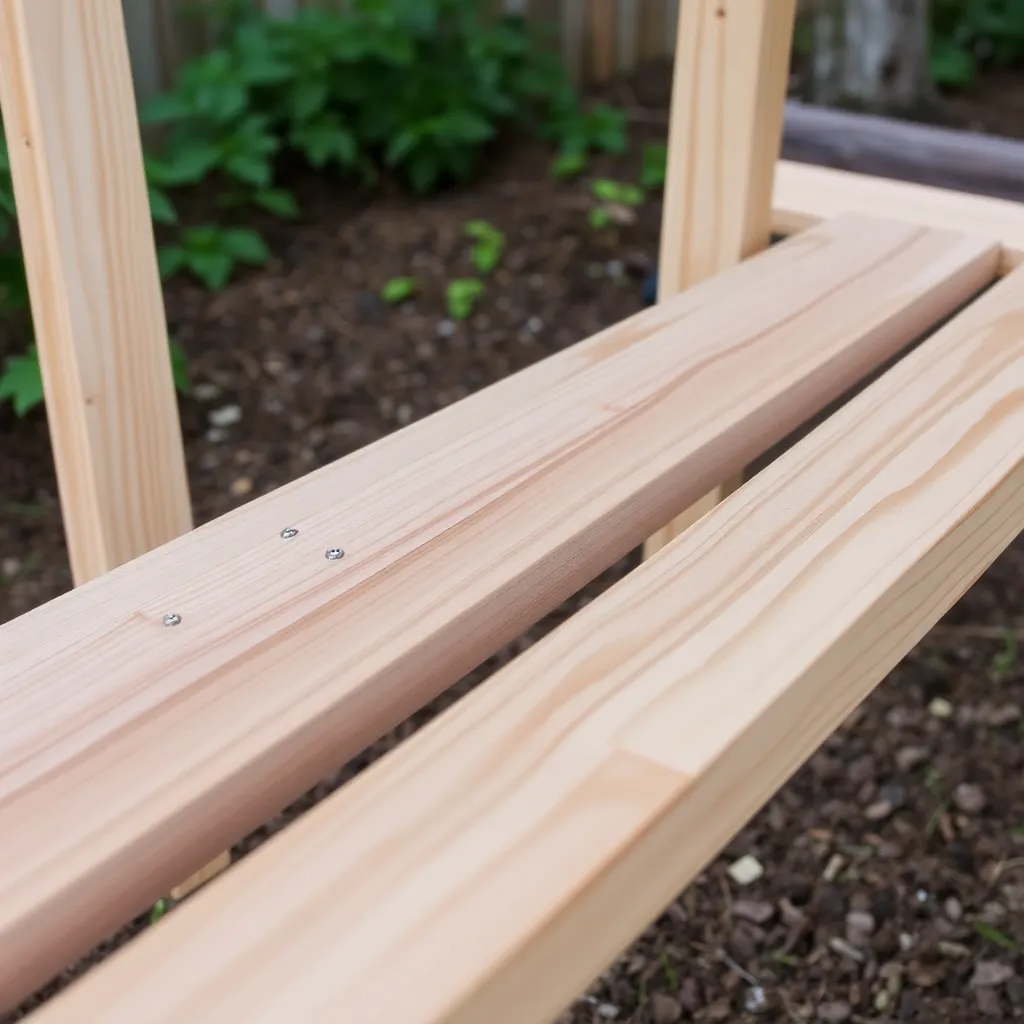
Lay seat slats across the top rails with even spacing — typically 3/8-inch gaps between slats to allow drainage. Use a scrap of 3/8-inch plywood as a spacer. Fasten each slat with two 2½-inch exterior deck screws per rail. Pre-drill pilot holes to prevent splitting, especially near the ends of slats.
Tip: Cut slats slightly long (74 inches for a 72-inch bench) and trim flush with a circular saw after all slats are attached. This ensures perfectly even ends without having to align each slat precisely during installation.
Step 5: Build and Attach the Back
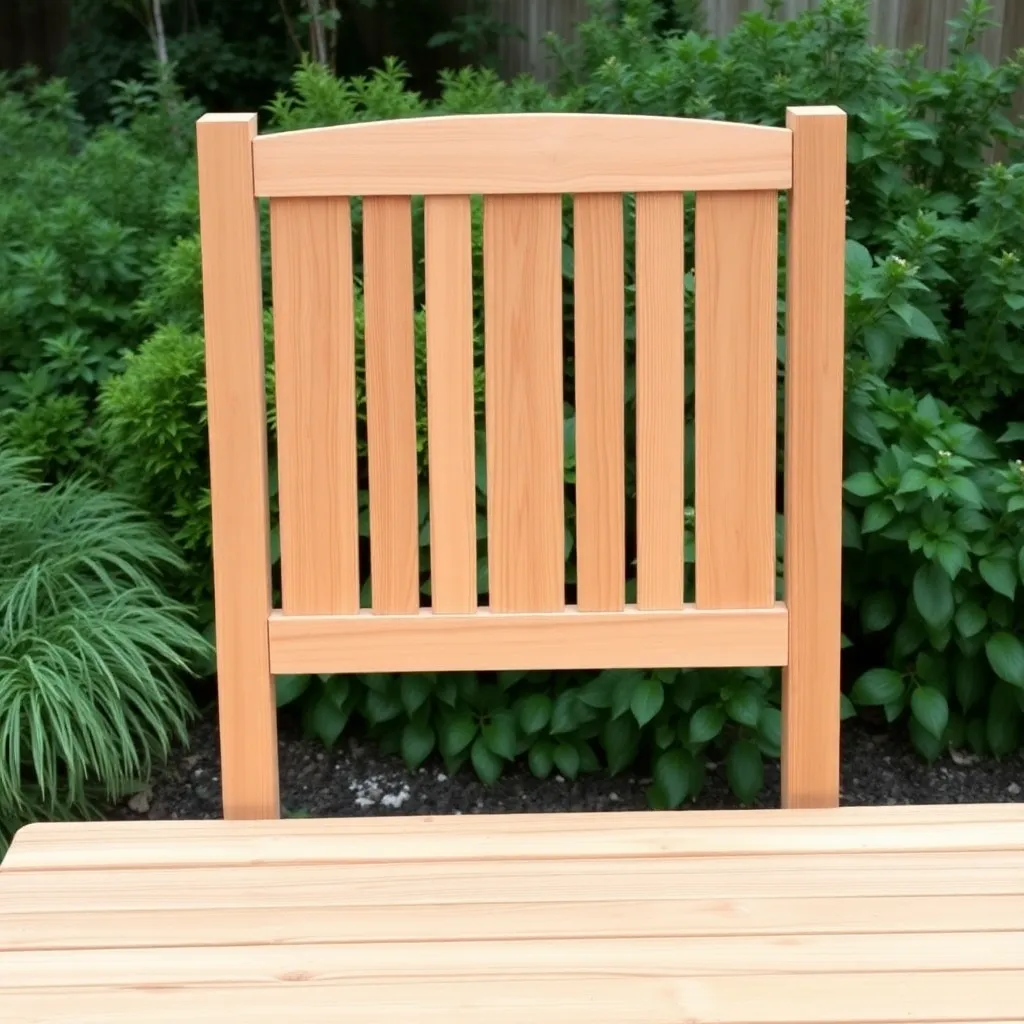
For a classic slatted back, space three 1×4 back slats between the back posts with 1-inch gaps. The bottom slat starts about 2 inches above the seat surface; the top slat ends about 18 inches above the seat. Run a 2×4 back rail horizontally behind the slats, connecting both back posts at mid-height, to keep the posts from racking.
Fasten slats to back posts with 2-inch exterior screws. Fasten the back rail to both posts with 3/8-inch carriage bolts.
For a storage bench (no back): omit the back posts and slats entirely. Add a second front rail at seat height (rather than below it) to form the front of the storage box. Add three or four vertical dividers to support a hinged lid. Use a piano hinge along the full width of the lid for weather resistance.
Step 6: Sand, Prime, and Paint
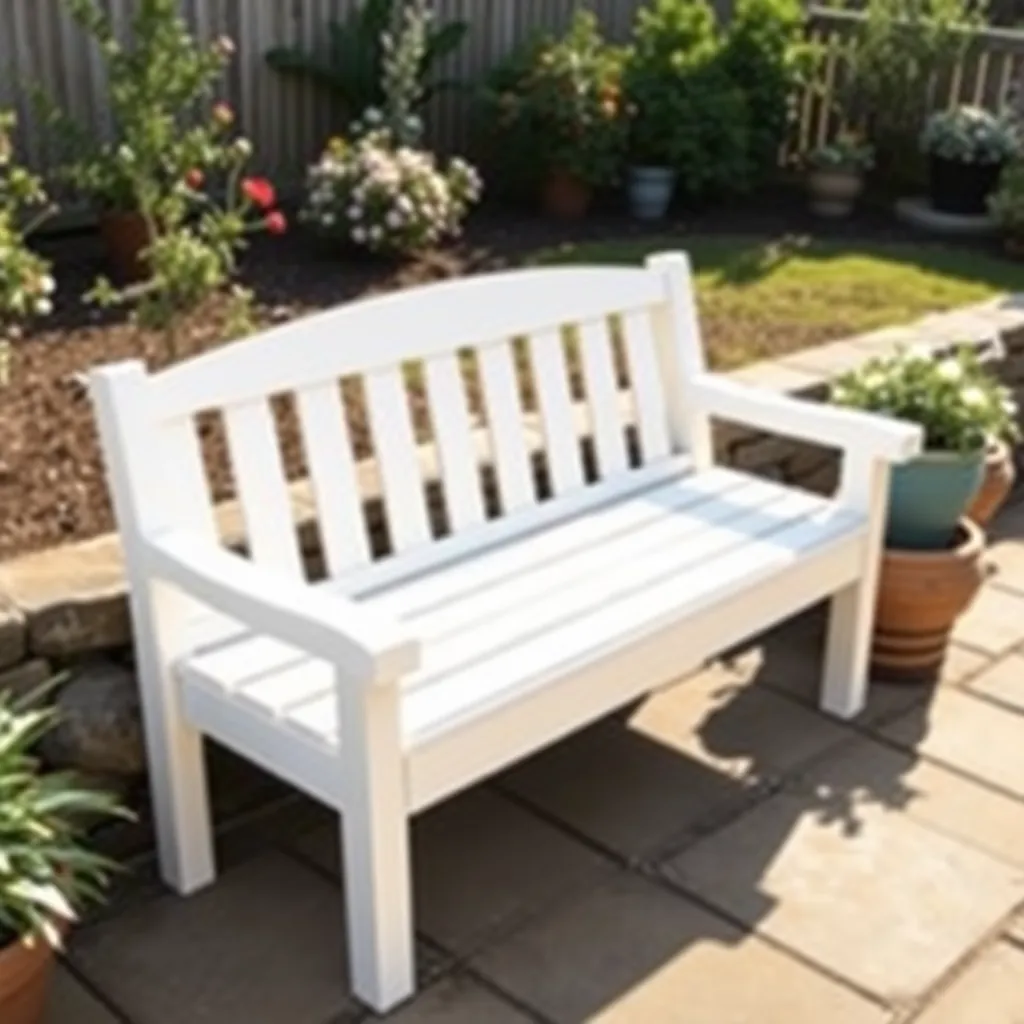
Sand all surfaces with 80-grit paper, then 120-grit. Knock off all sharp corners and edges — this is where paint fails first on outdoor furniture. Apply one coat of exterior primer to all six sides of every piece (not just the visible faces). Follow with two topcoats of quality exterior paint (100% acrylic latex, satin sheen).
Pay extra attention to end grain — it absorbs moisture faster than face grain. Two coats of primer on end grain is better than one.
Want 16,000+ step-by-step woodworking plans?
Ted’s Woodworking has plans for every skill level — from simple shelves to full bedroom sets. Each plan includes a cut list, material list, and detailed diagrams. Browse Ted’s plans →
Outdoor Bench Plans FAQ
What is the best wood for an outdoor bench?
Western red cedar is the best choice for most builders — rot-resistant, lightweight, easy to work with standard tools, and widely available. Pressure-treated pine is a close second for cost and durability; let it dry for 60–90 days before painting. Teak is the most durable (no maintenance required) but significantly more expensive.
How long does it take to build an outdoor bench?
A basic backless bench takes 3–5 hours including cutting, drilling, and assembly. A bench with a back takes a full day — 6–8 hours. A storage bench with a hinged lid takes 8–10 hours. These times assume the wood is pre-cut to length and you have basic power tools (circular saw, drill/driver).
How do I prevent an outdoor bench from rotting?
Start with rot-resistant wood (cedar, teak, or pressure-treated pine). Coat all six sides of every board before assembly, including end grain. Use stainless steel or hot-dipped galvanized fasteners — not standard zinc-plated screws, which rust and stain cedar. Elevate the bench feet off the ground with small rubber pads or plastic furniture feet to prevent pooling water under the legs.
How many 2×4s do I need for a garden bench?
A 6-foot cedar slatted bench with back requires approximately 12–14 pieces of 8-foot 2×4 lumber and 6–8 pieces of 8-foot 1×4 for the back slats. Always buy one extra board of each size for mistakes and trims.
Can I build a bench without power tools?
Yes. A hand saw, a brace and bit (or hand drill), and a mallet are sufficient. Carriage bolts with washers and wing nuts are easier to tighten by hand than screws. Plan for twice the time versus power tools, but the result is identical.

“DIY woodworking enthusiast who started with zero experience and a YouTube tutorial.
I build simple, practical projects for my home and share free plans
so other beginners can skip the guesswork.If I can build it, you can too.”