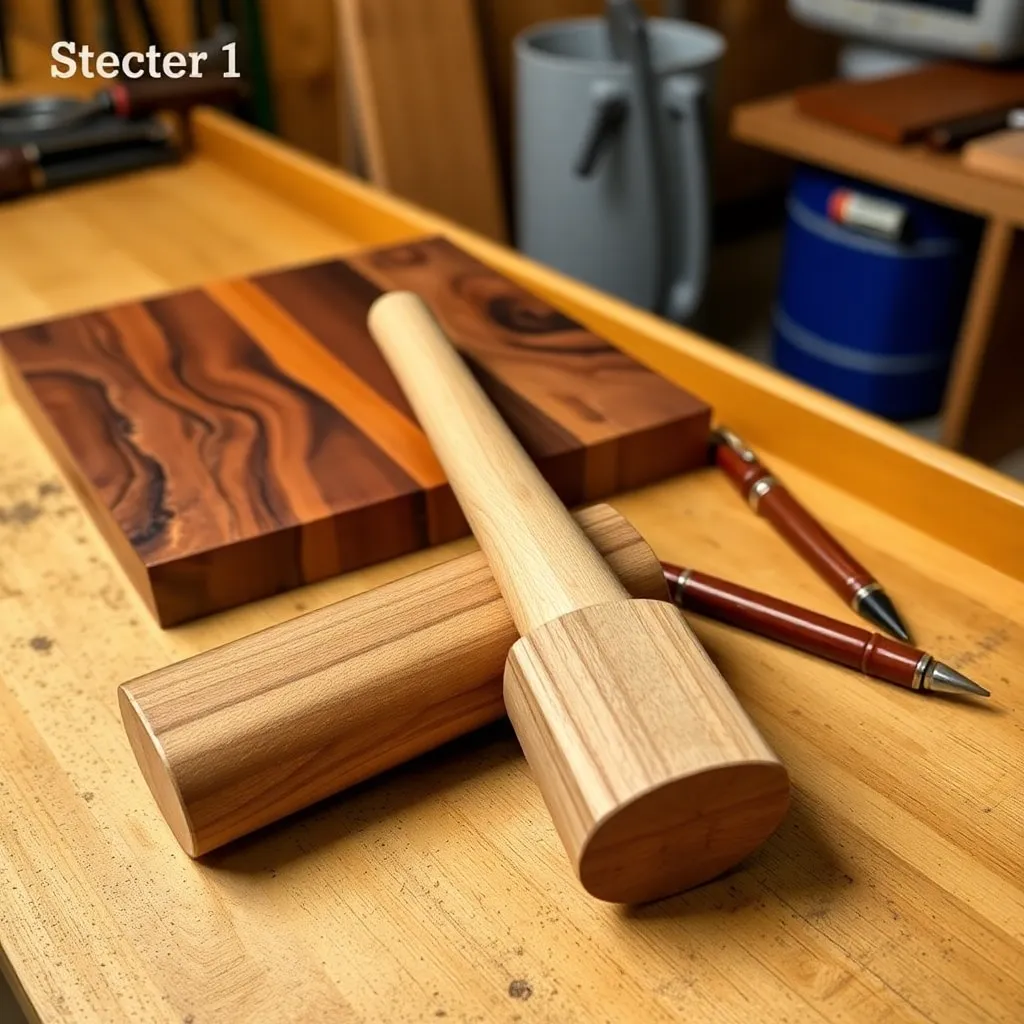
The best woodworking gift for a man is the one he’ll actually use — which means it has to match who he is. A kitchen cutting board is perfect for the cook; it’s useless for the man who never cooks. A shop mallet is ideal for the DIYer; it makes no sense for someone who doesn’t own tools. These ten builds are organized by recipient type — match the man to the build and the gift becomes specific instead of generic.
Ted’s Woodworking has complete plans for all ten builds here with full cut lists and finish specs. Browse Ted’s plans →
Step 1: Build a Shop Mallet — For the DIYer
Goal: A tool he’ll use every session and reach for automatically.
Turn the head from a 3½ × 3½ × 5-inch hard maple block on the lathe. Turn the handle from 1¼ × 10-inch ash or hickory — these species absorb impact shock better than maple. Bore a 1¼-inch hole through the head center, slightly tapered from top to bottom. Drive the handle through from the bottom and lock with a wooden wedge at the top. The taper prevents the head from flying off under use. No finish on the head. Two coats of raw linseed oil on the handle. Burn his name or initials into the handle with a pyrography pen or branding iron.
Milestone: A mallet that drives a ½-inch chisel cleanly with one firm stroke.
Step 2: Build a Marking Gauge — For the DIYer
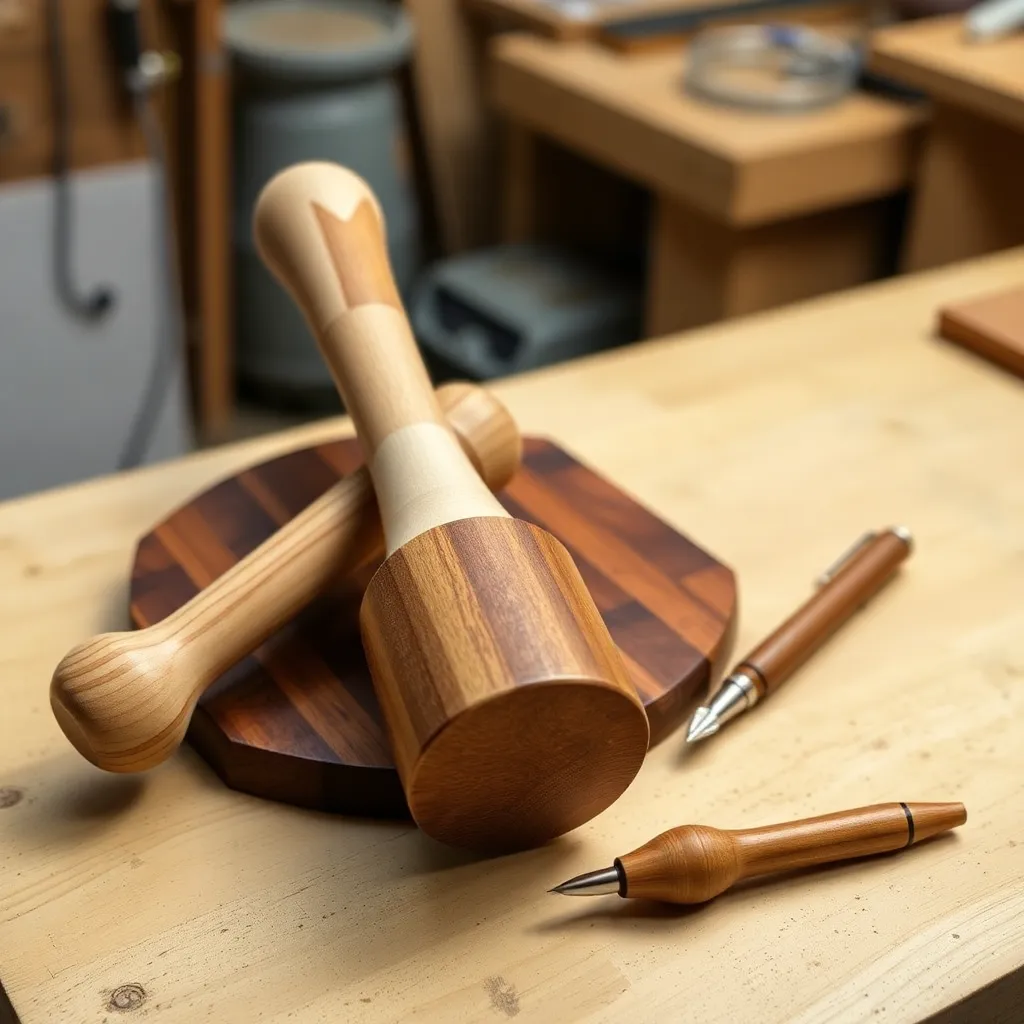
Goal: A precision layout tool he’ll use on every project — better than any commercially available gauge at the price.
Mill the beam from ¾ × ¾ × 8-inch hard maple or rosewood. Mill the fence from 1½ × 2 × 3-inch stock — drill a ¾-inch mortise through the center to receive the beam (snug fit, not sloppy). Add a thumbscrew (⅜-inch × 20 thread hex bolt through the fence face) to lock the beam at any position. Inset a marking pin or wheel cutter at the beam end. Sand all faces to 320-grit. Apply two coats of Danish oil. A marking gauge in rosewood looks and feels more valuable than a $40 commercial gauge — because it is.
Milestone: A gauge where the beam locks with a single quarter-turn of the thumbscrew and doesn’t drift.
Step 3: Build an End-Grain Cutting Board — For the Cook
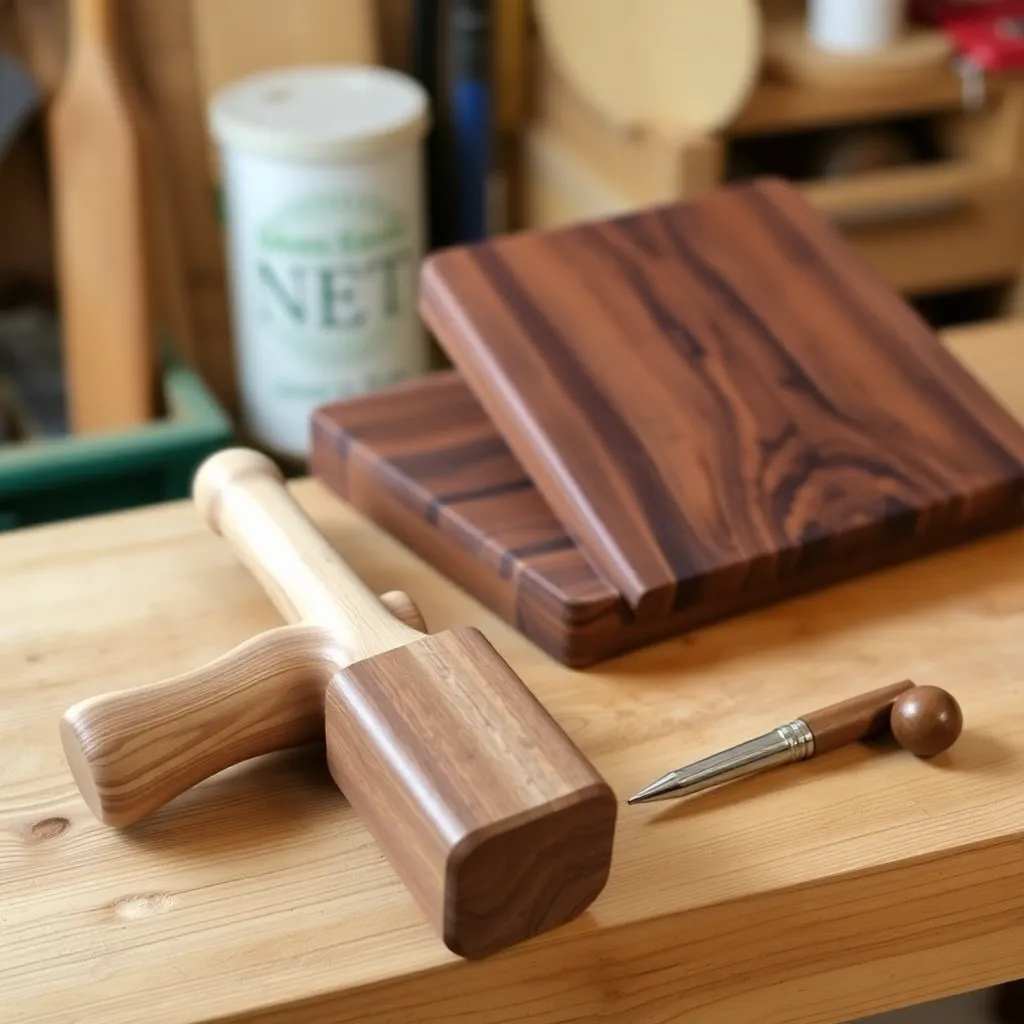
Goal: The most durable type of cutting board — self-healing, long-lasting, and visually striking.
Cut 2-inch thick maple and walnut into ½-inch strips at 12 inches long. Glue strips side-by-side alternating species (face grain). After curing, cut the glued panel into ½-inch slabs perpendicular to the grain direction — this exposes the end grain. Re-glue the slabs side-by-side to form the final board. Sand both faces flat. Route a ¼-inch roundover on all edges. Add rubber feet. Apply food-safe mineral oil.
Milestone: A board with a checkerboard end-grain pattern and no visible glue lines.
Step 4: Build a Beer Flight Paddle — For the Cook / Beer Enthusiast
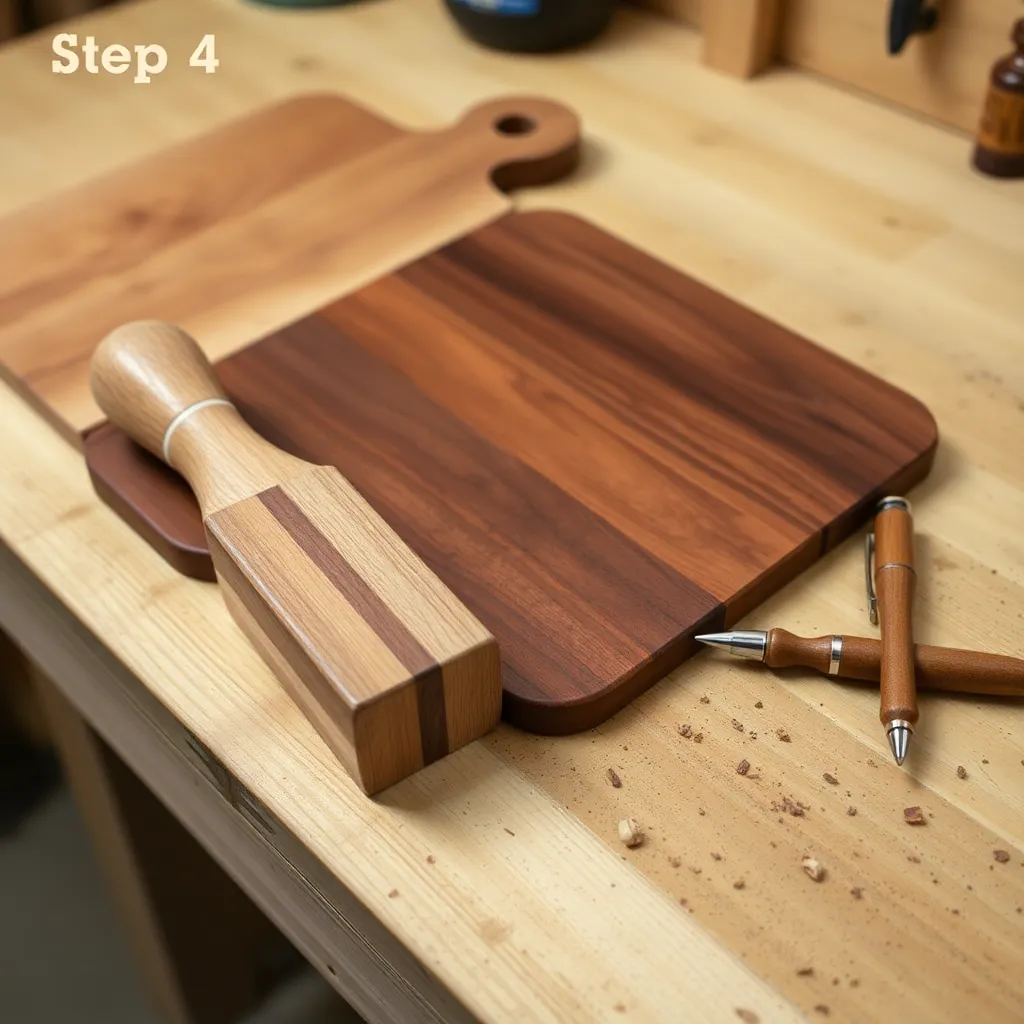
Goal: A serving paddle that holds four beer flight glasses for comparing craft beers.
Cut a paddle shape from ¾-inch maple or walnut: 5 × 18 inches with a 1½ × 5-inch handle at one short end. Drill four 2-inch diameter holes across the paddle face, spaced 3 inches center-to-center. Sand to 220-grit. Apply four coats of food-safe polyurethane. The holes should hold standard 4-oz tasting glasses snugly — test your specific glasses before drilling the final holes, as glass diameters vary. Engrave a name, a brewery name, or a hoppy joke on the handle.
Milestone: A paddle where all four glasses sit level simultaneously when the paddle is laid flat.
Step 5: Build a Bottle Opener Board — For the Cook / Beer Enthusiast
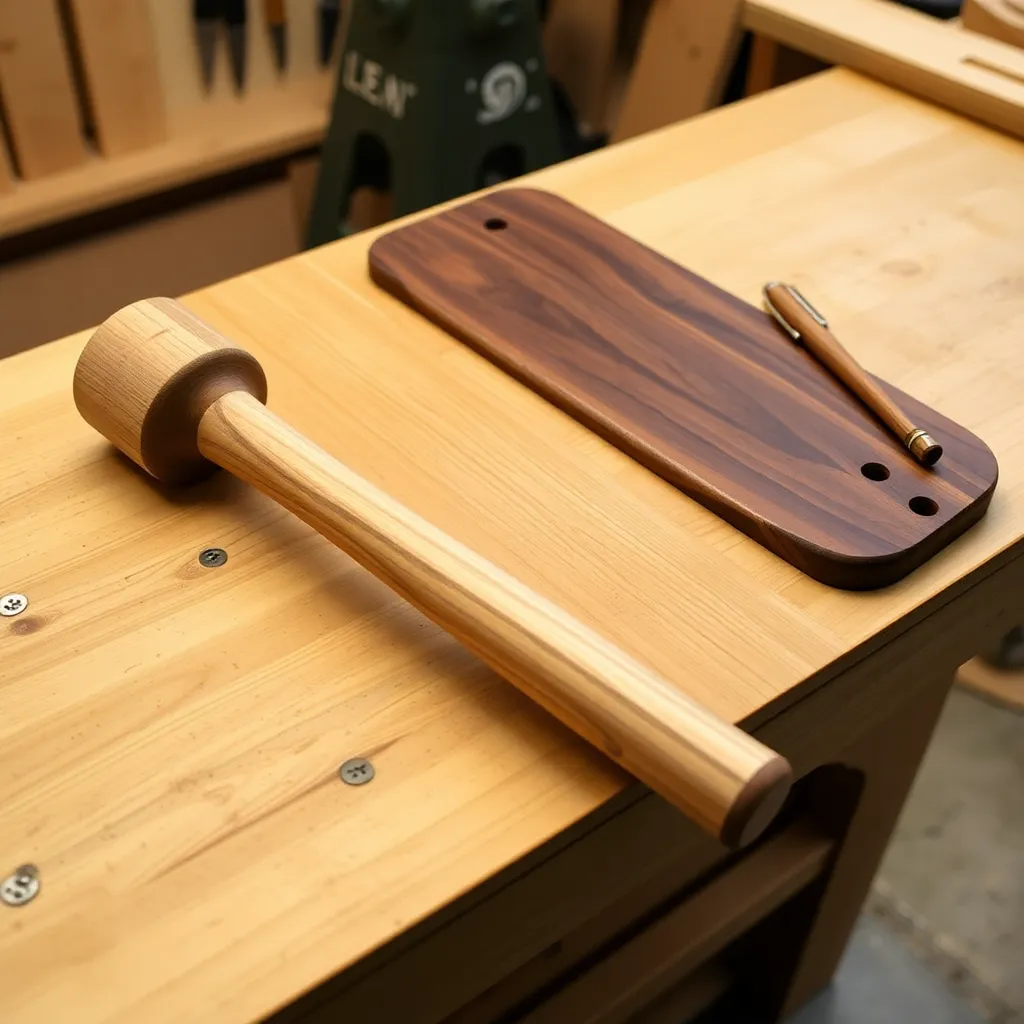
Goal: A wall-mounted opener with a built-in cap catcher — used daily.
Cut a 1×6 oak or walnut at 14 inches. Route a decorative edge. Sand to 220-grit. Stain and polyurethane. Mount a wall-mount bottle opener 4 inches from the top. Drill a 2½-inch cap-catcher hole below it. Build a small catchbox from ¼-inch plywood (4 × 3 × 1½ inches) and attach below the hole. Personalize with his name, a team logo stencil, or a saying burned into the wood. Mount with a keyhole bracket into a stud.
Milestone: An opener that catches every cap without one missing the box.
Step 6: Build a Fishing Lure Display — For the Outdoorsman
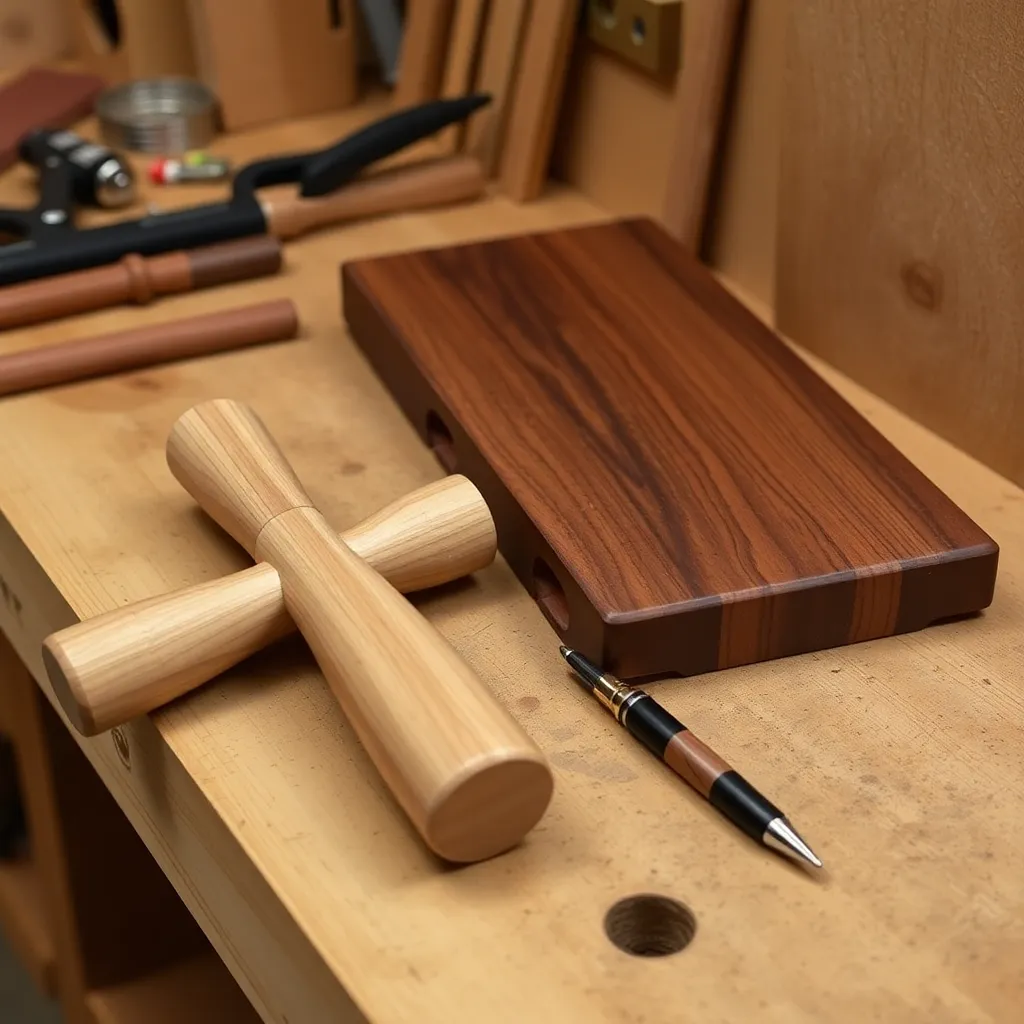
Goal: A display case for his best lures — the ones that are too good to lose in a tackle box.
Build a shadow box from ¾-inch pine or walnut: 12 × 16 × 2 inches deep. Line the back with cork board — lures mount with small display hooks. Add a plexiglass or glass front in a hinged frame. Paint the interior flat black. Add a hand-lettered or engraved nameplate at the bottom: his name + lake names or “Best Catches.” Mount with D-ring hangers.
Milestone: A case that holds 20+ lures visible through the front glass.
Step 7: Build Knife Handle Scales — For the Outdoorsman
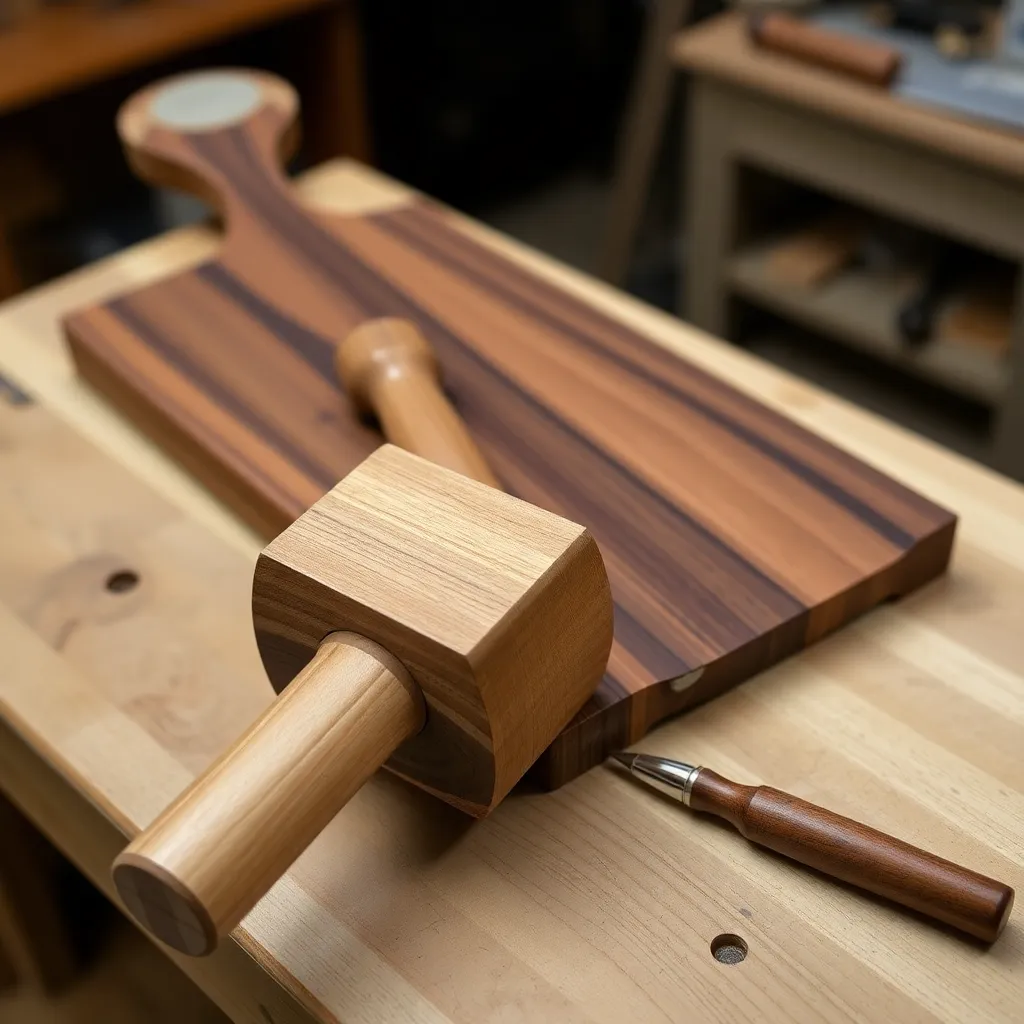
Goal: Custom handles for a knife he already owns — the most personal tool gift.
Select two pieces of ¾-inch stabilized wood (stabilized wood has been vacuum-infused with resin, making it extremely durable for wet/outdoor use) sized to the knife’s full tang. Drill handle pin holes to match the tang’s existing holes. Shape the profile with a carving knife and spokeshave, working to a comfortable oval cross-section with a slight finger groove. Sand to 400-grit. Pin the scales to the tang with brass or corby bolts and finish the fit with epoxy. Apply tung oil as finish.
Milestone: Handle scales that fit the knife tang precisely with no visible gaps at the bolster.
Step 8: Build a BBQ Caddy — For the Grillmaster
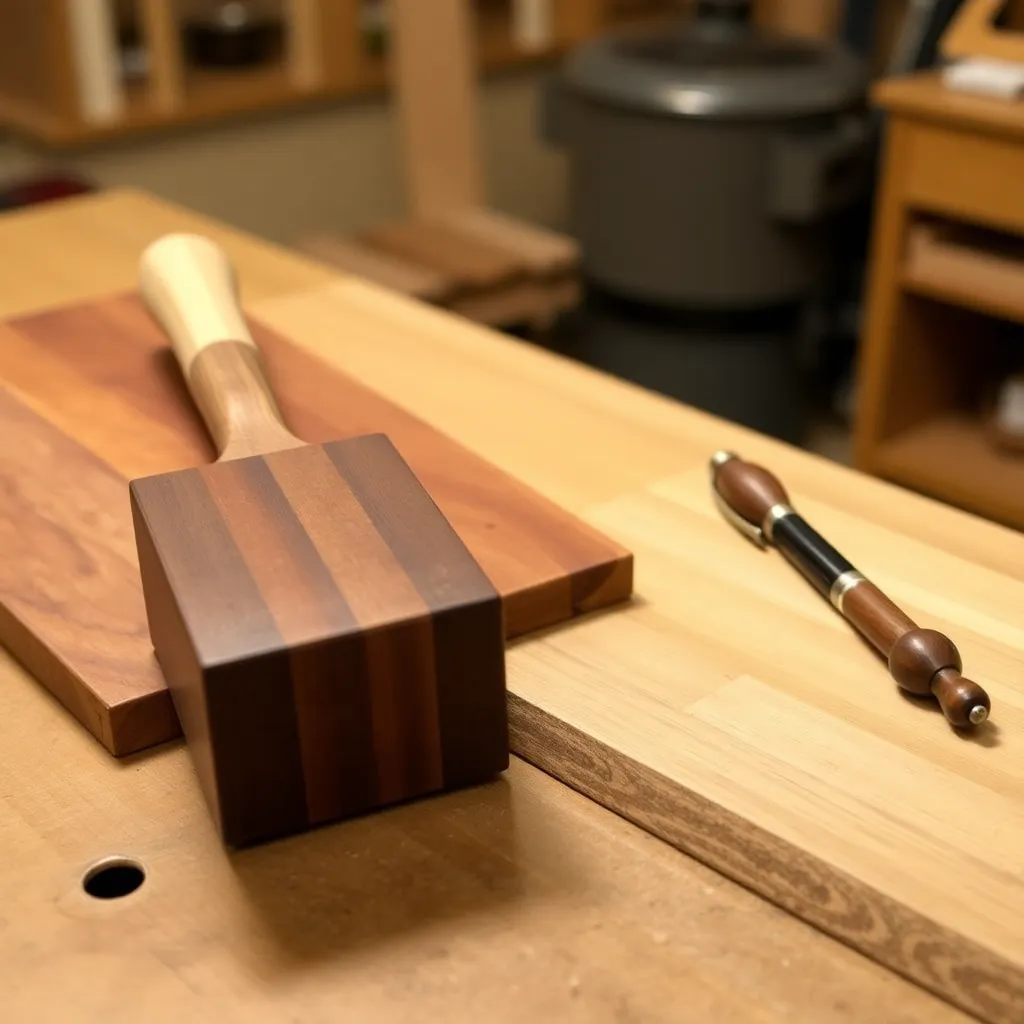
Goal: A portable caddy that holds his grill tools, sauce bottle, and paper towels at the grill station.
Build from cedar (outdoor use) or teak: a box 8 × 14 × 8 inches with a central divider and a hole for a paper towel roll on one side. Add a handle from a 1-inch dowel spanning the top. Add a hook strip on the outside (two cup hooks) for hanging a grill brush and tongs. Drill a drainage hole in the bottom of the tool section. Apply teak oil — not polyurethane for an outdoor item.
Milestone: A caddy that holds 6 grill tools, a paper towel roll, and a sauce bottle without tipping.
Step 9: Build a Liquor Bottle Display — For the Home Bartender
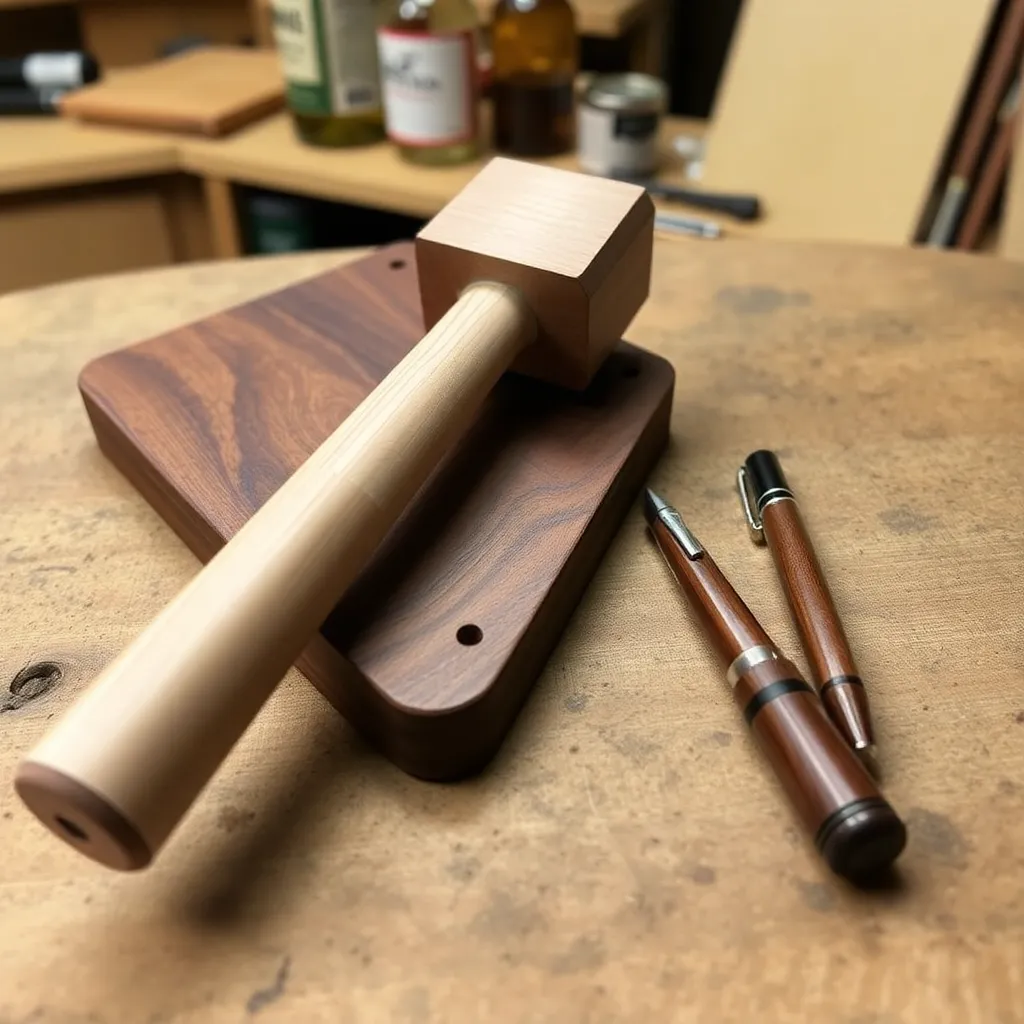
Goal: A tiered display shelf that shows his whiskey or bourbon collection label-forward.
Build from ¾-inch oak: a back panel 10 × 24 inches, three shelves 4 × 24 inches at 4-inch vertical spacing. Route a ¼-inch × ¼-inch groove along the back of each shelf to engage a corresponding tongue on the back panel (no fasteners — the groove holds each shelf). Add a 1-inch lip strip on the front edge of each shelf to prevent bottles from rolling. Sand to 220-grit. Apply stain and three coats of polyurethane. Mount with two French cleats.
Milestone: A display where standard 750ml bottles sit level and don’t roll on any shelf.
Step 10: Build Hardwood Whiskey Stone Holders — For the Home Bartender
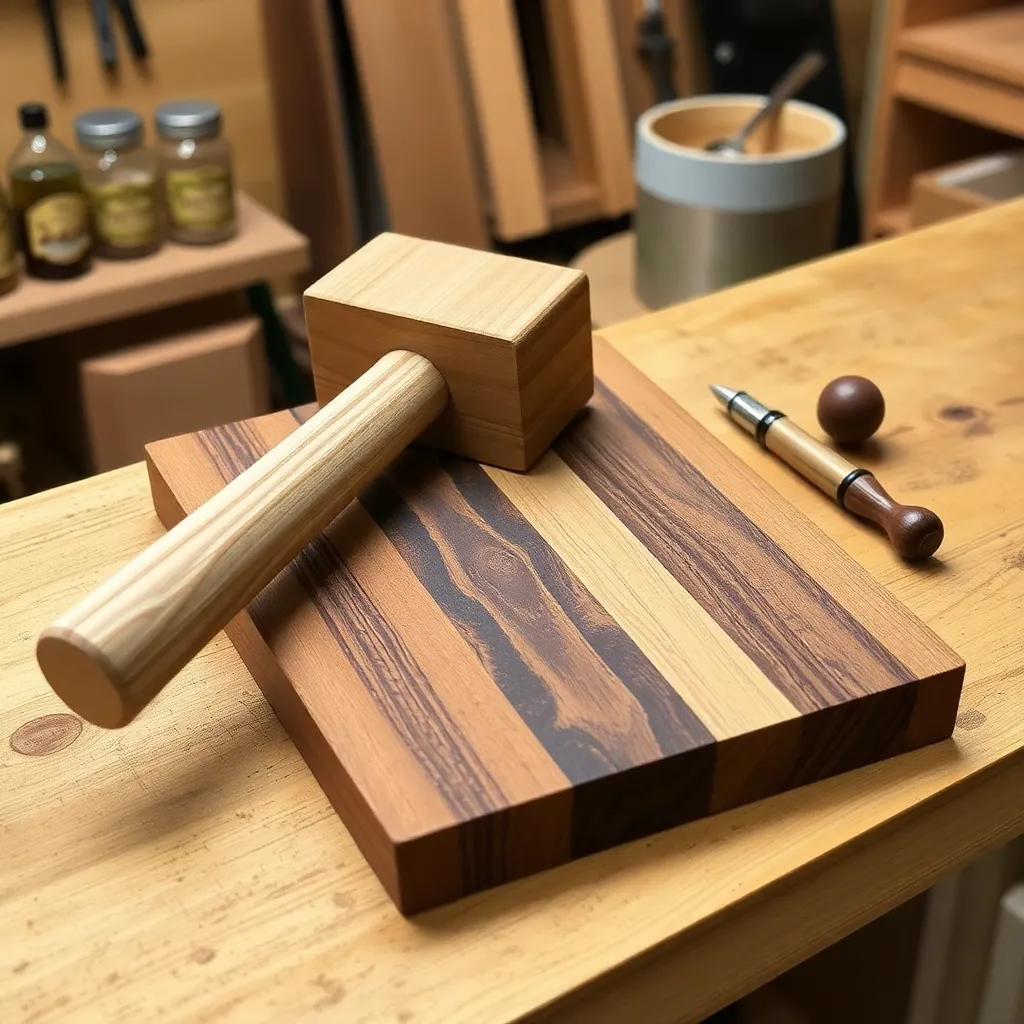
Goal: A wooden tray that stores and presents his whiskey stones — a package gift with the stones included.
Cut a ¾-inch walnut slab to 4 × 8 inches. Drill a 2 × 4 grid of ½-inch holes, ¼ inch deep — one hole per stone. Sand to 220-grit. Apply three coats of wipe-on polyurethane (food-safe after curing). Pair with a set of granite whiskey stones (available online, $10–$15 for a set of 9) and package together — the stones nest in the holes, making a complete gift set. The tray is also functional as a serving piece: place stones and tray in the freezer, then bring to the table.
Milestone: A tray where each stone sits securely in its hole and doesn’t rattle.
Woodworking Gifts for Men FAQ
What is the best woodworking gift for someone who doesn’t do woodworking?
A kitchen item — cutting board, serving board, or coaster set. These gifts don’t require the recipient to know anything about woodworking to appreciate them; they’re purely functional and used daily. An end-grain cutting board from contrasting hardwoods (walnut + maple checkerboard) is the best single gift because it looks expensive, is obviously handmade, and is genuinely useful.
How do I make a woodworking gift look professionally finished?
Four things make handmade gifts look professional: (1) sharp, tight joints — no gaps at corners, no misaligned pieces; (2) fully sanded surfaces — never skip grits, go through 80/120/220/320 on gift items; (3) a proper multi-coat finish — three coats of wipe-on poly or Danish oil, lightly sanded between coats 1 and 2; (4) considered personalization — a name or date that’s centered, the right font, the right depth. The finish is where most gifts succeed or fail — a poorly finished piece with good joinery is still a poor gift.
Can I build all ten of these gifts from scrap wood?
Yes — all ten use pieces under 18 inches in any dimension. The cutting board (Project 3) needs 12-inch strips; the marking gauge (Project 2) needs an 8-inch beam and a 3-inch fence block; the beer flight paddle (Project 4) needs one piece at 18 inches. Sort your scrap bin by species before building — hardwood scraps (maple, walnut, oak) are what most of these projects need, not pine construction lumber.

“DIY woodworking enthusiast who started with zero experience and a YouTube tutorial.
I build simple, practical projects for my home and share free plans
so other beginners can skip the guesswork.If I can build it, you can too.”