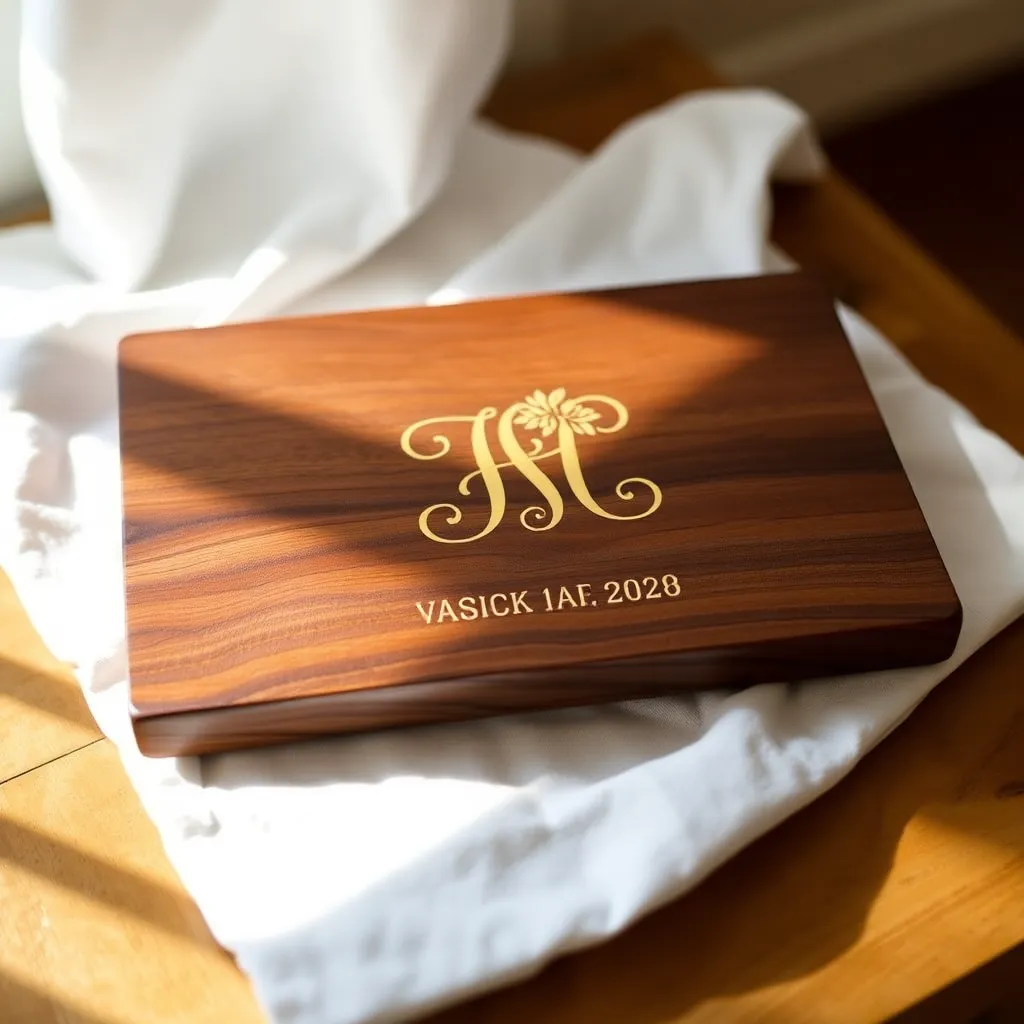
Personalization is what separates a handmade wood gift from a purchased one — a family name, a date, a set of coordinates, a child’s name. These ten builds are designed to be personalized: each has a clear place for text or imagery, a material that takes personalization well, and a finish that preserves it. Three personalization methods are covered — laser engraving, CNC routing, and hand pyrography — with setup notes for each.
Ted’s Woodworking has complete plans for all ten builds with personalization guides for each method. Browse Ted’s plans →
Step 1: Build a Family Name Sign
Goal: A wall piece with the family surname and founding year — a classic housewarming or wedding gift.
Cut a pine or poplar panel: 8 × 24 inches for a standard sign. Sand to 180-grit. Apply a base coat of flat black or dark walnut stain. Personalize using one of three methods:
- Laser: Import text as SVG or DXF. Engrave at medium power/slow speed for a deep, clean channel. The stained background makes the raw wood engraving pop visually.
- CNC: Use a V-bit at 90° for text. Set depth to 0.08 inches for clean edges.
- Pyrography: Transfer text via graphite paper. Use a fine tip for lettering, consistent speed and pressure throughout.
Apply a coat of matte polyurethane after personalization. Add two sawtooth hangers on the back.
Milestone: Text that’s centered on the panel (both horizontally and vertically), with consistent depth throughout.
Step 2: Build a Wedding Date Cutting Board
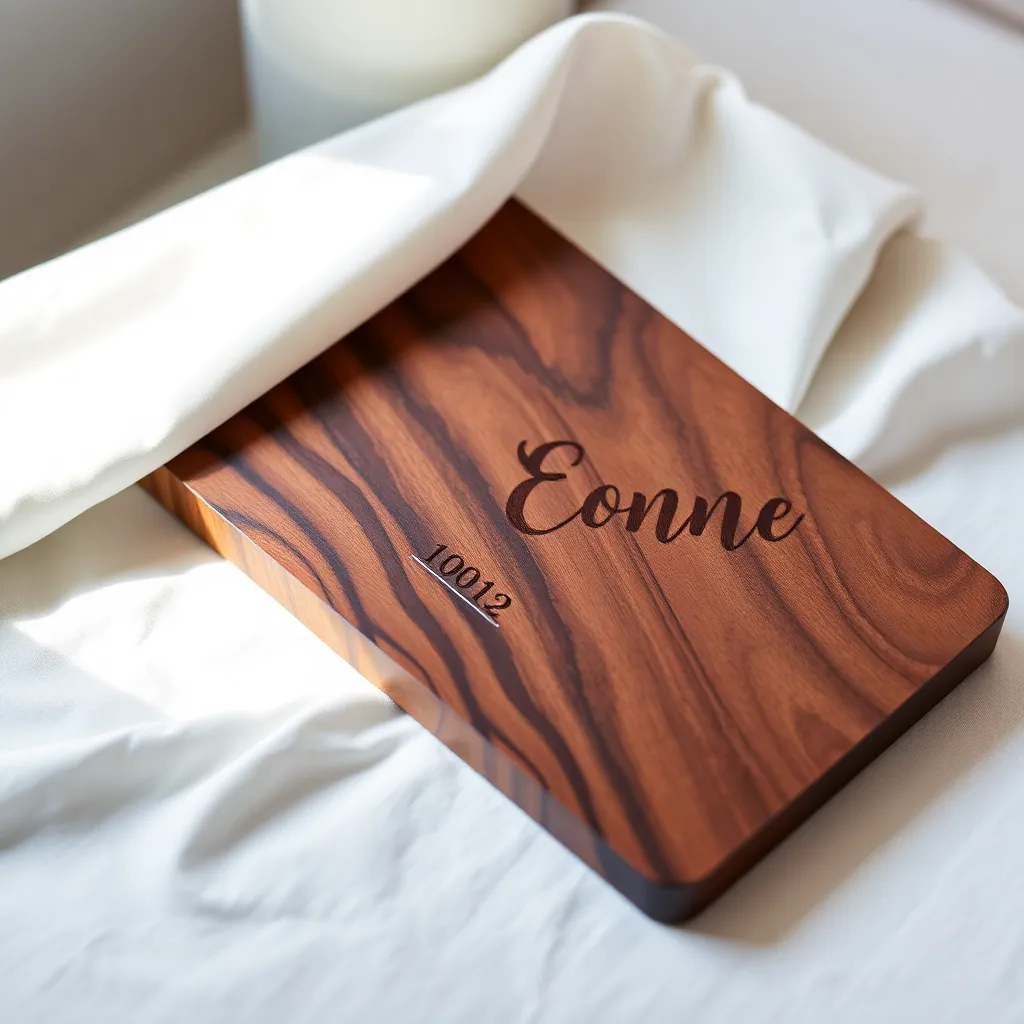
Goal: A gift the couple uses daily — with their wedding date on the back, their initials on the face.
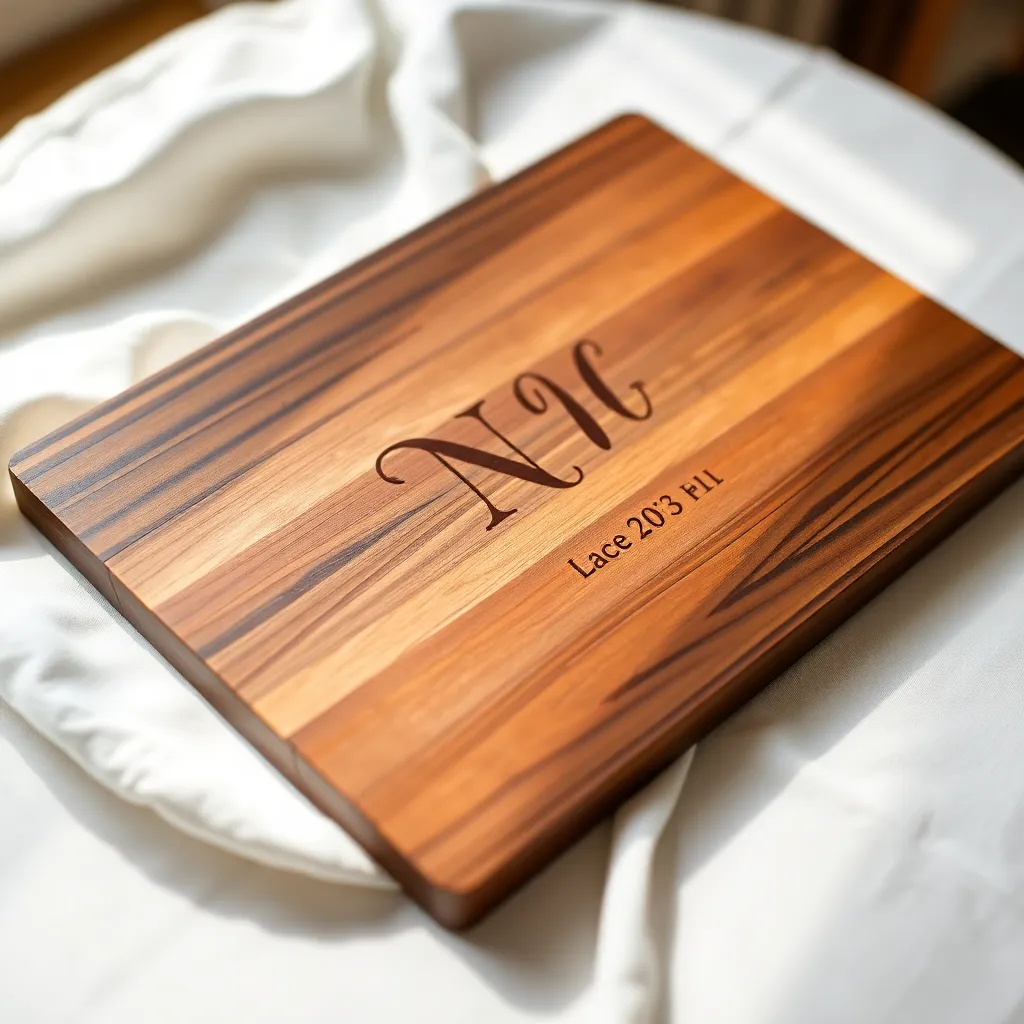
Glue up a face-grain maple board: 12 × 18 inches. Sand to 220-grit. Apply one coat of food-safe mineral oil. Personalize: engrave or burn the couple’s last name initial in a large decorative font on the serving face (4–6 inches tall, centered). On the back, engrave the full names and date in smaller text. Apply two additional coats of mineral oil after personalization — oil fills the engraved channels and gives a depth effect. Add rubber feet.
Milestone: A board with clean engraving on both faces, a flat glue-up with no visible lines, and a fully oiled surface.
Step 3: Build a Birth Announcement Plaque
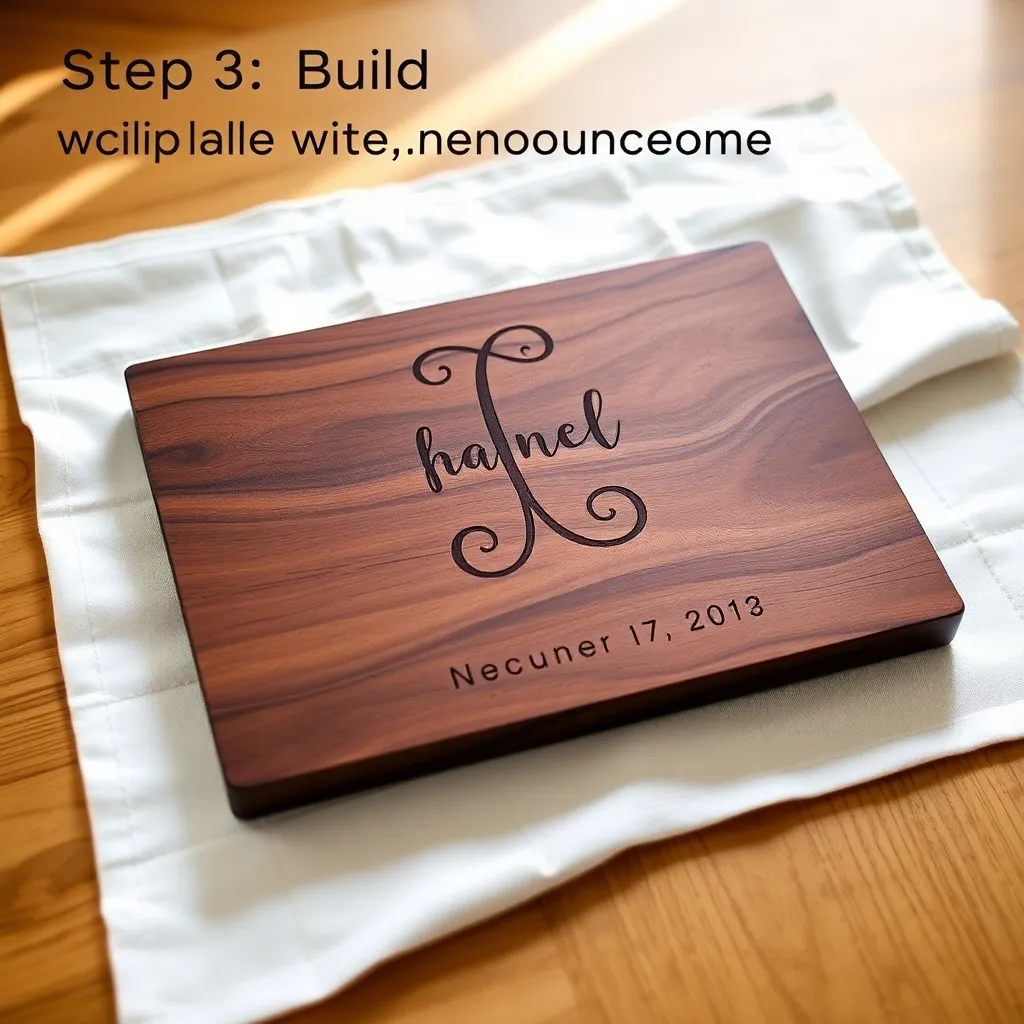
Goal: A permanent record of the birth — name, date, time, weight, length — given as a hospital or homecoming gift.
Cut a poplar or basswood panel: 9 × 12 inches for standard framed plaque size, or cut to match a specific frame size. Sand to 220-grit. Design the layout: name in large text (center, top), birth date below, then time, weight, and length in smaller text. Add decorative elements (a star, a small illustration of a bird or flower) relevant to the child. Personalize using any method. Finish with matte polyurethane and add a picture frame border (1×2 hardwood mitered at 45°) around the panel.
Milestone: A plaque with all six data points legible at 18 inches and a properly mitered frame border.
Step 4: Build a Coordinates Sign
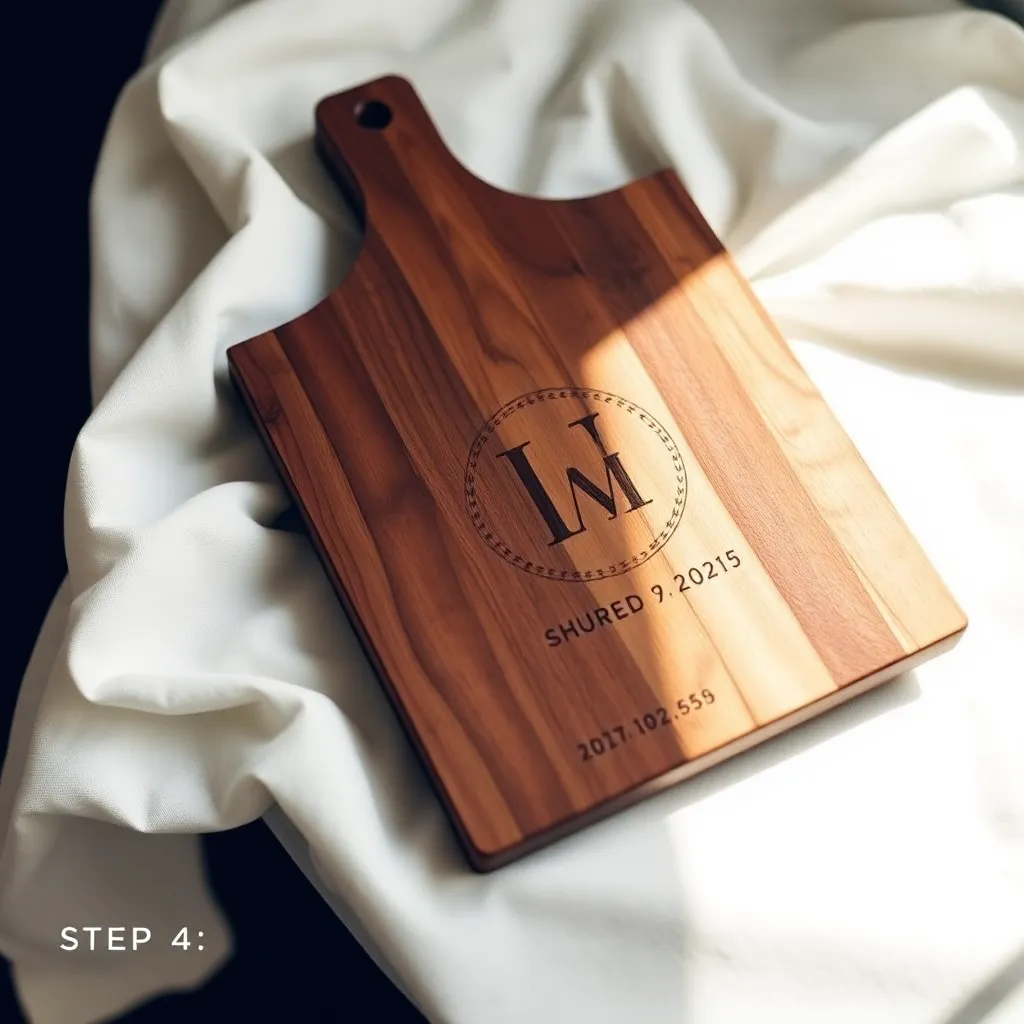
Goal: A wall piece displaying the GPS coordinates of a meaningful place — where they met, where they married, where they live.
Cut a reclaimed or select pine board: 6 × 18 inches. Sand to 180-grit. Apply a whitewash (diluted white paint wiped on and off) for a coastal or farmhouse look, or apply a dark stain for a modern look. Engrave or burn the coordinates in large text, centered: “43.6532° N, 79.3832° W” for example. Below the coordinates, add a smaller line with the place name. Apply matte polyurethane. The personalization (specific coordinates) is what makes this more than a generic sign.
Milestone: Coordinates that are accurate to 4 decimal places and formatted consistently.
Step 5: Build a Monogrammed Jewelry Box
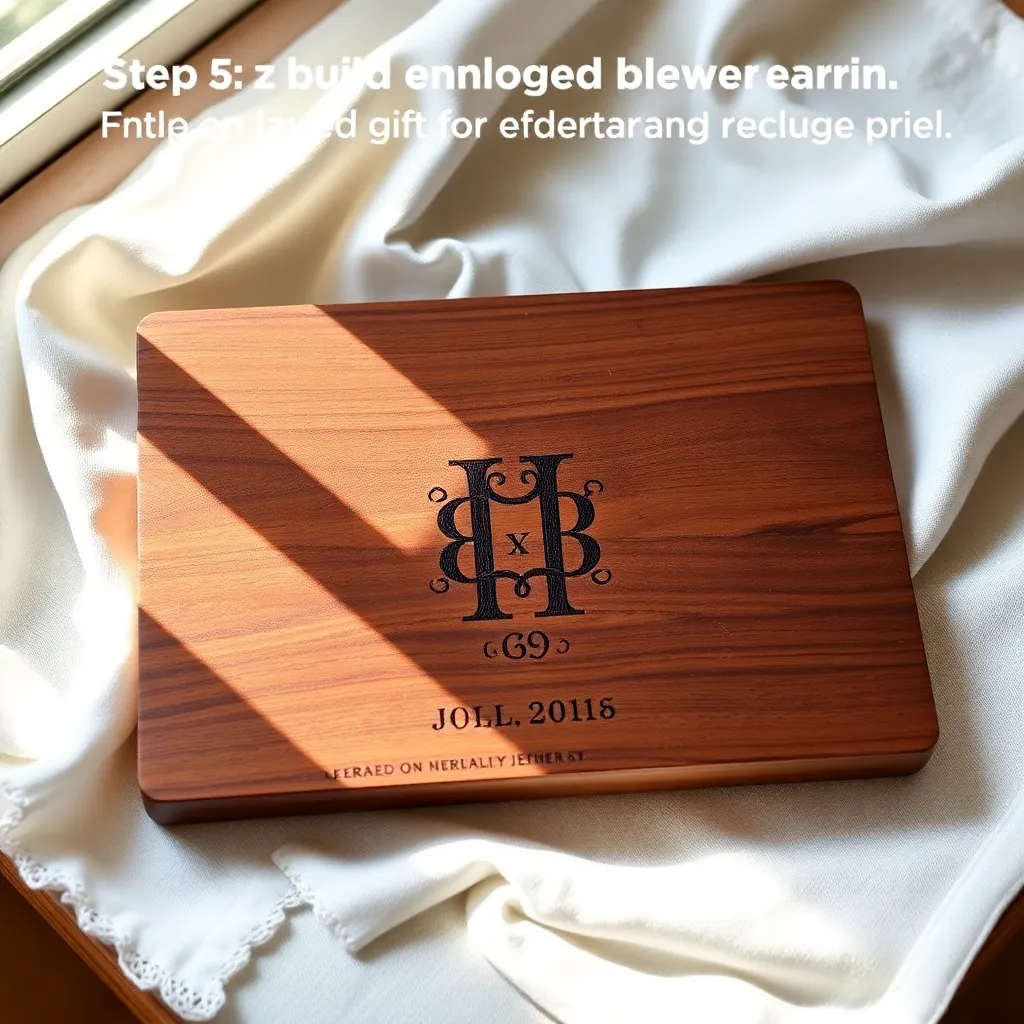
Goal: A hinged box with the recipient’s initial on the lid — a keepsake that outlasts the jewelry inside.
Build the box from ½-inch cherry or maple: 5 × 8 × 4 inches. After gluing and squaring up, run through the table saw to separate the lid cleanly. Install piano hinge and magnetic clasp. Line with velvet. Sand the exterior to 220-grit. Personalize the lid center with one of three methods: a large single initial (2 inches tall) in a decorative script font. Apply three coats of shellac. Shellac highlights the warm tones of cherry and is reversible — any future repairs can be done without stripping.
Milestone: A box with a lid that closes flush and an initial centered on the lid face.
Step 6: Build a Personalized Wine Box
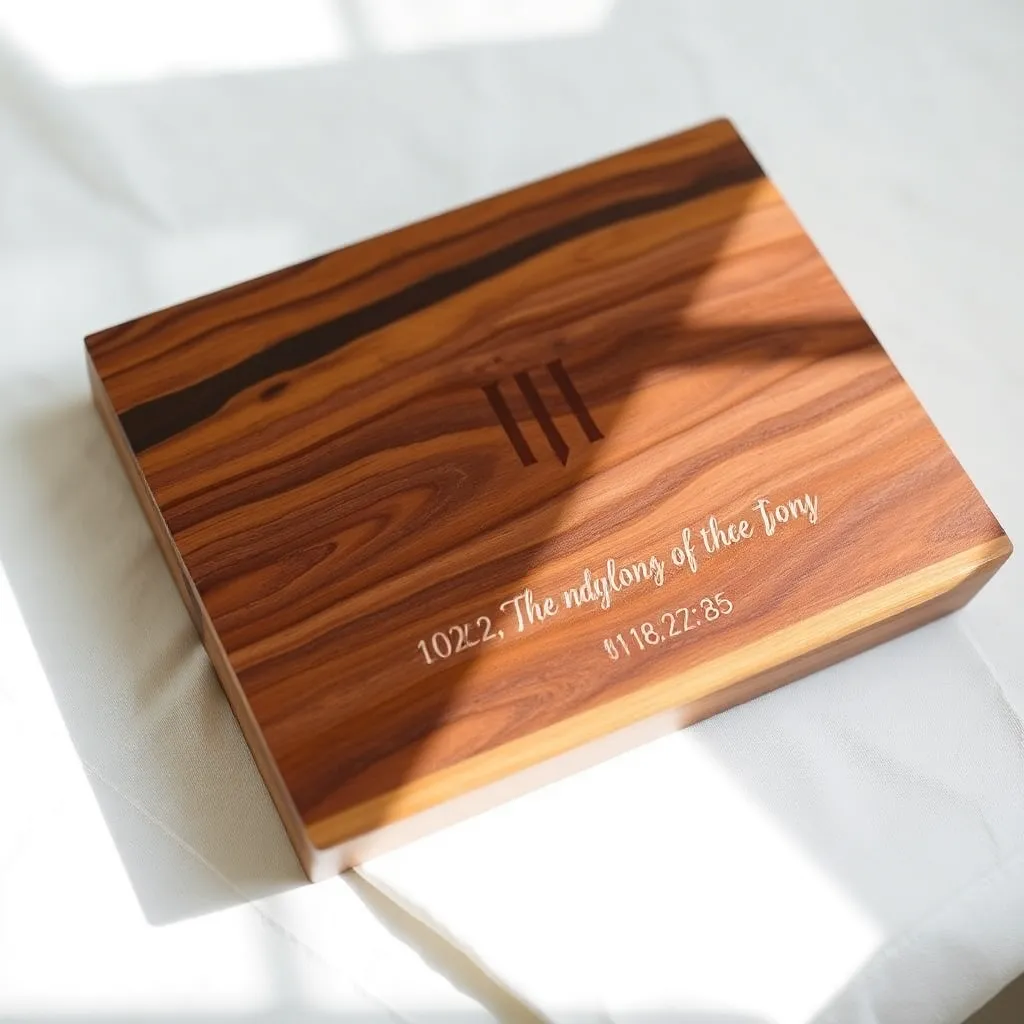
Goal: A gift box for a bottle of wine that’s as much the gift as the wine inside.
Build from ½-inch pine or cedar: a long box 4 × 14 × 4 inches with a hinged lid (lid = top, attached with a small piano hinge along the long edge). The box holds a standard 750ml bottle on its side. Personalize the lid with the occasion: “Wedding Day — June 14, 2026” or “Open on Your 10th Anniversary.” Apply exterior-grade stain and polyurethane on the outside, raw cedar on the inside. The message makes the box worth keeping after the wine is gone.
Milestone: A box that holds a 750ml bottle without rattle, with a lid that opens smoothly.
Step 7: Build a Custom Map Display
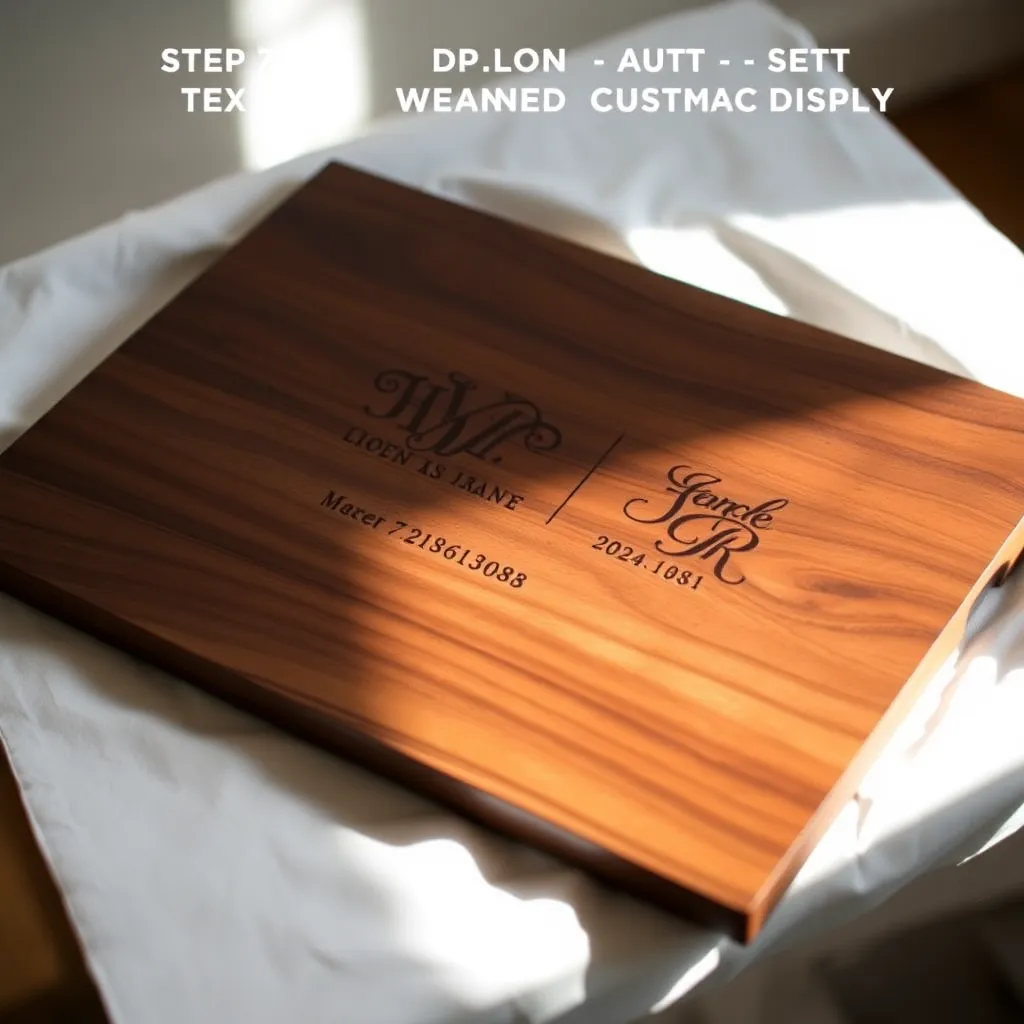
Goal: A wood panel with a laser-cut or engraved map of a meaningful city, neighborhood, or trail.
This project requires either a laser engraver or CNC router with a detailed map file. Download an OpenStreetMap export for the target area and convert to SVG format (online tools: Inkscape, Mapbox). Engrave on a ¾-inch maple or walnut panel at the appropriate scale — a neighborhood fits well on a 10 × 10-inch panel. Mount in a simple floating frame. Apply wipe-on polyurethane before engraving (creates contrast between the light engraved area and the darker finished wood).
Milestone: A map where major streets are recognizable to someone familiar with the area.
Step 8: Build a Name Puzzle (Children’s Gift)
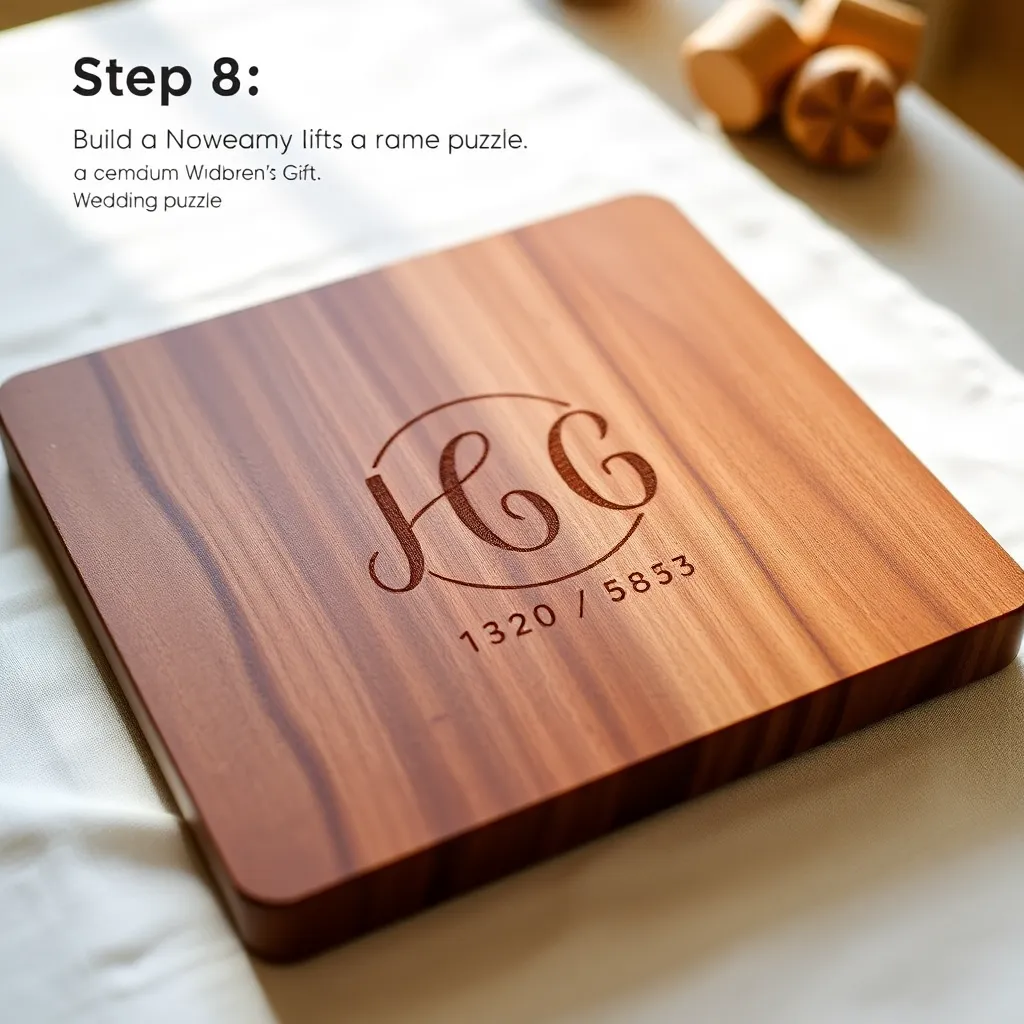
Goal: A take-apart puzzle where each piece is a letter of the child’s name — a first toy that teaches letters.
Cut each letter from ¾-inch birch plywood using a scroll saw or laser. Cut a base panel from ¾-inch birch, sized to hold all letters side-by-side with ¼-inch gaps between. Rout a shallow recess (⅛-inch deep) for each letter in the base panel — the letters nest in the recesses. Sand all edges to 220-grit and eliminate all sharp corners. Apply non-toxic, child-safe paint in a different color for each letter. Finish with water-based polyurethane (no solvent-based finishes for children’s toys).
Milestone: A puzzle where every letter fits its recess snugly and the finish is fully cured and non-tacky.
Step 9: Build a Memorial Photo Frame
Goal: A frame for a memorial photo — with the name and dates of the person being remembered.
Build a wider-than-standard frame from ¾-inch walnut or cherry: 4-inch rails on all sides for an 8×10 photo, giving a 14 × 16-inch overall frame size. The wide rails provide space for personalization. Engrave the name on the top rail, the dates on the bottom rail. Apply Danish oil — it darkens walnut beautifully and is the most respectful finish for a memorial piece (doesn’t look flashy). Add a hanging cleat on the back and a prop on the bottom for tabletop display.
Milestone: A frame with text on two rails that reads clearly and doesn’t compete visually with the photo.
Step 10: Build a Graduation Keepsake Box
Goal: A box to hold the physical keepsakes of a graduation: the tassel, a photo, cards, the diploma.
Build from ½-inch maple: 10 × 14 × 4 inches. This is larger than the jewelry box — it needs to hold an 8×10 diploma, a tassel, and assorted cards. Add a tray insert (¼-inch plywood, removable) that sits ½ inch below the top of the box — diploma lies under the tray, smaller items sit on the tray. Personalize the lid with name, school, graduation year, and degree. Apply three coats of wipe-on polyurethane.
Milestone: A box where a standard diploma lies flat without folding and the lid closes flush over the tray insert.
Personalized Wood Gifts FAQ
Which personalization method is easiest for beginners?
Pyrography (wood burning) is the most accessible — a quality pen costs $25–$40, no software required, no computer required, and skills develop within a few hours of practice. It’s also the most forgiving method for irregular surfaces and small pieces. Laser engraving is faster and more consistent but requires an upfront equipment investment ($250–$4,000) and a learning curve with file formats (SVG, DXF) and machine settings.
What wood takes personalization best?
Basswood and butternut for pyrography — both are soft, tight-grained, and burn evenly with consistent color. Maple for laser engraving — it produces a crisp, high-contrast engraved line. Poplar for CNC routing — it’s inexpensive, stable, and cuts cleanly with sharp bits. Avoid open-grain woods (oak, ash) for fine text — the grain interrupts thin lines and makes small text difficult to read.
How do I transfer a design to wood without a laser or CNC?
Graphite transfer paper (also called tracing paper or carbon paper) is the standard method. Print or draw your design on regular paper. Place graphite paper between the design and the wood surface (graphite side down). Trace the design firmly with a ballpoint pen. Lift the papers to reveal a graphite line on the wood surface. Burn or carve along the lines. The graphite line burns away as you work and leaves no residue under the finish.
How long does a personalized wood gift last?
A properly finished wood gift — with at least two coats of the appropriate topcoat — will last decades or longer. Wood is inherently durable; most failures come from finish failures (peeling, cracking) or moisture damage from improper use (putting oiled boards in the dishwasher, leaving outdoor pieces unprotected). Cherry and walnut darken and improve with age. A personalized cutting board given at a wedding in 2026 should still be in use at the 25th anniversary — which is exactly what makes it the right gift.

“DIY woodworking enthusiast who started with zero experience and a YouTube tutorial.
I build simple, practical projects for my home and share free plans
so other beginners can skip the guesswork.If I can build it, you can too.”