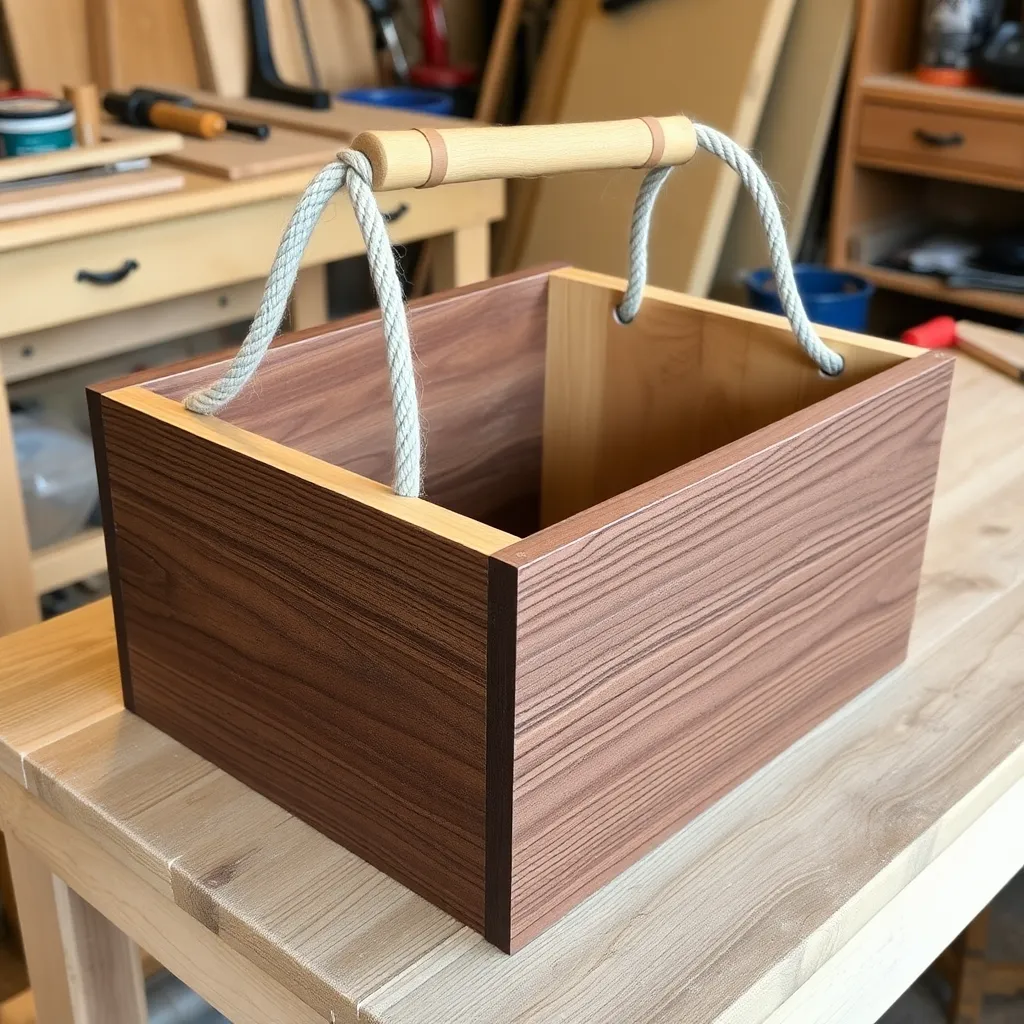
A slatted wood crate is the fastest meaningful project in a woodworker’s repertoire — it can be built in an afternoon from construction lumber, requires no specialized joinery, and produces something genuinely functional. But crate design has more variation than it appears: slat spacing, corner post dimensions, handle cutouts, and finish all combine to produce results ranging from a rough shop storage bin to a finished home décor piece selling for $60 at a craft market.
Ted’s Woodworking has complete crate plans including cut lists, spacing tables, and finish guides. Browse Ted’s crate plans →
Step 1: Build a Classic Wine Crate
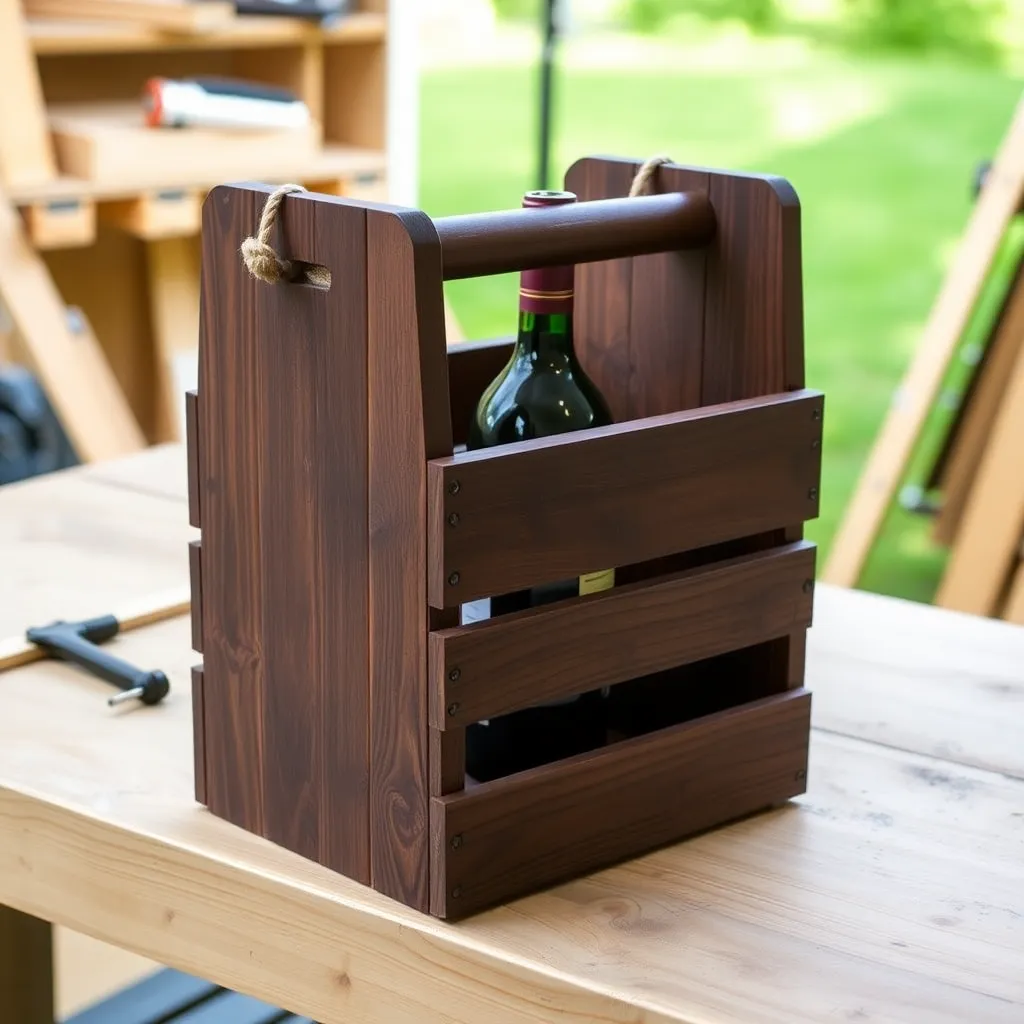
Goal: A 6-bottle wine crate with a rope handle — a gift-quality storage piece from pine.
Cut all components from 1×4 pine:
- 2 end panels: 13 × 7 inches
- 8 side slats: 13 × 3½ inches (cut from 1×4 at 13 inches)
- 2 base slats: 13 × 3½ inches
- 2 handle boards: 13 × 3½ inches with a 1 × 4-inch slot centered (drill two ½-inch holes, jigsaw between)
Assemble the two end panels first using pocket screws (two screws at each corner). Attach four side slats per long face, spaced ¼ inch apart, with 1¼-inch brad nails. Add two base slats on the bottom, flush. Thread a 24-inch length of ¾-inch manila rope through the handle slot on each end and knot inside.
Finish: Sand to 120-grit. Stain with Minwax Dark Walnut and apply one coat of matte polyurethane.
Milestone: A crate that holds 6 bottles upright without the slats flexing.
Step 2: Build a Stackable Storage Crate
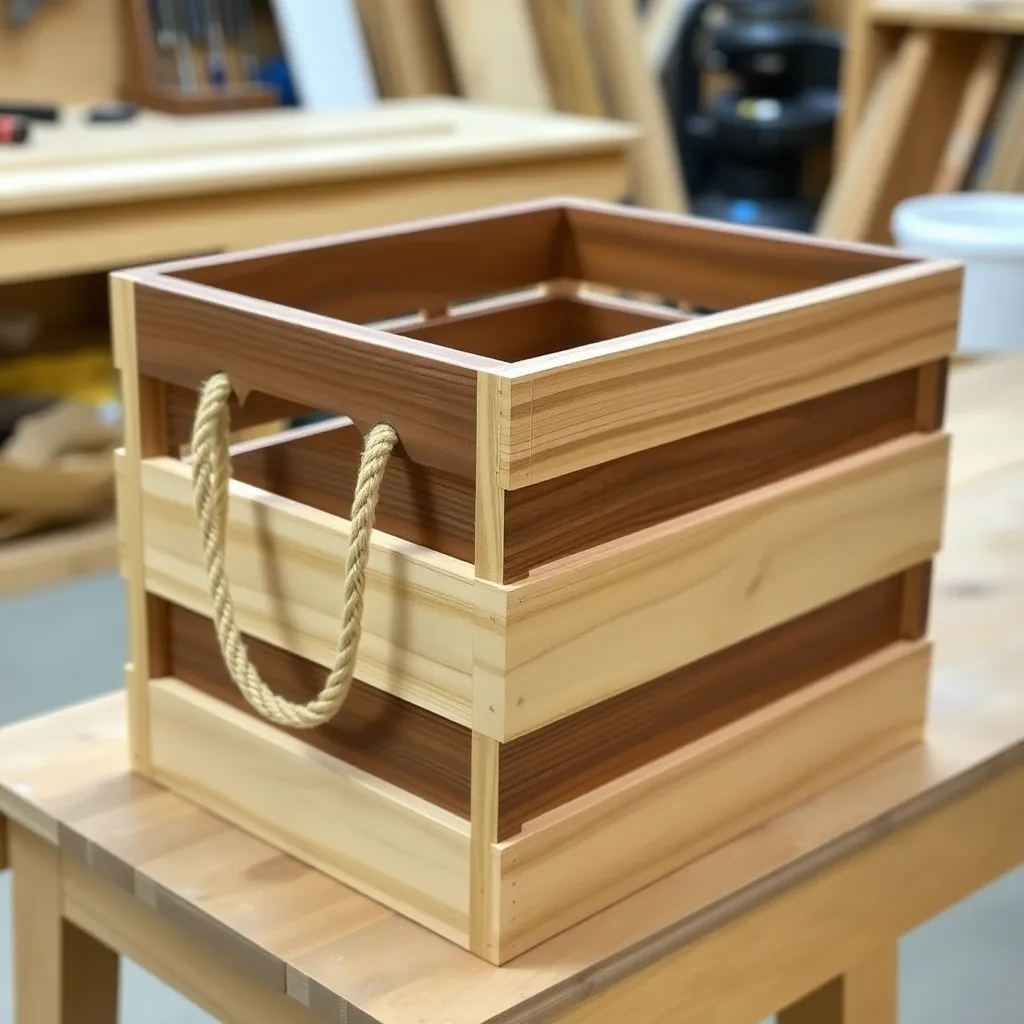
Goal: An interlocking crate that stacks with identical units — the most useful shop storage build.
Cut from ¾-inch pine or birch plywood:
- 2 end panels: 12 × 10 inches
- 8 side slats: 12 × 2 inches, spaced ½ inch apart
- 1 bottom panel: 12 × 16 inches (solid, not slatted)
On the top edge of each end panel, cut a ½-inch × ¾-inch notch centered 3 inches from each corner — these notches receive the bottom panel of the crate stacked above, locking them together. Assemble with pocket screws and wood glue. Sand to 120-grit. Apply two coats of semi-gloss polyurethane.
Milestone: Two completed crates that interlock without lateral movement.
Step 3: Build a Garden Harvest Crate
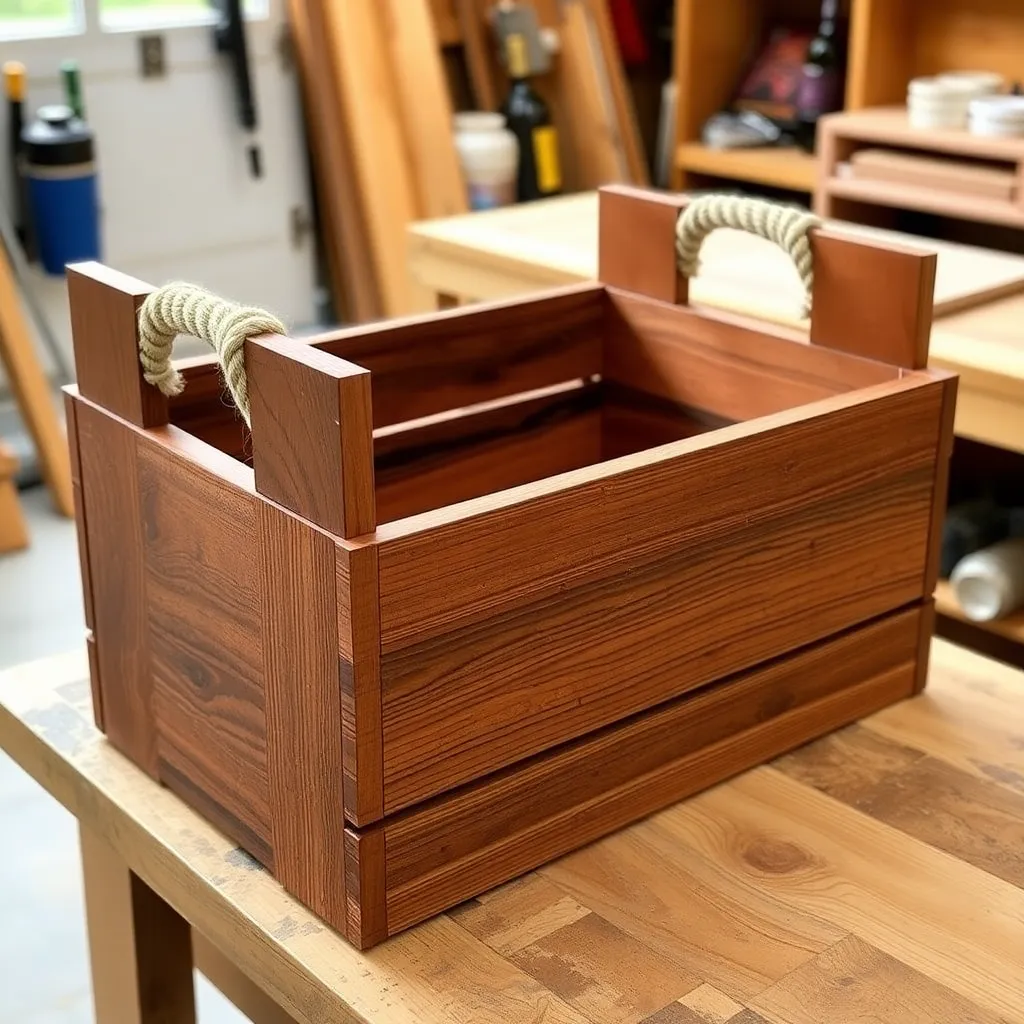
Goal: A crate for collecting vegetables — slatted for drainage, sized for a garden basket.
Cut from ¾-inch cedar (outdoor use):
- 2 end panels: 14 × 8 inches
- 8 side slats: 14 × 2½ inches, spaced ½ inch apart
- 4 base slats: 14 × 2½ inches, spaced ½ inch apart for drainage
Cedar’s natural rot resistance makes it the right choice for a crate that will hold wet vegetables and be stored outside. Assemble with 1¼-inch exterior screws. Leave cedar natural (no finish) or apply teak oil. Cut a carrying handle slot in each end panel: 4 × 1½ inches centered, 2 inches from the top.
Milestone: A crate where water drains freely through all gaps in both base and sides.
Step 4: Build a Decorative Display Crate
Goal: A crate for home décor — to hold books, plants, or bottles on a coffee table or shelf.
Cut from ½-inch oak or pine:
- 2 end panels: 10 × 6 inches with a decorative arched cutout (draw a 4 × 2-inch arch on the top half, jigsaw out)
- 6 side slats: 10 × 1½ inches, spaced ¼ inch apart
- 1 bottom panel: 10 × 12 inches (solid)
The arch cutout on the end panels is the design element that distinguishes this from a plain crate. Assemble with 1-inch brad nails and wood glue. Sand to 180-grit. Stain or paint — a two-tone finish (dark stain on end panels, white-painted slats) is a popular farmhouse look.
Milestone: Both arch cutouts matching, slats evenly spaced, and the crate square on a flat surface.
Step 5: Build a Vegetable Crate With Divided Compartments
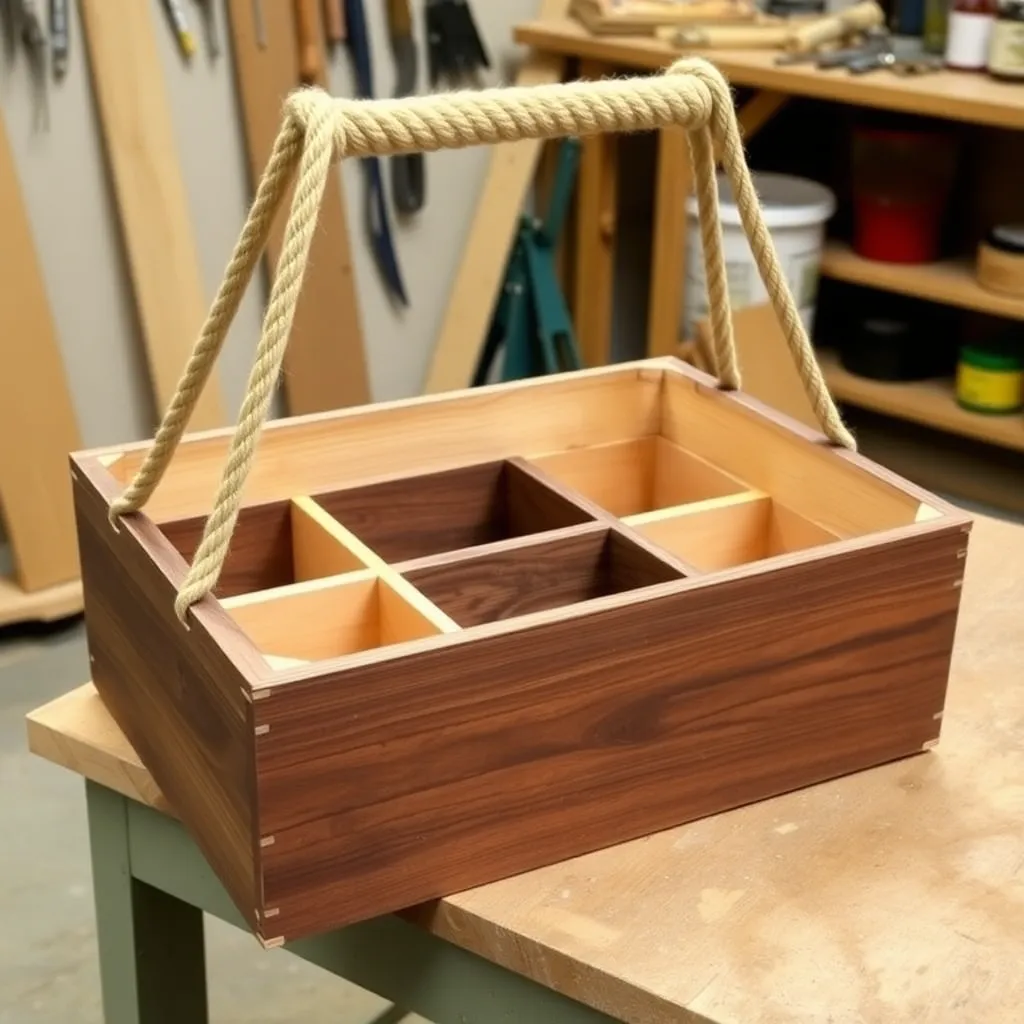
Goal: A crate with an interior divider — separate compartments for different vegetables or storage types.
Build the standard crate body (14 × 10 × 8 inches) then add a center divider: cut a 10 × 7-inch panel and dado it into the crate bottom (¼-inch wide × ¼-inch deep groove down the center of the bottom panel, plus corresponding notches in the two end panels). The dado joint keeps the divider from shifting without glue. Assemble the crate body first, then slide the divider into place.
Milestone: A divider that sits square and plumb in the crate without glue or fasteners.
Step 6: Build a Crate Side Table
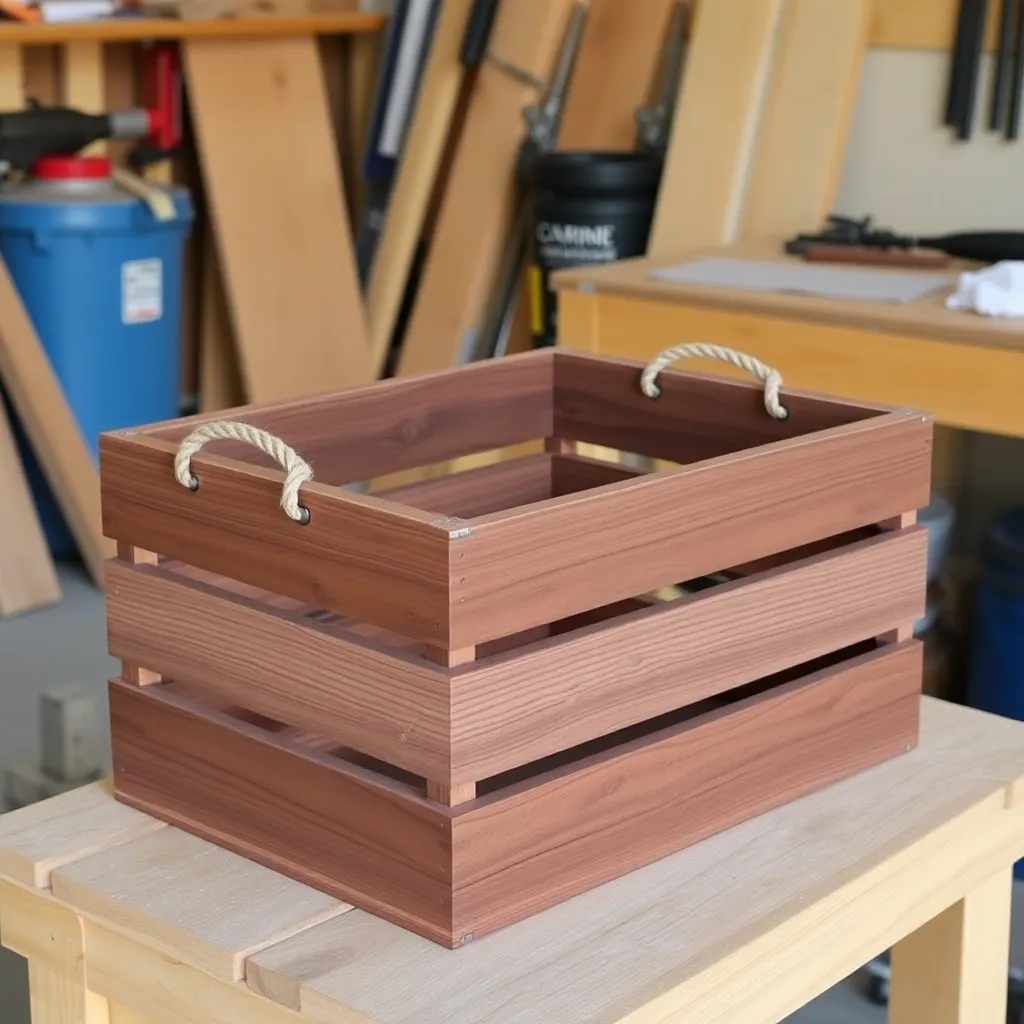
Goal: A single crate used as a side table — the simplest possible piece of crate furniture.
Build a standard crate (12 × 20 × 18 inches tall for side-table height) from ¾-inch pine or poplar. At this scale, use pocket screws at every joint — the larger size creates more stress on the assembly. Add four furniture feet (hairpin legs, tapered turned legs, or simple bun feet from a hardware store) to the crate bottom — this lifts it off the floor and prevents moisture wicking. Finish with stain and two coats of polyurethane for daily-use durability.
Milestone: A crate that supports 40 lbs without any joint movement.
Step 7: Build a Crate Bookshelf
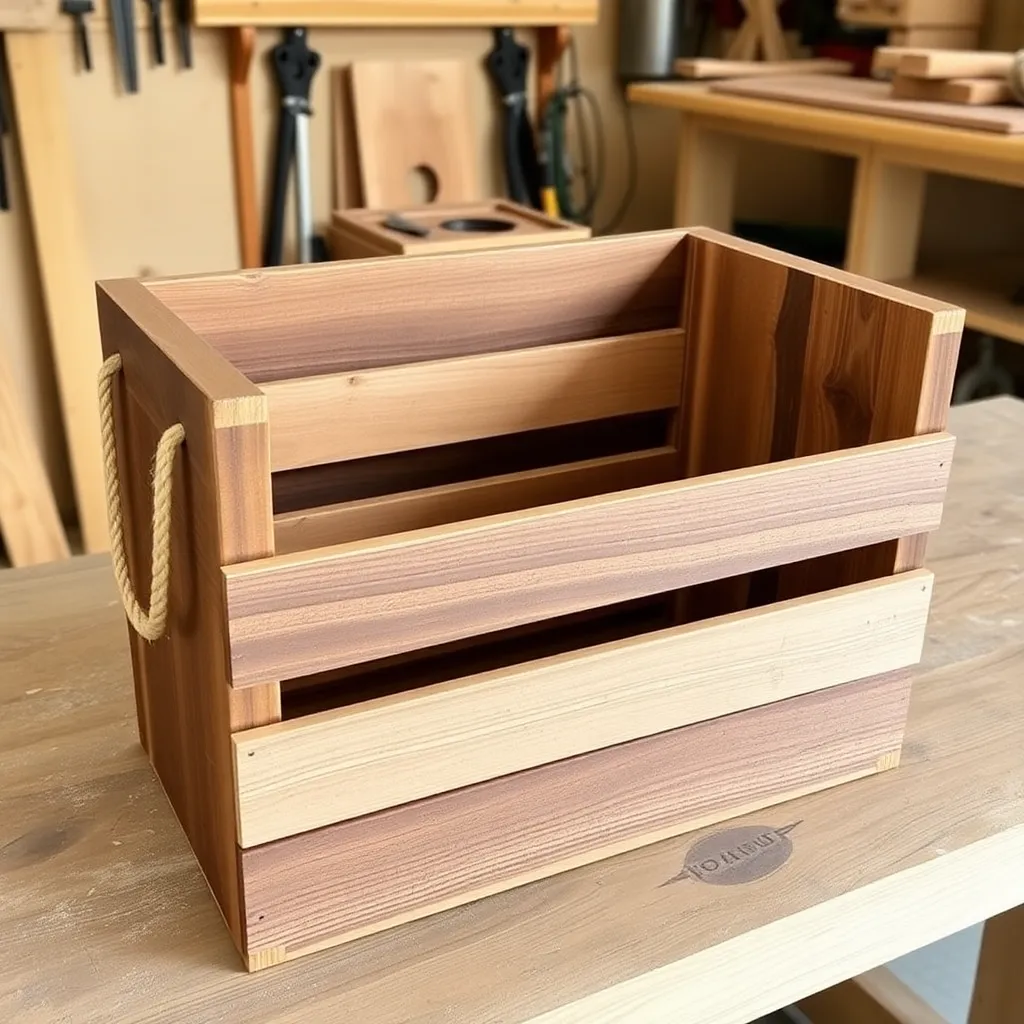
Goal: Three crates mounted horizontally on a wall — a simple modular shelf system.
Build three identical crates (12 × 10 × 8 inches) from ¾-inch pine or birch. Mount them on the wall in a staggered pattern — one centered, one above-left, one above-right — using two 2½-inch screws through the back face of each crate directly into studs. The crates hold books, plants, or decorative objects on the bottom slatted face (which becomes a shelf when mounted horizontally). Paint all three the same color for a cohesive look.
Milestone: Three crates mounted level and plumb, each holding 15 lbs without pulling from the wall.
Step 8: Build a Wine Display Rack Crate
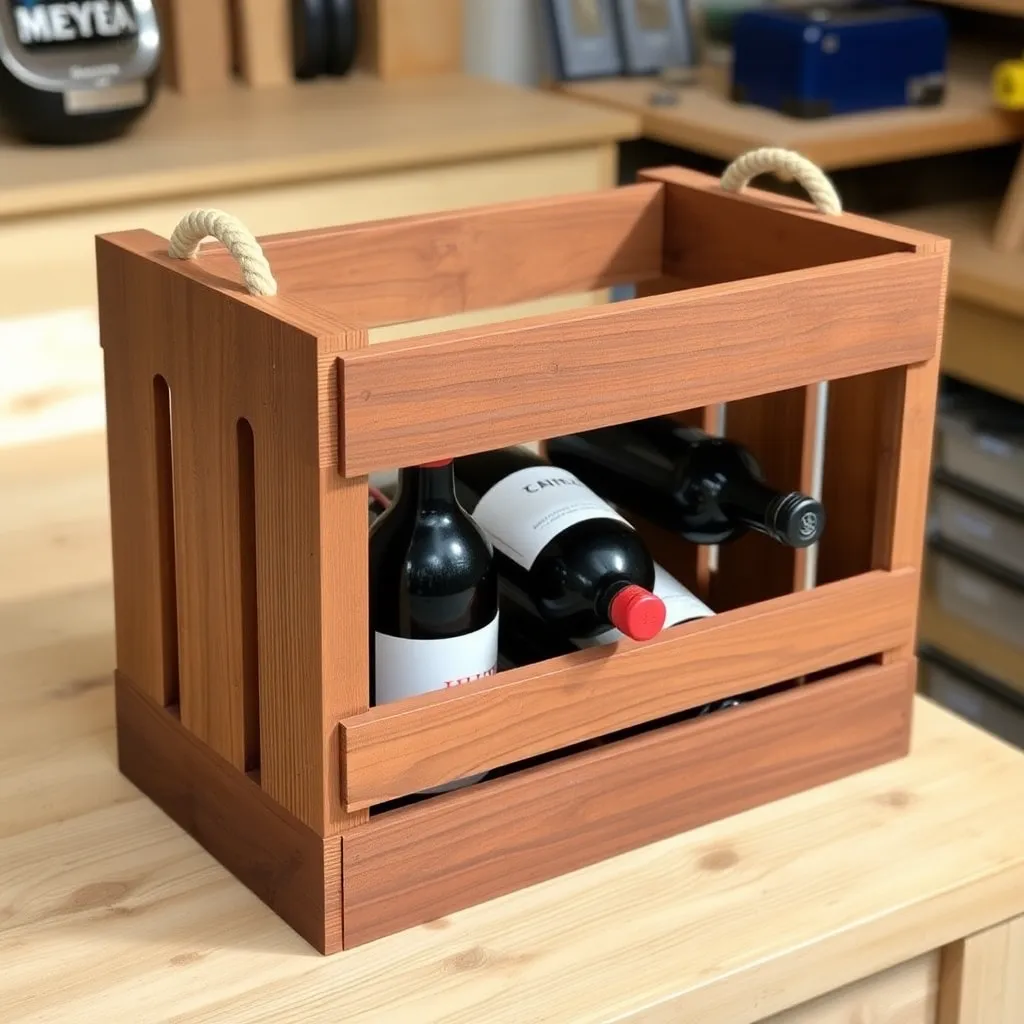
Goal: A wall-mounted crate that stores 9 wine bottles label-forward in a 3×3 grid.
Cut the main crate body from ¾-inch oak: 12 × 10 × 8 inches. Divide the interior into a 3×3 grid using eight ¼-inch plywood dividers: three vertical dividers dadoed into the top and bottom, two horizontal dividers dadoed into the end panels. Each cell should measure 4 × 4 inches (standard wine bottle diameter is 3 inches). Mount with two French cleats on the back — one at the top, one at the bottom — into studs. Apply dark walnut stain and three coats of polyurethane.
Milestone: A rack where 9 bottles sit label-forward without any bottle touching another.
Woodworking Crate FAQ
What is the best wood for a woodworking crate?
Pine is the standard choice for indoor crates — it’s inexpensive, easy to work, accepts stain and paint well, and is strong enough for most storage applications. Cedar is the right choice for outdoor or garden crates — its natural oils resist rot without any finish. For decorative crates and display pieces, oak or poplar hold more detailed profiles and accept stain more evenly. Birch plywood is useful for the bottom panel of any crate — it’s flat, dimensionally stable, and won’t gap like solid wood slats.
What is the standard size for a wooden crate?
A standard wine crate is 13 × 10½ × 9½ inches. A produce crate (USDA standard) is 15½ × 10½ × 5¾ inches. Stackable storage crates commonly run 12 × 16 × 12 inches (fits standard cube shelving). For side tables, 12 × 20 × 18 inches provides a good height. The useful rule is to design around what the crate will hold — measure the bottles, books, or objects first, then add 1 inch of clearance on each side for the crate interior dimensions.
How do I make crate slats evenly spaced?
Cut a spacer block from scrap wood equal to the desired gap (⅜ inch, ½ inch, or ¾ inch depending on the design). Lay the first slat in position and clamp. Place the spacer block against it, lay the second slat against the spacer, and fasten. Remove the spacer, reposition it, and repeat. A spacer block is faster and more accurate than measuring each gap individually. For very even gaps, cut all slats and spacers to the same width, dry-fit the assembly, and verify before fastening.
Should I use nails or screws for crate assembly?
For lightweight crates (wine storage, display), brad nails with a small amount of wood glue are sufficient and leave a cleaner exterior surface. For load-bearing crates (book storage, stacking crates, side tables), pocket screws are stronger — they pull the joint tight and resist racking better than nails. For outdoor crates, use exterior screws (coated or stainless steel) — standard steel screws will rust and stain the wood within one season. Combine pocket screws with wood glue for maximum strength on any crate that will carry heavy objects.

“DIY woodworking enthusiast who started with zero experience and a YouTube tutorial.
I build simple, practical projects for my home and share free plans
so other beginners can skip the guesswork.If I can build it, you can too.”