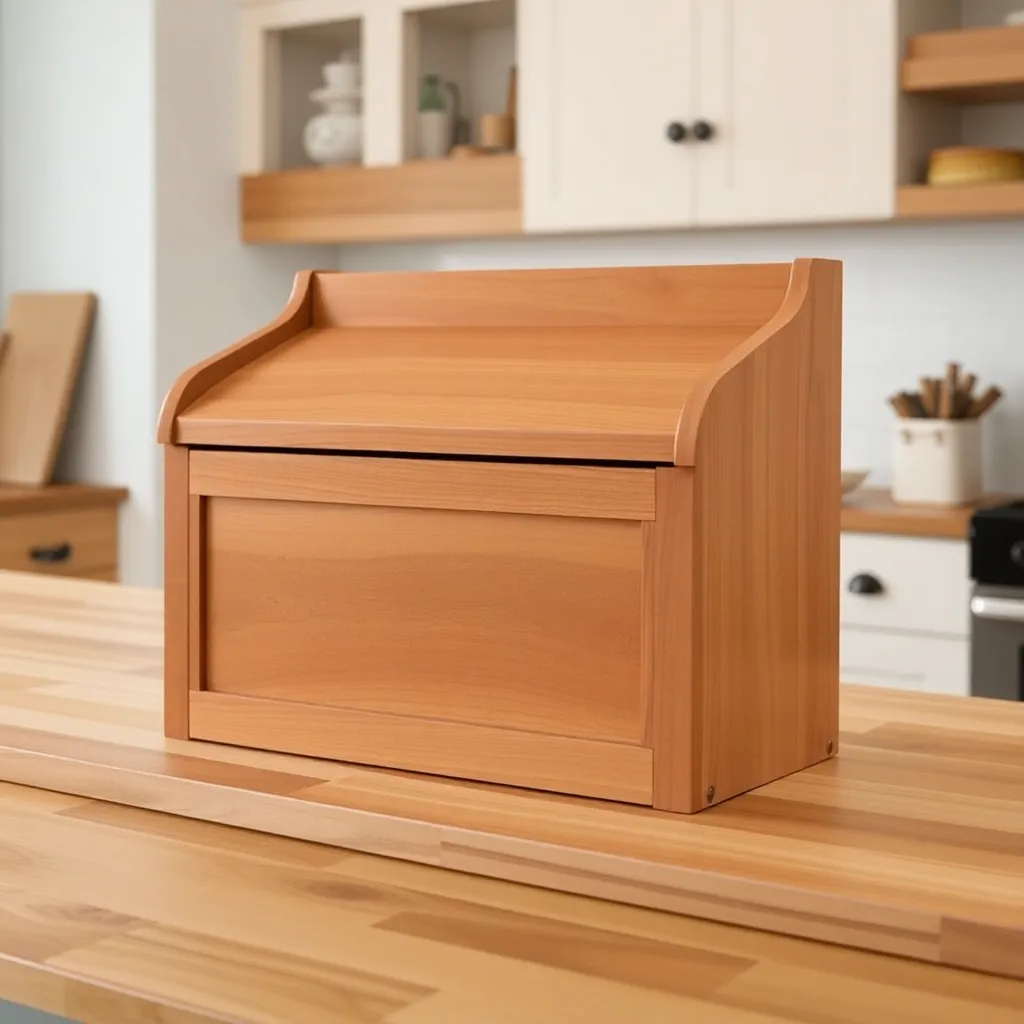
A wooden bread box is one of the most practical kitchen builds — it keeps bread fresh longer than a bag on the counter, looks better than a plastic container, and signals a kitchen that takes food seriously. These six builds range from a simple hinged-door box (an afternoon build) to a roll-top design with a tambour mechanism (a weekend project that teaches one of woodworking’s most satisfying techniques).
Ted’s Woodworking has complete bread box plans with cut lists and roll-top tambour instructions. Browse Ted’s plans →
Step 1: Build a Basic Hinged-Door Bread Box
Goal: A clean, functional bread box with a hinged front door — the simplest design.
Cut all components from ¾-inch maple or pine:
- Bottom: 12 × 9 inches
- Back: 12 × 10 inches
- 2 sides: 9 × 10 inches (top edge at 10°, sloping from front 8 inches to back 10 inches)
- Top: 12 × 9½ inches (angled to match side slope)
- Door: 12 × 8 inches
Assemble carcass with pocket screws: back to sides, bottom to sides, top to sides and back. Drill six ½-inch ventilation holes in the back panel in a 2×3 grid, centered. Install the door with a 12-inch piano hinge across the full bottom edge — this lets the door fold down flat as a crumb tray. Add a small wooden pull knob. Sand to 180-grit. Apply food-safe mineral oil to the interior; two coats of wipe-on polyurethane to the exterior.
Milestone: A door that swings fully open and closed without binding, and ventilation holes that are clean and burr-free.
Step 2: Build a Roll-Top Bread Box
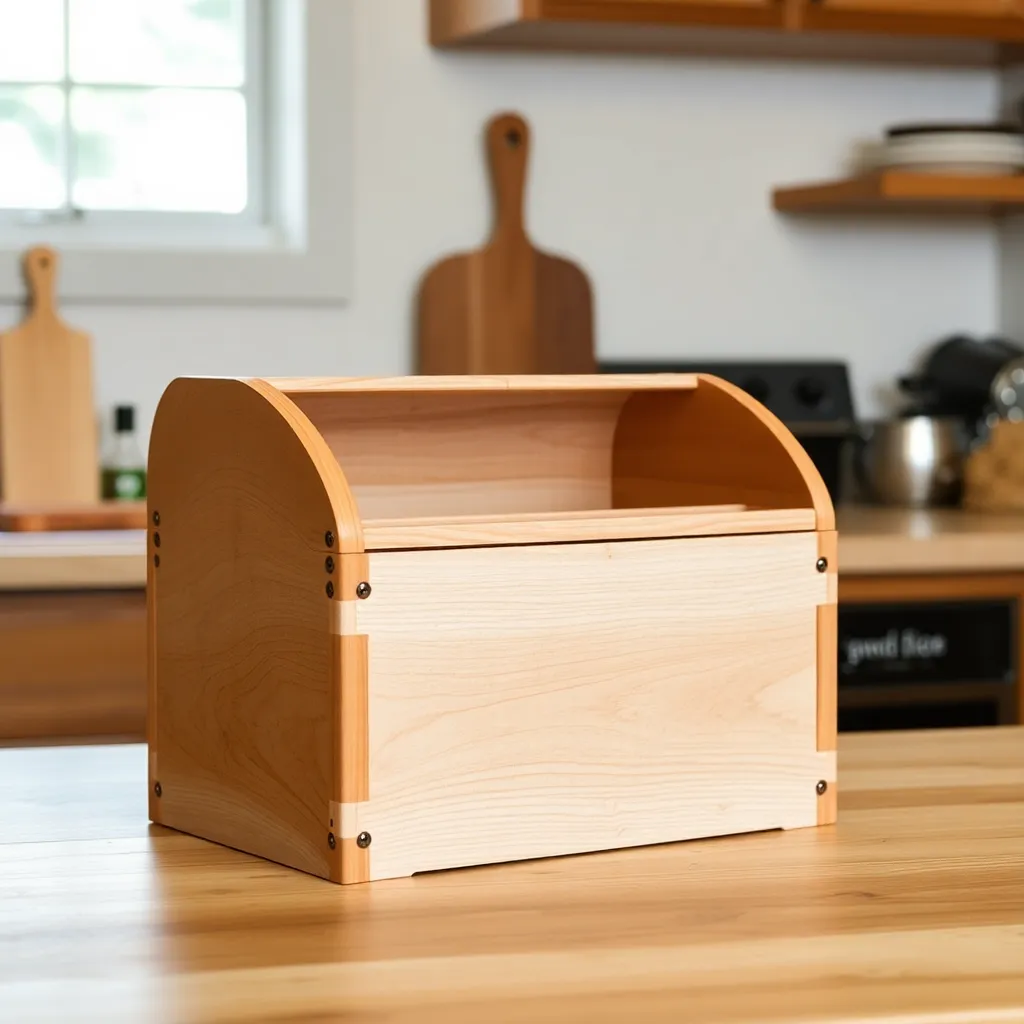
Goal: A bread box with a tambour roll-top — the classic design.
The tambour (roll-top) is made from ¼-inch × 1-inch pine or maple slats glued to a canvas backing:
1. Cut 18–20 slats at ¼ × 1 × 12 inches
2. Lay them face-down on a flat surface, touching, in a straight row
3. Cut a piece of canvas (from a craft store) to 11 × 18 inches and glue it to the back face of the slats with contact cement — the canvas holds the slats together while allowing them to flex
The carcass has curved grooves on each side interior that guide the tambour from the top opening, around a curved path at the back, and into a recess below the box. Route these grooves with a ¼-inch straight router bit using a template. The tambour slides in from the top during assembly.
Interior dimensions: 12 × 10 × 8 inches. Bottom and back are solid panels. No ventilation holes needed — the tambour gaps provide natural ventilation.
Milestone: A tambour that slides smoothly through the groove in one continuous motion from fully open to fully closed.
Step 3: Build a Two-Compartment Bread Box
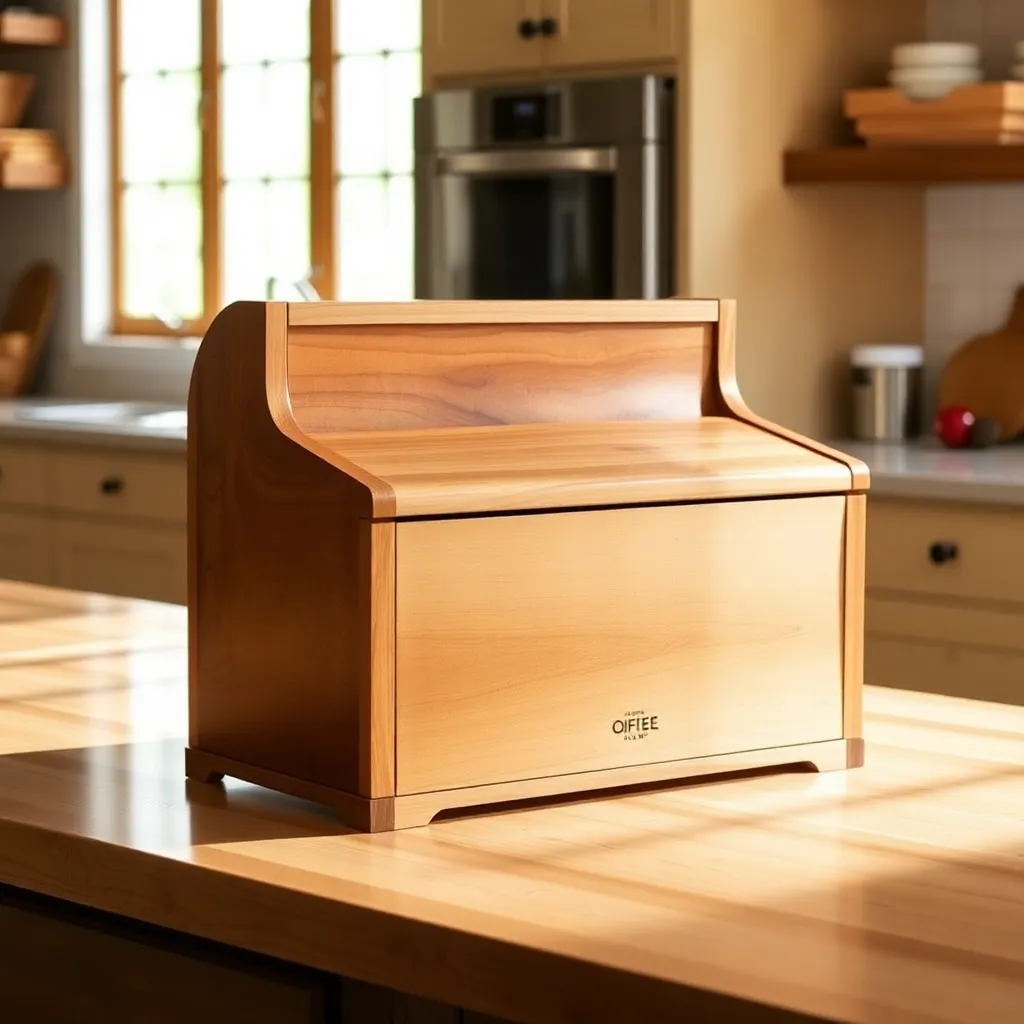
Goal: A larger box with a divider — separate compartments for bread and rolls, or bread and cutting board.
Build a standard bread box carcass at 18 × 10 × 10 inches (wider than usual). Install a vertical divider 10 inches from the left end, creating a 10 × 10 compartment and an 8 × 10 compartment. Each compartment has its own door (two hinged doors side by side). This design works well as a pantry counter piece that stores bread on one side and wraps, bags, or a cutting board on the other.
Milestone: Two doors that open and close independently without hitting each other.
Step 4: Build a Farmhouse-Style Bread Box
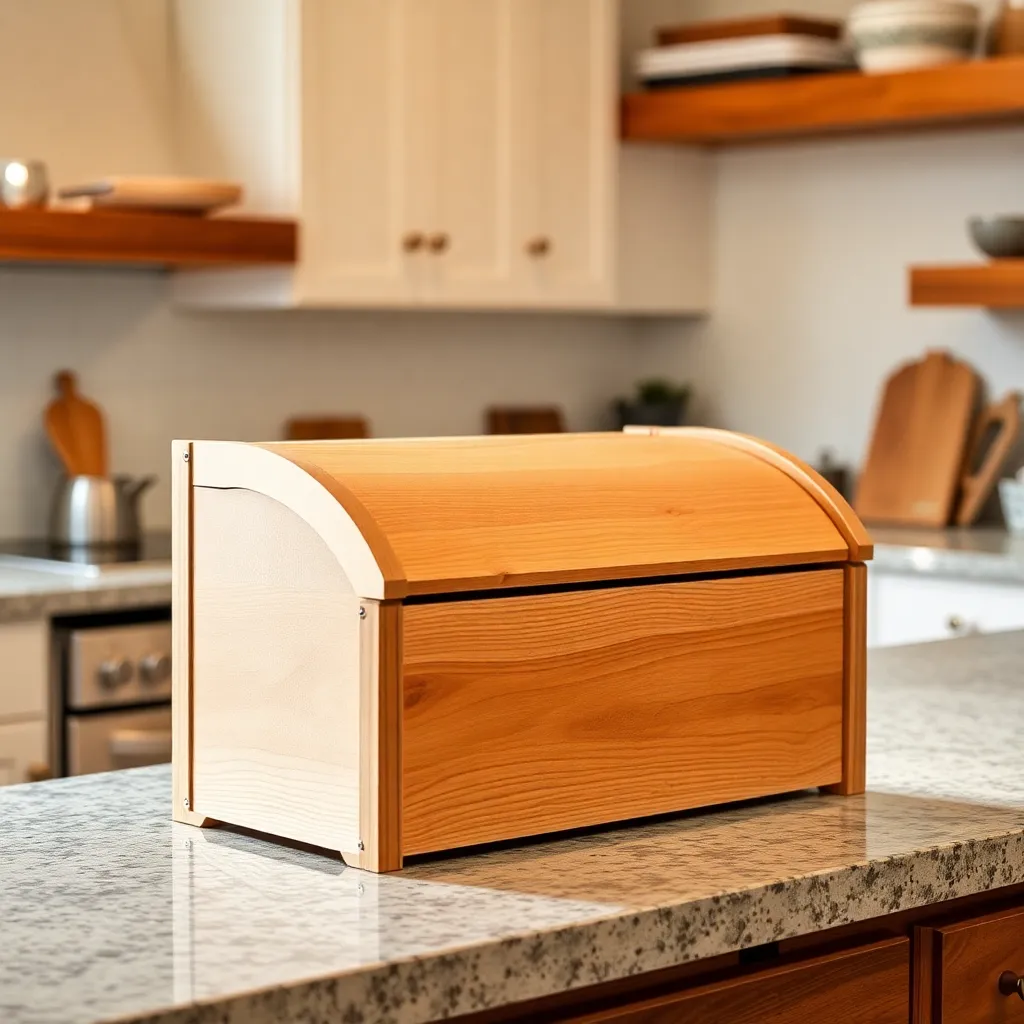
Goal: A bread box with a more rustic aesthetic — shiplap-style face, hand-cut wooden pull.
Build the carcass from ¾-inch pine at standard bread box dimensions (14 × 10 × 10 inches). Instead of a solid door, build the door from three ¼-inch pine slats joined with pocket screws from the back — the slats have ⅛-inch gaps between them, referencing the shiplap look. On the front face of the carcass sides, apply two ½-inch wide strips with ⅛-inch gaps to continue the shiplap look around the box. Turn or whittle a wooden pull from a ¾-inch dowel — a mushroom or acorn profile, about 1¼ inches long. Finish with a grey wash (diluted grey paint wiped on and partially wiped off) and matte topcoat.
Milestone: Consistent shiplap gaps on the door and carcass face, and a pull that’s glued and doweled into the door without a screw hole showing.
Step 5: Build a Bread Box With Built-In Cutting Board
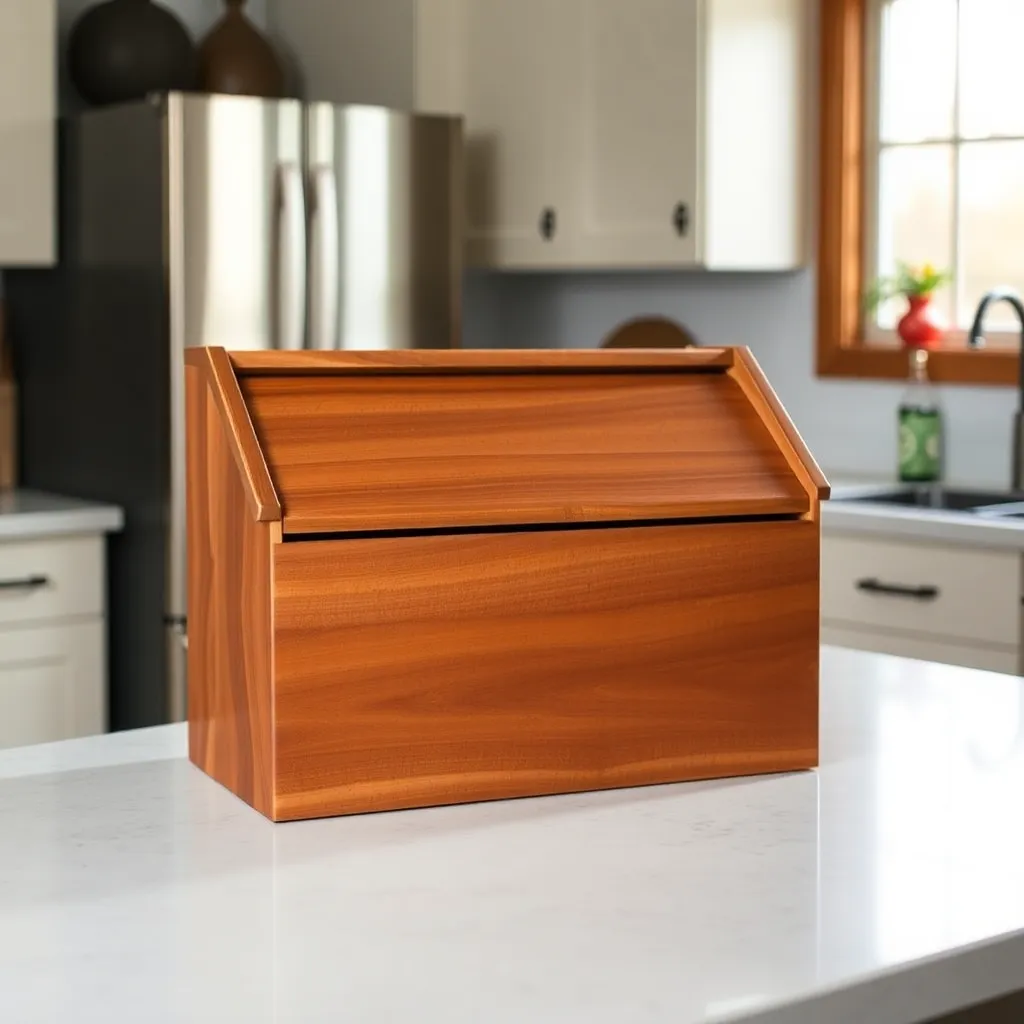
Goal: A bread box with a cutting board that pulls out from the bottom — a function-first design.
Add a drawer-style pull-out below the main bread compartment. The cutting board (¾-inch maple, 12 × 9 inches) sits in a ¾-inch wide × ¾-inch deep groove running front-to-back on two shelf supports inside the lower section. The board slides out for use, slides back in for storage. The lower section also adds height to the piece — the full unit (bread compartment + cutting board drawer) is 14 × 12 × 14 inches tall.
Milestone: A cutting board that slides smoothly on the supports and parks flush with the front face of the box when stored.
Step 6: Build a Counter-Mounted Bread Box With Lid
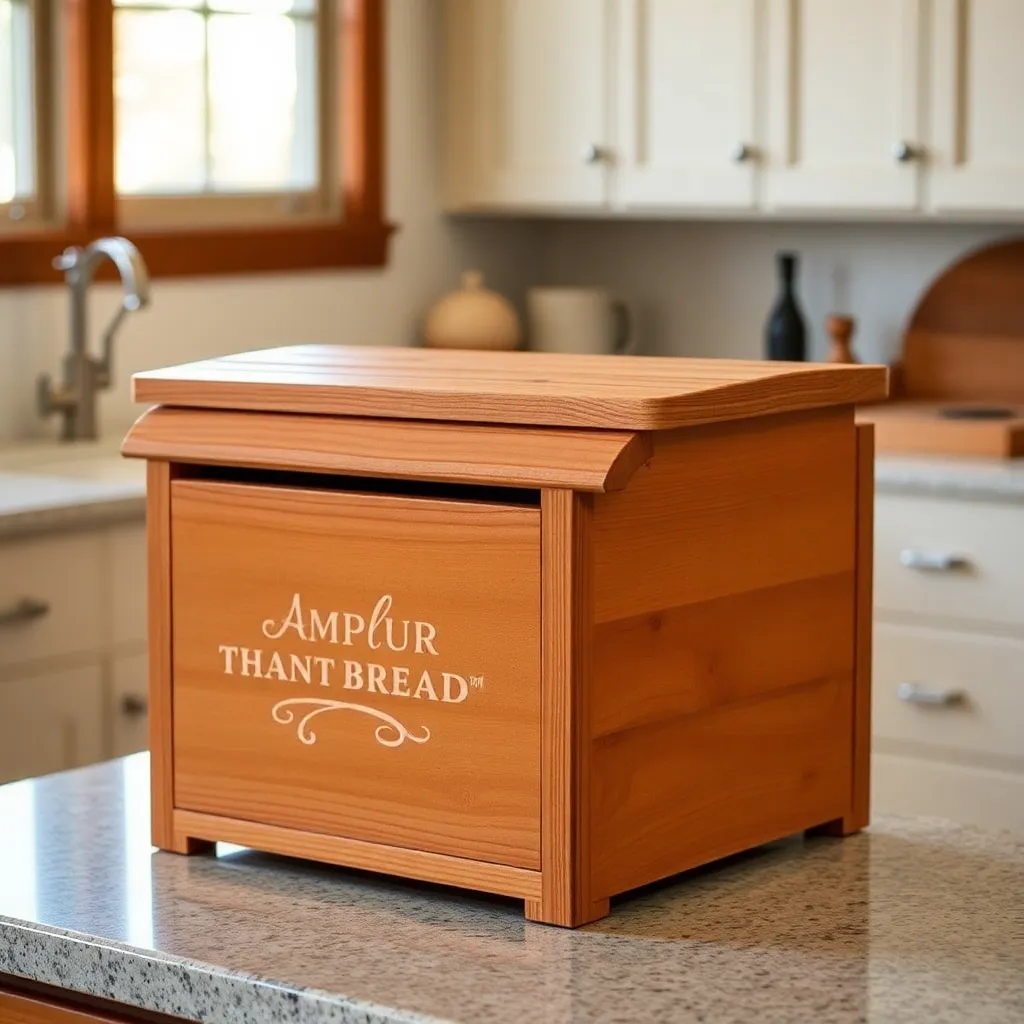
Goal: A bread box with a vertical lift-off lid instead of a door or roll-top — the cleanest minimalist design.
Cut the carcass from ¾-inch maple: bottom 12 × 10, two sides 10 × 10 with a ¼-inch × ¼-inch rabbet around the top edge, back 12 × 10. The lid is a panel (12 × 10½ inches) that sits in the top rabbet and lifts straight off. Add a recessed finger pull on each short end of the lid (rout a shallow oval recess ½ inch from each end). Drill ventilation holes in the back (1-inch diameter, 2×3 grid). Sand to 220-grit. Apply food-safe mineral oil to the interior and Danish oil to the exterior.
Milestone: A lid that sits flush in the rabbet on all four sides and lifts with two fingers at the recessed pulls.
Bread Box Plans FAQ
What is the right size for a bread box?
A standard loaf of sliced bread measures approximately 12 × 5 × 5 inches. A functional bread box interior should be at least 13 × 6 × 6 inches to accommodate a full loaf with room to close the door. Better sizing is 14 × 8 × 8 inches — this accommodates artisan loaves, baguettes laid diagonally, and rolls. If you plan to store two loaves or larger sourdough boules, go up to 16 × 10 × 10 inches. Always mock up the interior dimensions with cardboard before building.
Does a bread box need ventilation holes?
Yes. Without ventilation, trapped moisture from the bread accelerates mold growth — the opposite of what a bread box is for. Drill 6–8 ventilation holes (½-inch to 1-inch diameter) in the back panel, or in the sides if the box sits against a wall. A roll-top tambour provides natural ventilation through the gaps between slats. The right balance is enough ventilation to prevent moisture buildup while still providing more moisture retention than an open counter — which is why bread boxes keep bread fresher than bags: they slow moisture loss without trapping it.
What wood is best for a bread box interior?
The interior must be food-safe. Maple and pine are both appropriate. Apply food-safe mineral oil to all interior surfaces — it’s non-toxic, has no smell, and won’t transfer to bread. Never use polyurethane on the interior (it contains solvents that can off-gas for months and may transfer to food). Cedar is sometimes used for bread boxes, but its oils can be aromatic enough to impart flavor to bread — use it only if you prefer a mild cedar scent, or stick with maple or pine.
What is a tambour roll-top and how does it work?
A tambour is a series of thin wood slats glued to a flexible canvas backing. The slats are rigid individually but the canvas lets them flex as a group. In a roll-top bread box (and roll-top desks), the tambour slides in curved grooves routed into the carcass sides. The curve allows the tambour to fold around a corner — the straight portion at the top becomes the visible opening, while the curved portion hides in the back of the box. Making a tambour requires careful groove routing (consistent depth and width throughout the curve) and precise slat dimensions.

“DIY woodworking enthusiast who started with zero experience and a YouTube tutorial.
I build simple, practical projects for my home and share free plans
so other beginners can skip the guesswork.If I can build it, you can too.”