A DIY picture frame doesn’t require a full workshop or expensive molding. The best builds come from combining what’s already on hand — a straight strip of pine, a handful of twigs, a reclaimed pallet board, or a leftover piece of copper pipe — with basic joinery and a coat of finish. These eight builds are organized from the simplest (no tools required) to a proper mitered hardwood frame, so there’s a starting point regardless of skill level.
Ted’s Woodworking has complete frame plans for every skill level and material type. Browse Ted’s plans →
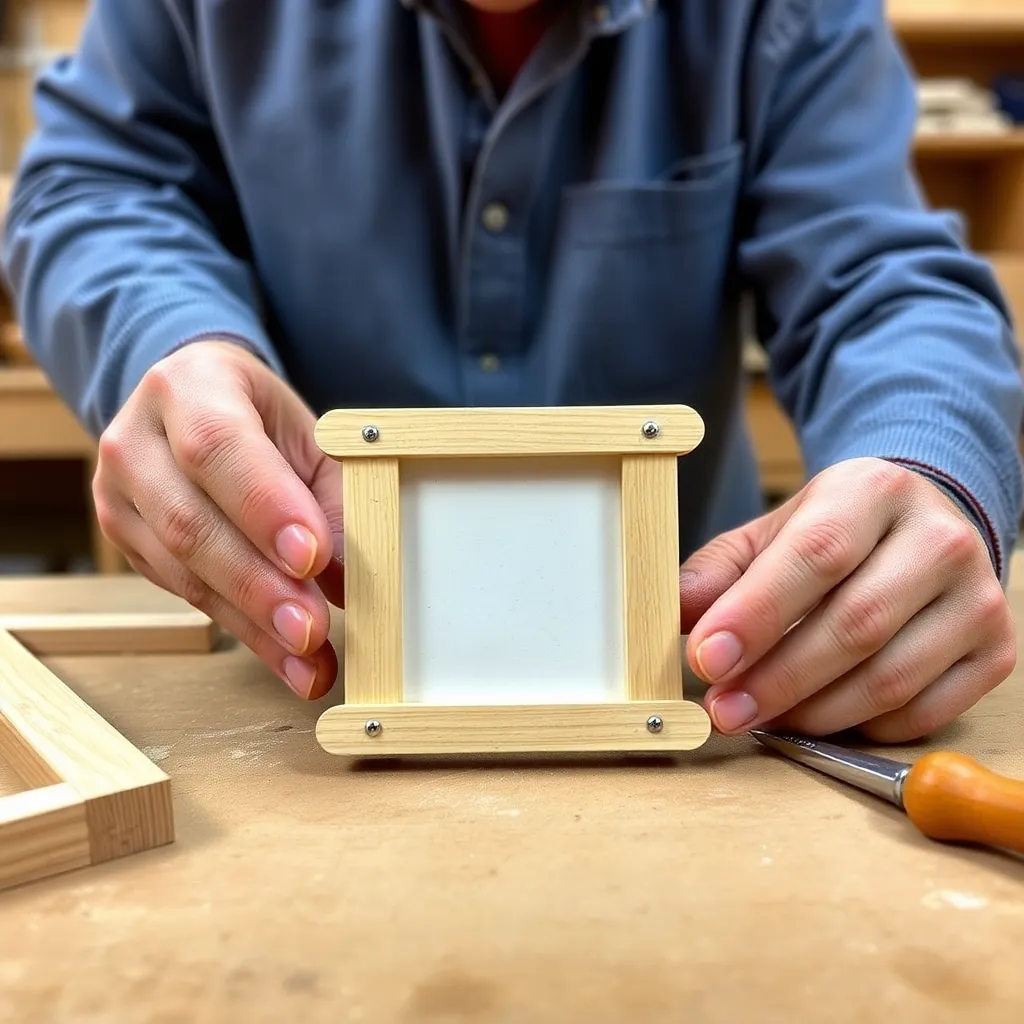
Step 1: Build a Popsicle Stick Mini Frame
Goal: A small frame for a wallet-size or 2×3-inch photo — from craft sticks.
This is the zero-tool version. Lay four craft sticks (popsicle sticks) in a square, overlapping at the corners. Glue with craft glue and let cure. Add a second layer with four more sticks, oriented 90° to the first — this creates an interlocking pattern and doubles the thickness. Press flat under a heavy book while curing. Once dry, sand any rough edges. Apply acrylic paint or leave natural. Attach the photo to the back with a small piece of tape and add a piece of twine glued to the back for hanging.
Milestone: A rigid frame that holds a 2×3 photo flat without warping.
Step 2: Build a Twig Frame
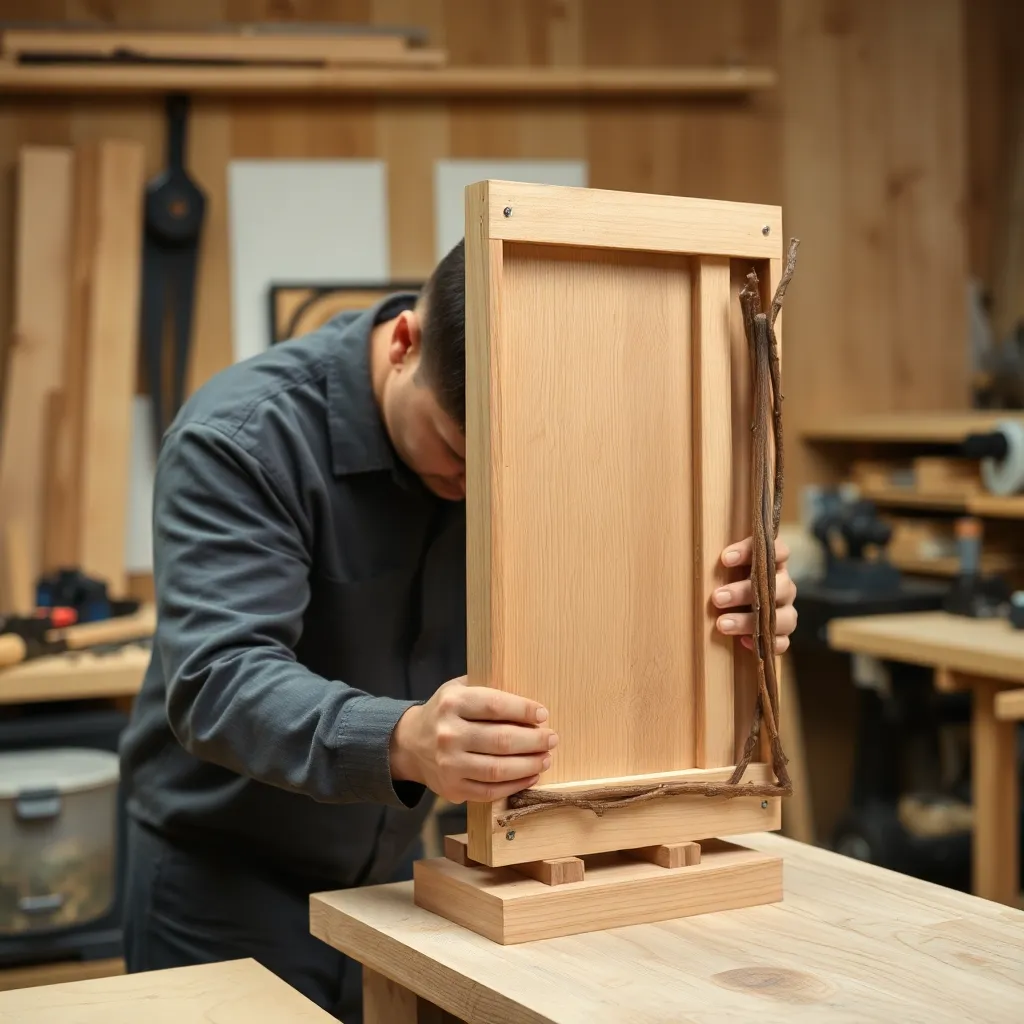
Goal: A rustic frame from straight twigs — a natural, foraged material.
Collect straight twigs of similar diameter (⅜ to ½ inch) from a dry tree — dry wood won’t shrink and crack after assembly. Cut four twigs to frame length using pruning shears or a miter saw. Lash the corners with jute twine, or glue with exterior wood glue and wrap with twine for decoration. Add a back from ¼-inch plywood or cardboard. Press dried flowers, moss, or smaller twigs into the frame face for additional texture.
Milestone: A frame where the twigs are firmly joined at the corners and the assembly lies flat.
Step 3: Build a Painted Pine Frame
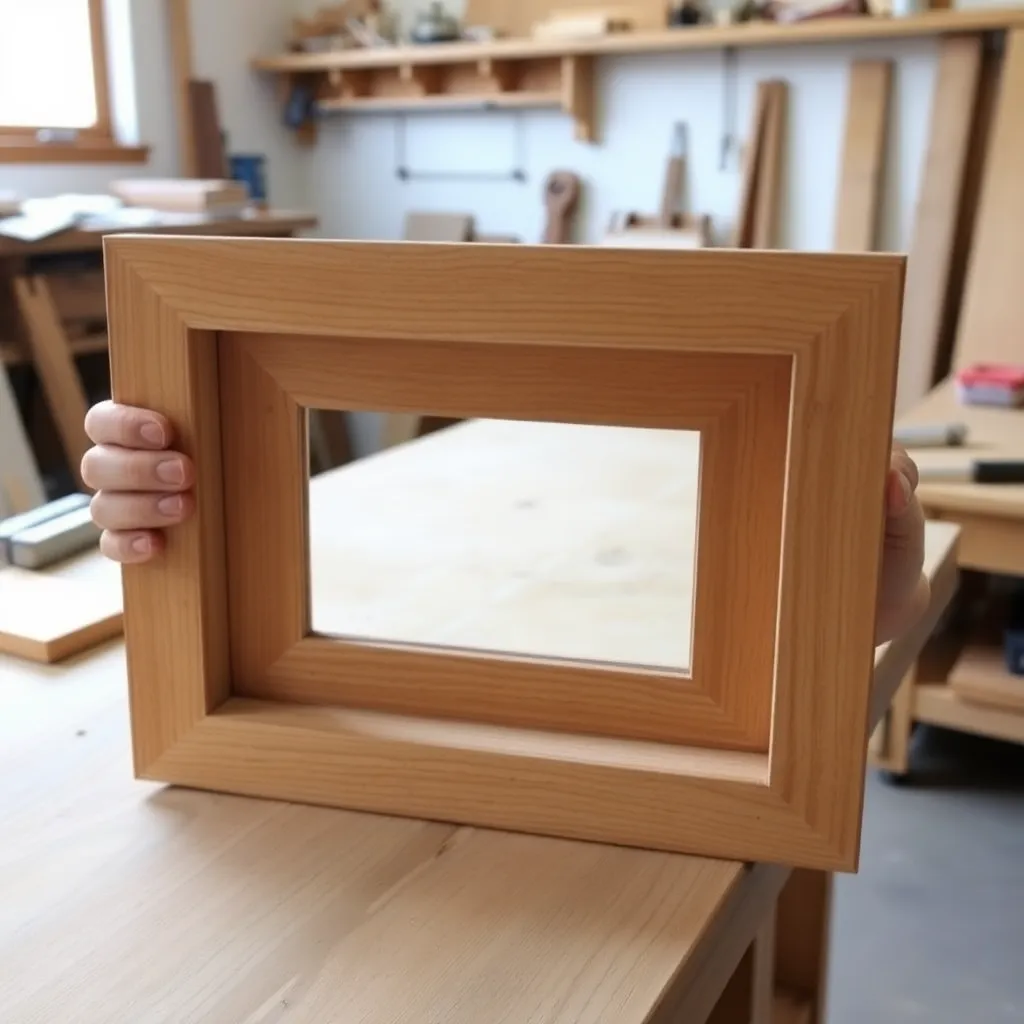
Goal: A basic pine frame painted in a solid color — the most accessible painted frame build.
Cut four pieces of 1×2 pine with 45° miters. Assemble with wood glue and corner clamps. Reinforce with pin nails. Sand to 180-grit. Apply two coats of latex primer (sanding between coats with 220-grit). Apply two coats of satin finish latex paint in any color. Distress the edges with 120-grit sandpaper after painting to reveal the bare wood underneath — this “chippy” paint look is popular for farmhouse décor.
Milestone: A frame with even paint coverage and a chippy edge distress pattern that looks intentional.
Step 4: Build a Rope-Wrapped Frame
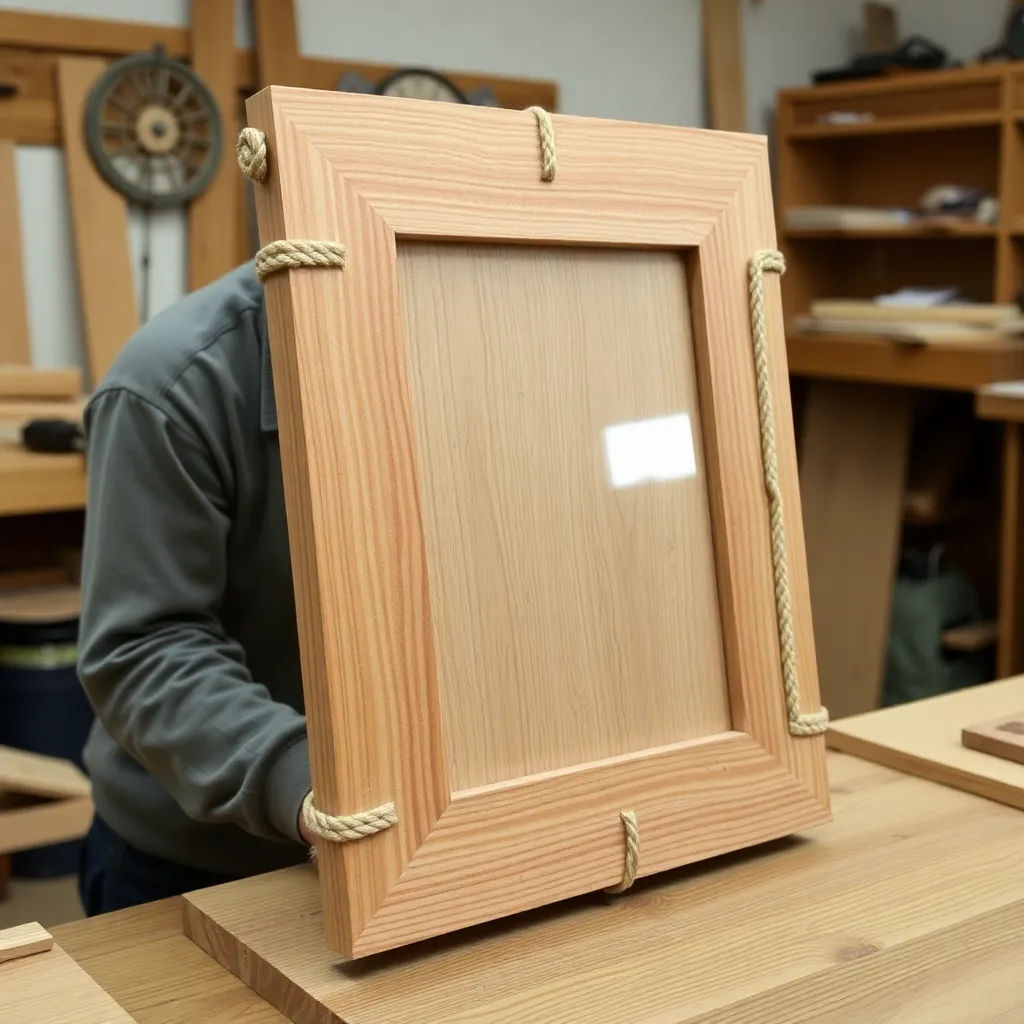
Goal: A frame from ¼-inch plywood wrapped in natural rope — a coastal or nautical look.
Cut the frame from ¼-inch plywood: cut the outer rectangle, then cut the inner rectangle (the opening). The frame face is ¾ to 1 inch wide. Sand all edges. Apply wood glue to the frame face in a thin, even coat. Press ¼-inch manila or jute rope into the glue, starting at one corner, wrapping around the frame perimeter in a continuous spiral. Use clips or tape to hold in place while curing. After curing, trim the rope ends flush at the starting corner and glue to secure.
Milestone: Rope wrapping with no gaps between rows and a clean starting/ending join at one corner.
Step 5: Build a Clipboard Frame
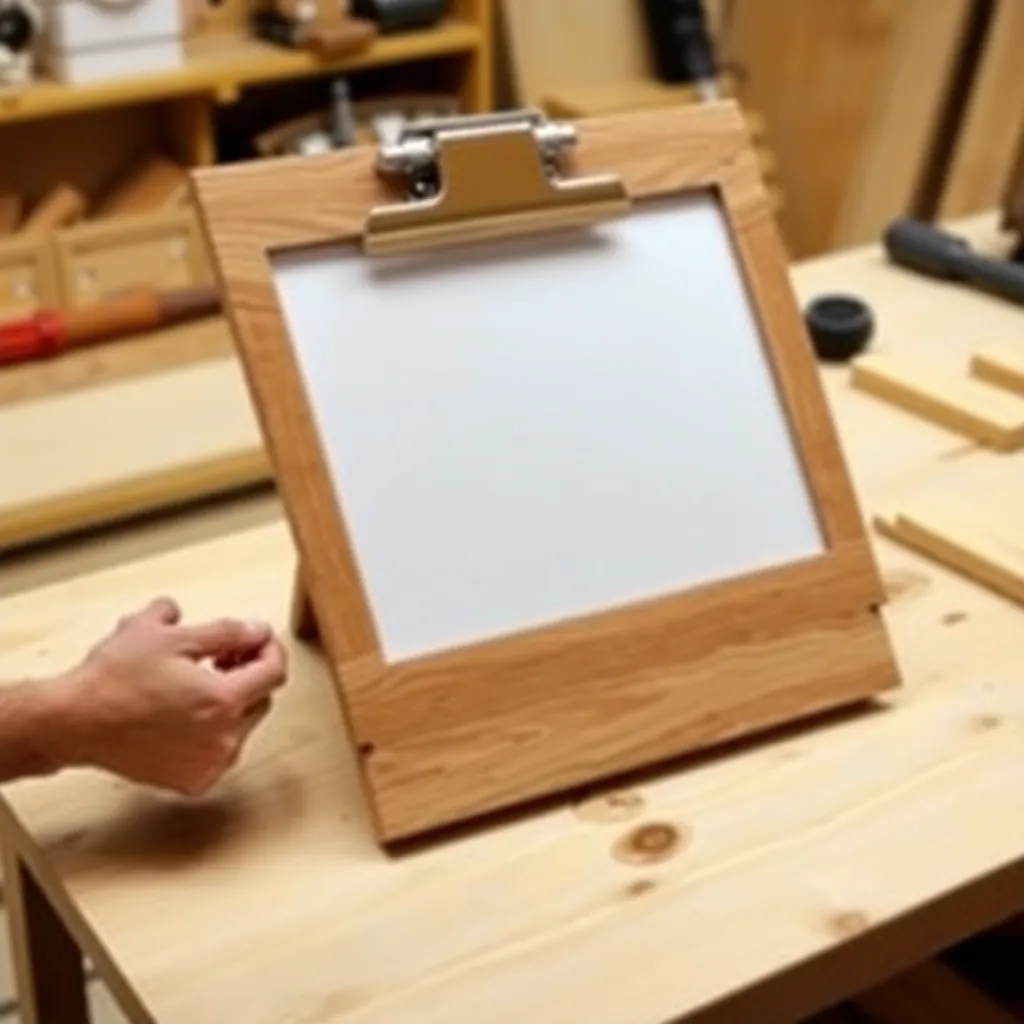
Goal: A frameless photo display using a clipboard-style spring clamp — the fastest display option.
Cut a ¾-inch hardwood board to a size slightly larger than the photo (for a 4×6 photo: 5 × 7-inch board). Sand to 220-grit. Apply Danish oil. Install a standard clipboard spring clamp on the top edge — available at hardware stores for under $2. The photo slides under the clamp. Hang with a D-ring on the back. This is technically not a traditional frame but produces a clean, modern display that’s easy to swap out.
Milestone: A clipboard that holds the photo at a consistent depth without curling.
Step 6: Build a Geometric Frame With Angled Sides
Goal: A hexagonal or octagonal frame — a different geometry from the standard rectangle.
A hexagonal frame has six sides at 60° miters (not 45°). Set the miter saw to 30° (which produces a 60° corner). Cut six equal-length pieces. The outside dimension of each piece determines the overall frame size. Assemble with CA glue (fast-setting for the six simultaneous joints). Add a ¼-inch plywood back panel cut to the hexagonal shape. The opening inside the hexagon is the display area — glue the photo directly to the plywood back.
Milestone: A six-sided frame that closes flat with consistent corner angles.
Step 7: Build a Driftwood Frame
Goal: A frame assembled from flat pieces of driftwood — the most organic frame build.
Source driftwood from a beach or lakeside (dried) or buy from a craft supplier. Select four relatively flat pieces with similar thickness (½ to ¾ inch). Join at the corners with small L-brackets on the back face — driftwood grain is unpredictable and often splits, so mechanical fasteners work better than glue. Sand the back face of each piece flat on a belt sander if needed for the corners to meet. Apply a matte water-based sealer (driftwood may have surface mold or salt that reacts with oil-based finishes).
Milestone: Four driftwood pieces joined stably at the corners with the front face reasonably flat.
Step 8: Build a Proper Mitered Hardwood Frame
Goal: A clean mitered frame from ¾-inch hardwood — the proper woodworking version.
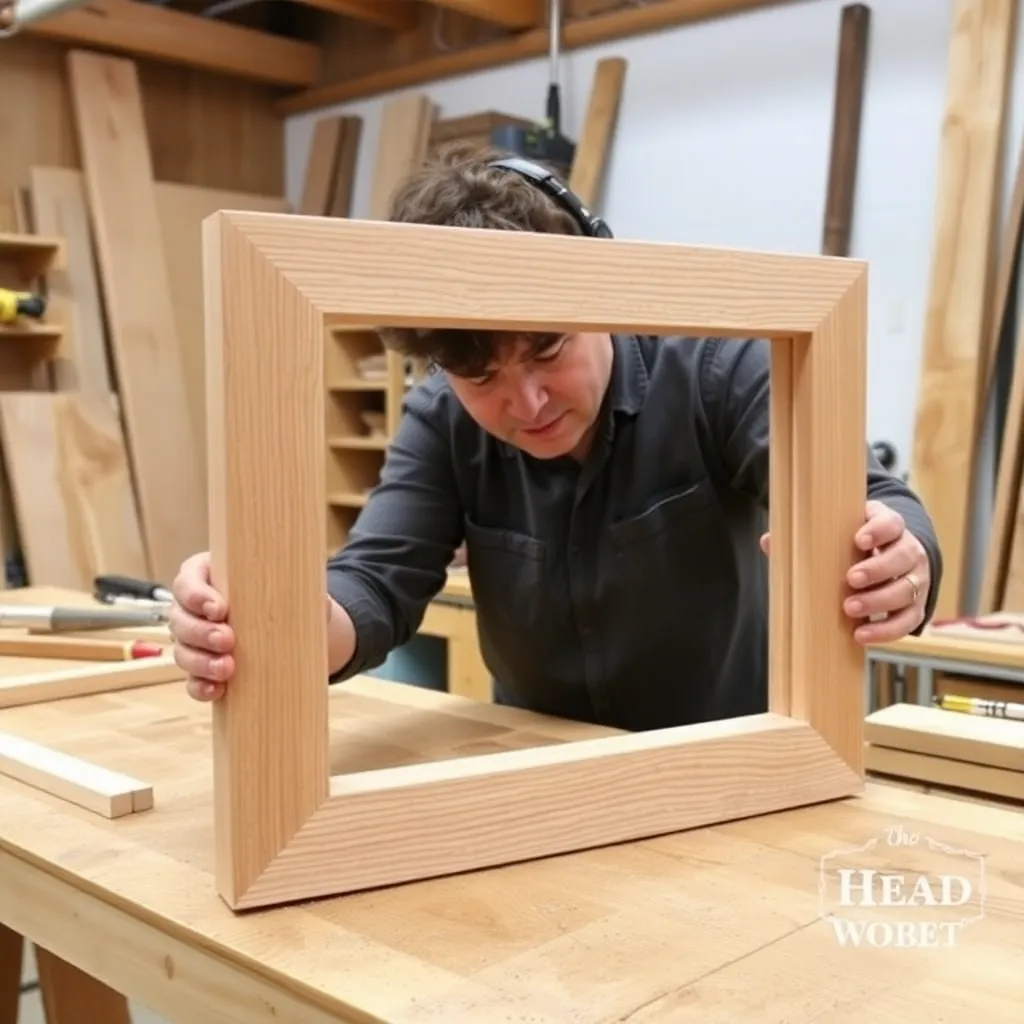
This is the technique-first build. Use ¾-inch oak or maple (not pine — too soft to hold a sharp miter). Cut the molding to 1½ inches wide on the table saw. Run a ¼-inch cove on the inside front edge using the router table. Miter all four corners at exactly 45°. Glue with wood glue and strap clamp. After curing, pin-nail each corner. Route a ¼-inch rabbet on the inside back edge to hold the glass and backing. Sand to 220-grit. Apply Danish oil.
Milestone: Four miter joints that close without visible gaps and a rabbet that holds the glass flush.
DIY Picture Frame FAQ
Can I make a picture frame without a miter saw?
Yes. A miter box and hand saw cut accurate 45° miters — the key is clamping the work firmly and letting the saw do the cutting without forcing. A shooting board (a flat surface with a precise fence at 45°) helps fine-tune the fit after sawing. For rustic frames, skip miters entirely and use butt joints (square cuts) at the corners — the gap is part of the aesthetic. For the clipboard-style frame, no angled cuts are needed at all.
What glue should I use to build a picture frame?
Wood glue (PVA/yellow glue) is the standard for wood-to-wood miter joints — it provides the strongest long-term bond. For metal-to-wood or rope-to-wood, use construction adhesive (Liquid Nails) or contact cement. For small, fast builds (twig frames, geometric frames), thin CA glue (super glue) sets in 30 seconds with no clamping. Avoid hot glue for structural frame joints — it softens at temperatures reached in a car or near a sunny window, causing the joints to release.
How do I hang a DIY picture frame?
For frames under 5 lbs: two sawtooth hangers on the back, positioned 1/3 of the way down from the top on each long rail. For frames 5–15 lbs: two D-ring hangers with screws, same positioning. For frames over 15 lbs or frames with glass: use French cleats (a strip of wood cut at 45° that interlocks with a matching strip on the wall) — French cleats distribute weight across the full rail length and are the most secure hanging method for heavy frames.
What can I use instead of glass in a DIY picture frame?
Plexiglass (acrylic sheet) is the most practical glass alternative — it’s lighter, won’t shatter if the frame falls, and can be cut with a utility knife (score and snap for straight cuts). It scratches more easily than glass, so handle it with care. For a temporary or children’s room display, lamination film (self-adhesive clear film) applied over the photo provides basic protection without a glass or acrylic cover. For pure decorative display where touch-protection isn’t needed, skip the cover entirely and mount the photo directly on the backing.

“DIY woodworking enthusiast who started with zero experience and a YouTube tutorial.
I build simple, practical projects for my home and share free plans
so other beginners can skip the guesswork.If I can build it, you can too.”