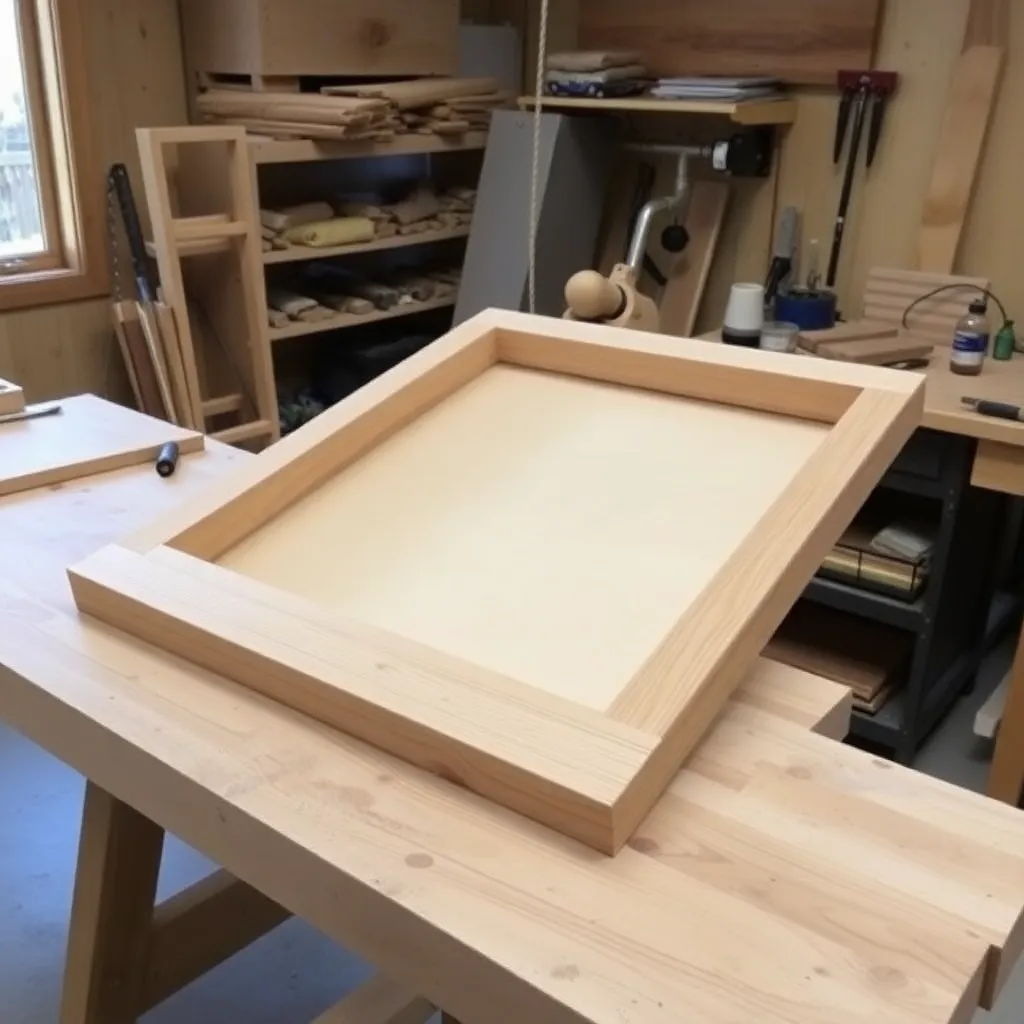
A floating frame creates the appearance that a canvas is suspended inside the frame — a gap between the canvas edge and the frame interior makes the art look like it’s hovering. This is the standard presentation for gallery-wrapped canvas prints, stretched canvas paintings, and wooden panel art. These six builds cover floating frames from a basic stretcher-bar canvas to an LED-lit display frame that makes the art glow.
Ted’s Woodworking has complete floating frame plans with rabbet depth tables for standard canvas thicknesses. Browse Ted’s plans →
Step 1: Build a Basic Floating Frame for Standard Canvas
Goal: A floating frame for a standard ¾-inch deep gallery-wrapped canvas.
Standard gallery-wrapped canvas is ¾ inch deep (the stretcher bar thickness). The floating frame rabbet must match: ¾-inch deep × ¾-inch wide on the inside back face of the frame rail.
Cut frame rails from ¾ × 1½-inch hardwood (oak or walnut):
- The frame interior dimensions = canvas dimensions
- Cut the rabbet ¾ × ¾ inch on the inside back face of each rail (table saw dado or router table)
- Miter all four corners at 45°
- Assemble with wood glue and pin nails
The canvas clips into the frame from the front — press it into the rabbet and it seats with a click. The front face of the canvas sits ¼ to ½ inch below the front face of the frame, creating the “floating” gap.
Milestone: A canvas that clicks into the rabbet with hand pressure and shows a consistent gap around all four edges.
Step 2: Build a Deep-Set Floating Frame for Thick Canvas
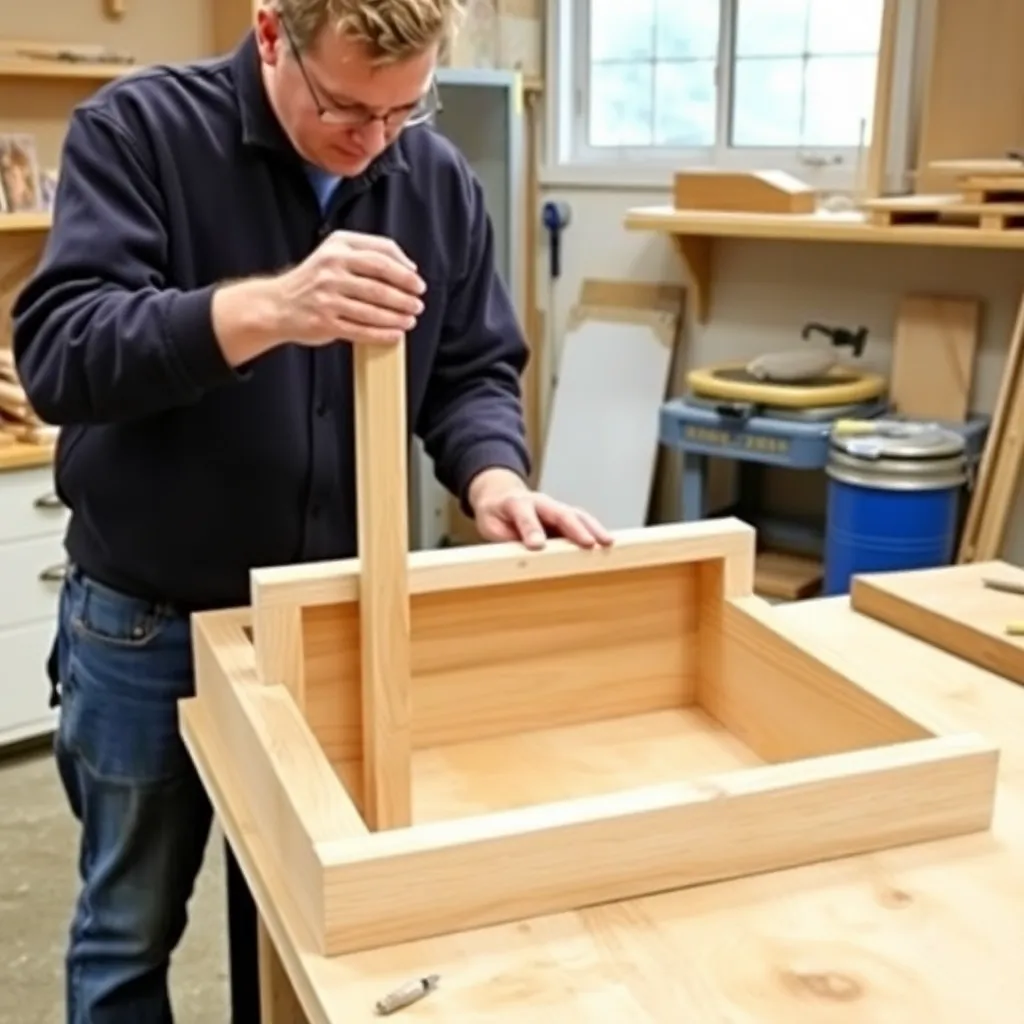
Goal: A floating frame for a 1½-inch deep (museum-depth) gallery-wrapped canvas.
Museum-depth canvases (1½-inch stretcher bars) are common for large art prints and oil paintings. The rabbet depth must match: 1½ inches deep × 1½ inches wide. At this depth, the frame rail needs to be at least 2 inches wide and 1¾ inches thick — a significantly more substantial piece than a standard frame.
Build from 1¾ × 2-inch hardwood (or laminate two pieces of ¾-inch stock). Cut the rabbet on the table saw in two passes (wider than one dado stack pass). The additional mass of this frame gives it a gallery quality presence.
Milestone: A museum-depth canvas that seats fully in the rabbet with the canvas face 1 inch below the frame front.
Step 3: Build a Floating Frame for a Wooden Panel
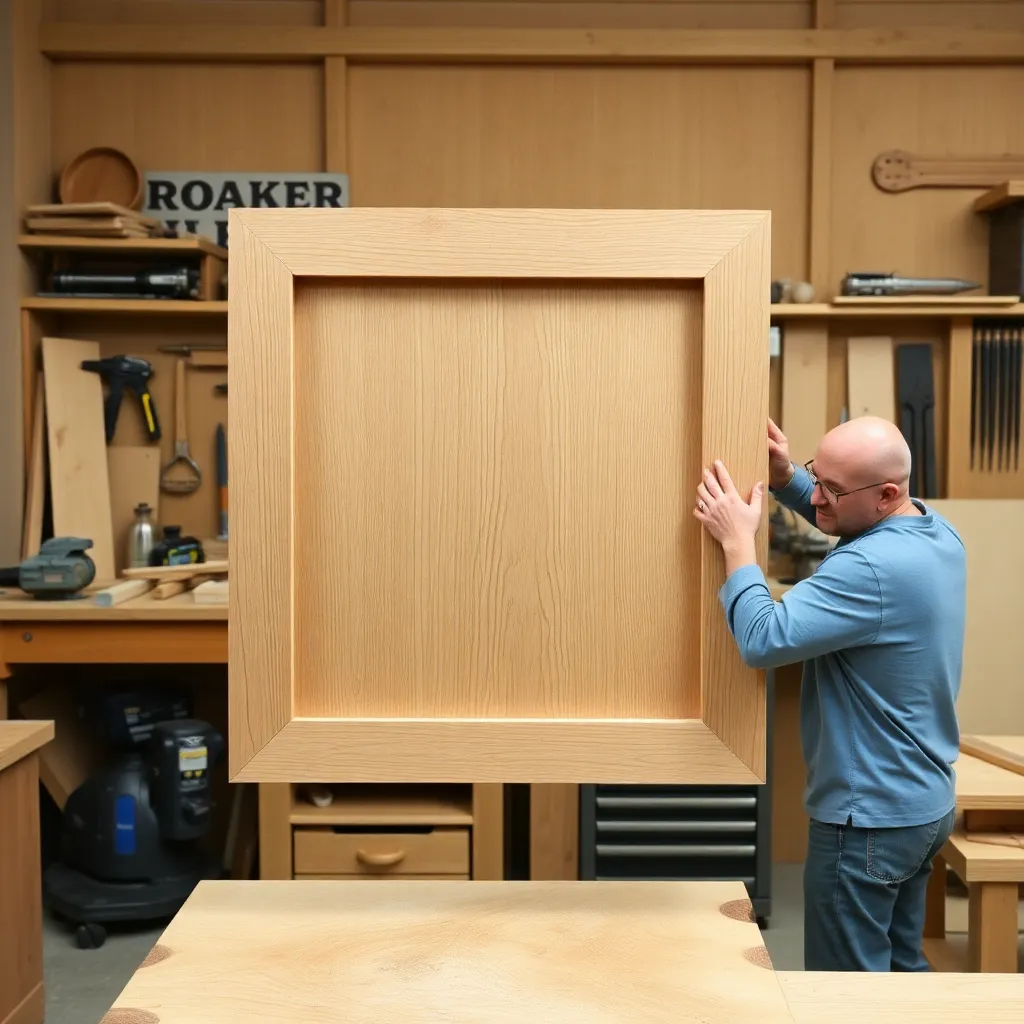
Goal: A floating frame for a wooden art panel — the type used for encaustic painting, resin art, or mounted photography.
Wooden panels are typically ¾ inch thick (same as standard canvas stretcher bars) but rigid and heavier than canvas. The floating frame must hold the panel securely against gravity — a canvas frame relying on friction is less secure with a heavy wooden panel.
Add four small L-brackets on the inside back face of the frame (one centered on each rail) — these screw into the back of the panel and secure it mechanically. The L-brackets allow removal for shipping or storage.
Milestone: A panel that’s mechanically secured by the L-brackets and shows consistent gap on all four sides.
Step 4: Build a Natural Wood Floating Frame (No Finish)
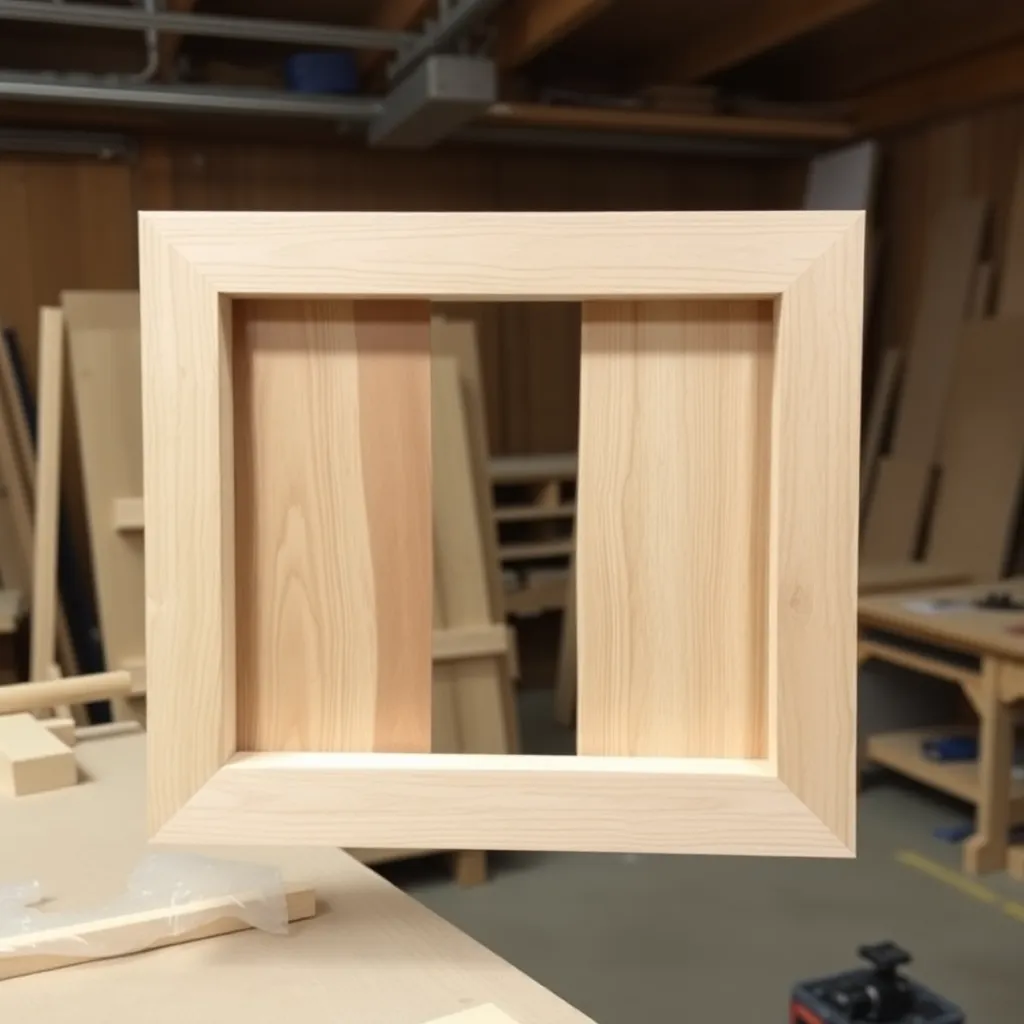
Goal: A floating frame in raw, unfinished hardwood — the minimal aesthetic.
Some art, particularly abstract painting and photography with earthy tones, looks best in a completely raw wood frame with no finish. This requires selecting a naturally beautiful piece of wood — figured maple, walnut with visible grain, or white oak.
Build the frame normally. After assembly, sand to 400-grit. Apply a single thin coat of raw linseed oil (no topcoat) — this prevents surface oxidation without creating a film finish. The frame darkens slightly with age and the grain becomes more visible. This treatment produces a frame that feels like a natural extension of the art rather than a container.
Milestone: A frame with no visible sanding scratches at 400-grit and no finish film — just a slight sheen from the oil.
Step 5: Build a Black Floating Frame for Photography
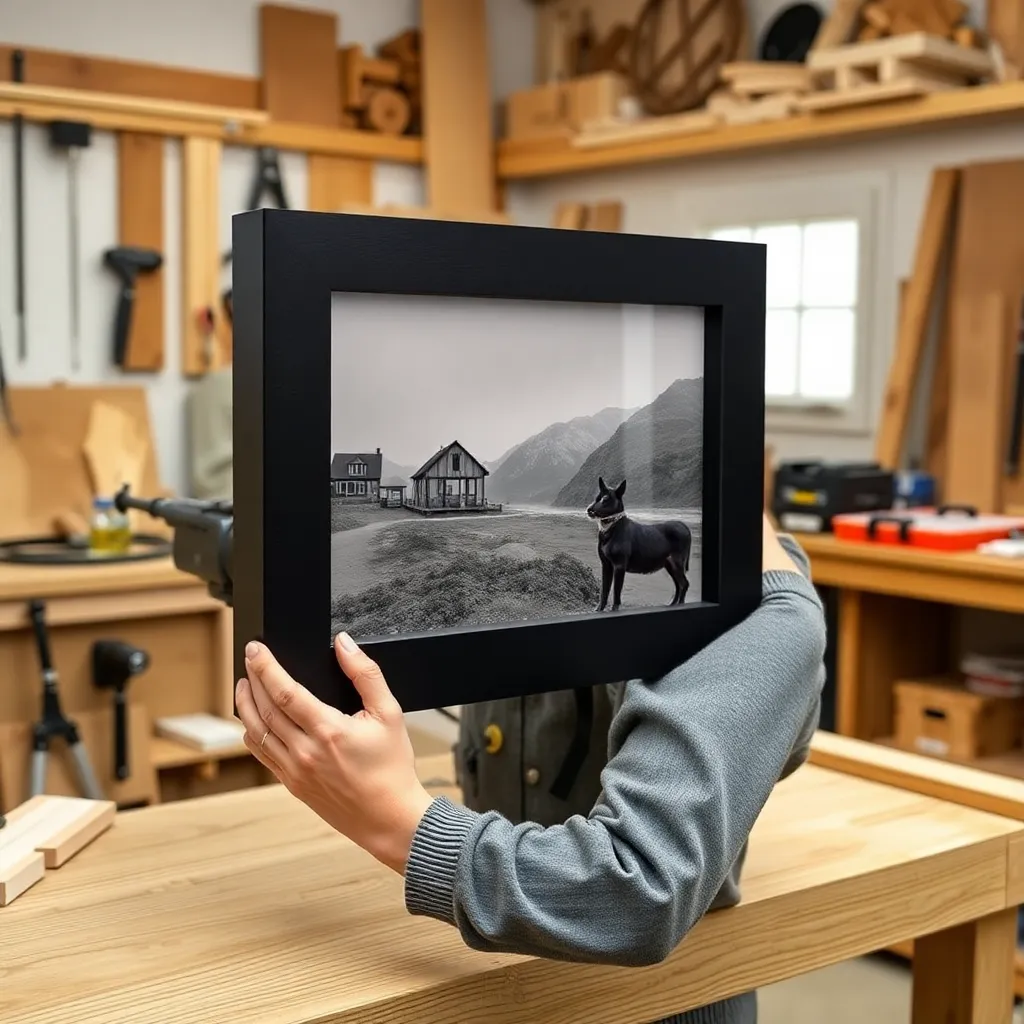
Goal: A matte black floating frame — the standard choice for black-and-white photography.
A matte black floating frame recedes visually, putting maximum attention on the art. Build from 1×2 poplar (best for painting). After assembly and sanding to 180-grit, apply:
Two coats of flat black latex primer (sand with 220-grit between coats)
Two coats of matte black latex paint
One coat of matte wax (eliminates any sheen from the paint)
The wax step is the one most home builders skip — it’s the difference between a frame that looks commercially made and one that looks painted in a shop.
Milestone: A completely matte black surface with no sheen visible under any lighting angle.
Step 6: Build an LED-Lit Floating Frame
Goal: A floating frame with interior LED strip lighting that illuminates the gap between canvas and frame.
The visible gap in a floating frame can be backlit — a strip of LED lighting hidden in the rabbet makes the gap glow and creates the impression the canvas is literally floating on light.
Build the frame with a slightly deeper and wider rabbet than needed for the canvas (1½ inch deep × 1 inch wide for a ¾-inch canvas — the extra ¾ inch provides space for the LED strip). Install a thin adhesive LED strip on the inside face of the rabbet. The strip faces inward toward the canvas, illuminating the gap from behind. Use warm white LEDs (2700K) for paintings, cool white (5000K) for photography. Route a small hole in one corner of the frame back for the USB power cable.
Milestone: An even glow around all four sides of the canvas gap with no visible hot spots.
Floating Frame Plans FAQ
What is the difference between a floating frame and a standard frame?
A standard picture frame has a rabbet behind the frame face — the glass, mat, and art sit inside the frame and are not visible from the side. A floating frame has a rabbet that the art sits inside but from the front — the art is visible from the side and appears to float inside the frame rather than being contained by it. Floating frames are used without glass and without mats. They’re designed exclusively for gallery-wrapped canvas, wooden panels, and framed prints where the art extends to the edge.
How much gap should I leave between the canvas and the frame?
The standard floating gap is ¼ to ½ inch. Less than ¼ inch looks like a fitting error rather than an intentional gap. More than ½ inch can look disproportionate on smaller canvases. For large canvases (24 × 36 inches and above), a ½ to ¾ inch gap is proportional. The gap should be consistent on all four sides — an uneven gap is immediately visible and is the most common floating frame quality issue.
Can I put any canvas in a floating frame?
Yes, as long as the canvas depth matches the rabbet depth (within 1/16 inch). Standard gallery-wrapped canvases come in two depths: ¾ inch (standard depth) and 1½ inch (museum depth). Buy or build the frame to match. An unmatched depth results in the canvas either sinking too deep into the frame (no visible gap) or sitting proud of the frame front (protruding, looks wrong). Measure the canvas stretcher bar depth before building the frame.
Do floating frames need hardware to secure the canvas?
Standard gallery-wrapped canvas in a properly fitted rabbet is held by friction — the snug fit prevents the canvas from moving. For shipping, travel, or very large canvases, add four canvas clips (available from frame hardware suppliers): small metal clips that attach to the inside of the rabbet and grip the canvas stretcher bars. For wooden panels, L-brackets screwed into the panel back are more secure than friction fit. The L-bracket method is recommended for any display that might be bumped or moved frequently.

“DIY woodworking enthusiast who started with zero experience and a YouTube tutorial.
I build simple, practical projects for my home and share free plans
so other beginners can skip the guesswork.If I can build it, you can too.”