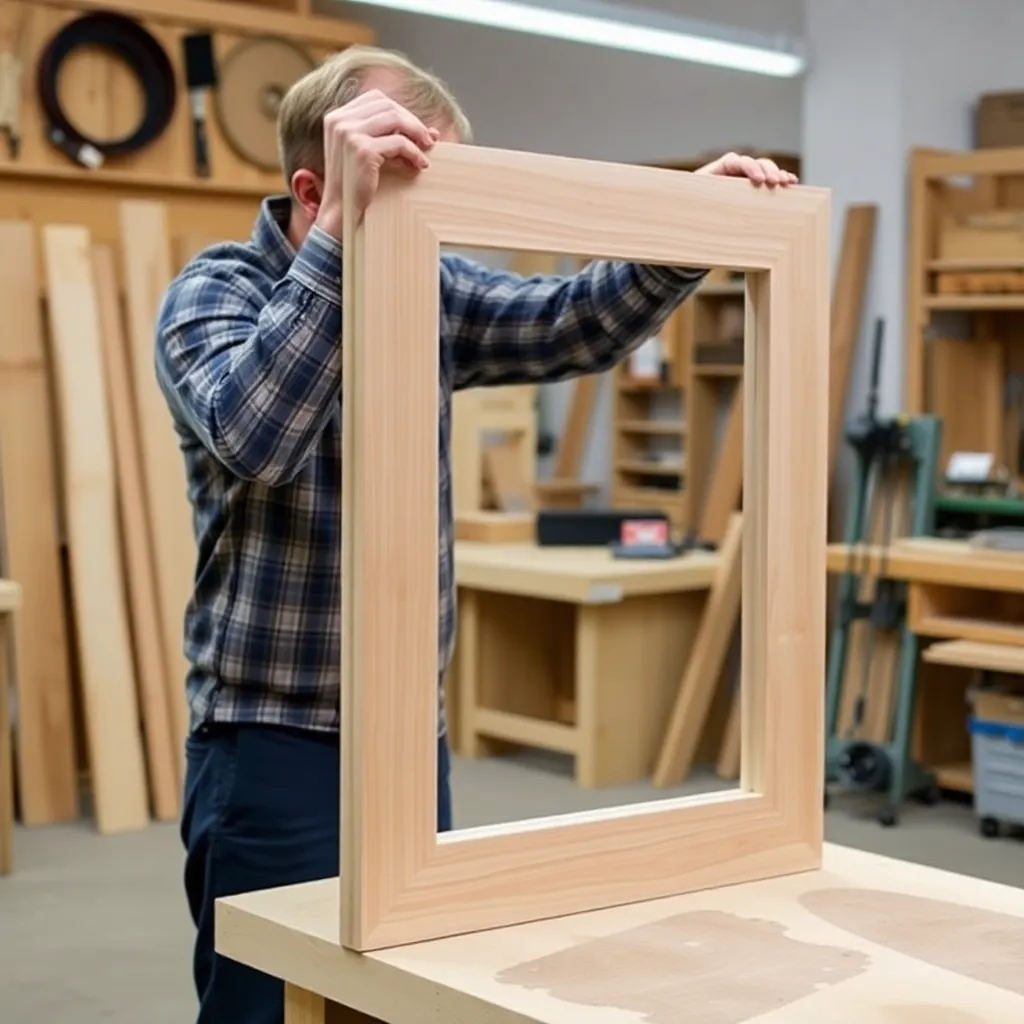
A large frame — 20×24 inches and above — is a different build from a small frame. The rail weight makes corner joints more vulnerable; the glass weight requires a sturdier rabbet; and the overall assembly demands clamping equipment (a strap clamp or band clamp) that smaller frames don’t need. These six builds cover large frames from a 20×24 art frame to a full-length mirror frame, with specific attention to the structural details that matter at scale.
Ted’s Woodworking has complete large frame plans with load ratings and clamping guides. Browse Ted’s plans →
Step 1: Build a 20×24 Standard Art Frame
Goal: The most common large print size — a frame that suits photography, posters, and prints.
Build from ¾ × 2-inch hardwood (oak or walnut). At 2-inch width, the rail is proportional to the print size — a 1½-inch wide rail looks thin on a 20×24 frame.
Cut with opposing 45° miters:
- 2 long rails: 26-inch long point
- 2 short rails: 22-inch long point
Glue with wood glue. Clamp with a strap clamp (wrap around all four corners simultaneously, tighten evenly). After the glue cures, reinforce each corner with two pin nails from the back. Route a ½-inch × ½-inch rabbet on the inside back edge — the deeper rabbet supports heavier glass.
Sand to 220-grit. Apply Danish oil.
Milestone: Four tight miter joints after strap-clamping, with no corner springing open when the clamp is released.
Step 2: Build a Large Mirror Frame
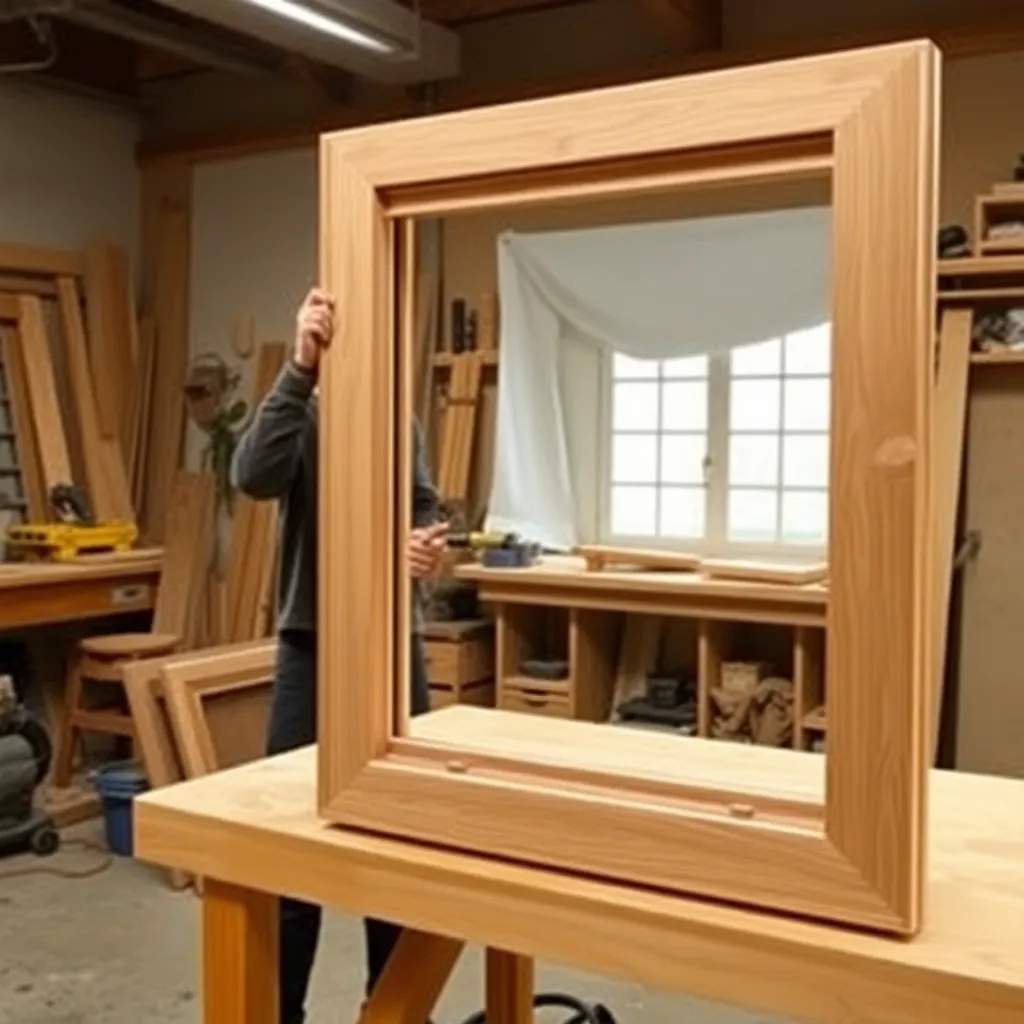
Goal: A frame for a 24×36-inch bathroom or bedroom mirror.
A mirror frame must support glass weight (a 24×36 mirror weighs 10–15 lbs) and hang securely. Build from ¾ × 3-inch oak (3-inch wide rail is proportional for a large mirror).
Structural considerations at this size:
- Use splines at all four corners: cut ⅛-inch slots across each miter after gluing, insert ⅛ × ½-inch hardwood splines
- Deepen the rabbet to ⅜ inch — the mirror sits in the rabbet and is held by turn-buttons and mirror clips
- Add a ¾ × 1½-inch support rail across the back, centered horizontally — glued and screwed to the frame back — this stiffens the long rails and prevents bowing under mirror weight
Mount with a French cleat — a strip of wood cut at 45° that interlocks with a matching strip on the wall. French cleats distribute the weight evenly and are more secure than D-rings for heavy mirrors.
Milestone: A frame that holds the mirror without any visible flex in the long rails.
Step 3: Build a Full-Length Mirror Frame (Floor Mirror)
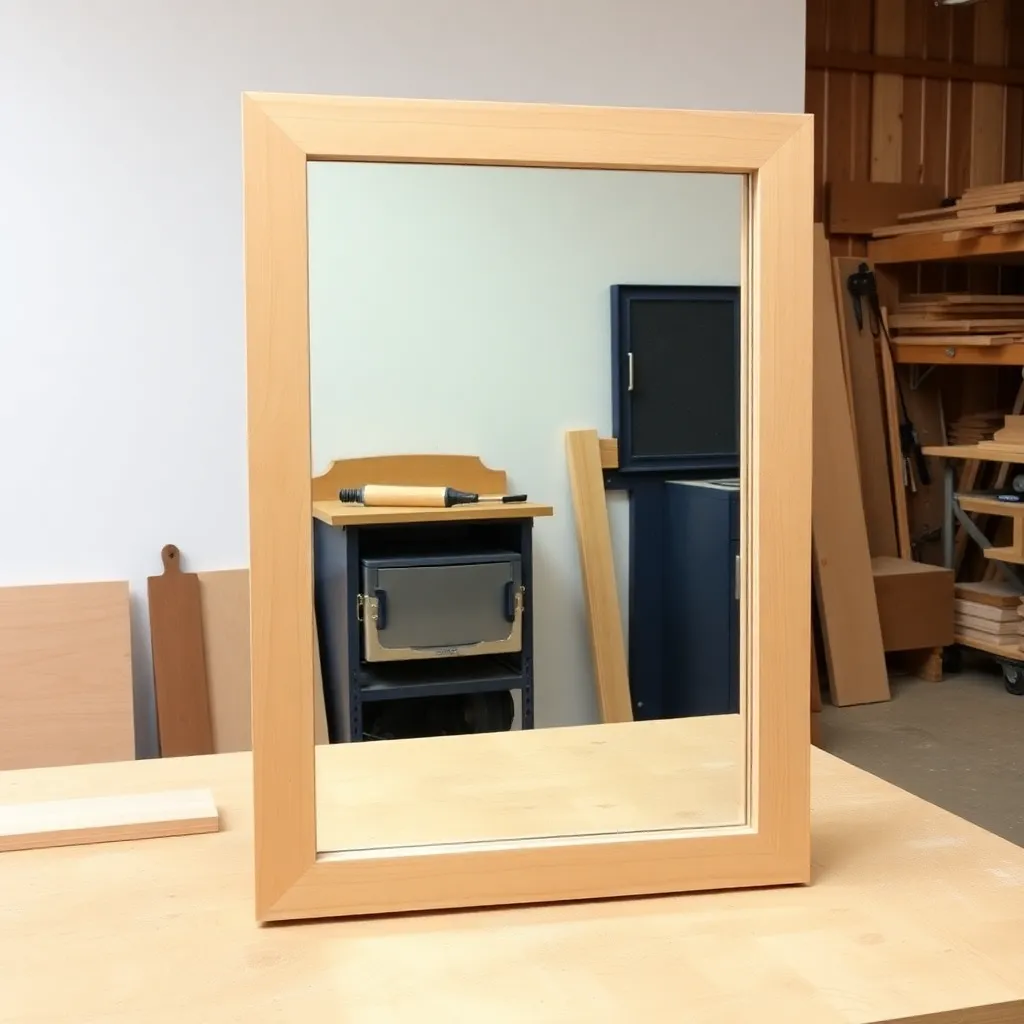
Goal: A 24×60-inch frame for a full-length standing or leaning mirror.
At this scale, the frame rails are 60 inches long on the short (24-inch) sides — the longest cuts most home miter saws can make. Cut with a sliding compound miter saw or a circular saw with a guide for cuts beyond the miter saw capacity.
Build from ¾ × 3-inch oak. The long rails (60-inch long point) require additional support: glue a ¾ × ¾-inch glue block on the inside corner of each miter joint before pinning — the additional glue surface adds structural strength that a simple butt + pin joint can’t provide at this length.
For a leaning mirror: install rubber feet on the back of the bottom rail to prevent slipping. For a wall-mounted mirror: use two heavy-duty D-rings rated for 50+ lbs each.
Milestone: Long rails that don’t flex visibly when the assembled frame is picked up by one corner.
Step 4: Build an Ornate Carved Frame for a Large Print
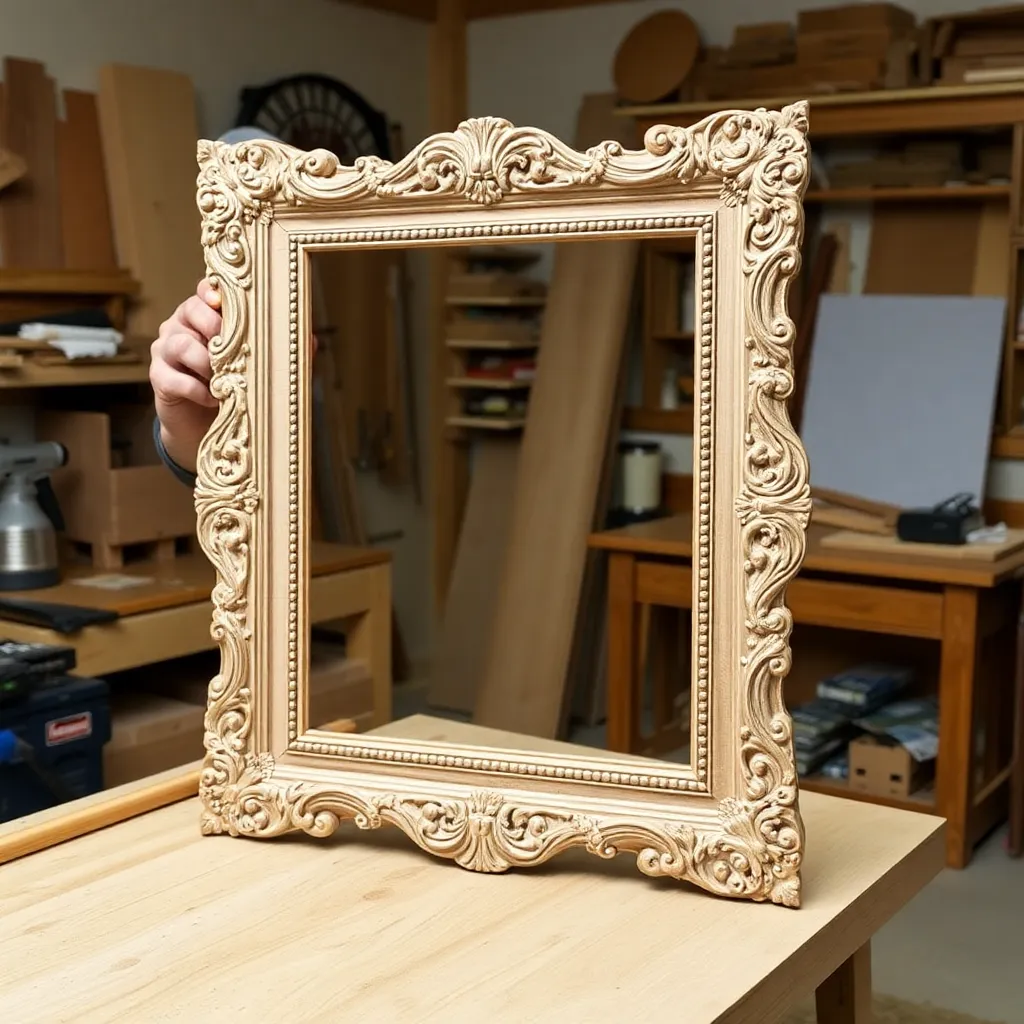
Goal: A 24×30-inch frame with carved corner details — for classical or traditional art.
Build the basic mitered frame from 2-inch wide rails in cherry or walnut. Run an ogee profile (router table) on the outside front edge. For the corner details: after assembling the frame, mark the corner areas (4 × 4-inch square at each inside corner) and carve a simple acanthus leaf or rosette using a ¾-inch gouge and V-tool.
The carving doesn’t need to be elaborate — even a simple scroll or fan carved into each corner transforms a plain mitered frame into something that looks museum-commissioned.
Milestone: Four corner carvings that are symmetrical and read clearly from 6 feet away.
Step 5: Build a Multi-Panel Frame Collage
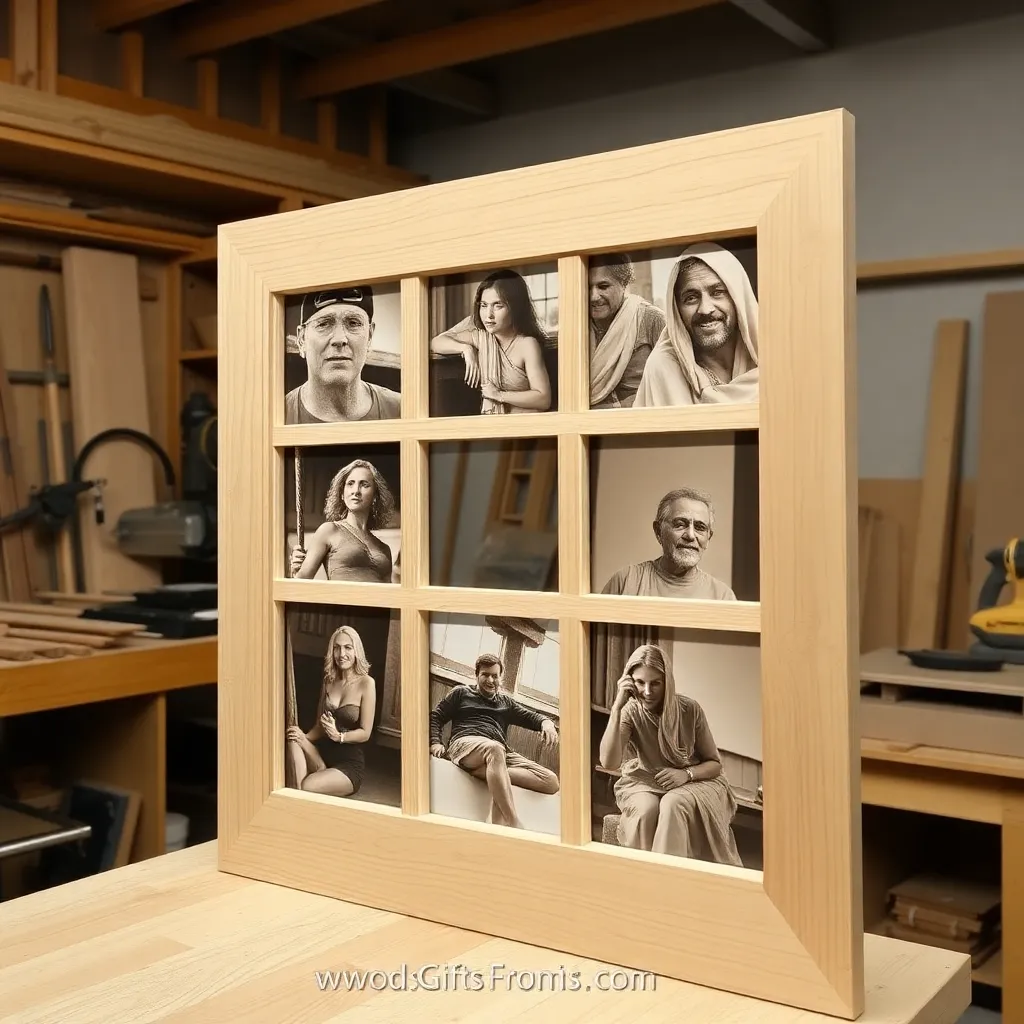
Goal: A large wall piece containing 4–9 individual frames — a gallery wall in one structure.
Build nine identical small frames (5 × 7-inch each) from the same material and finish. Mount them on a ¾-inch plywood backer (24 × 36 inches) in a 3×3 grid, evenly spaced. The backer is finished with paint or fabric. Each individual frame is glued and pin-nailed to the backer. The entire assembly mounts as one unit with two heavy-duty French cleats.
This approach produces a gallery wall that’s perfectly aligned (because all frames are mounted on the same rigid backer) and can be hung as a single piece rather than nine separate hanging operations.
Milestone: Nine frames aligned in a consistent grid with equal spacing on all sides and between all frames.
Step 6: Build a Barn Wood Large Frame
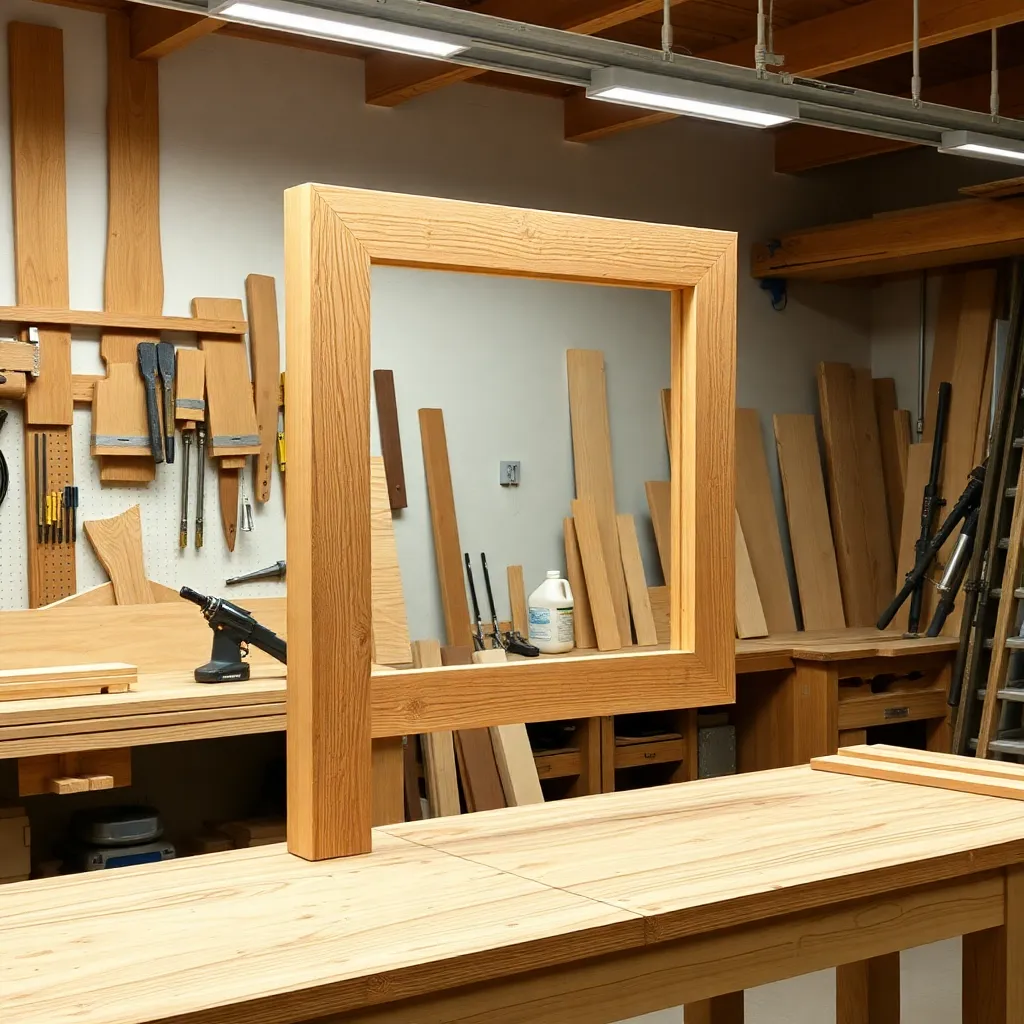
Goal: A large rustic frame from reclaimed barn boards — for farmhouse or landscape photography.
Source ¾-inch thick barn boards in 4-6-inch width. The irregularity of barn wood means you can’t miter it cleanly — join corners with half-lap joints (each rail gets a notch cut halfway through at each end, the two rails interlock flat-to-flat). Secure with pocket screws from the back. Dress the back face of each board flat (belt sander or jointer) — the front face retains the saw marks, nail holes, and patina.
Apply a sealer (shellac, brushed on) to lock in any surface contamination from the barn wood. No topcoat — the rough texture is the aesthetic.
Milestone: Four half-lap corners that sit flat against the wall with no rocking.
Large Picture Frame Plans FAQ
What is the maximum frame size I can build with a standard miter saw?
Most 10-inch miter saws handle cuts up to 6 × 8-inch profiles and rail lengths up to about 14–18 inches on a single miter cut. For rails over 18 inches (common in large frames), a sliding compound miter saw extends the cut capacity to 24–30 inches on most models. For rails longer than 30 inches, use a circular saw with a straightedge guide set to 45°, or cut on the table saw with a sled large enough to support the workpiece. The cut quality with a circular saw is slightly lower than a miter saw but acceptable for large frames where the long-point accuracy matters less (the corner is further from center).
Do I need special hardware for hanging a large frame?
Yes. Frames over 5 lbs need D-rings (not sawtooth hangers), and frames over 15 lbs need either two heavy-duty D-rings rated for the total weight or a French cleat. For mirrors and large glass frames, a French cleat is the most secure option — it distributes the weight across 12–24 inches of wall contact rather than two point loads. Always use wall anchors or screw into studs for frames over 10 lbs. Verify the wall anchor’s load rating before hanging — a drywall anchor rated for 20 lbs holding a 15-lb frame with acceleration (from vibration or bump) can pull out.
How do I prevent large frames from bowing?
Large frames bow when the wood moves seasonally (humidity changes cause expansion and contraction) or when the weight of the glass bends the unsupported middle of the long rails. To prevent bowing: (1) use quartersawn lumber for the rails — it moves less perpendicular to the face than flatsawn; (2) add a stiffening rail on the back (a ¾ × 1½-inch strip glued and screwed across the back of each long rail, centered); (3) finish all faces of the rail equally (front, back, edges) — unfinished faces absorb moisture and cause cupping. For mirror frames, the mirror itself acts as a stiffener once installed.
What is a spline and when does a frame need one?
A spline is a thin piece of wood (typically ⅛-inch thick) inserted across the miter joint to add mechanical strength beyond glue. Standard small frames don’t need splines — the glue surface is adequate for the load. Large frames (over 20×24 inches), heavy mirror frames, and frames that will be shipped or moved frequently benefit from splines. After the glued frame has cured, cut ⅛-inch slots across each corner using a table saw sled that holds the frame at 45°. Glue ⅛-inch strips of contrasting hardwood into the slots. After curing, flush with a hand plane or sander. The splines become a visible design element — contrasting wood species makes them a feature.

“DIY woodworking enthusiast who started with zero experience and a YouTube tutorial.
I build simple, practical projects for my home and share free plans
so other beginners can skip the guesswork.If I can build it, you can too.”