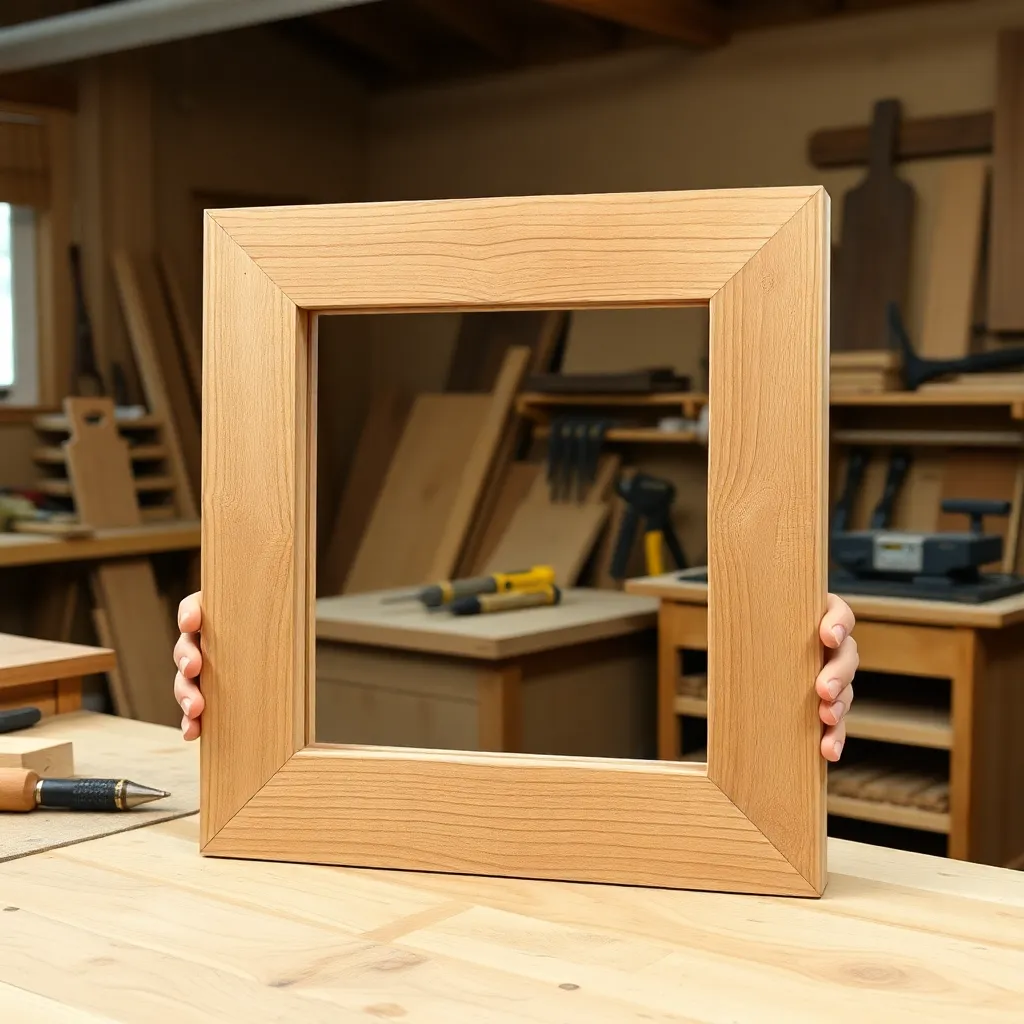
A rustic frame is defined by material character — the imperfections, tool marks, and age of reclaimed wood, live-edge slabs, driftwood, and branches are the point, not a defect. These eight builds use rough lumber, salvaged materials, and farmhouse-style joinery to produce frames that look at home with landscape photography, farmhouse décor, and vintage prints. No perfection required.
Ted’s Woodworking has complete rustic frame plans with reclaimed wood sourcing guides. Browse Ted’s plans →
Step 1: Build a Barnwood Butt-Joint Frame
Goal: A rustic barn board frame with corner butt joints — no miters, all character.
Source grey barn boards (1 inch thick × 4 to 6 inches wide). Dress one face flat — this becomes the back face of the frame. Cut the boards to length with a square crosscut (no miters). Join corners with pocket screws from the back: the two long rails run the full length, the two short rails sit between them, attached with pocket screws through the long rail ends.
Apply grey wash (1 part grey latex paint, 4 parts water) to the show face if the natural color is too brown for the target look. Seal with matte wax. The frame opening shows the natural board face — no rabbet needed if the photo is mounted directly on the back face behind the opening.
Milestone: Four corners with pocket screws that are invisible from the front, and a frame that sits flat on a table.
Step 2: Build a Live-Edge Slab Frame
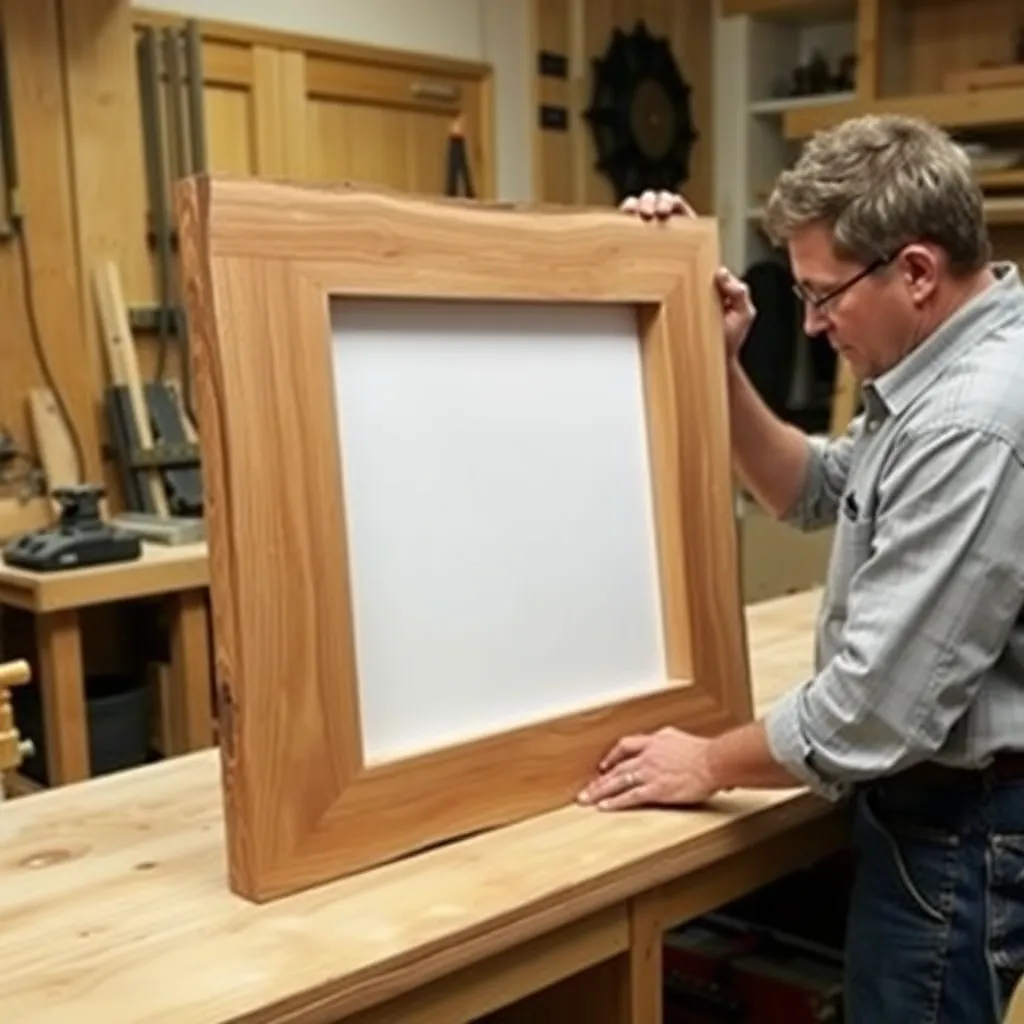
Goal: A frame where one or two rails are live-edge slabs — the natural wood edge is the design element.
Source two live-edge slabs (waney-edge boards) in a similar species — walnut slabs are ideal. These become the two long rails of the frame. Cut the short rails from the same species (straight-edged) and join at the corners.
Mount the photo or art on a backing board and hang the entire assembly on the wall — the live-edge rails extend beyond the art area, framing it within the natural wood shapes. No glass needed for photos printed on canvas or mounted on foam board.
Milestone: Two live-edge rails that are flat on the back face and hang parallel to each other.
Step 3: Build a Pallet Wood Frame
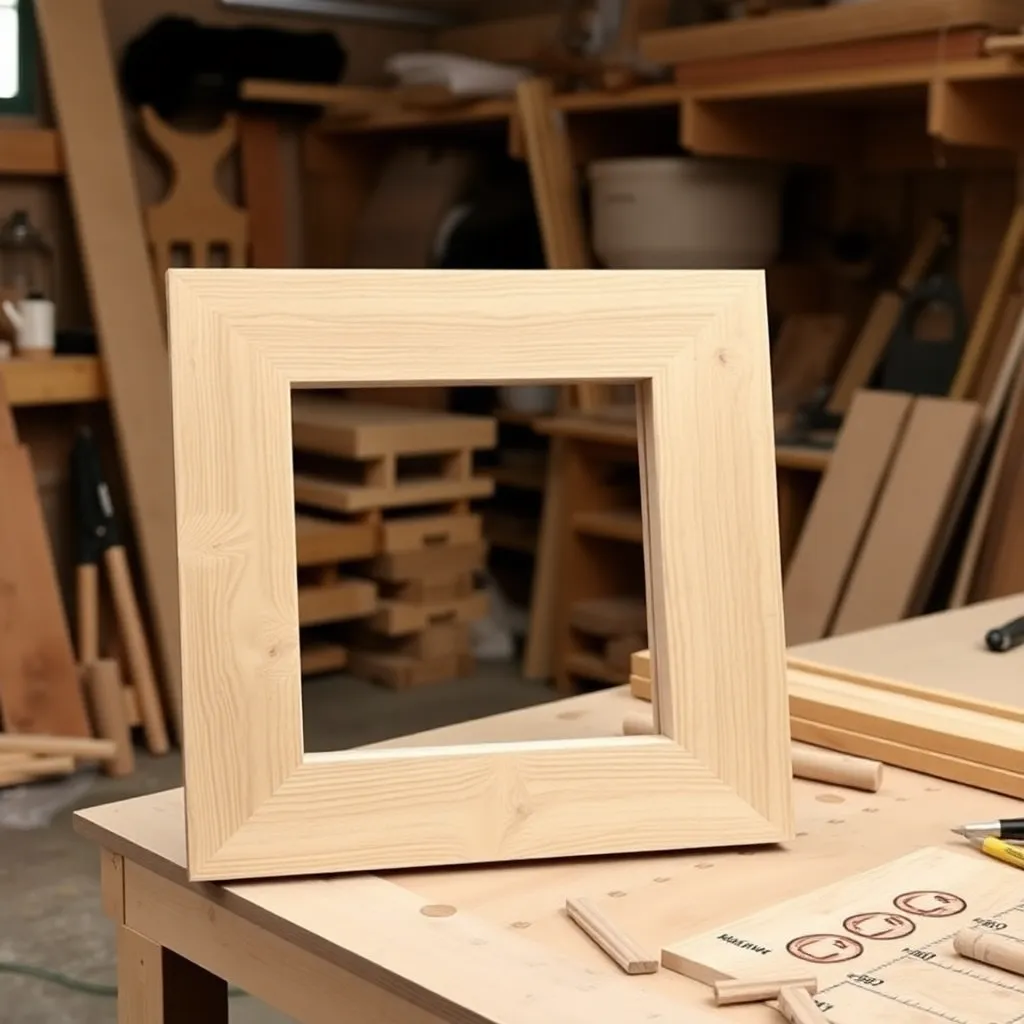
Goal: A frame from pallet boards — the most widely available free wood.
Source heat-treated pallets only (marked HT, not MB — methyl bromide-treated pallets are chemically unsafe for indoor use). Disassemble with a pry bar and rubber mallet to minimize splitting. Sand the show face to 80-grit (removes surface contamination) then to 120-grit (smooths without removing character).
Build the frame with butt joints and pocket screws, or miter for a cleaner look. Pallet wood is often dry and split-prone — pre-drill all pilot holes before driving screws. Apply a clear matte wax to preserve the natural grey color.
Milestone: A frame assembled from pallet boards that’s structurally sound with no boards lifting or cupping.
Step 4: Build a Driftwood Frame
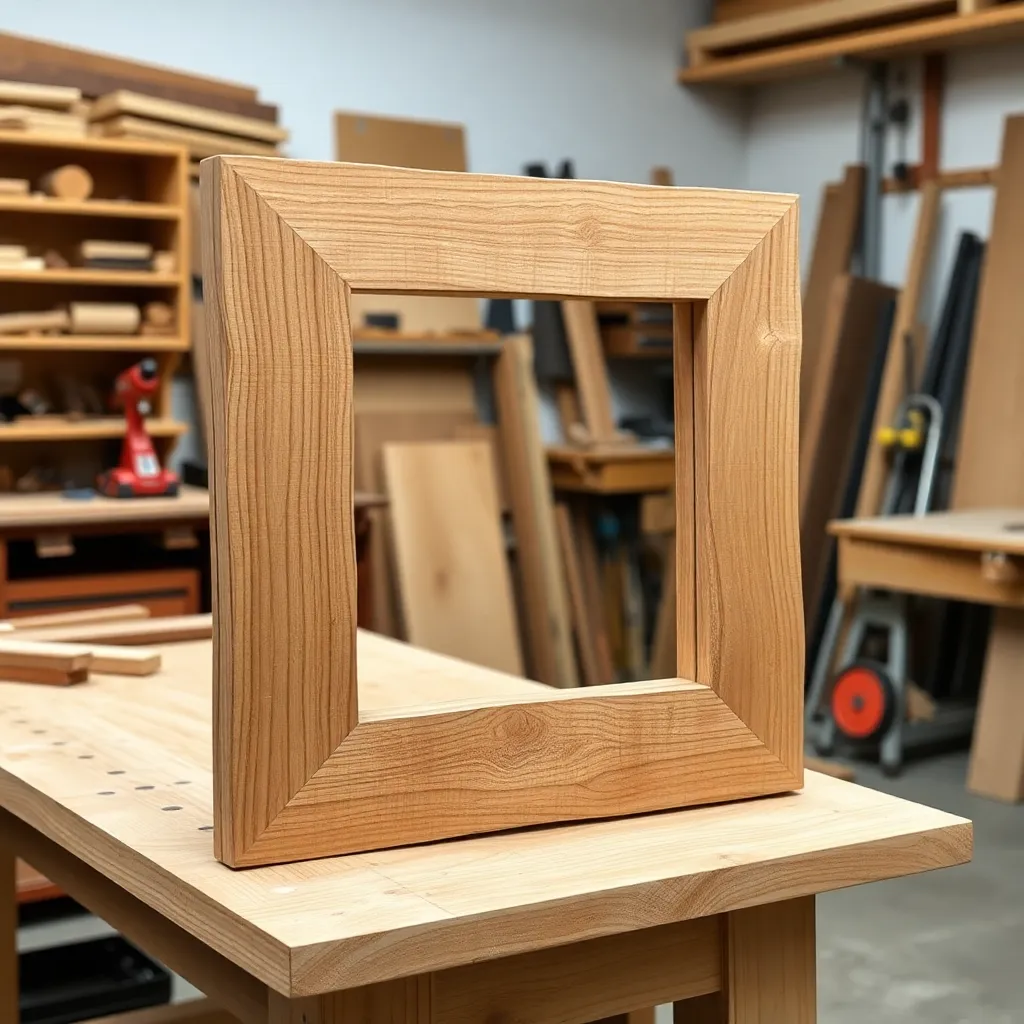
Goal: A frame from driftwood pieces — the most organic and naturally varied material.
Source driftwood from a beach or craft supplier. Select pieces with similar thickness (½ to ¾ inch) and reasonably flat back faces. Sand the back face lightly on a belt sander to create a flat mounting surface. Arrange on a flat surface to plan the frame layout before cutting.
Join corners with small L-brackets on the back face — driftwood grain is unpredictable and often splits with screws, so mechanical brackets are more reliable than pocket screws. Seal with matte water-based sealer (driftwood may have surface salt or mold spores).
Milestone: Four driftwood pieces joined stably with L-brackets and the frame lying reasonably flat.
Step 5: Build a Twig and Branch Frame
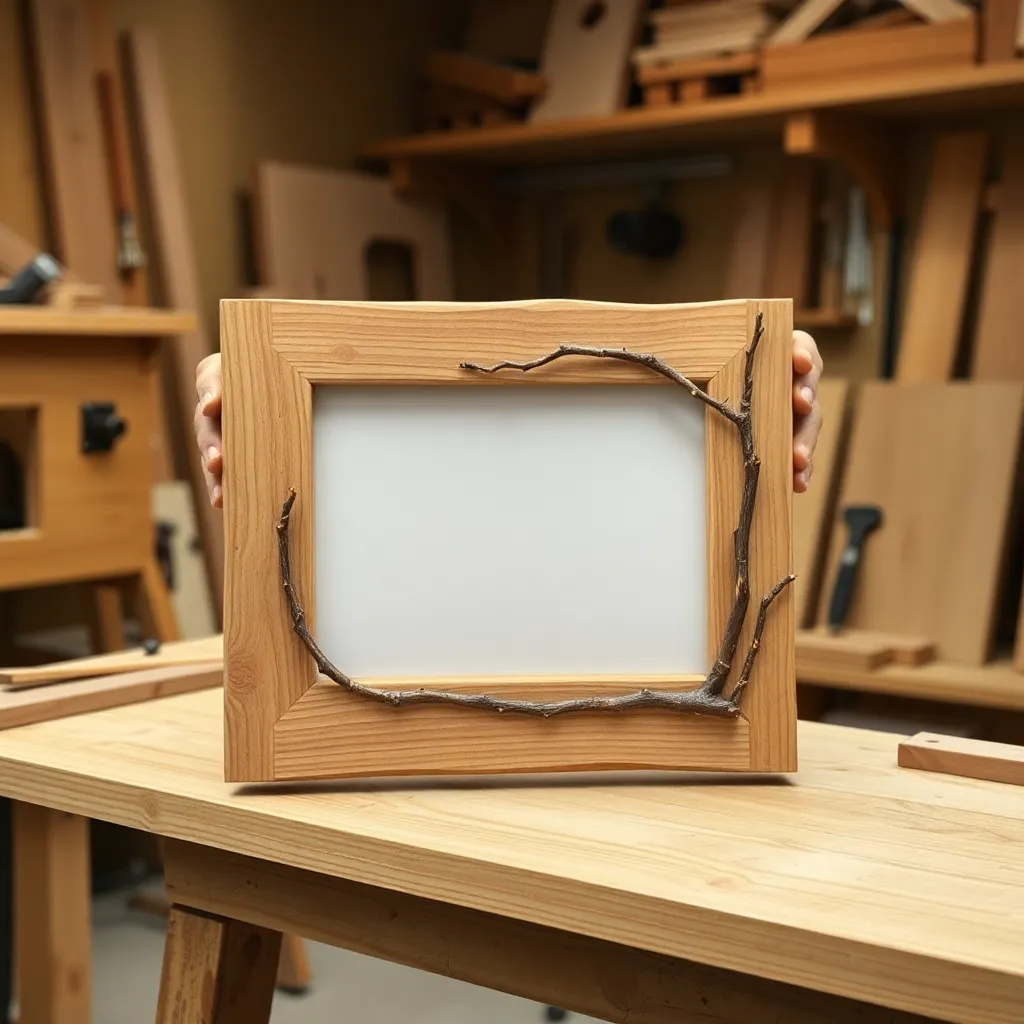
Goal: A frame from straight branches — perfect for nature photography and botanical prints.
Collect dry, straight branches from hardwood trees (oak, birch, cherry). Avoid fresh-cut wood — it will shrink and crack as it dries after assembly. Let collected branches dry for 2–3 weeks indoors before building.
Select four straight sections of similar diameter (¾ to 1 inch). Cut to frame length. Lash corners with jute twine (traditional), wire with wrapping wire (modern), or use exterior wood glue reinforced with small galvanized brad nails. The photo or art mounts on a backing board and is held behind the twig frame with small clips or wire.
Milestone: Four corners that are firmly joined and don’t rotate when the frame is lifted.
Step 6: Build a Reclaimed Shiplap Frame
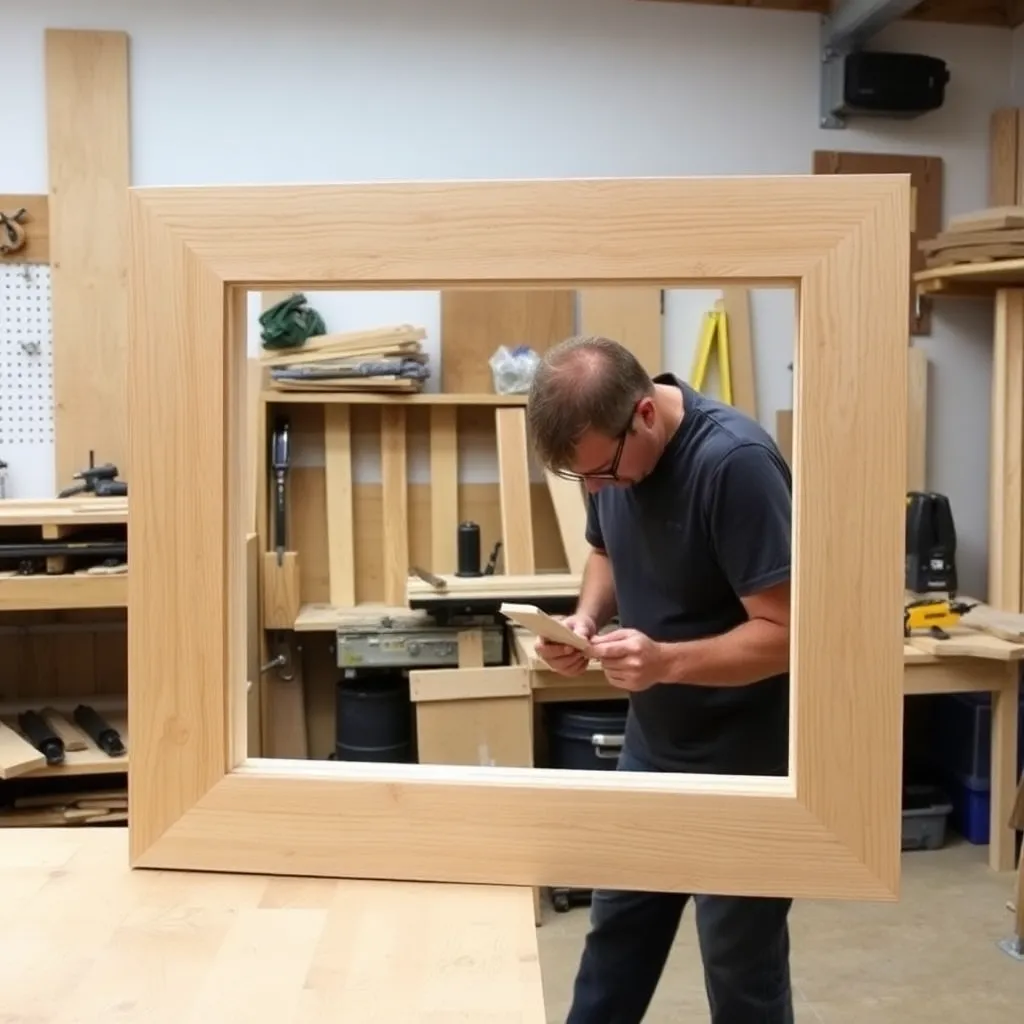
Goal: A frame assembled from shiplap boards — the overlapping plank style popular in farmhouse décor.
Cut shiplap boards (or rip ¾-inch pine with a ⅛-inch rabbit on each long edge to create the overlap) into frame lengths. Build the frame with the shiplap boards running horizontally across the face of the top and bottom rails — this creates a layered texture effect. Join corners with butt joints and pocket screws.
Apply whitewash (white latex diluted 1:3 with water) or leave natural pine. The overlap reveals between the shiplap boards create shadow lines across the frame face that add depth.
Milestone: Shiplap boards with consistent overlap reveal across the full rail length, no boards lifting at the edges.
Step 7: Build a Burnt Wood (Shou Sugi Ban) Frame
Goal: A frame with charred, wire-brushed wood — a Japanese technique that produces a dramatic black-grey surface.
Apply the shou sugi ban technique to pine or cedar frame rails before assembling:
Burn the wood surface with a propane torch until a thick char layer forms (30–45 seconds of flame per section)
Let cool completely
Brush with a stiff wire brush to remove loose char and reveal the grain pattern beneath
Apply a single coat of raw linseed oil to seal
The result is a silvery-black surface with visible grain that deepens over time. Miter the frame as usual after burning — the burnt surface allows miter cutting cleanly. The frame suits black-and-white photography and abstract art.
Milestone: A consistent char depth across all four rails with the grain pattern visible through the wire brushing.
Step 8: Build a Wabi-Sabi Imperfect Frame
Goal: A frame that intentionally embraces every defect — knots, checking, spalting, and worm tracks.
Select the most flawed piece of wood you can find: heavily knotted pine, spalted maple, or wormy chestnut. These features are what make the frame interesting. Cut the frame from this material — mill only the back face flat, leave the front face as-found. Miter the corners (or butt-join if the knot placement makes mitering impractical). Leave gaps at the corners if the material won’t close cleanly — fill with black wax (rub a black wax crayon into the gap) rather than wood filler. Finish with matte wax only.
Milestone: A frame where the material character — knots, checking, marks — is centered and intentional-looking, not accidental.
Rustic Picture Frame Plans FAQ
Where can I source reclaimed wood for picture frames?
Lumber salvage yards carry dimensional boards from demolished buildings — typically more consistent than free pallet wood. Architectural salvage shops sell barn boards, old flooring, and structural timbers. Craigslist and Facebook Marketplace often list free pallets and rough lumber. Tree removal services sometimes offer free firewood-length pieces — get there early for the best sections. Estate sales occasionally have stacks of old barn boards. For frames, you need relatively short pieces (under 36 inches), which means reclaimed wood that’s too short for furniture is perfect.
How do I prevent rustic frames from having bugs?
Reclaimed wood occasionally harbors insects — wood-boring beetles and their larvae can infest old barn boards years after the wood appears dry. To eliminate pests: freeze the wood for 72 hours (below 0°F kills all life stages) or heat treat it (140°F for 60 minutes in an oven or kiln). Fresh holes, fine sawdust around the wood, or visible larvae are signs of active infestation. A reclaimed wood dealer may offer pre-treated stock. For frames assembled from properly dried, stored wood (from reputable salvage dealers), infestation is rare but the treatment step is cheap insurance.
Should rustic frames have glass?
It depends on the art. For photographs and paper prints that need UV and humidity protection: yes, use glass or plexiglass. For canvas prints, art on wood, and prints on heavy art paper in low-humidity environments: glass is optional. Rustic frames often look better without glass — the rough surface of the frame contrasts with the smooth art, and the glass adds a reflective layer that competes visually. If using glass with a rustic frame, use non-glare glass (a flat finish that minimizes reflection) — it suits the matte, rough aesthetic better than standard bright glass.
How do I attach the photo in a rustic frame with no rabbet?
For frames without a routed rabbet: cut a backing board from ¼-inch plywood to the outside dimensions of the frame. Mount the photo or art on the backing board (with archival mounting tape or photo corners for reversible mounting). Attach the backing board to the back of the frame with small screws or staples from the back edge. The photo is sandwiched between the frame face and the backing board. Alternatively, add a narrow ledge strip (¼-inch strip glued to the inside edge of the frame opening) that the backing board rests on — this creates a rabbet effect without routing.

“DIY woodworking enthusiast who started with zero experience and a YouTube tutorial.
I build simple, practical projects for my home and share free plans
so other beginners can skip the guesswork.If I can build it, you can too.”