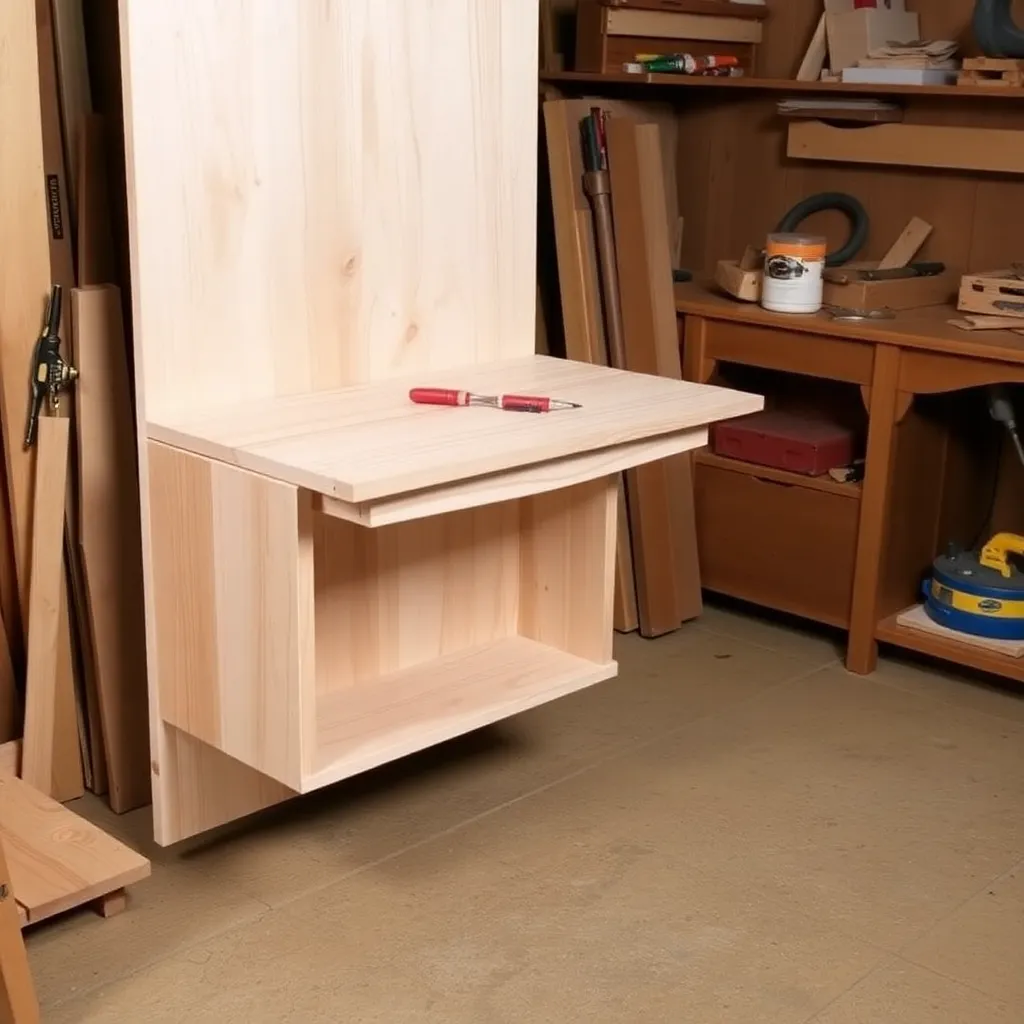
A folding sewing table solves the small-space problem — it provides a full work surface when in use and collapses flat against the wall when not in use. These six builds range from a simple wall-mounted fold-down table (an afternoon project) to a full craft station with built-in storage, drawers, and a cutting mat surface. Every build uses the same core mechanism: a piano hinge on the back edge that allows the top to fold up flat against the wall.
Ted’s Woodworking has complete folding table plans with hinge hardware specs and wall-mounting guides. Browse Ted’s plans →
Step 1: Build a Basic Wall-Mount Fold-Down Table
Goal: A 30 × 24-inch fold-down table with folding legs — the minimum viable sewing table.
Materials:
- Top: ¾-inch birch plywood, 30 × 24 inches
- Wall cleat: ¾ × 3-inch × 30-inch hardwood
- Folding leg brackets: 2 pairs (hardware store)
- Piano hinge: 30-inch length
- Folding legs: 2 × ¾-inch oak dowels or purchased folding legs
Mount the wall cleat level at the desired table height minus ¾ inch (for the top thickness). Attach the piano hinge along the back edge of the top and the front edge of the cleat. The top folds down for use and folds up flat against the wall. Install two folding leg brackets on the underside of the top, 4 inches from the front corners. Attach folding legs. Add a hook-and-eye latch to keep the table up when stored.
Milestone: A table that unfolds flat and level with legs fully extended and locks closed against the wall.
Step 2: Build a Fold-Down Table With Lip
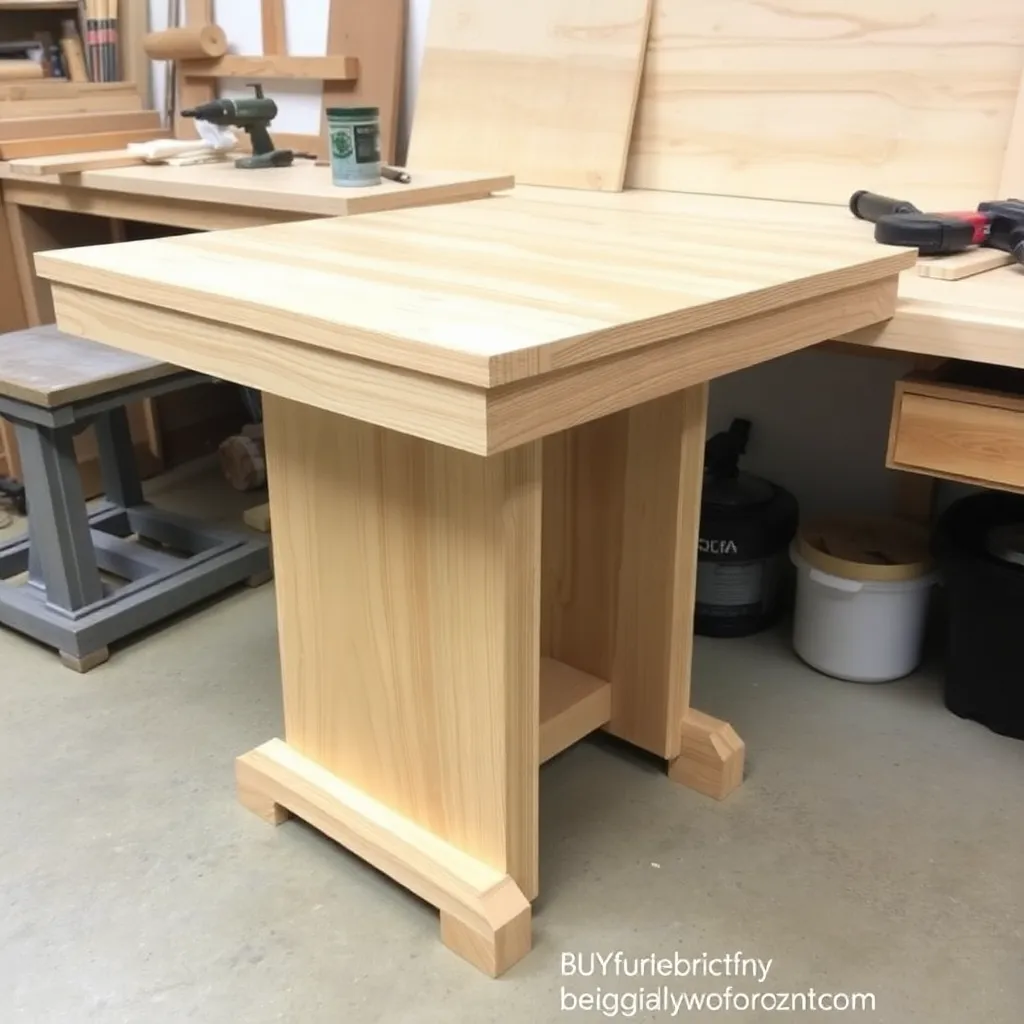
Goal: A 32 × 26-inch table with a 1½-inch lip on the front and sides — prevents fabric from sliding off.
Identical to the basic table (Step 1) but with an added ¾ × 1½-inch lip on three sides (front and two long sides). The lip is glued and pin-nailed to the top face of the plywood. Route a ¼-inch roundover on the inside top edge of the lip — the smooth edge won’t snag fabric. The open back edge (the hinge edge) has no lip.
Milestone: Lips flush at all three corners with the roundover consistent along the full length.
Step 3: Build a Table With Pegboard Back Panel
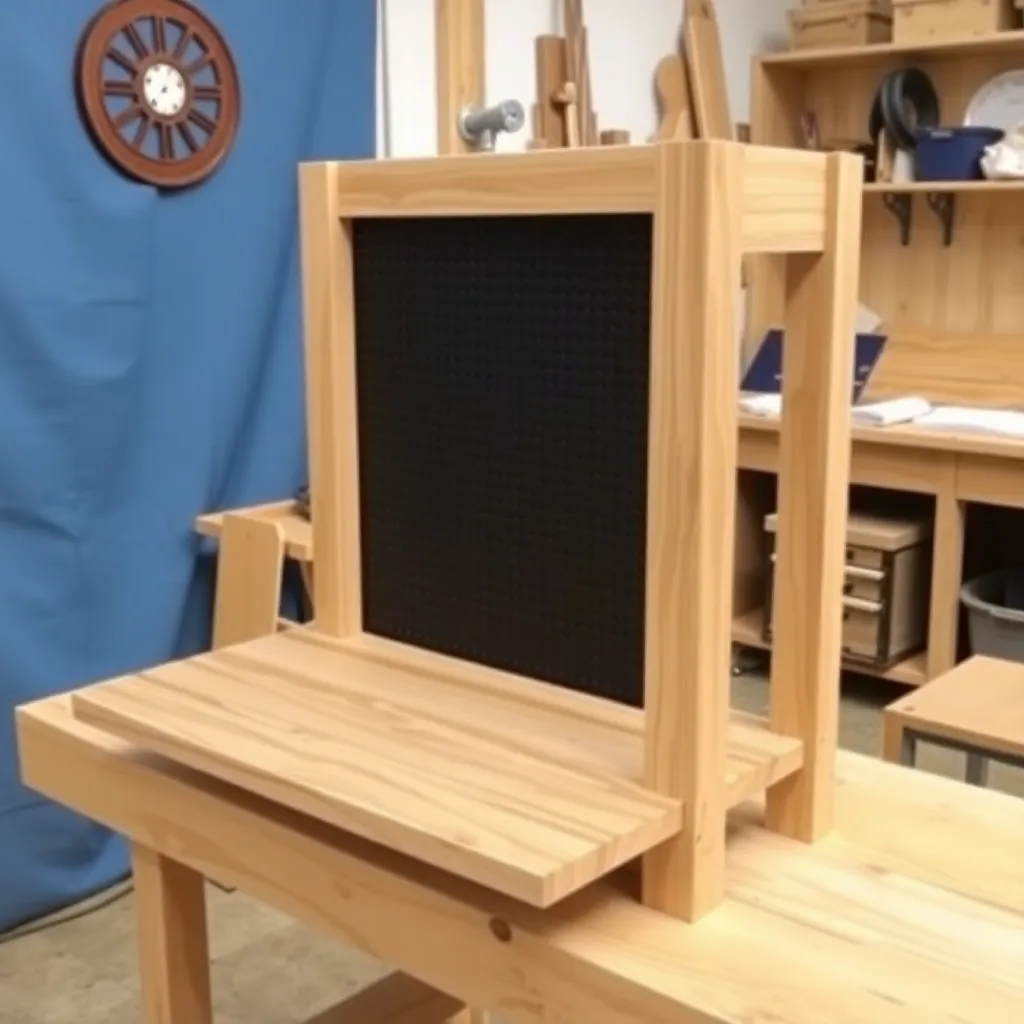
Goal: A fold-down table where the back panel (the wall-facing side when folded up) is pegboard — storing tools on the folded surface.
When a fold-down table is stored in the up position, its back face is visible. This build turns that back face into functional storage: the wall cleat is a full-height cabinet back, and the table top folds up to reveal a pegboard panel (¼-inch tempered hardboard with 3/16-inch holes on 1-inch centers) mounted inside the cabinet. Hooks, baskets, and tool holders mount on the pegboard. When the table unfolds, the pegboard stays visible on the wall above the work surface.
Milestone: Pegboard panel mounted flat in the cabinet opening with hooks accessible when the table is both up and down.
Step 4: Build a Table With Drawer Storage
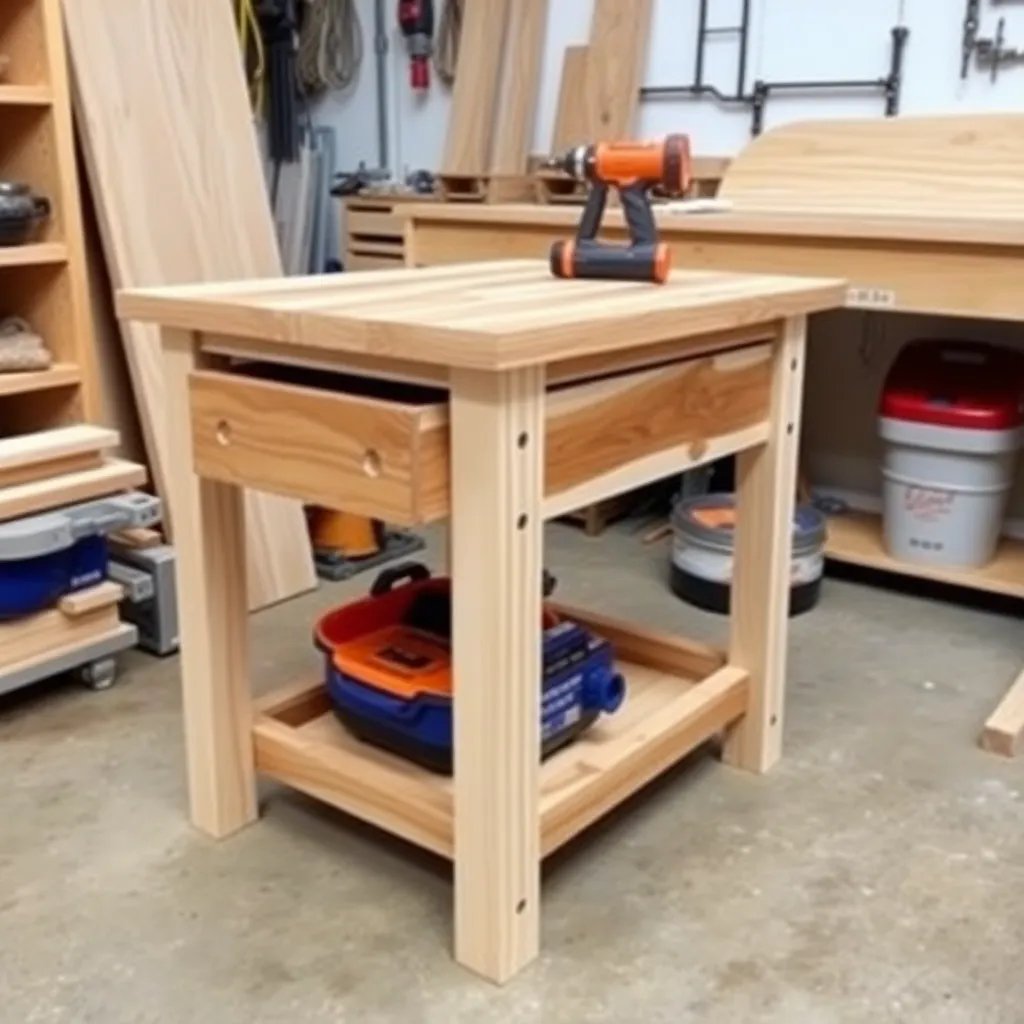
Goal: A fold-down table with two small drawers in the front apron — for scissors, thread, and small tools.
Add a 3-inch deep apron (the front rail between the table top and the folding legs). Build two small drawers (6 × 3 × 12 inches each) that slide into the apron from the front. Use wooden drawer slides (simple runners dadoed into the apron sides). The drawers must be removable when the table folds up — they pull out completely and store in a nearby cabinet. The apron adds structural rigidity to the table top.
Milestone: Two drawers that slide smoothly and can be removed and reinserted with one hand.
Step 5: Build a Full Sewing Cabinet With Fold-Out Extension
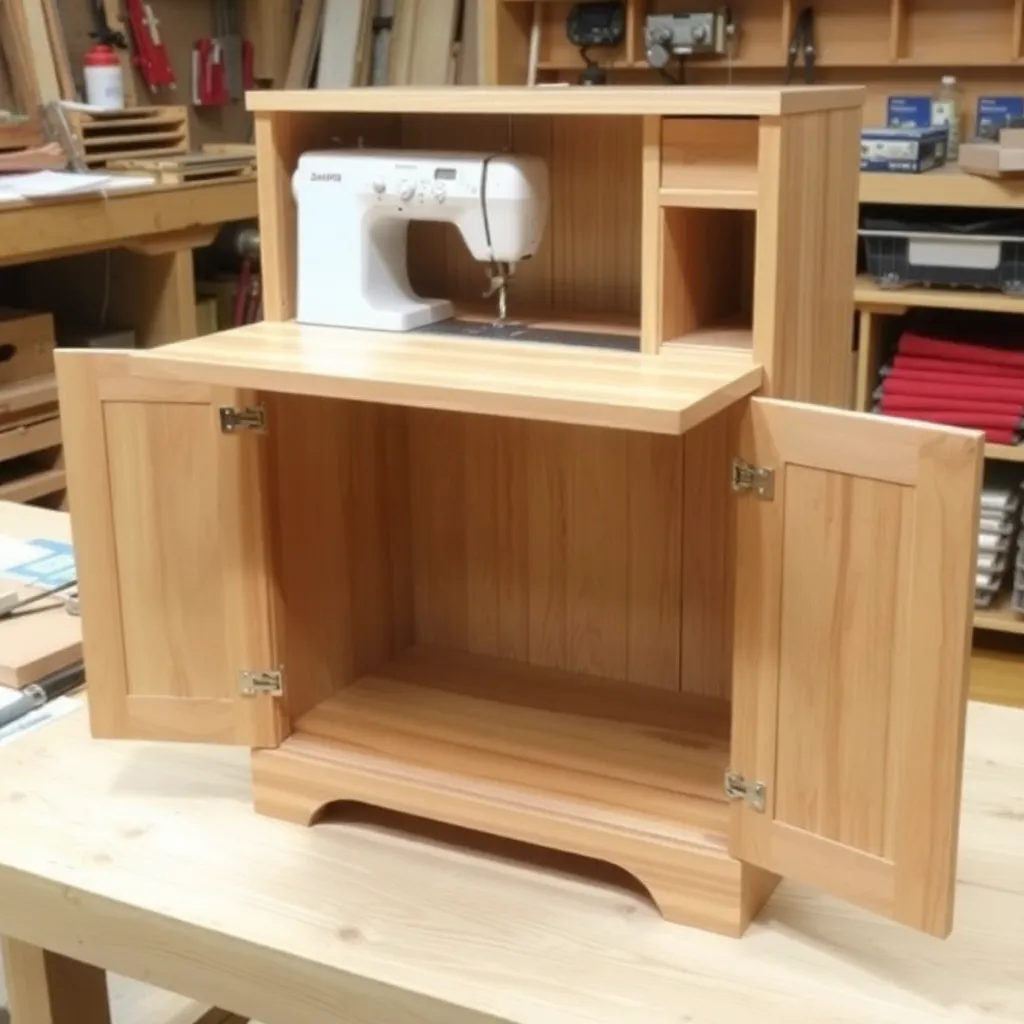
Goal: A 30-inch wide × 24-inch deep base cabinet with a fold-out extension that doubles the work surface.
This is a full freestanding cabinet rather than a wall-mount build. The base cabinet (30 × 24 × 30 inches) holds storage and provides a permanent work surface. A fold-out extension (an additional 24-inch wide panel hinged to one side of the cabinet) doubles the work surface for cutting fabric. The extension is supported by a folding leg on the outer edge.
The base cabinet has two drawers (top) and one door (bottom). Apply edge banding to all plywood edges. Apply paint or a hardwood veneer finish.
Milestone: Fold-out extension that locks level with the cabinet top surface when fully extended.
Step 6: Build a Full Craft Station With Built-In Cutting Mat
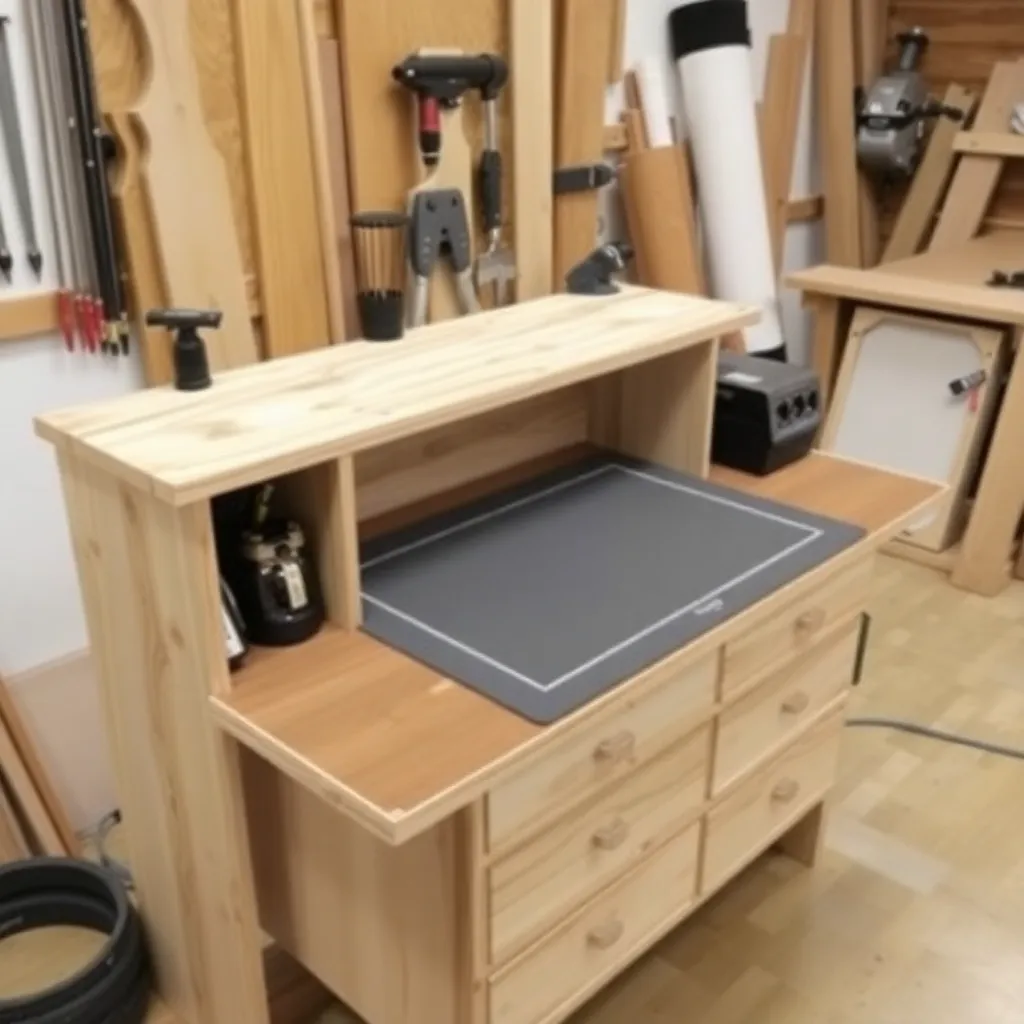
Goal: A 48 × 30-inch fold-down wall station with built-in cutting mat, ruler storage, and iron holder.
The premium sewing station build. The wall-mount cleat spans 48 inches and supports a full 48 × 30-inch table top. A self-healing cutting mat (24 × 36 inches) is recessed into the table top: route a recess exactly the mat thickness (typically 3mm) in the center of the top. The mat sits flush with the table surface.
Add a narrow shelf above the table (when stored, it’s the wall cleat top rail): holds spools and rulers. Add an iron holder on one side: a small shelf with a silicone mat and a vertical backstop. The entire station stores flat — table folds up, iron holder folds in.
Milestone: Cutting mat seated flush with the table surface with no lip on any edge.
Folding Sewing Table Plans FAQ
What height should a sewing table be?
Standard sewing table height is 28–30 inches — slightly lower than a standard dining table (30 inches) to allow comfortable arm position while using a sewing machine. For standing use while cutting fabric, the table should be at elbow height when standing (typically 36–40 inches for most adults). If the table will be used for both sitting sewing and standing cutting, build at 30 inches for the seated sewing surface and add a cutting mat extension at a higher fold-out level. The most important factor: the sewing machine bed (the needle plate surface) should be at elbow height when seated in the sewing chair — measure from your elbow to the floor while seated and subtract the sewing machine body height.
What plywood should I use for a sewing table top?
¾-inch birch plywood is the standard — it’s flat, strong, and takes a smooth finish. Avoid MDF for the top (it sags over time under the weight of a sewing machine) and OSB (too rough a surface for fabric). For a very smooth top surface: apply two coats of water-based polyurethane and sand lightly with 400-grit between coats — this produces a surface that fabric slides on without catching. For a professional finish: apply a hardwood veneer plywood (Baltic birch or maple veneer) and edge-band all exposed edges with matching veneer tape.
How do I make a fold-down table that doesn’t shake during sewing?
Three things eliminate shake: (1) a rigid piano hinge (30-inch or full-length piano hinge distributes the load and eliminates the hinge-point flex that short hinges create); (2) legs that lock — folding leg brackets with a positive lock mechanism (the leg snaps into the open position and requires deliberate pressure to fold back); (3) mounting into studs — a table mounted into two studs via the wall cleat is dramatically more rigid than one mounted with drywall anchors. For additional rigidity: add a diagonal brace from the table underside to the wall cleat (a short piece of ¾-inch board at 45° eliminates the slight forward/back movement that even a piano hinge allows).
Can a folding sewing table hold a sewing machine?
Yes — a properly built fold-down table easily supports a sewing machine (most sewing machines weigh 10–25 lbs). The table top must be ¾ inch (not ½ inch) plywood to resist deflection under the machine’s weight and vibration. The legs must be positioned under the outer corners, not under the center — corner support eliminates the cantilever flex that center-mounted legs create. For heavy machines (sergers, industrial machines over 25 lbs): mount into two studs with a full-length piano hinge and add a center leg for additional support.

“DIY woodworking enthusiast who started with zero experience and a YouTube tutorial.
I build simple, practical projects for my home and share free plans
so other beginners can skip the guesswork.If I can build it, you can too.”