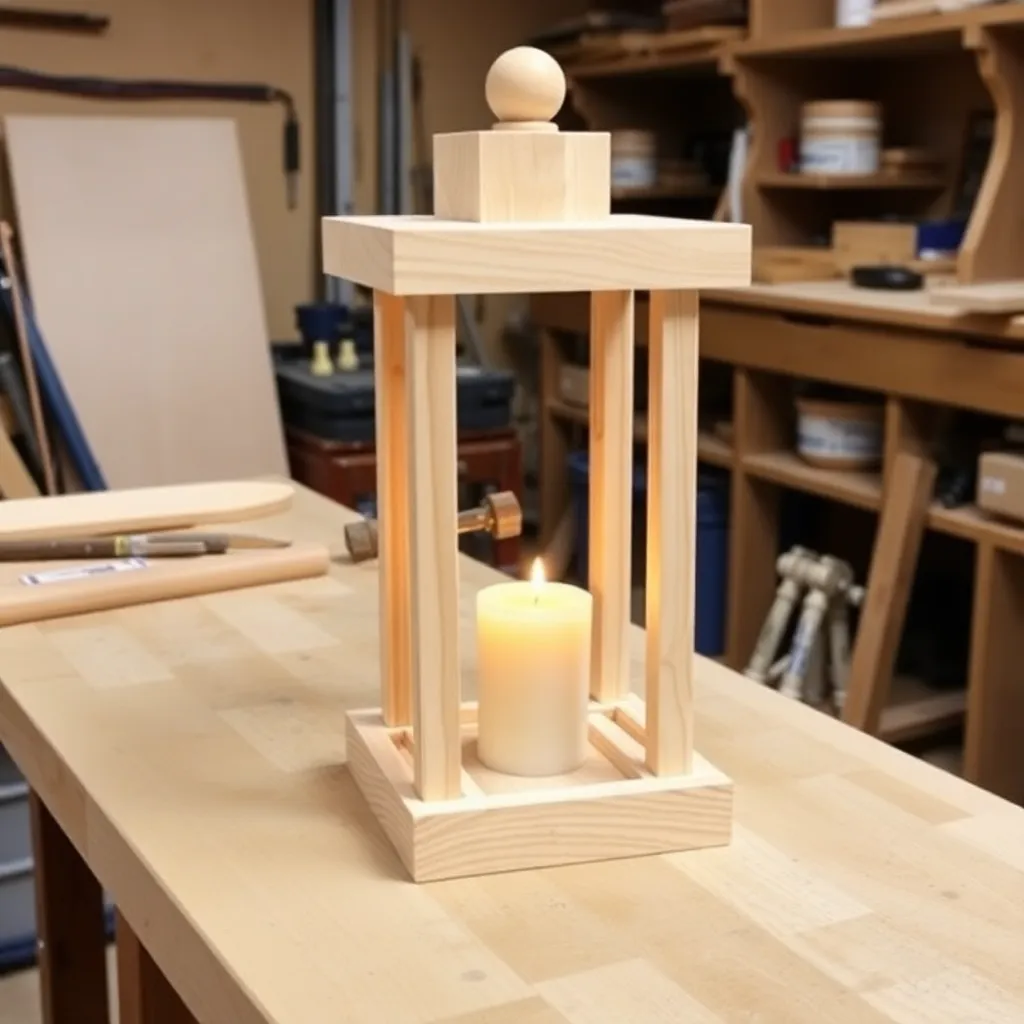
A wooden lantern is a frame-and-panel project where the panels are glass or acrylic — it introduces the skills of building a small accurate frame, fitting transparent panels, and adding a hinged door. These six builds progress from a simple tabletop candle lantern to a full outdoor post lantern that mounts on a fence or deck post.
Ted’s Woodworking has complete wooden lantern plans with glass panel sizing guides and hardware lists. Browse Ted’s plans →
Step 1: Build a Simple Tabletop Candle Lantern
Goal: A 5 × 5 × 9-inch tabletop lantern for a taper candle or pillar candle.
Build four identical side frames from ½ × ¾-inch oak strips:
- 2 stiles (verticals): 9 inches
- 2 rails (horizontals): 4 inches
- Route a ¼-inch groove along the inside face of all stiles and rails
Cut four glass panels (or acrylic): 4 × 7 inches. Assemble each frame with the glass panel in the groove. Join the four frames at the corners with pocket screws from the inside. Build the top: four small triangular pieces mitered at 45° form a pyramid top. The bottom is open (for a candleholder) or has a ¼-inch plywood base. Apply exterior varnish.
Milestone: Four frames with glass panels assembled into a square lantern that sits flat with no twist.
Step 2: Build a Lantern With Hinged Door
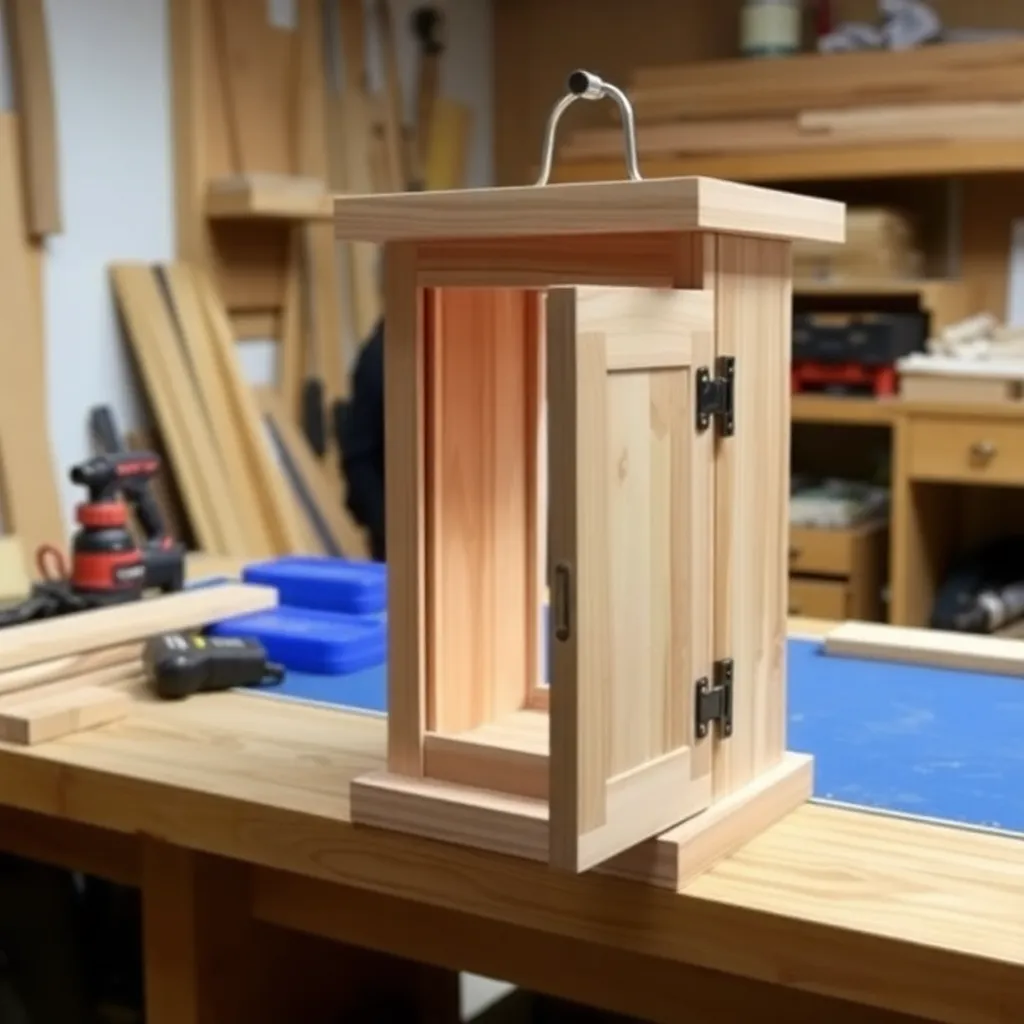
Goal: A 6 × 6 × 12-inch lantern with a hinged door on one side — for accessing the candle.
Identical to the tabletop lantern but one side panel is a hinged door rather than a fixed frame. The door frame is built the same way as the other three panels but attached with two small brass hinges on one stile. A small brass turnbutton on the opposite stile keeps the door closed. This allows easy candle placement and replacement without disassembling the lantern.
Milestone: A door that swings freely and latches with the turnbutton without gap at the closed edge.
Step 3: Build a Lantern With Decorative Top
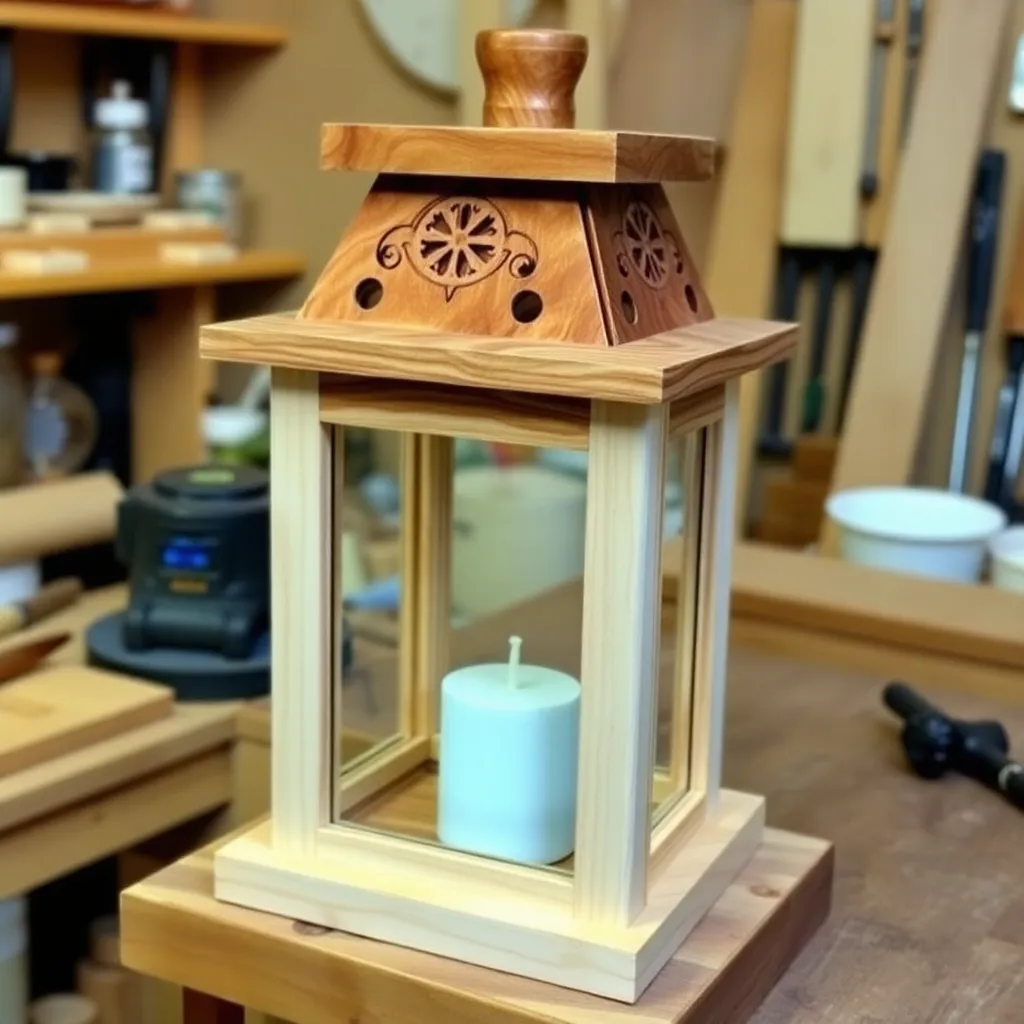
Goal: A 6 × 6 × 14-inch lantern with a decorative finial on the pyramid top.
Build the lantern as in Step 2. Instead of a plain pyramid top, add a decorative finial on the apex: a small turned ball (lathe-turned from a ¾-inch maple dowel, or purchased from a craft store) glued to the top point of the pyramid. Alternatively, extend the four corner stiles above the pyramid base and join them at a point — this produces a more traditional lantern silhouette with the roof integrated into the corner structure.
Milestone: A finial or extended corner point that’s centered on the pyramid apex.
Step 4: Build a Hanging Lantern
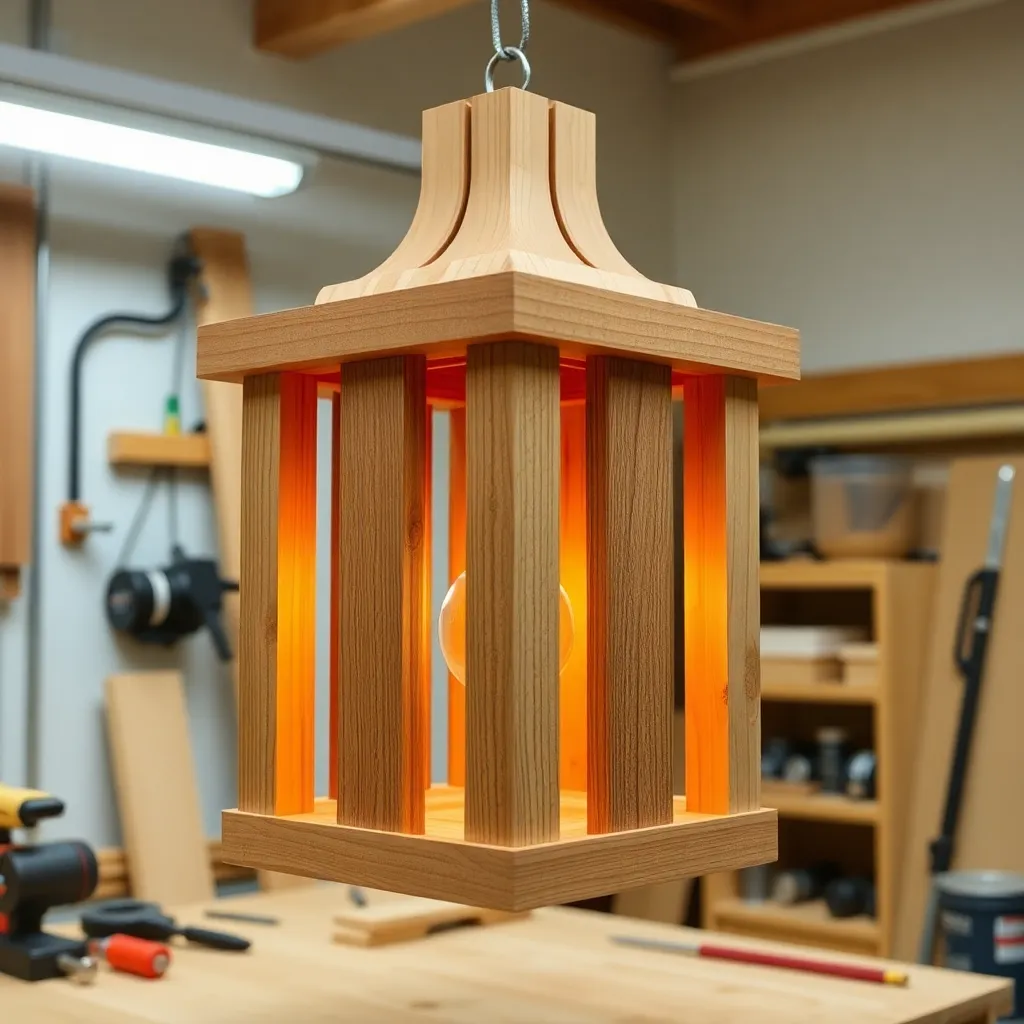
Goal: A 5 × 5 × 10-inch lantern with a hanging ring and chain — for porch or pergola hanging.
Build the lantern as in Step 2. Add a brass ring hook centered on the top of the pyramid — drill a pilot hole and thread in a ¼-inch eye bolt from the inside, with a washer and nut inside the pyramid. Add a brass or black-powder-coated chain (purchased by the foot at the hardware store) for hanging. Verify the hook is centered over the lantern’s center of gravity (with a candle inside) — an off-center hook makes the lantern hang crooked.
Milestone: A lantern that hangs level when a candle is placed inside.
Step 5: Build a Large Floor Lantern
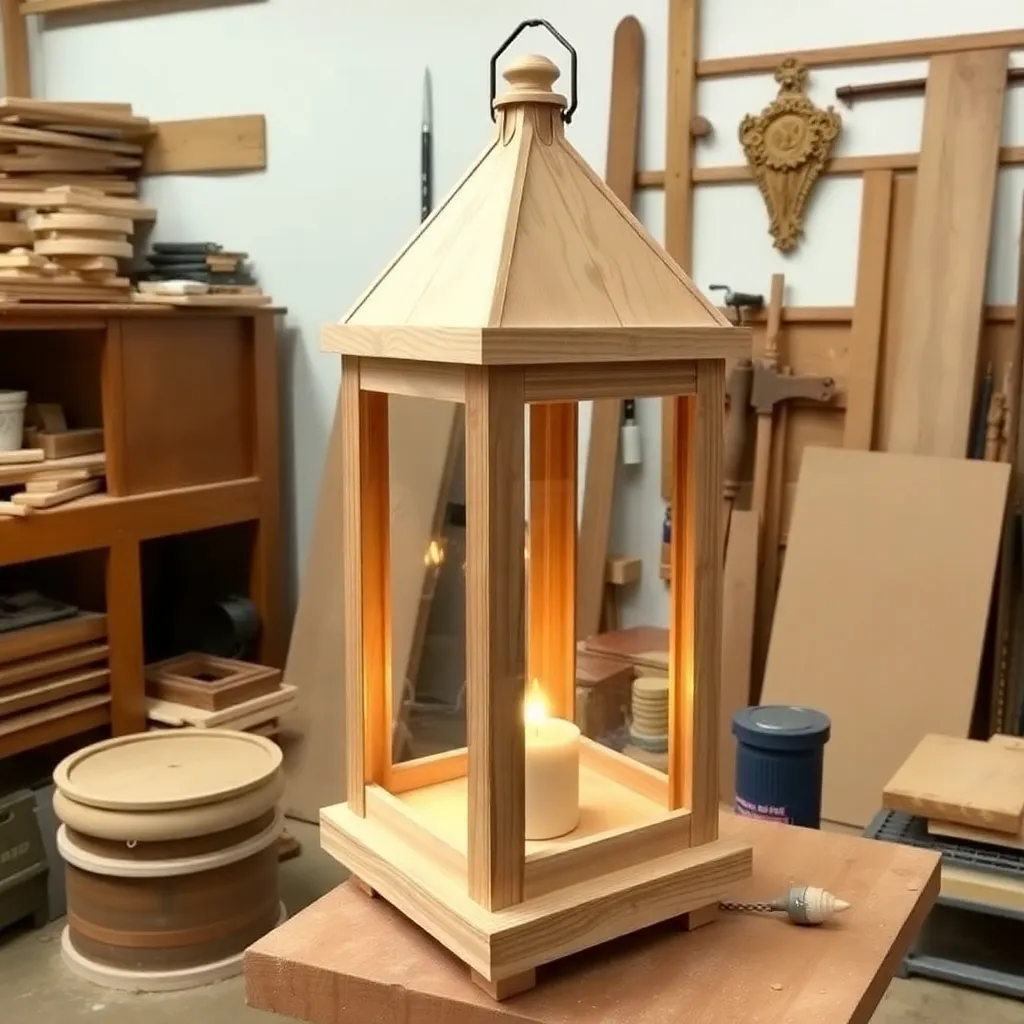
Goal: A 10 × 10 × 24-inch floor lantern — a statement décor piece.
At this scale, the frame must be heavier stock (¾ × 1½-inch stiles and rails) to remain rigid. The glass panels are larger (8 × 20 inches) — order from a glass shop rather than cutting yourself. The bottom must be solid (a ¾-inch plywood base) to support the weight of the frame and glass. Use a single door on one side (6 × 20 inches) with two hinges and a turnbutton. Apply exterior spar varnish — large floor lanterns are often used on covered porches.
Milestone: A lantern that stands without wobbling on a flat floor surface.
Step 6: Build an Outdoor Post Lantern
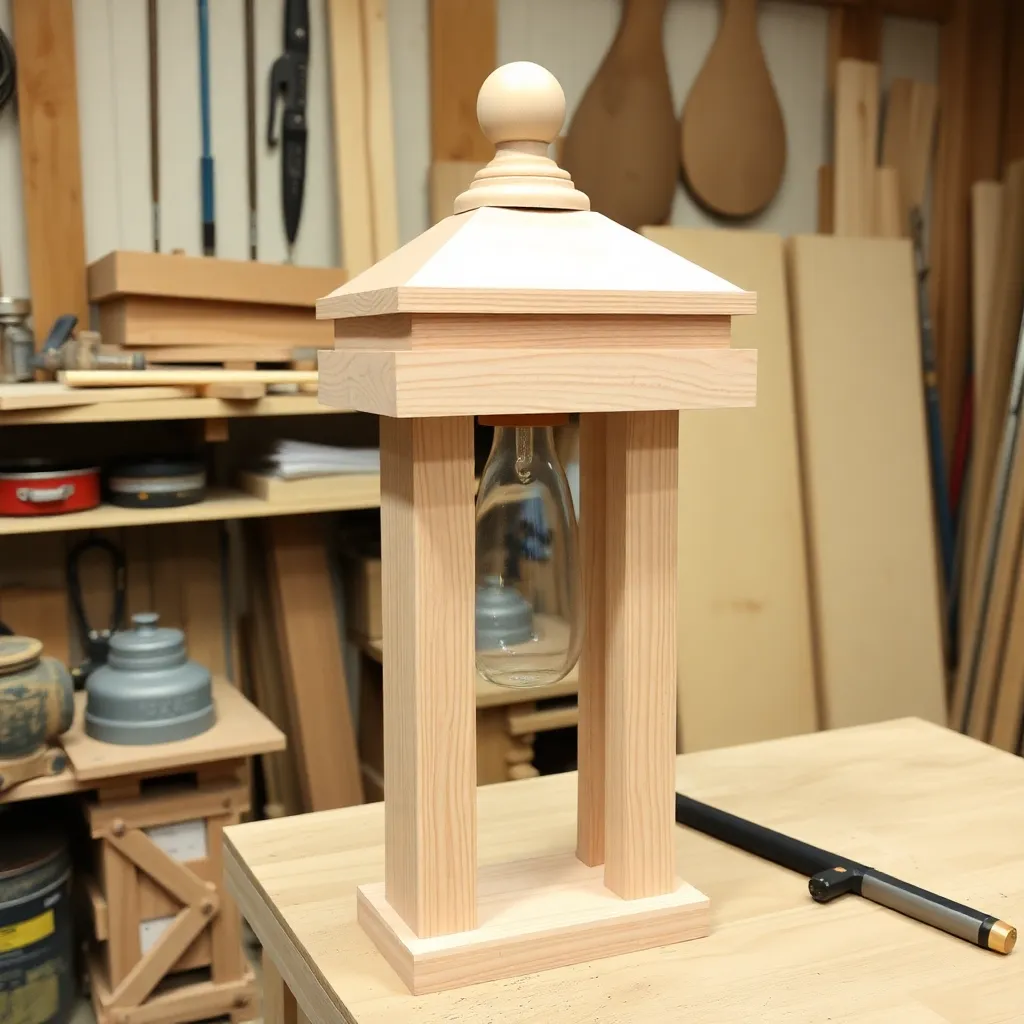
Goal: A 7 × 7 × 16-inch lantern for mounting on a 4×4 deck post — outdoor use with LED light.
An outdoor post lantern uses LED bulbs (never open flame outdoors in an enclosed lantern) connected to low-voltage outdoor wiring. Build the frame from cedar or teak (naturally rot-resistant) with copper or stainless hardware. Route a 1-inch hole in the bottom for the wiring. The lantern mounts to a 4×4 post via a post-cap bracket (purchased hardware) that the lantern base slips over and secures with two screws.
Apply two coats of exterior spar varnish. Install a socket-style LED bulb (available in “warm flicker” color temperature — 1800K — which simulates candlelight).
Milestone: A lantern mounted plumb and level on the post with the wiring fully concealed inside.
Wooden Lantern Plans FAQ
What type of glass should I use in a wooden lantern?
Single-strength window glass (⅛-inch thick) is the standard for small lanterns under 6 inches square. It’s inexpensive, cuts easily with a glass cutter, and is widely available. For larger panels (over 8 inches): use 3/16-inch glass for additional strength. For children’s areas or anywhere the lantern might be knocked over: use ⅛-inch tempered glass or clear acrylic (plexiglass) — acrylic won’t shatter if broken. For outdoor lanterns: tempered glass or polycarbonate (more UV-resistant than acrylic and won’t yellow outdoors). Never use regular annealed glass in a lantern intended for open flame — the heat differential between the flame side and the room-temperature back side can crack unannealed glass.
How do I cut glass for lantern panels?
Score the glass with a carbide glass cutter and cutting oil, then snap along the score line using glass-breaking pliers or by placing the score line over a pencil and applying downward pressure on both sides. Smooth sharp edges with a fine diamond file or wet/dry sandpaper (400-grit, wet). For consistent panel sizes: cut a cardboard template the exact size of the panel opening and use it to mark all four cuts before scoring. If you’re uncomfortable cutting glass, any local glass shop will cut panels to size for a few dollars each — provide the dimensions and they cut while you wait.
Can I use LED candles instead of real candles in a wooden lantern?
Yes — LED candles (battery-operated flickering LED “candles”) are safer than real candles in a wooden enclosure and produce a convincing flame effect. They eliminate fire risk from unattended candles, the heat concern near the wood frame, and the ventilation requirement of real candle flames. The main tradeoff: LED candles require battery replacement. For a permanent installation: wire the lantern for a low-voltage LED socket (as in the post lantern build), which provides indefinite light without batteries. For tabletop decorative use: LED candles are the preferred choice for safety.
How do I finish a wooden lantern for outdoor use?
Two coats of exterior spar varnish (tung oil varnish) is the standard outdoor finish for wooden lanterns. Spar varnish is specifically formulated to resist UV degradation, temperature cycling, and moisture — the conditions that destroy standard interior varnish outdoors. Apply the first coat thinned 10% with mineral spirits (penetrates better). Apply full-strength for the second coat. Reapply every 1–2 years, or when the finish begins to look chalky or peel. For maximum durability on an always-outdoors lantern: use teak oil on teak or cedar frames — the natural oils in these species resist moisture even with minimal finish, and teak oil requires no sanding between coats.

“DIY woodworking enthusiast who started with zero experience and a YouTube tutorial.
I build simple, practical projects for my home and share free plans
so other beginners can skip the guesswork.If I can build it, you can too.”