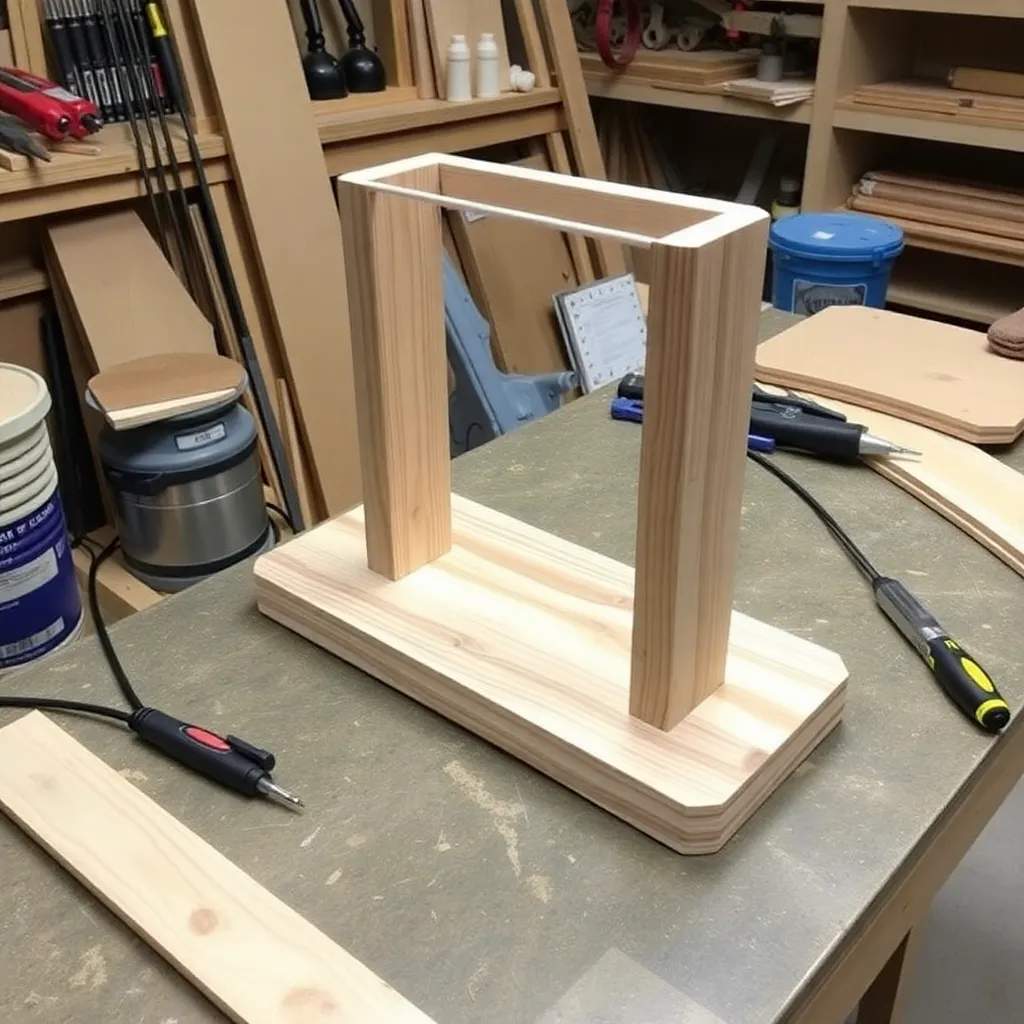
A wooden lamp base combines woodworking with basic electrical assembly — the woodworking builds the base, and a purchased lamp kit (socket, cord, switch, harp saddle) handles the electrical connection. These six builds cover table lamps, floor lamps, and pendant lights using turned, stacked, and assembled wooden bases. No electrical experience is required beyond following the lamp kit instructions.
Ted’s Woodworking has complete wooden lamp plans with cord routing diagrams and base stability specs. Browse Ted’s plans →
Step 1: Build a Simple Rectangular Table Lamp Base
Goal: A 4 × 4 × 12-inch rectangular lamp base from a solid hardwood post — the fastest lamp build.
Cut a 4 × 4-inch × 12-inch blank from dense hardwood (walnut, maple, or oak — the weight provides stability). Drill a ¾-inch hole through the center of the base from bottom to top using a long electrician’s bit (a standard bit won’t reach — use a 12-inch spade bit). Sand all faces to 220-grit. Apply Danish oil — 3 coats. Install the lamp kit: thread the cord up through the center hole, connect the socket at the top, and install the switch on the cord. Add four adhesive rubber feet to the bottom.
Milestone: A lamp base that stands without tipping when an 8-inch lampshade is attached and the cord is pulled to the side.
Step 2: Build a Turned Table Lamp
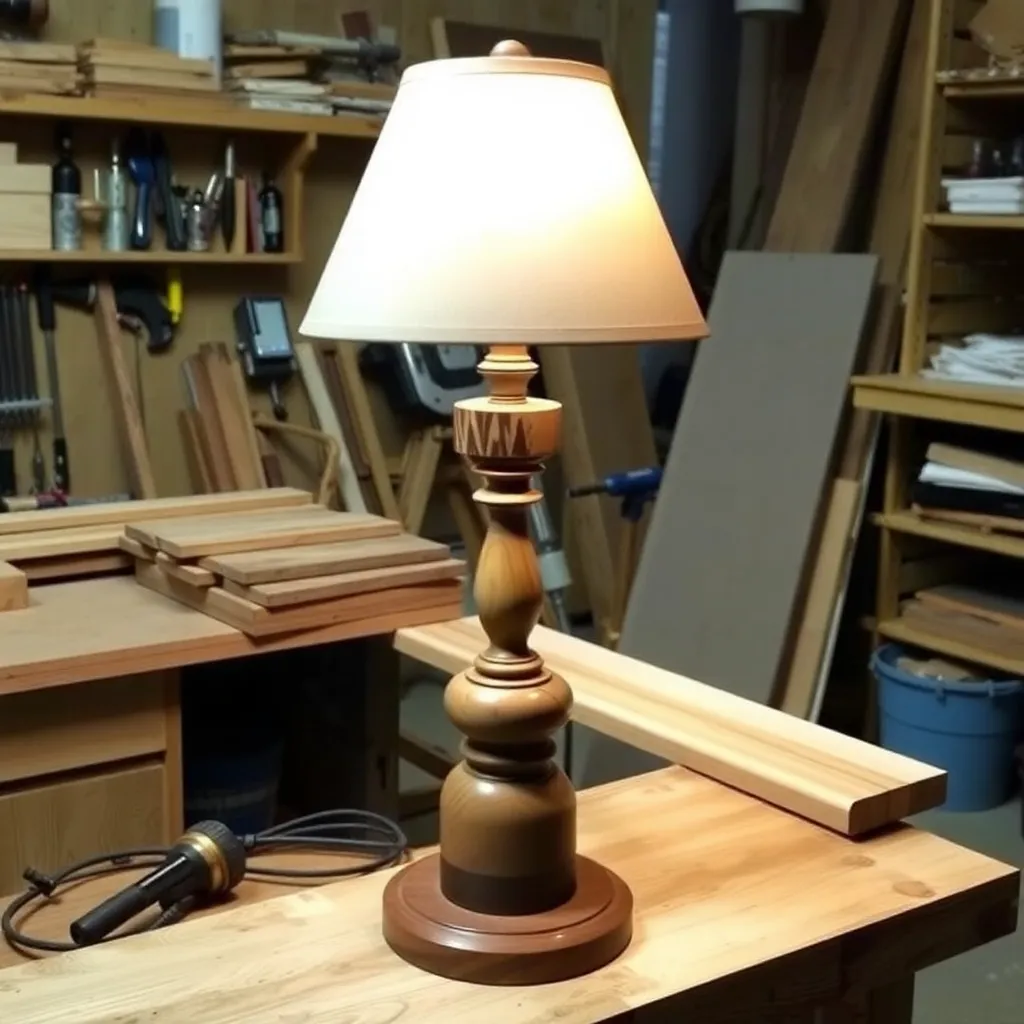
Goal: A turned spindle lamp base on the lathe — 18 inches tall with a shaped profile.
Mount a 3 × 3-inch × 20-inch blank between centers on the lathe. Turn to a classic lamp profile: a wide base (2½-inch diameter), tapering to a narrow waist (1½-inch diameter), swelling to a mid-body (2-inch diameter), then tapering to the top (1-inch diameter). Drill the cord hole through the center on the lathe using a lamp bit: remove the tailstock, install the lamp bit in a Jacobs chuck, and advance the bit through the center with the lathe spindle holding the work stationary. Sand on the lathe (80 → 120 → 180 → 220 grit). Apply Danish oil.
Milestone: A turned profile that’s smooth and consistent when viewed from all sides, with the cord hole aligned with the turning axis.
Step 3: Build a Stacked Geometric Lamp Base
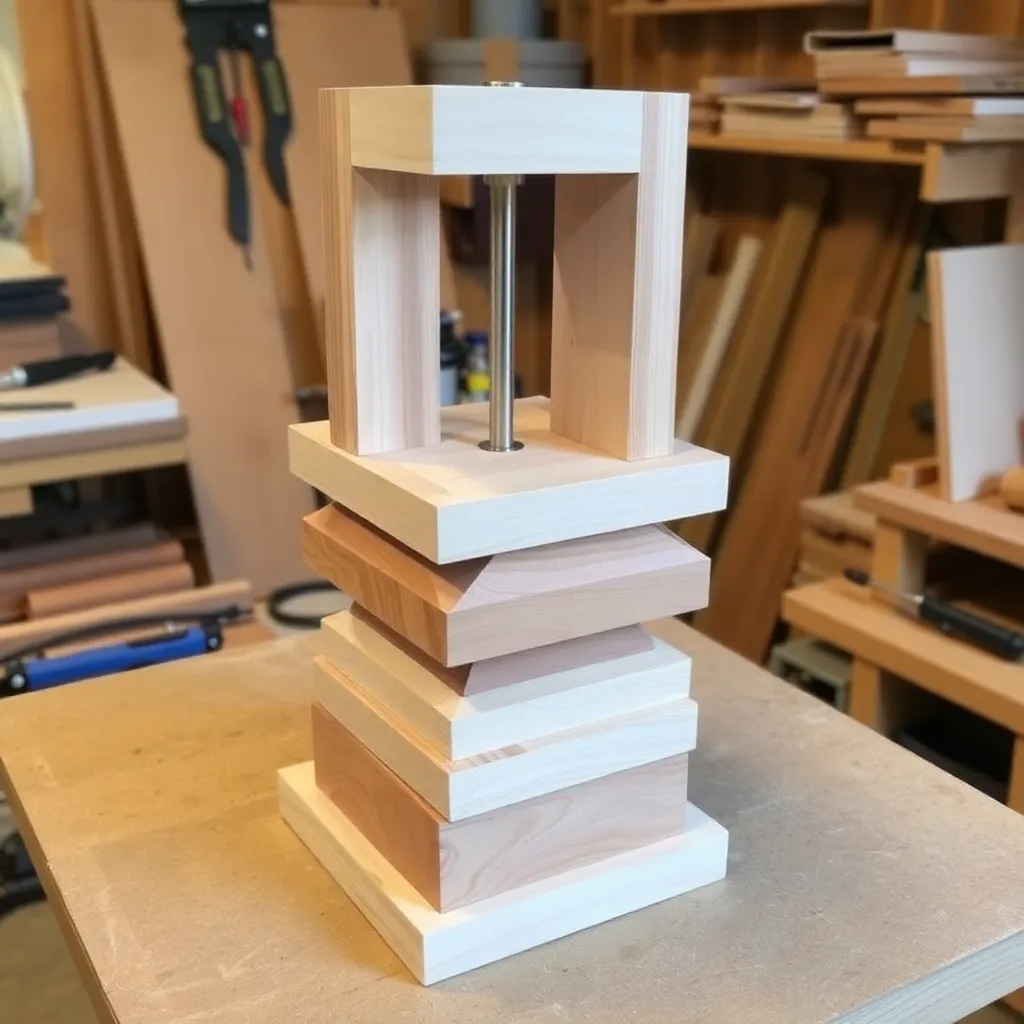
Goal: A lamp base from stacked geometric shapes — squares, cylinders, and spheres — assembled without a lathe.
Build without a lathe by stacking pre-turned or pre-shaped components:
- Base: 5-inch square plywood platform (¾-inch, weighted with a lead sheet on the bottom)
- Middle: a purchased 4-inch unfinished wooden ball (available at craft stores)
- Top: a short 2 × 2-inch × 4-inch rectangular post
Drill cord holes aligned through all three components before assembly. Glue together with the cord hole aligned (thread a guide string through while gluing to keep the holes aligned). Fill with the cord after glue cures. Apply consistent Danish oil to all components.
Milestone: Cord hole aligned through all three components so the cord passes freely without bending.
Step 4: Build a Tripod Floor Lamp
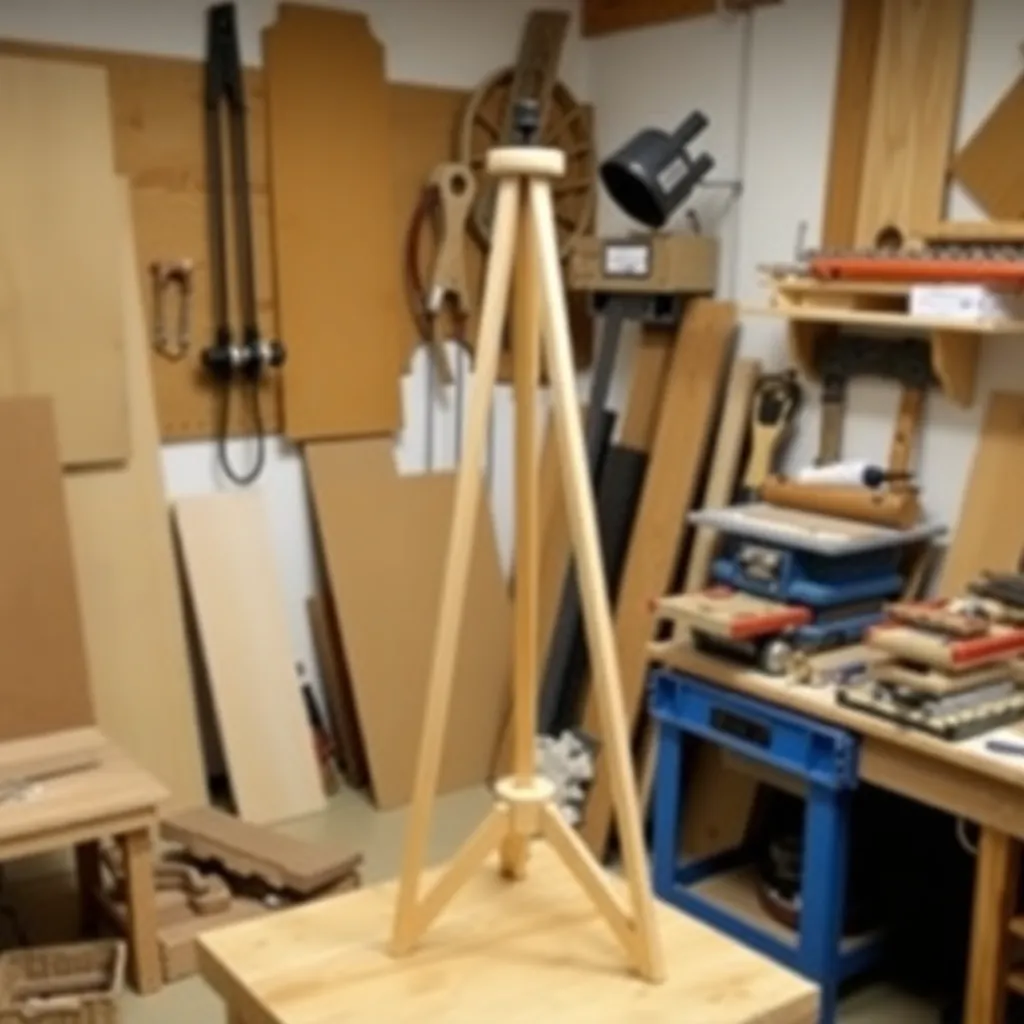
Goal: A tripod floor lamp from three turned or tapered legs — 58 inches tall.
Build three legs from ¾ × 1½-inch oak boards, tapered from 1½ inches at the top to ¾ inch at the bottom on the table saw (taper jig). The legs attach to a central hub: a 3-inch × 3-inch × 4-inch block with three angled holes drilled at 15° from vertical. The lamp socket mounts on top of the central hub. The cord runs down one leg to the floor. Verify the tripod stands stable before assembling — the leg spread at the floor must be 24–30 inches for stability.
Milestone: A tripod that stands without wobbling on a flat floor with the socket plumb.
Step 5: Build a Pendant Light From a Bowl
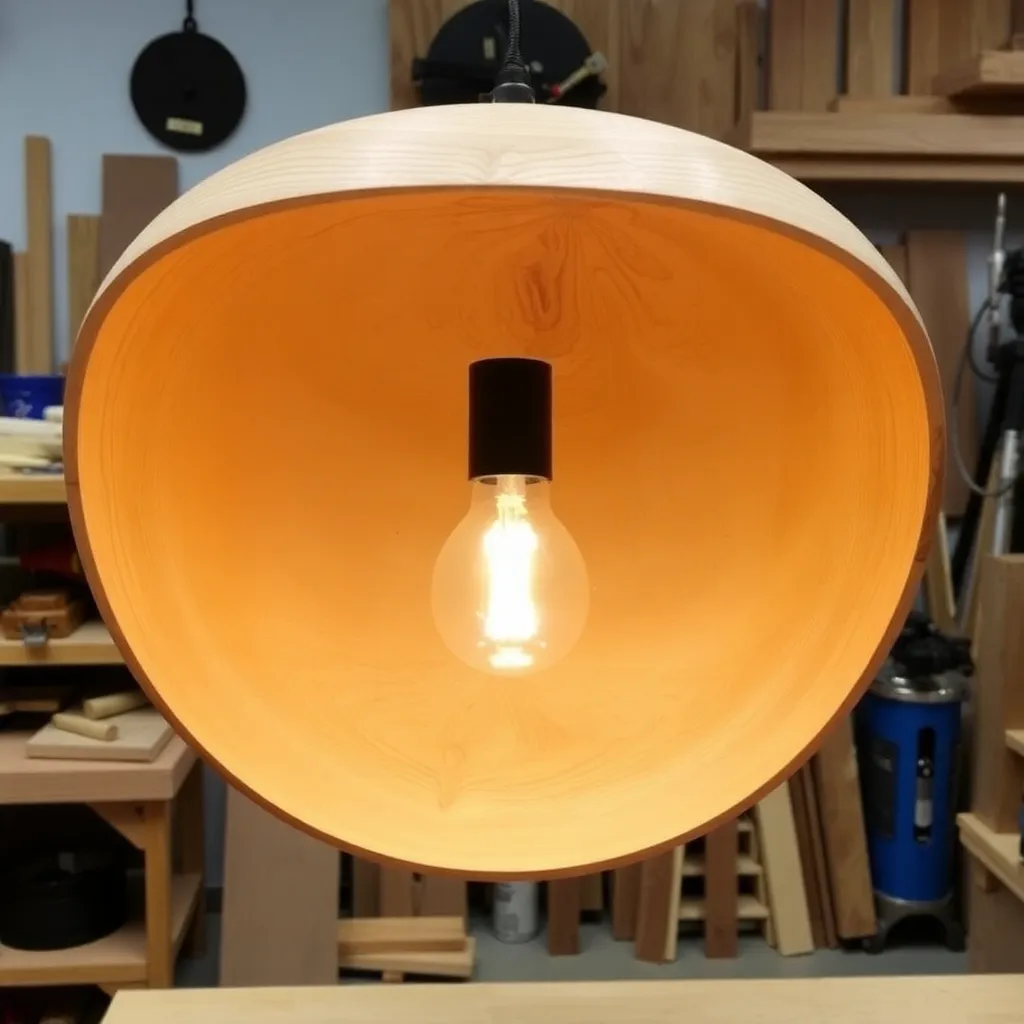
Goal: A pendant light using a turned or purchased wooden bowl as the shade — a modern minimalist look.
Source or turn a wide, shallow bowl (10–14-inch diameter, 3–5-inch depth) in walnut or maple. Drill a ¾-inch hole through the bottom center of the bowl. Install a pendant light kit (available at hardware stores — includes a swag hook, chain, socket, and cord). The bowl hangs upside down as the shade, with the socket inside and the bulb pointing downward. Use a flame-shaped or globe-style LED bulb (low heat output — important for a wood shade).
Milestone: Bowl hanging level with the cord passing cleanly through the center hole and the bulb at the correct depth.
Step 6: Build a Wabi-Sabi Branch Lamp
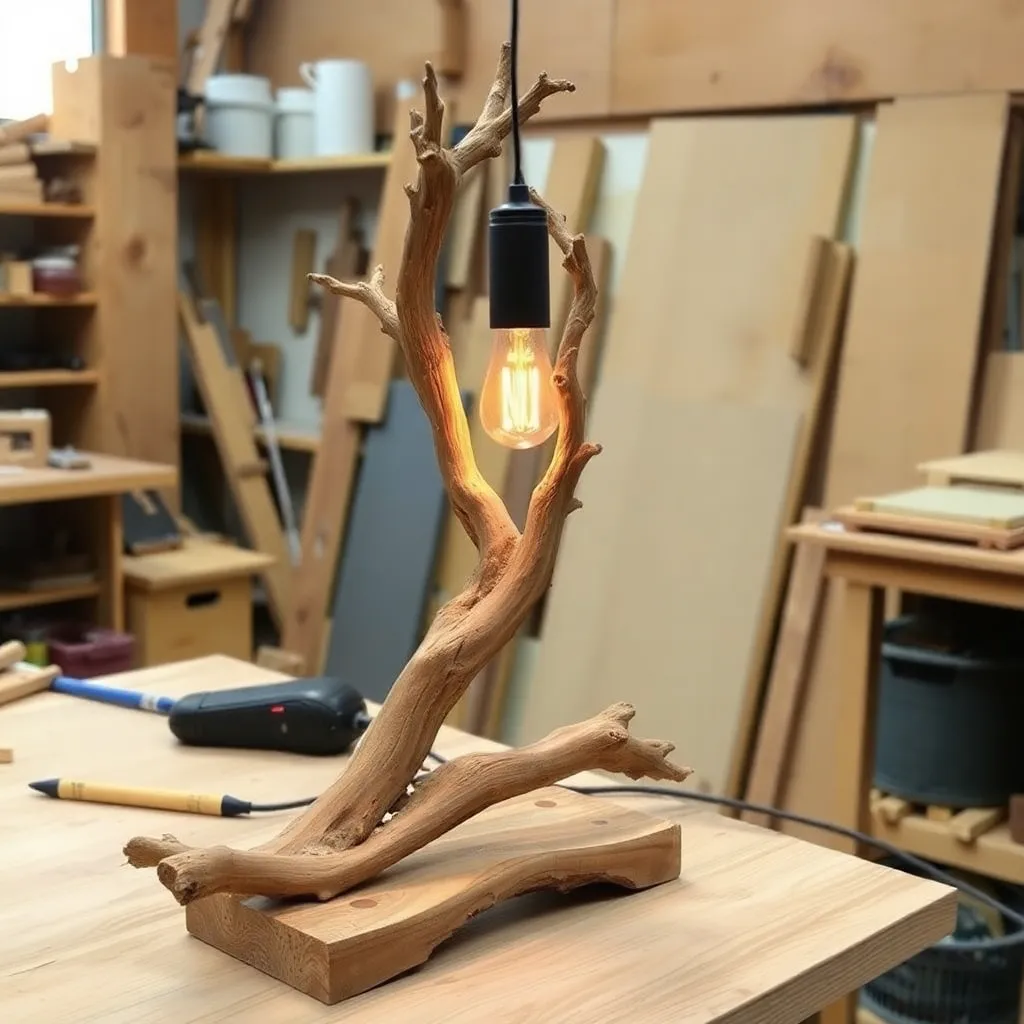
Goal: A table lamp using a natural branch as the base — the most organic lamp build.
Select a straight, dry branch 1½ to 2 inches in diameter and 18 inches long (oak, cherry, or driftwood). Dry the branch indoors for at least 4 weeks before using — fresh branches crack as they dry. Drill a ¾-inch hole through the length of the branch using a long electrician’s bit (drill from each end to meet in the middle — a single 18-inch drill is harder to control than two 9-inch holes from opposite ends). Build a simple base from ¾-inch walnut (a 5-inch square platform) and mount the branch vertically with a ¼-inch threaded rod through the base and bottom of the branch. Apply matte wax to the branch. Install the lamp kit.
Milestone: A cord hole that runs clean through the full branch length without the bit wandering off-center.
Wooden Lamp Plans FAQ
What lamp kit do I need for a DIY wooden lamp?
A standard DIY lamp kit includes: a socket (E26 standard base, with shell and interior), a cord set (6–8 feet with switch), a lamp pipe (threaded metal pipe, ¼-inch IPS thread, for the top of the base), locknuts and check rings, and a harp saddle (for attaching the lampshade). These are available as a complete set at hardware stores (Ace, True Value, Home Depot) for $12–$20. Choose a kit with a polarized plug (the wider blade is neutral) for safety. For a floor lamp: use a longer cord set (10–12 feet). For a pendant: use a pendant light kit (includes a canopy for ceiling mounting and a longer cord).
How do I drill a straight hole through the center of a lamp base?
For rectangular bases: use a drill press with the base clamped to the table — the drill press ensures the bit enters vertically. Use a long electrician’s bit (12 inches for 12-inch bases, 18 inches for taller). For turned bases: drill on the lathe (most accurate — the bit follows the turning axis). For irregular shapes (branches): drill from both ends and meet in the middle — two shorter holes are easier to keep straight than one long one. Mark the center on both ends before drilling and verify alignment with a long thin rod before the final assembly.
Is it safe to make a lamp from wood?
Yes, with the right bulb choice. Wood is combustible, but a properly assembled lamp with an LED bulb presents negligible fire risk. LED bulbs generate minimal heat (the base may be slightly warm, but not hot enough to ignite wood). Avoid incandescent or halogen bulbs in wooden lamps — they generate significant heat. Choose LED bulbs rated for enclosed fixtures if the shade is enclosed (pendant bowls, lantern-style shades). Ensure the socket is properly rated for the bulb wattage. For turned bases with natural wood: apply a finish (Danish oil, polyurethane) before final assembly — a finished surface is more resistant to heat discoloration than raw wood.
What lampshade fits a DIY wooden lamp base?
The lampshade diameter should be approximately equal to the lamp base height for proper visual proportion — a 12-inch tall base suits a 10–14-inch diameter shade. The shade attaches to the harp (a wire frame that clips into the harp saddle on the socket). Standard harps come in 7-inch to 12-inch heights — choose a harp height that positions the shade bottom at approximately the same level as the socket middle. For a floor lamp: a 16–18-inch diameter shade is standard. For a pendant: no shade is needed — the bowl is the shade.

“DIY woodworking enthusiast who started with zero experience and a YouTube tutorial.
I build simple, practical projects for my home and share free plans
so other beginners can skip the guesswork.If I can build it, you can too.”