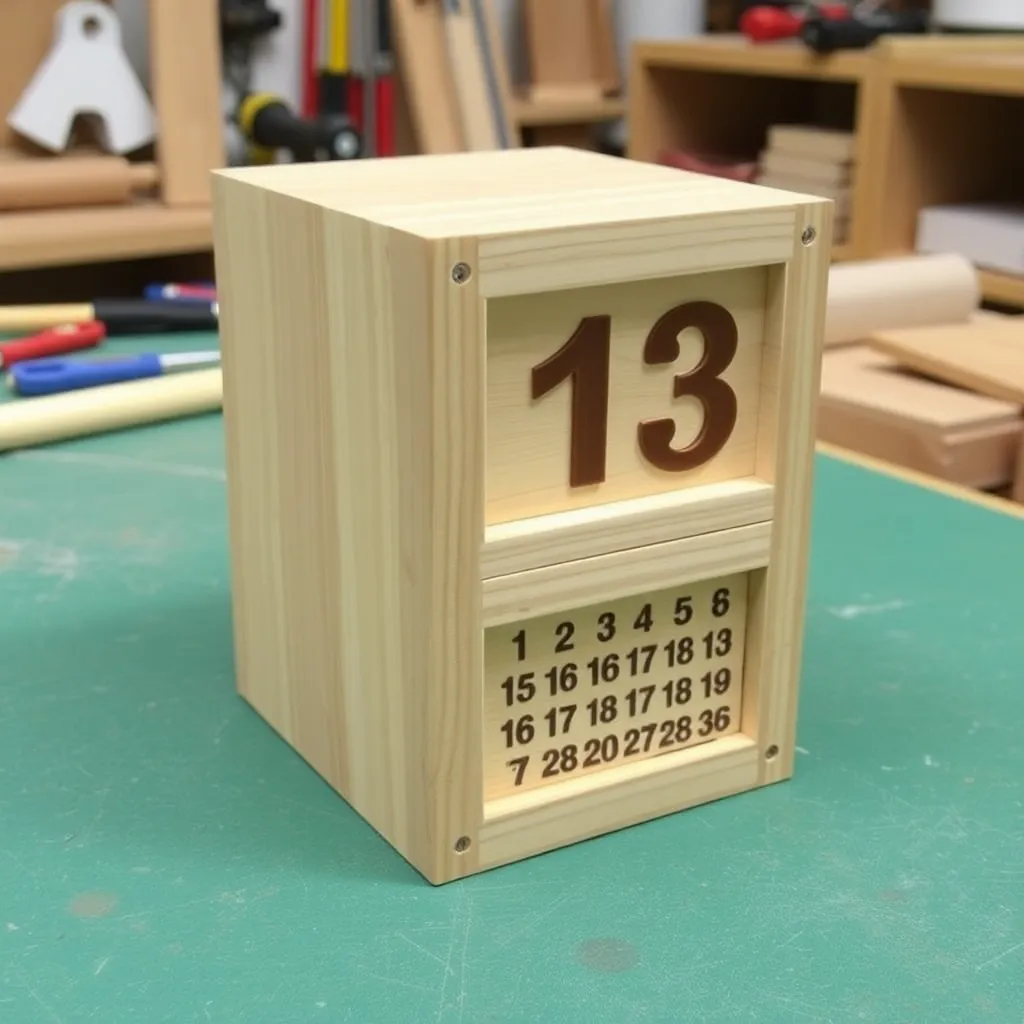
A wooden perpetual calendar is a mechanical desk accessory that displays today’s date without batteries or electricity — the user rotates cubes, slides tiles, or turns wheels to show the current day, month, and year. These six builds progress from a simple two-cube date display to a wall-mounted perpetual calendar with rotating month and day wheels, suitable for a home office or kitchen.
Ted’s Woodworking has complete wooden calendar plans with number engraving templates and wheel dimension specs. Browse Ted’s plans →
Step 1: Build a Two-Cube Date Calendar
Goal: A two-cube perpetual date display showing any day from 01 to 31.
The two-cube date calendar uses two 1½-inch cubes. The numbers on the six faces of each cube are carefully assigned so that any date from 01 to 31 is displayable (some faces must show two numbers — the 6 doubles as a 9 when flipped).
Face assignments:
- Cube 1: 0, 1, 2, 3, 4, 5
- Cube 2: 0, 1, 2, 6/9, 7, 8
Cut two 1½-inch cubes from maple (the most stable, smoothest surface for engraving). Sand all faces to 220-grit. Engrave numbers with a laser cutter, woodburning pen, or CNC — ¾-inch tall numerals centered on each face. Apply Danish oil. Build a small display stand: a 4 × 2 × ¾-inch base with two 1½-inch square pockets routed ½-inch deep to hold each cube in position.
Milestone: Both cubes displaying “29” (the hardest combination — requires two 2s) and “31”.
Step 2: Build a Three-Block Day/Month/Date Calendar
Goal: A three-block calendar set that displays the full date — day of week + month + date number.
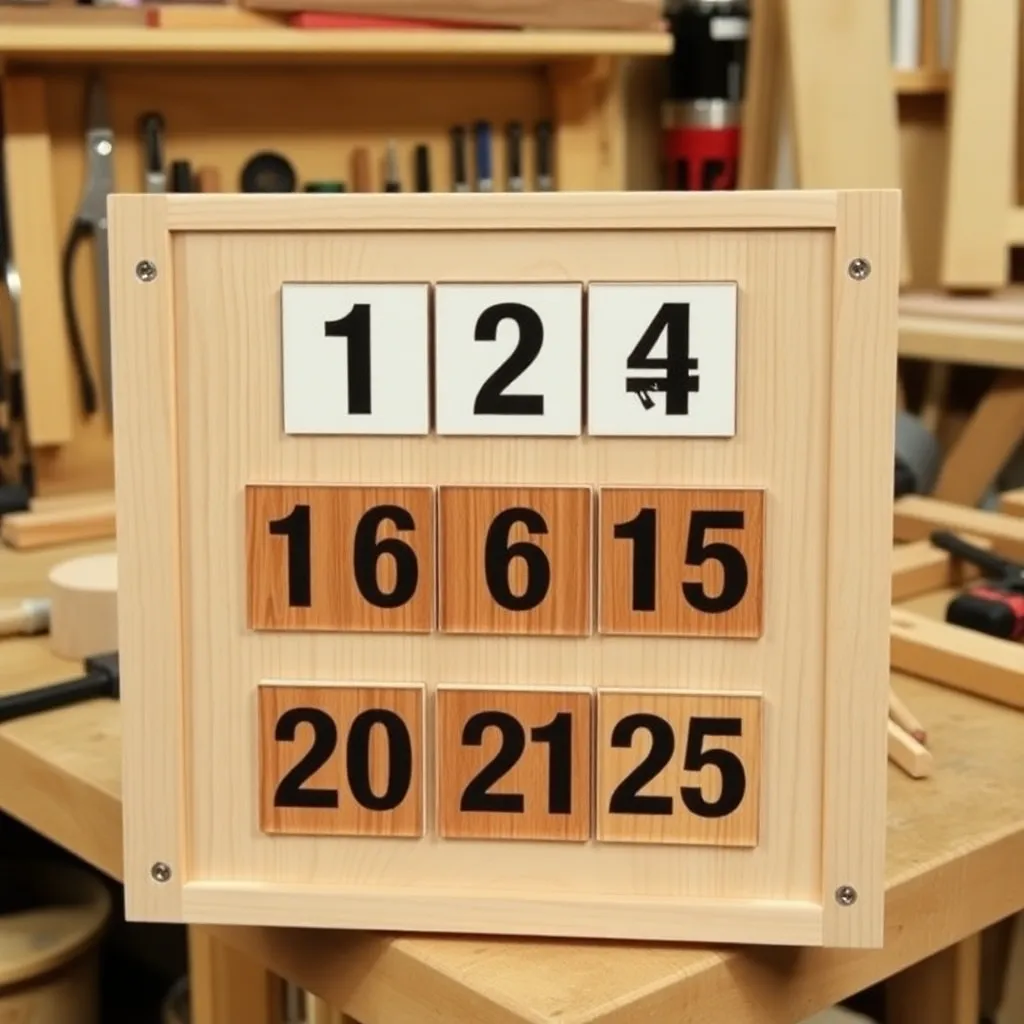
Add a third block: a 6-sided block showing the days of the week. A hexagonal prism (six faces) can display all seven days with one face showing two days (e.g., “SAT/SUN” on one face). Cut a hexagonal prism from 2-inch diameter hardwood dowel, ¾-inch thick slices. Build a display stand with three holders: one hex holder and two square holders. Engrave month names on a separate 12-sided disc (dodecagon, each face showing one month).
Milestone: A set that can display any combination of day, month, and date number.
Step 3: Build a Sliding Tile Wall Calendar
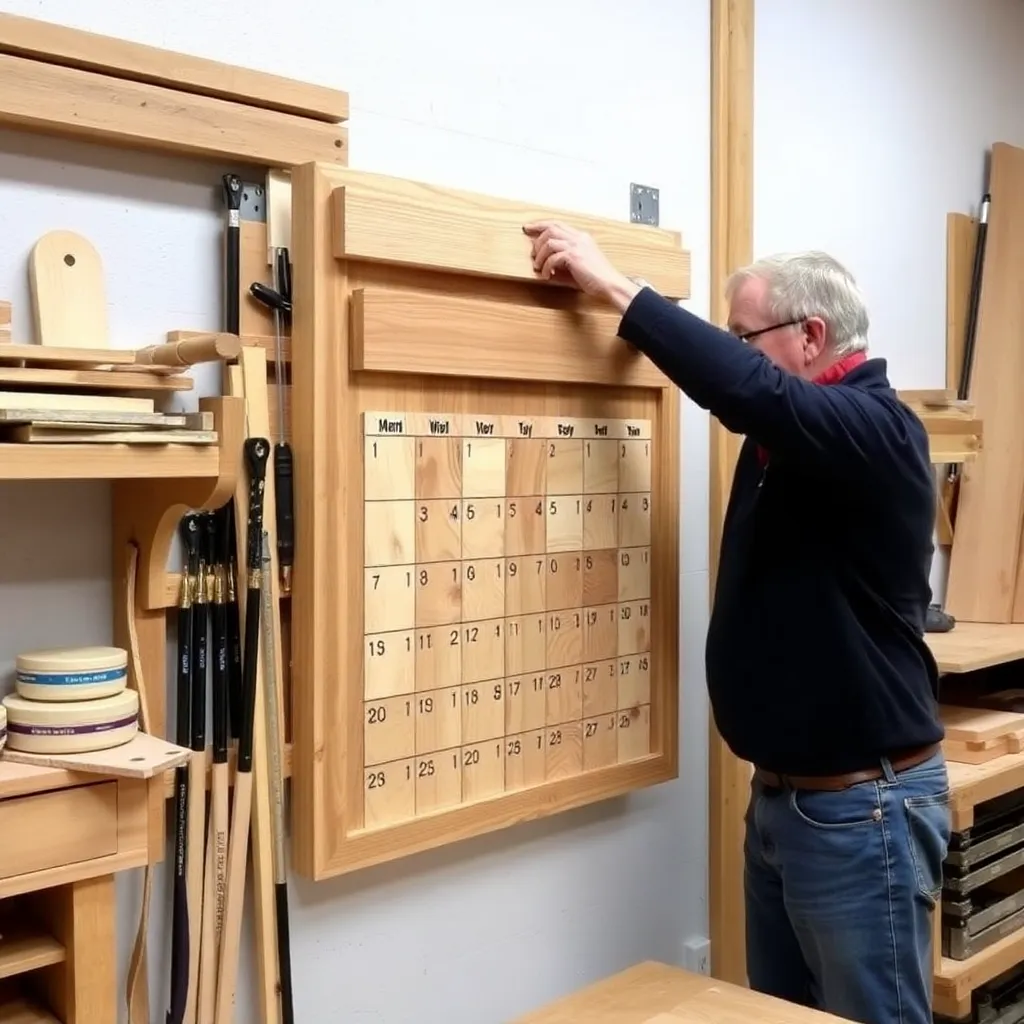
Goal: A wall-mounted calendar with sliding tiles in slots — dates slide horizontally to display the current month.
Build a frame (18 × 14 inches) from ¾-inch walnut. Route horizontal slots (⅛-inch × ¼-inch grooves) spaced ¾-inch apart — one slot per date row. Cut tiles (¾ × ¾ × ¼-inch thick) from maple or cherry, with dates engraved on the face. Tiles slide into and out of the slots from the right side. Each month, remove unnecessary tiles (e.g., day 30 and 31 for February) and slide the others to display the correct number. A row of month tiles at the top slides to highlight the current month.
Milestone: All tiles sliding smoothly in their slots without binding or falling out when the frame is vertical.
Step 4: Build a Rotating Wheel Calendar
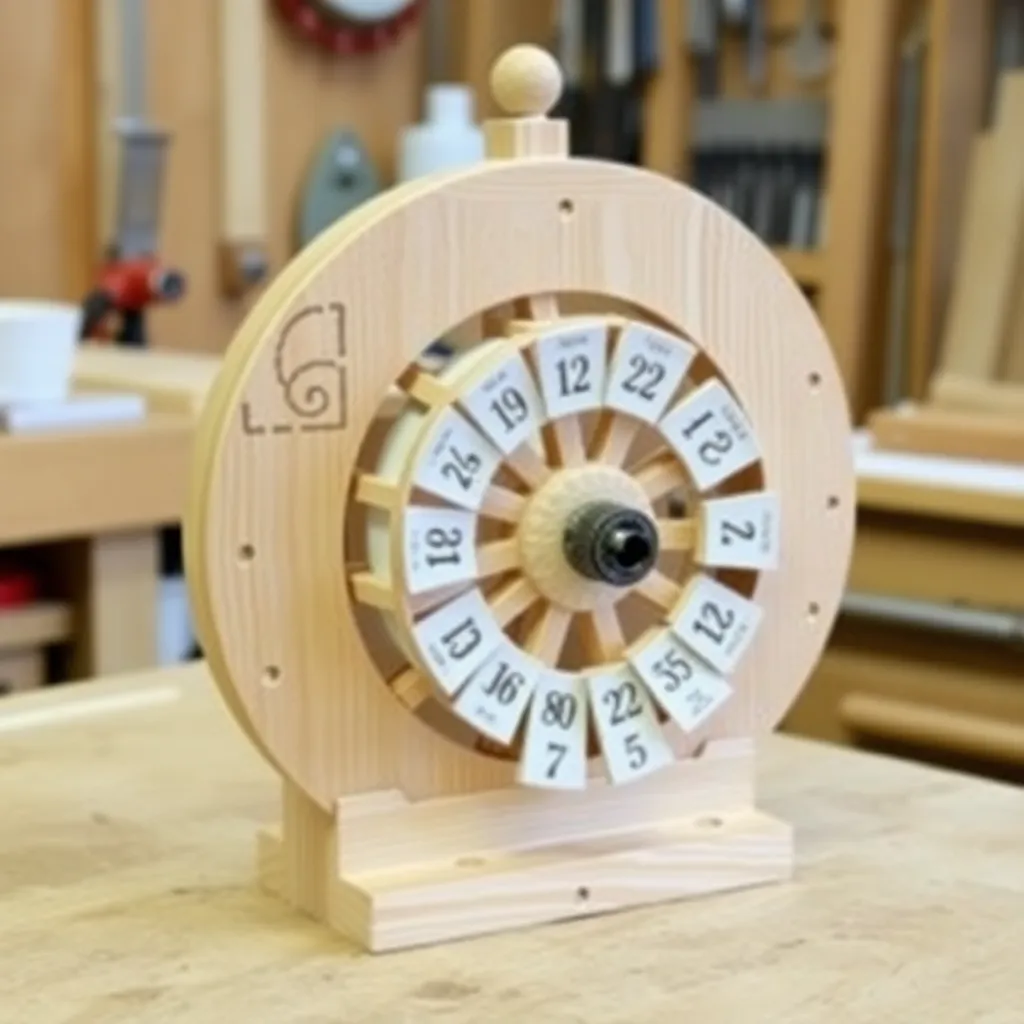
Goal: A wall-mounted calendar with three rotating discs — day, month, and date — rotated by thumbwheels on the side.
Build three discs:
- Day disc: 5-inch diameter, 7 sections (each labeled Mon–Sun)
- Month disc: 5-inch diameter, 12 sections (each labeled with a month)
- Date disc: 5-inch diameter, 31 sections
Mount the three discs on a backing panel with dowel axles (¼-inch diameter). A window cut in the backing panel reveals one section of each disc. A thumbwheel on the side of each disc allows rotation — rotate until the correct day, month, or date aligns with the window. The entire assembly is 12 × 8 inches.
Milestone: Each disc rotating smoothly with a slight friction hold — stays in position but moves easily with thumb pressure.
Step 5: Build a Flip Board Calendar
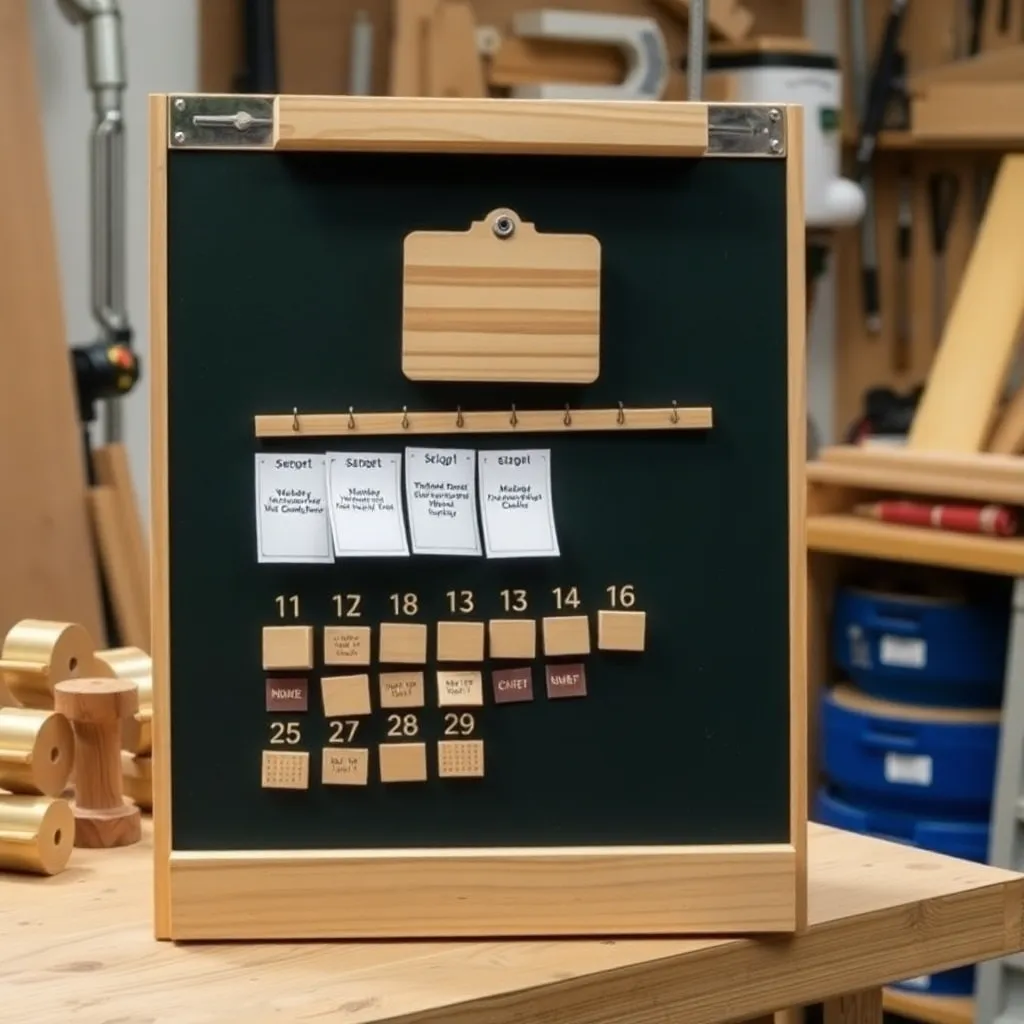
Goal: A standing calendar with flip cards — a wooden version of the classic split-flap display.
Build a standing frame (6 × 8 inches) that holds two rows of flip cards. Each card is a ¾ × 1½-inch × ¼-inch thin hardwood tile with a number or letter engraved on both sides (front and back). Cards are strung on a thin brass rod through a ¼-inch hole at the top — they hang down and flip forward, revealing the back face. The stack of cards on the front row shows the current date; unused cards hang in the back.
Engrave all number combinations and month abbreviations on the appropriate tiles. Build the frame from walnut with two horizontal rods (one for date, one for month).
Milestone: Cards flipping freely on the rods without catching on adjacent cards.
Step 6: Build a Full Perpetual Calendar With Stand
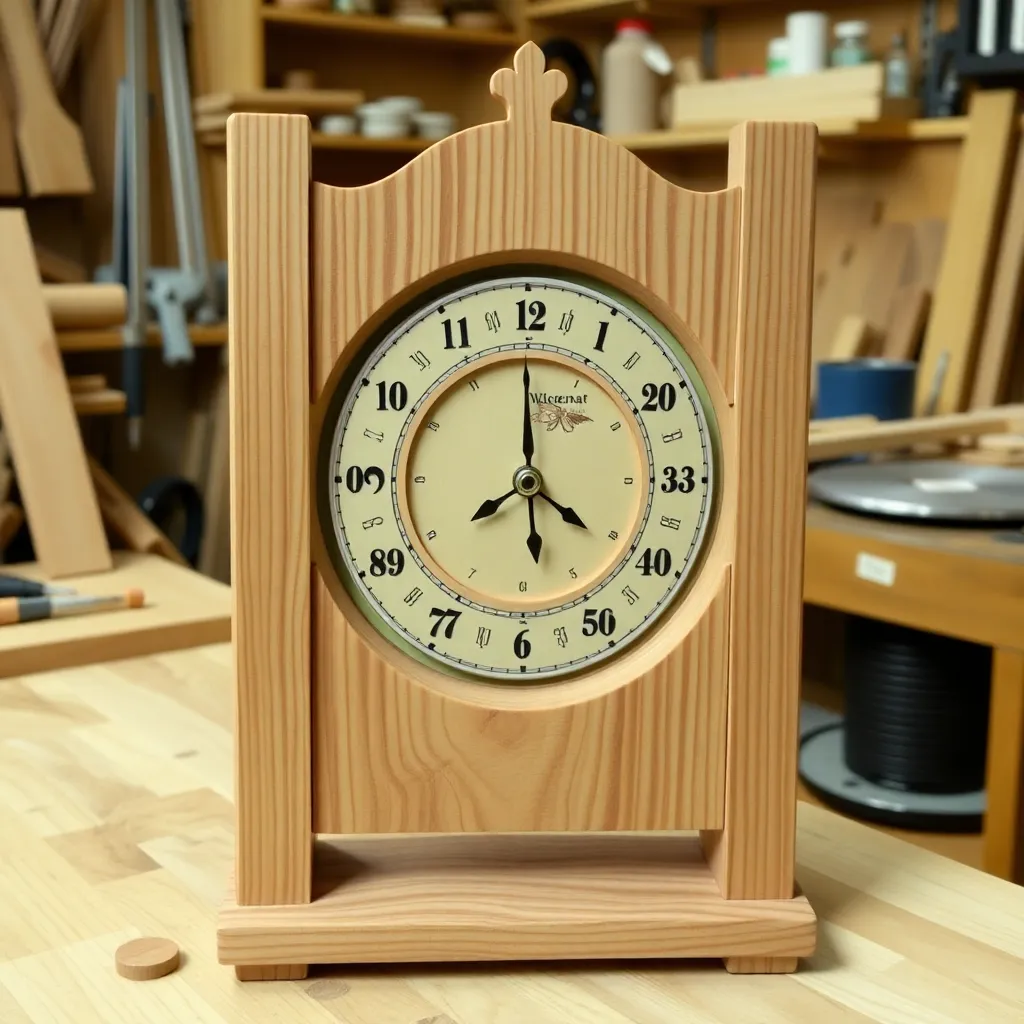
Goal: A freestanding perpetual calendar showing day, date, and month simultaneously — a desk centerpiece.
Build a display stand (12 × 4 × 6-inch tall) from ¾-inch walnut. Mount three separate rotating elements:
- A day-of-week cube (hexagonal, 7 faces)
- A date block set (two cubes, as in Step 1)
- A month disc (a thin 4-inch disc with 12 equal sections, rotating on a horizontal axle through the stand)
The stand has individual pockets/axles for each element. Each element rotates independently. The finished piece looks like a mechanical desk ornament and works as a daily calendar without any power source.
Apply Danish oil and beeswax to the stand. Engrave all elements with consistent font and depth.
Milestone: All three calendar elements rotating independently without interfering with each other.
Wooden Calendar Plans FAQ
How do I engrave numbers on wooden calendar cubes?
Three methods: (1) Laser engraving — the most precise and consistent; produces clean, sharp numbers at any size; requires a laser cutter. (2) Woodburning (pyrography) — a woodburning pen traces the number, creating a burnt-in design; slower and requires steady hands but requires no power tools beyond the pen. (3) CNC routing — a CNC router cuts V-groove letters into the wood face; produces a dimensional carved look. For the cleanest results with any method: sand the cube faces to 400-grit before engraving (the smoother the surface, the cleaner the engraving reads). After engraving, apply oil finish — it darkens the engraving and makes numbers read more clearly.
What wood is best for calendar cubes and tiles?
Hard maple is the best choice for calendar components: its consistent, tight grain produces the cleanest engraving (no grain interruption within the numbers), its hardness resists nicking from daily handling, and its light color makes dark engravings stand out clearly. Avoid open-grain woods (oak, ash) — the grain lines run through the numbers and reduce readability. For display frames and stands: walnut contrasts beautifully with maple components (dark frame, light cubes).
Can I make a wooden Advent calendar?
Yes — an Advent calendar is a grid of small boxes (24 or 25) with numbered doors, each containing a small gift or candy. Build a wall-mounted frame (18 × 24 inches) with 25 individual small box compartments (each 3 × 3 × 3 inches). Each box has a hinged door with the date number engraved or painted on it. The doors can be small mitered frames with solid panel backs and tiny piano hinge doors. Stain alternate boxes in two colors for a checkerboard pattern. This project requires building 25 identical small boxes — use a jig for cutting consistent box sides.
How precise does a perpetual calendar need to be?
The calibration question for wooden calendars is number readability, not mechanical precision. The tiles, cubes, or discs need to be consistent enough that numbers read from a normal viewing distance (2–3 feet) without ambiguity — a “6” should not be mistakable for a “9” unless that dual-use is intentional (the two-cube calendar relies on this). Dimensional precision (all cubes the same size, all tiles the same length) matters for appearance — a set where one cube is 1/16-inch smaller than the other looks sloppy. Use a stop block on the table saw for all identical cuts, and a single template for marking all engraving positions.

“DIY woodworking enthusiast who started with zero experience and a YouTube tutorial.
I build simple, practical projects for my home and share free plans
so other beginners can skip the guesswork.If I can build it, you can too.”