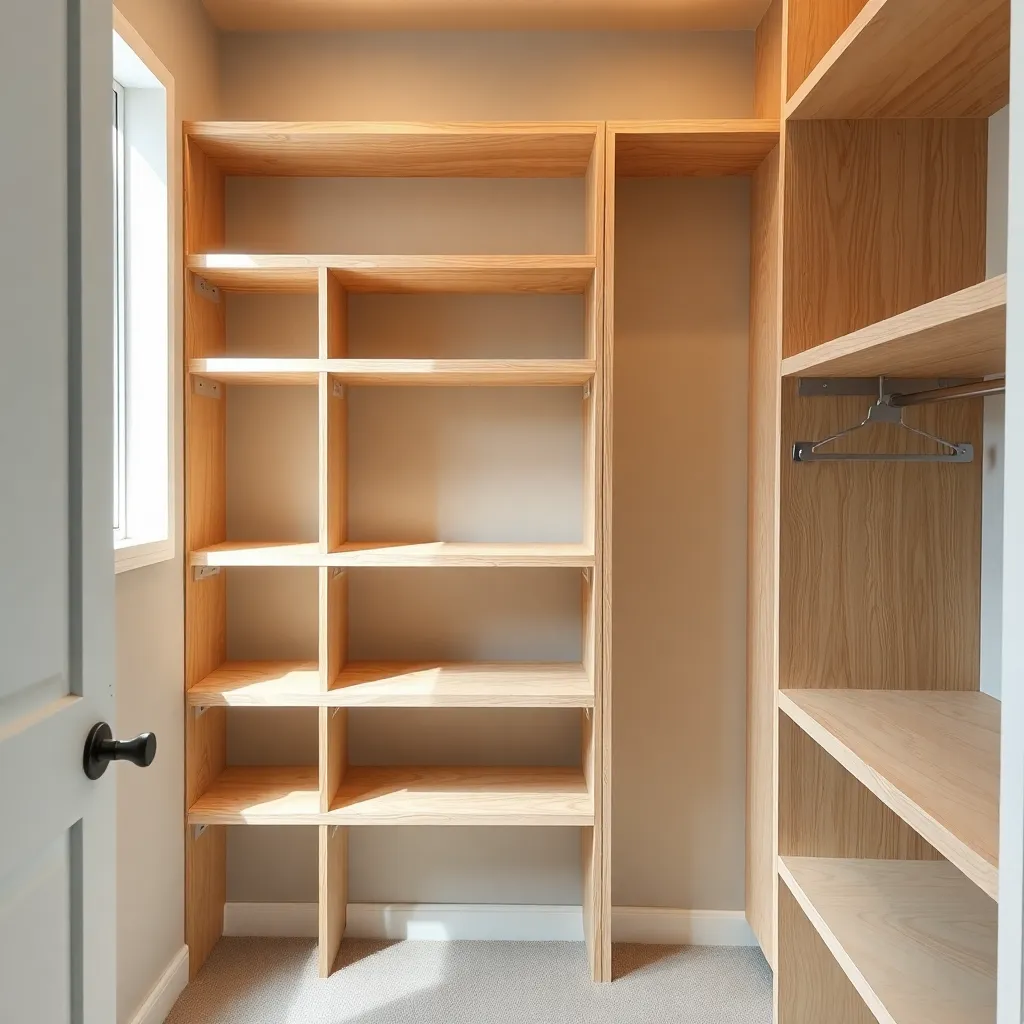
A wood closet shelf outperforms wire shelving in every practical dimension — it’s stronger, quieter, easier to keep clean, and can be built to any width, depth, and height for less than a wire alternative. These eight builds progress from a single fixed shelf to a full adjustable system with shoe shelves, double hanging, and a top shelf spanning the entire closet.
Ted’s Woodworking has complete closet shelf plans with cut lists and hardware guides. Browse Ted’s plans →
Step 1: Build a Single Fixed Shelf

Goal: A single 12-inch deep shelf spanning the full closet width — the fastest closet upgrade.
Cut a ¾-inch melamine or plywood shelf to the closet width minus ¼ inch. Cut two side cleats (¾ × 1½-inch pine) to the shelf depth. Mount the side cleats on the side walls at the desired height — level, into studs. Cut a back cleat (¾ × 1½-inch pine) the full shelf width and mount it on the back wall. Set the shelf on the cleats. No fasteners through the shelf top — the shelf rests on three cleats and is held by friction and the weight of contents.
Milestone: A shelf that’s level across its full width and supports 50 lbs without deflecting.
Step 2: Build an Adjustable Single-Shelf System

Goal: A single shelf with vertical standards that allow height adjustment — the versatile version.
Install two vertical metal shelf standards on the side walls, plumb. Standards come in 48-inch and 84-inch lengths — use the length that matches the closet height. Each standard snaps into clips at 1-inch increments. Mount one standard on each side wall, plumb and at the same height. Clip in a pair of shelf brackets at the desired height. Set the shelf on the brackets. Move the brackets to any height by lifting the shelf, repositioning, and resetting.
Milestone: Two standards at the same height (verify with a level across the brackets) with the shelf resting without rocking.
Step 3: Build a Double Shelf System

Goal: Two shelves at different heights — a top shelf for storage and a lower shelf for folded items.
Add a second shelf below the top shelf. The typical spacing: top shelf at 78–84 inches (above the door, for seasonal storage); lower shelf at 60–66 inches (at or just above the hanging rod). Both shelves use the same standard-and-bracket system. The lower shelf is typically the same depth as the top shelf (12 inches) or deeper (16 inches) to provide more folded-item storage.
Milestone: Two shelves at their respective heights, both level and independently adjustable.
Step 4: Build a Shelf With Hanging Rod

Goal: A shelf-and-rod unit — the standard closet configuration.
Add a hanging rod below the lower shelf. The rod must be 12 inches below the shelf (to clear hanger hooks) and centered front-to-back in the hanging zone. Install two rod support brackets clipped to the shelf standards, or mount fixed rod cups on the side walls. Insert a 1⅜-inch closet rod (chrome, wood, or white). Standard hanging heights: short hanging (shirts, jackets) = rod at 42–44 inches; long hanging (dresses, coats) = rod at 68–70 inches; double hanging (short items stacked) = two rods at 84 and 42 inches.
Milestone: A rod that’s level, centered 12 inches below the shelf, and supports 25 lbs of clothing without deflecting.
Step 5: Build a Shoe Shelf Section

Goal: A stepped shoe shelf section — angled shelves that display shoes face-out.
Build a freestanding shoe shelf unit: three shelves at 4–5-inch vertical spacing (enough for most shoe heights). Each shelf is 12 inches deep and tilts forward 10–15° (a small wood wedge under the back edge creates the tilt). The tilt keeps shoes from sliding off and displays them face-out for easy selection.
Build as a box: two vertical side panels, three shelf dadoes, a back panel. No toe kick needed (shoe shelves typically sit on the floor). Apply edge banding to all front edges. Paint or finish to match the closet system.
Milestone: Three shelves at consistent height spacing with a consistent forward tilt on all three.
Step 6: Build a Full Adjustable System With Standards

Goal: A four-standard adjustable system covering double hanging, shelves, and shoe storage.
Install four vertical standards: two at the side walls, two in the center (creating three zones). Zone 1 (left): double hanging (two rods at 84 and 42 inches). Zone 2 (center): three adjustable shelves. Zone 3 (right): single long hanging (one rod at 68 inches) with a shoe shelf below.
This layout accommodates a typical adult’s wardrobe: shirts and pants on double hanging, folded items and accessories on shelves, dresses and coats on long hanging, shoes on the lower section.
Milestone: Four standards plumb and all at the same reference height, with all three zones functional.
Step 7: Build Plywood Box Shelves (No Standards)

Goal: A box-construction shelf system — plywood panels instead of standards and brackets.
Instead of metal standards, build the shelf dividers from ¾-inch plywood: vertical panels floor-to-ceiling at each zone boundary, with dado-mounted fixed shelves. The plywood panels are stronger than metal standards for heavy loads (books, heavy accessories) and produce a furniture-quality look.
Build three vertical panels (floor to ceiling, closet depth). Dado in three fixed shelves per zone — dadoes at 1-inch increments (if you want adjustability, rout 1-inch peg-hole rows instead of dadoes). Assemble and install as a single unit.
Milestone: All three vertical panels plumb, all fixed shelves level, and the unit square in all three dimensions.
Step 8: Build a Complete Closet System With Drawers

Goal: A full built-in closet system with a central drawer tower — the premium build.
Add a three-drawer tower in the center zone of the Step 7 system. Build the drawer tower as a separate box (24 × 60 × 16 inches): three drawers on full-extension drawer slides. The drawer tower sits in the center zone between the flanking shelf systems.
Cut list for the drawer tower: 2 side panels (60 × 16 inches), 1 bottom panel (22½ × 16 inches), 1 top panel (22½ × 16 inches), 1 back panel (24 × 60 × ¼ inch), 3 drawer boxes (22 × 5½ × 14 inches each), 3 drawer faces (23 × 8 inches each).
Milestone: Three drawers on full-extension slides that open and close smoothly without racking.
Closet Shelf Plans FAQ
What is the maximum span for a closet shelf without support?
For ¾-inch melamine particleboard (the standard closet shelf material): 32 inches maximum unsupported span before noticeable sagging under load. For ¾-inch plywood: 36 inches. For solid wood boards (1-inch thick): 48 inches. If the closet is wider than these limits, add a center support — either a vertical panel sitting on the floor, a center bracket on the back wall, or a center shelf standard. For a very wide closet (over 8 feet), use two separate shelf runs meeting at a center vertical panel.
Should I use melamine particleboard or plywood for closet shelves?
Melamine particleboard: the professional choice for most closet builds. Pros — smooth surface that doesn’t need painting, no edge treatment required (except the cut edges), dimensionally stable, easy to clean. Cons — heavy (a 4 × 8 sheet weighs 90 lbs), not as strong as plywood, edges swell if wet. Plywood: better for painted finishes, stronger for the same thickness, lighter. Cons — requires painting or a finish coat, edges need sanding and filling before painting, more expensive than melamine. Verdict: melamine for a white/painted system that won’t get wet; plywood for a natural or custom-color finish.
How do I install closet shelves in a rental without damaging walls?
Freestanding systems avoid wall damage: build a floor-to-ceiling tension pole system (vertical poles with adjustable tension feet that press against the floor and ceiling) or use a freestanding shelf unit that doesn’t attach to any wall. For a light shelf: use Command strips rated for the load — they remove cleanly from painted drywall. For a heavier installation that must be screwed in: use the smallest-diameter screws that provide adequate holding power (a #8 × 1½-inch screw into a stud), and patch the holes with lightweight spackle when moving out.
How do I handle an outlet or light switch inside the closet?
Two options: (1) notch the shelf to clear the outlet — mark the outlet position on the shelf, cut a rectangular notch slightly larger than the outlet box with a jigsaw, and slide the shelf into position over the outlet; (2) relocate the outlet — this requires an electrician, but a relocated outlet is a permanent fix. For switches: plan the shelf layout to keep the switch accessible — either at the top of a zone where it’s not blocked, or notch as above. Never cover an outlet or switch with a shelf — electrical codes require all outlets and switches to remain accessible.

“DIY woodworking enthusiast who started with zero experience and a YouTube tutorial.
I build simple, practical projects for my home and share free plans
so other beginners can skip the guesswork.If I can build it, you can too.”