# Indoor Plant Shelves: 8 DIY Designs With Real Cut Lists, Costs, and Dimensions
Most guides for building indoor plant shelves fail you in one of two ways. They hand you a single design and hope it fits your wall, or they dump 22 pretty photos that link to nothing you can actually build. Neither one helps when you have a growing collection and a specific corner to fill.
You know the problem. You started with three plants on a windowsill, and now you have fifteen fighting for the same six inches of light. You need real numbers, cut lists, and dimensions, not another mood board.
This guide gives you 8 designs. Each one lists difficulty, lumber cost at 2026 prices, key dimensions, and which plants it actually suits. The range runs from a 2-board beginner build for under $20 up to a tall corner tower that turns dead space into a jungle.
Two things almost nobody else covers get answered here. First, how much weight 3/4-inch pine really holds, and the answer at a 48-inch span will surprise you. Second, which finish survives being watered next to week after week.
Skim to the design that fits your space, or read all 8 to compare. For detailed printable plans with step-by-step diagrams, TedsWoodworking is a solid resource to keep on hand.
1. The 2-Board Beginner Shelf: Maximum Display for Under $20
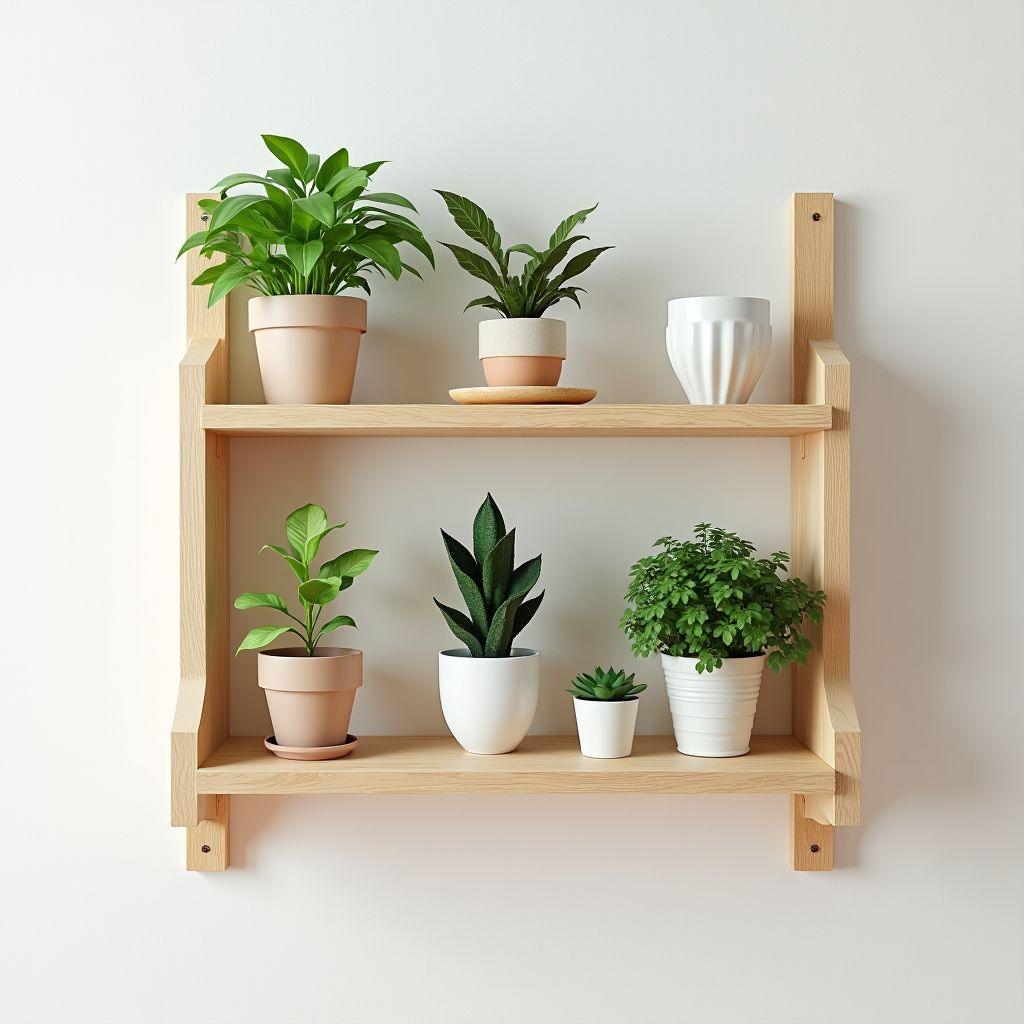
Difficulty: Beginner
Lumber cost: ~$20
Dimensions: 8″D x 18″W x 48″H, 5 tiers
This is the build you start with. You need just two 1x8x8 knotty pine boards at roughly $3.51 per linear foot, and you rip nothing. Cut two long sides and five shelves, then join everything with pocket holes using a Kreg jig and 1.25-inch screws. An afternoon gets you a five-tier display.
Here is the part competitors skip. At 18 inches wide, each shelf span sits well under the 24-inch danger line where 3/4-inch pine starts to sag. That means every shelf easily carries around 180 pounds with zero mid-support. You will run out of plants before you run out of capacity.
Stack it by light and habit. Trailing pothos up top where the vines can fall, succulents in the middle where they catch the most sun, and a snake plant on the bottom tier where low light is fine.
The one real limitation is depth. At 8 inches, this shelf is tight for pots over 6 inches across. Plan your pots to the shelf, not the other way around. This is the best first build and it slips into narrow wall spaces most shelves cannot. Skip it only if you own large statement pots.
2. Slatted 7-Board Shelf: Built-In Drainage for Plants You Overwater
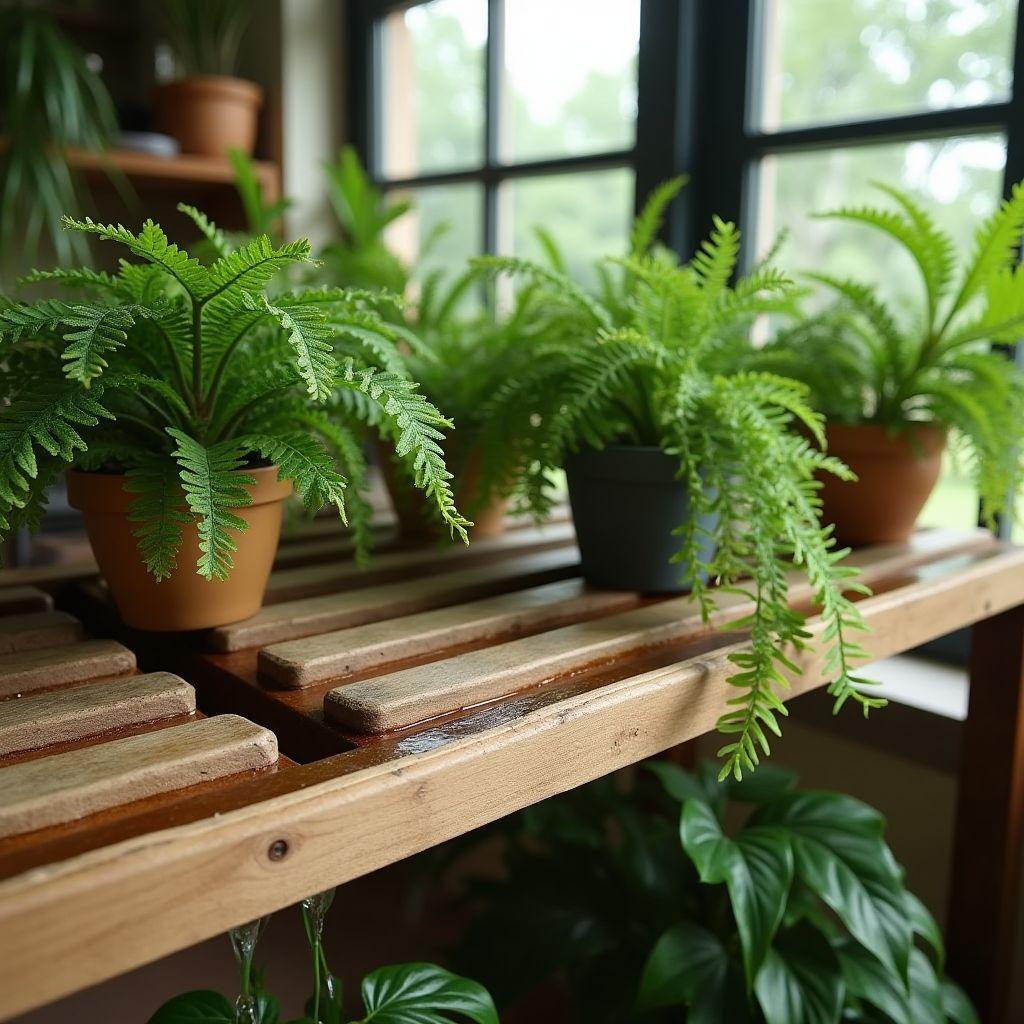
Difficulty: Beginner
Lumber cost: ~$30
Dimensions: Sturdy slatted shelves with intentional drainage gaps
If you drown your plants, this shelf forgives you. It uses five 2x4x8s plus two 2x6x8s, running $3 to $6 per board, for about $30 in lumber. Cut legs and rails from the 2x4s, then space the 2×6 slats across each shelf with a consistent gap. Use a scrap piece as a spacer so every gap matches and water passes straight through.
It works indoors or on a covered porch, and the 2x lumber handles heavy pots without complaint. Load it with ferns, calathea, prayer plant, or anything you water heavily or mist.
The non-obvious win is spill control. Knock over a watering can on a solid shelf and you get a standing puddle that lifts your finish and drips on the floor. On slats, that water just falls through. The gap that helps your thirsty plants also protects the wood.
Watch two things. Small pot feet can slip through the gaps, so use saucers or pots wider than the slat spacing. And even with drainage, seal the end grain first, because water always wicks into cut ends before it touches a finished face. If you keep humidity-lovers or you are the plant parent who overwaters, build this one.
3. The Tall Corner Tower: 6 Tiers That Turn Dead Corner Space Into a Jungle
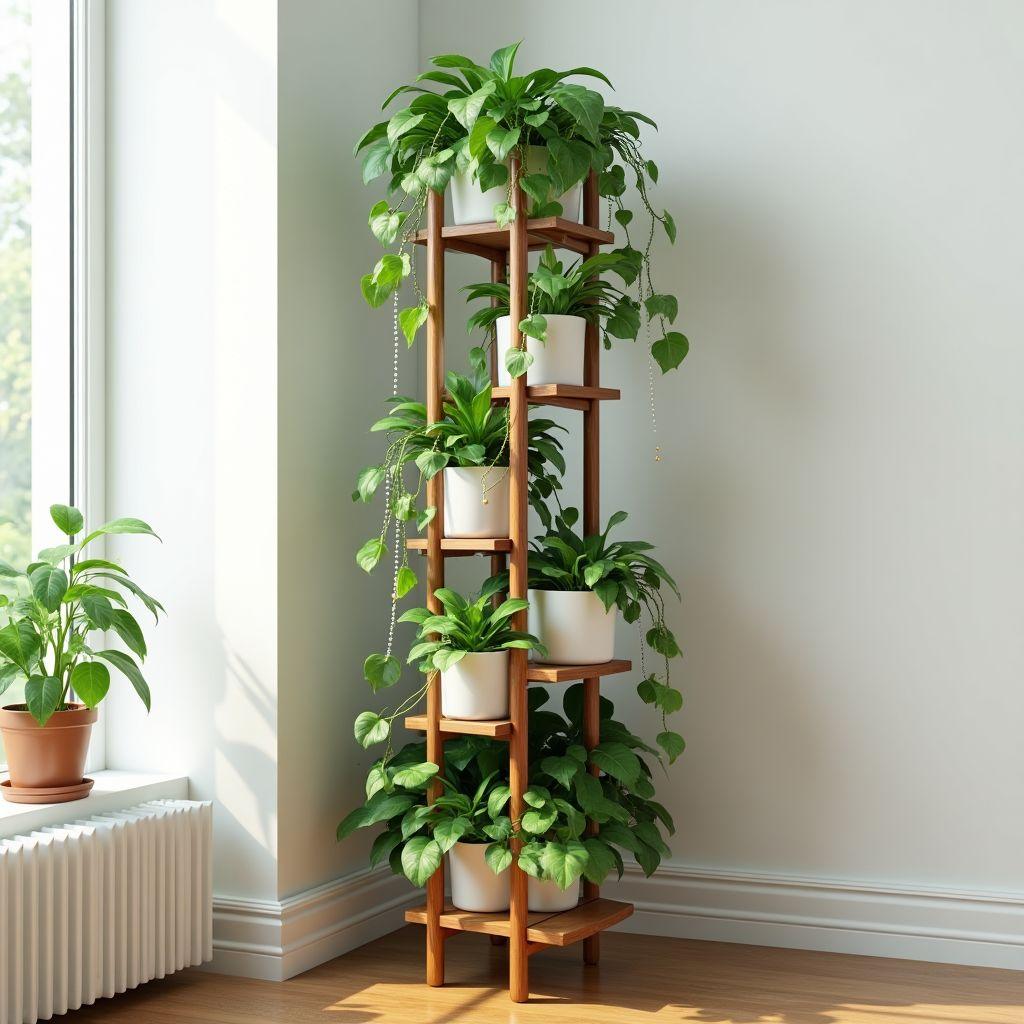
Difficulty: Intermediate
Lumber cost: Moderate
Dimensions: 69″H x 26″D per wall, 6 tiers
Picture the empty corner behind your couch as a wall of green. This tower makes it real. It uses four 2x2x6-foot legs, six 1x3x8 boards, and five 1x2x8s to build two ladder-style frames that join at the corner. The tiers step outward as they climb, so lower shelves still catch light instead of sitting in shadow.
It earns the intermediate rating because the angle and length cuts have to be accurate for the two frames to meet cleanly at the corner. Take your time on the layout.
With six tiers wrapping two walls, this holds a 15 to 20 plant collection with room to spare. Anchor a statement monstera at the base and let a string of pearls cascade from the top. Because it exploits vertical corner space, it holds roughly triple the plants of a flat wall shelf on the same floor footprint.
Now the safety line you cannot skip. At 69 inches tall, this is a genuine tip hazard and it must be wall-anchored. Use an anti-tip strap ($10 to $20) screwed into a stud, mounted high on the frame, pulled taut, with a minimum of two attachment points. This design gives you the best floor-space-to-plant ratio in the guide, but only if you commit to anchoring it.
4. Floating Window Shelf: Add Plant Space Without Drilling a Single Stud
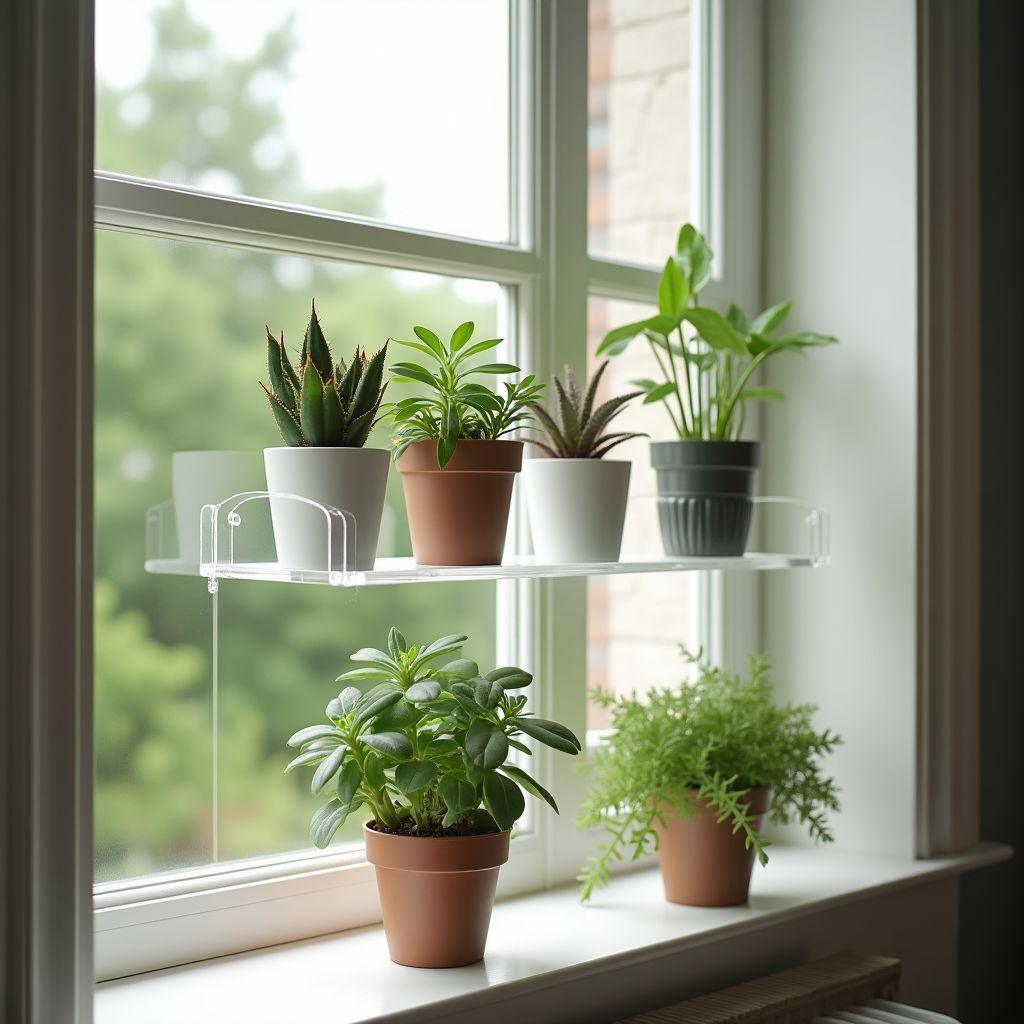
Difficulty: Intermediate
Lumber cost: Low to moderate
Dimensions: Sized to your window opening
Renters, this one is for you. It adds a full tier of high-light plant space without a single hole in your wall. You build two wood brackets that anchor into the window frame itself, then rest clear acrylic shelves across them. The acrylic lets light pass through to plants sitting below, so nothing gets shaded out.
It rates intermediate for one reason. The brackets have to fit your specific window precisely, and every window opening is a little different. Measure twice, then measure again.
This is prime real estate for sun-lovers. Succulents and high-light plants that want direct rays thrive here, as long as you keep the pots small.
The deposit-safe part is the whole point. Anchoring to the window frame means no stud-finding and no patched drywall when you leave. It lifts out clean. Two cautions. Acrylic scratches and will sag on long spans, so keep each span under about 24 inches or add a center support. And direct window sun can scorch tender foliage, so match the plant to the light. Best for renters chasing sun. Skip it if you have a wide window that invites sag or you run big pots.
5. West Elm-Inspired Pot Stands: Designer Plant Risers for About $10 Each
Difficulty: Beginner
Lumber cost: ~$10 per stand
Dimensions: Individual risers, build a few at different heights
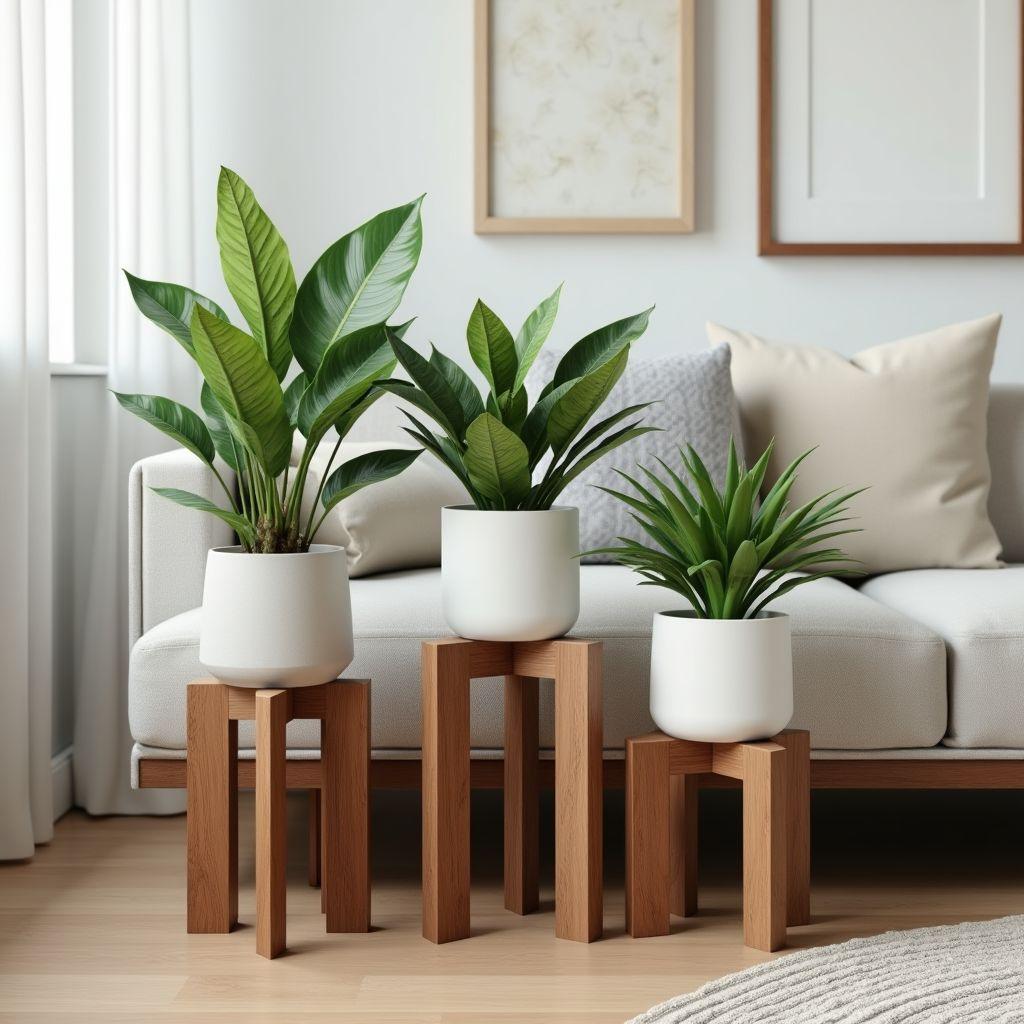
Sometimes you do not want a shelf. You want a clean designer riser under a single beautiful plant. These pot stands deliver that West Elm look for about $10 each in 1×2 pine and 0.75-inch square legs.
The build could not be simpler. Make a small frame top, mount it on four square legs, and join with glue and screws or pocket holes. Batch-cut your parts and knock out three or four at once at different heights for a grouped display.
They shine under single statement plants, in floor groupings beside a sofa, or as movable staging you rearrange on a whim. That mobility is the real advantage. Because each stand is separate, you rotate the display seasonally and slide plants toward the light as the sun angle changes. A fixed shelf cannot do that.
The trade-off is space. Each stand still needs its own floor footprint, so this is not the pick if you are trying to fit more plants into less room. But look at the math. West Elm-style stands run $60 to $130 each. You build the same silhouette for about $10 in lumber, which means a trio of yours costs less than a single store stand.
6. The Tiered Statement Stand: A Furniture-Grade Centerpiece (Wood Whisperer Style)
Difficulty: Intermediate
Lumber cost: Moderate
Dimensions: 36″W x 11.25″D x 51.75″H, stepped tiers
This is the one your guests notice. It is furniture-grade, built from clear pine or hardwood with clean joinery and fully sanded, finished surfaces. Clear 1×8 runs about $5.72 per foot versus $3.51 for knotty, and that jump buys you a face without knots or filler. Construction is a tiered box-and-ladder form, and the generous 11.25-inch depth fits real pots, not just token 4-inch ones.
Set it up as a living-room focal point with a mixed collection and a large plant anchoring the base tier.
Here is the load detail that matters at this width. At a 36-inch shelf span, 3/4-inch pine holds around 100 pounds, noticeably less than the 180 pounds you get at a 24-inch span. So keep your heaviest pots near the support ends where the shelf is stiffest, not parked dead center where deflection is worst.
The downside is cost and time. Clear or hardwood lumber plus proper sanding and finishing make this the priciest and slowest build in the guide. That is the deal. It is the best-looking option here and well worth the extra outlay if it lives in a room guests actually see. For a spare bedroom, it is overkill.
7. Lean-To Ladder Shelf: A No-Wall-Anchor Build You Can Move Anytime
Difficulty: Beginner
Lumber cost: Low
Dimensions: Leaning ladder profile, shelves shallower toward the top
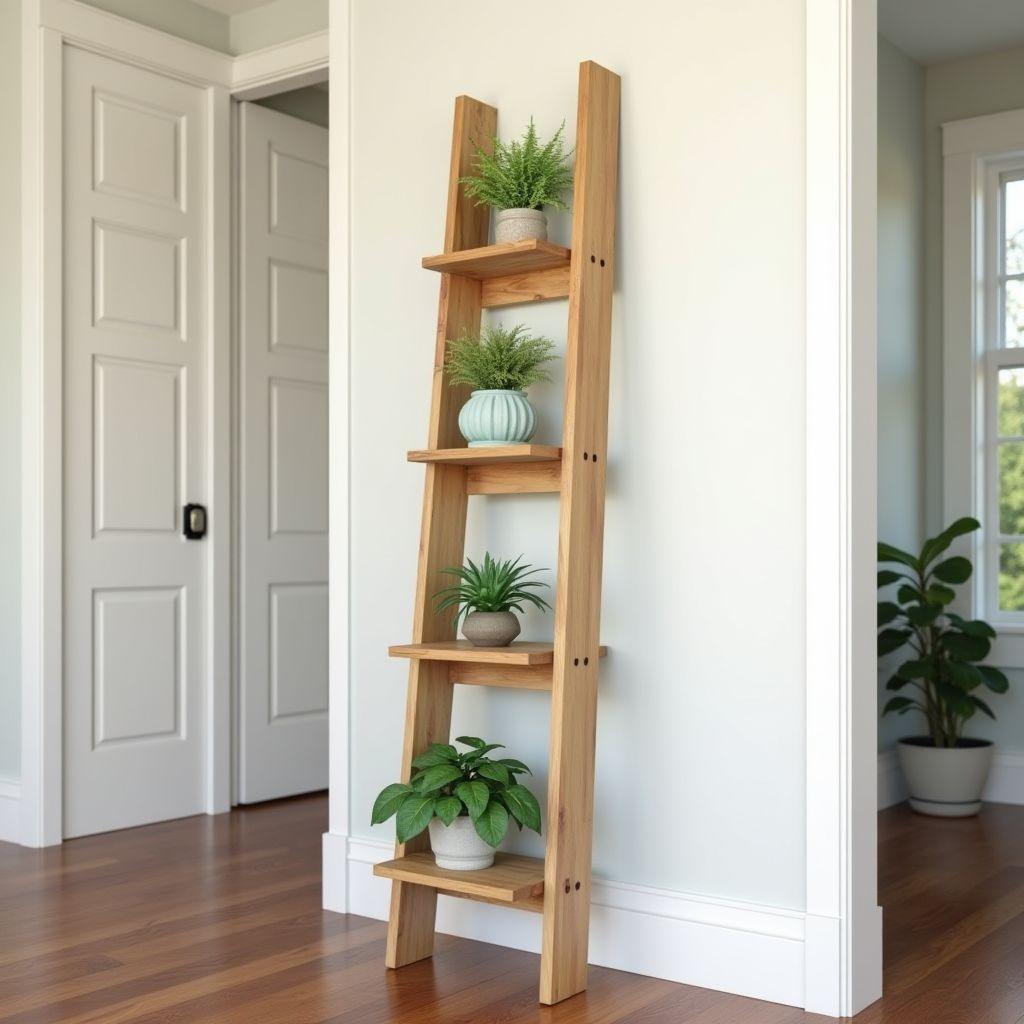
Movers and rearrangers, this is your shelf. It leans against the wall and needs no anchor at all when the angle is right. You build two angled side rails from 1×3 stock, then fix 1×6 shelves across them. The shelves get shallower toward the top, which keeps the whole thing balanced against the wall.
Load small pots up high and heavier ones on the wide bottom shelf. It looks great in bathrooms and hallways where a bulky freestanding unit would crowd the space.
The best feature is portability. Lift it, carry it to another room, and lean it against a new wall. When you move out, there are no patched holes because you never drilled any.
The catch is the same as the feature. Because it only leans, it is easy to bump forward off the wall. Keep your heaviest pots low so the center of gravity stays down and stable. In a home with kids or pets, add a small removable strap for insurance. Best for people who rearrange often. Skip the strap-free version in a toddler or big-dog household.
8. Wide Floating Wall Shelves: The Right Way to Span 4 Feet Without Sagging
Difficulty: Intermediate
Lumber cost: Low to moderate
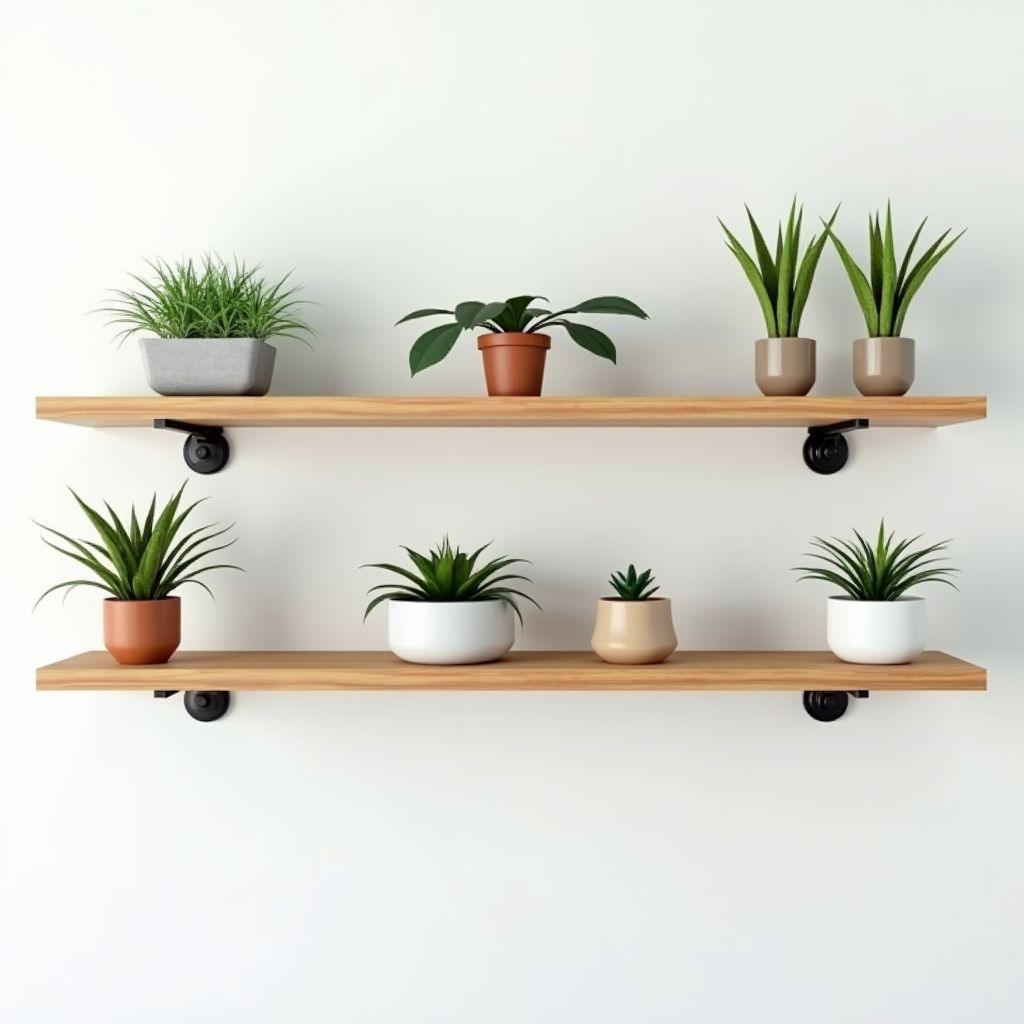
Dimensions: 48″W floating shelves, 7.25″ to 9.25″ deep
That clean 4-foot floating shelf look is a trap if you build it wrong. Here is the myth worth busting. People assume a shelf that holds a lineup of plants at 24 inches will hold the same lineup at 48 inches. It will not, and it is not close.
The numbers tell the story. A 3/4-inch pine shelf holds around 180 pounds at a 24-inch span, roughly 100 pounds at 36 inches, and only about 70 pounds at 48 inches. A full row of potted plants hits 70 pounds fast once you factor in wet soil. The fix is simple. A single center bracket roughly doubles capacity, so any span over about 30 inches needs support.
Build it from 1×8 or 1×10 pine (knotty 1×10 runs about $4.32 per foot) mounted on floating hardware or a hidden cleat screwed into studs. For the long 48-inch run, add that mid-span bracket.
The other non-negotiable is what you screw into. Floating hardware must hit studs. Use a stud finder and never trust drywall anchors alone to carry a plant load, because they will let go. If you want the 4-foot floating look, add a mid-span support and hit studs. If you cannot, step down to a 24-inch shelf and skip the drama.
Indoor Plant Shelf FAQs: Finishes, Weight Limits, and Watering
What finish is best for a plant shelf that gets watered?
Oil-based polyurethane is the most durable choice. Apply 3 coats with 24 hours between each, and allow a full 30-day cure before heavy use. Water-based poly is lower-odor but needs 4 to 5 coats, cures in about a week, and has a shorter 1 to 2 year lifespan before it wants a refresh. Tung oil gives the most natural look but takes 5 to 7 coats plus annual reapplication. Whatever you choose, seal the end grain first, because water wicks into cut ends before anything else.
How much weight can a wood plant shelf hold?
For 3/4-inch pine, figure roughly 180 pounds at a 24-inch span, about 100 pounds at 36 inches, and only about 70 pounds at 48 inches. Capacity drops fast as the span grows. A single center bracket roughly doubles what a shelf can carry, and any span over about 30 inches needs support. Wet potting soil is heavier than people expect, so build in margin.
Do I need to anchor my plant shelf to the wall?
Yes for any unit 48 inches or taller. Use an anti-tip strap ($10 to $20 in hardware) screwed into a stud, not just drywall. Mount it high on the frame, pull it taut, and use a minimum of two attachment points. Tall towers are top-heavy once loaded with plants, and anchoring is the difference between a display and an accident.
Which plants go on which shelf level?
Match the level to light and growth habit. Top tiers suit trailing plants like pothos and string of pearls, where vines can spill down. Middle tiers get the best light, so put succulents and small ferns there. Lower tiers work for large statement plants like monstera and snake plant. Reliable shelf performers include pothos, philodendron, prayer plant, calathea, ZZ plant, and hoya.
How long before I can put plants on a freshly finished shelf?
Give it about 30 days for oil-based poly to fully cure, or roughly 1 week for water-based. Wet pots set on uncured finish leave permanent rings that no amount of buffing removes. Patience here saves you from redoing the whole finish.
What is the cheapest plant shelf to build?
The 2-board beginner shelf at around $20 in lumber. Two 1x8x8 boards, some pocket-hole screws, and an afternoon get you five tiers. For detailed printable plans with cut diagrams for any of these builds, TedsWoodworking is worth a look.

“DIY woodworking enthusiast who started with zero experience and a YouTube tutorial.
I build simple, practical projects for my home and share free plans
so other beginners can skip the guesswork.If I can build it, you can too.”