Most table plan roundups are link farms. They dump 30 photos on you, link out to other sites, and leave you no closer to knowing what to build.
This page fixes that. It is a decision guide for five table types, built to help you choose the right one before you buy a single board. Dining and outdoor table plans cover a lot of ground, from rustic indoor farmhouse tables to rolling grill stations, and the wrong pick wastes lumber and weekends.
You will not find cut lists or step-by-step instructions here. Each table type below is a quick decision helper: what it is, who it suits, what it costs, and how hard it is. When you know which one fits, the sub-pages carry the full build.
The five types: farmhouse dining table with bench, extendable dining table, outdoor patio dining table, foldable patio table, and outdoor grill station table.
Start with the sizing section below. Nail down how big your table needs to be first, because size shapes every other choice. When you are ready to price lumber, the board foot calculator turns your dimensions into a board count in seconds.
Table Sizing Guide: How Big Should Your Table Be
Get the size right and everything else follows. Here are the target dimensions by seat count.
| Seats | Length | Width |
|---|---|---|
| 4 | 48″ | 30″ |
| 6 | 72″ | 36″ |
| 8 | 96″ | 38″ |
| 10 | 120″ | 34-40″ |
Standard dining height runs 29 to 30 inches from floor to tabletop. That works for eating while seated in a normal chair.
Grill and prep stations are the exception. Build those at 36 inches, standard kitchen counter height, so you stand comfortably while you work. You do not sit at a prep station.
One rule saves you from a cramped room: leave 36 inches of clearance behind each chair. That is the space a person needs to pull the chair out and walk past. Measure your room, subtract 72 inches (36 per side), and the number left is your maximum table length.
Sizing interacts with table type. An extendable table lets you hit two targets, small for daily use and large for holidays, from one footprint. A fixed farmhouse table locks in one size, so pick it against the room you have.
Outdoor tables follow the same seat-count numbers, but slatted tops sometimes run an inch or two wider to fit the gaps between boards.
Know your number? Now match it to a table type below.
1. Farmhouse Dining Table and Bench
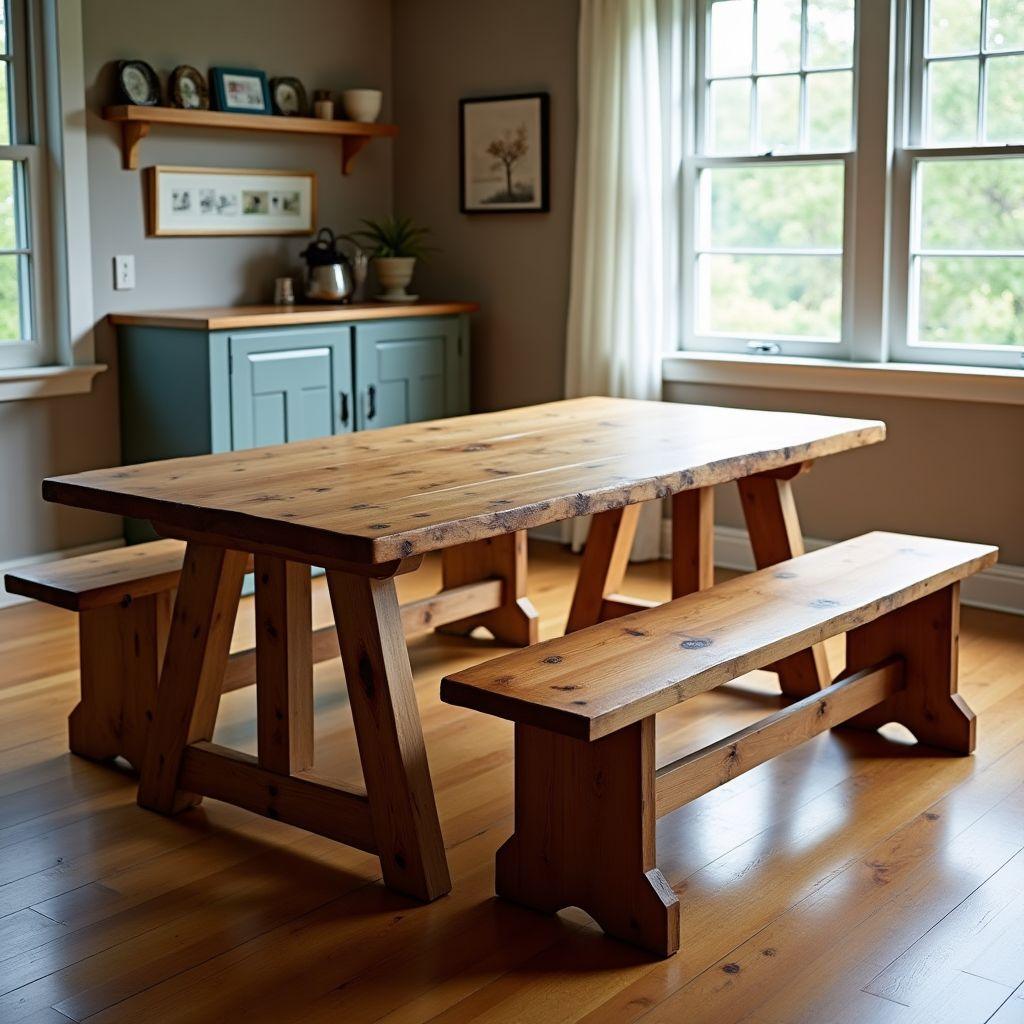
A store-bought farmhouse table runs $800 to $1,500. A Pottery Barn version pushes $2,500. You can build the same look for around $150.
Skill level: Beginner to Intermediate. Cost: $150 to $250.
This is the chunky, rustic indoor dining table you have seen everywhere, built from dimensional lumber with a matching bench. The thick legs and wide top come from standard 4x4s and 2x8s, no fancy hardware, no curved parts.
It is right for you if you want maximum visual impact for minimum joinery skill. The heavy look hides simple joints, so it forgives a first-timer. You also need room for a permanent table, since this one does not fold or shrink.
It is the wrong pick if your room is tight or you need the table to expand for guests. It is one size, always.
For the bench, follow these numbers. Seat height 17 to 18 inches, seat width 11 to 12 inches, and length equal to the table length minus 6 to 12 inches per end so the bench tucks under cleanly.
Use Douglas fir or pine. Both are cheap, take stain well, and work fine indoors where rot is not a concern.
Ready to build it? The farmhouse dining table plans page has the full cut list and assembly steps.
2. Extendable Dining Table
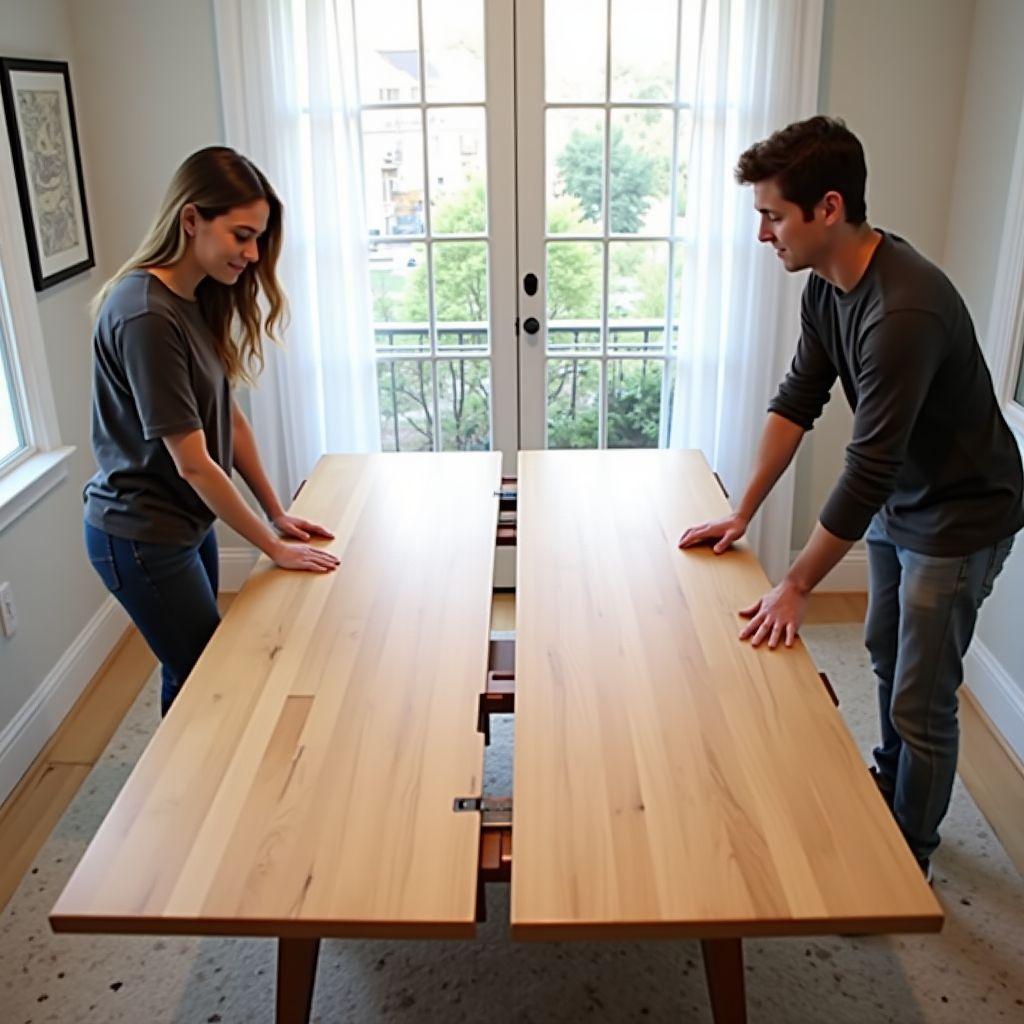
You need a table for four every day and eight on holidays. Buying two tables is absurd, and a permanent eight-seater eats your dining room the other 360 days a year.
Skill level: Intermediate. Cost: $200 to $400.
An extendable table solves this with a pull-apart top. The two halves separate and a leaf drops into the gap, or drawer-style slides pull the top open to add length. Either way, one table covers both crowds.
It is right for you if you host often but want a smaller footprint day to day. Use the sizing guide above to set two targets: your daily size (say 48 inches for four) and your expanded size (72 inches for six or more).
It is the wrong pick if you have never done precise joinery, or if you want the cheapest and fastest build on this page. This is not it.
The leaf and slide alignment demand precision. If the two halves do not meet flush, the seam shows and the table wobbles. Measuring twice matters more here than on any other table in this list.
Once you are confident with the layout, the extendable dining table plans page walks through the slide hardware and leaf fitting step by step.
3. Outdoor Patio Dining Table
Build a patio table from untreated pine and it grays, cracks, and starts to rot within two seasons. The wood choice, not the joinery, decides whether your table lasts.
Skill level: Beginner. Cost: $100 to $200 in pressure-treated pine, or $200 to $350 in cedar.
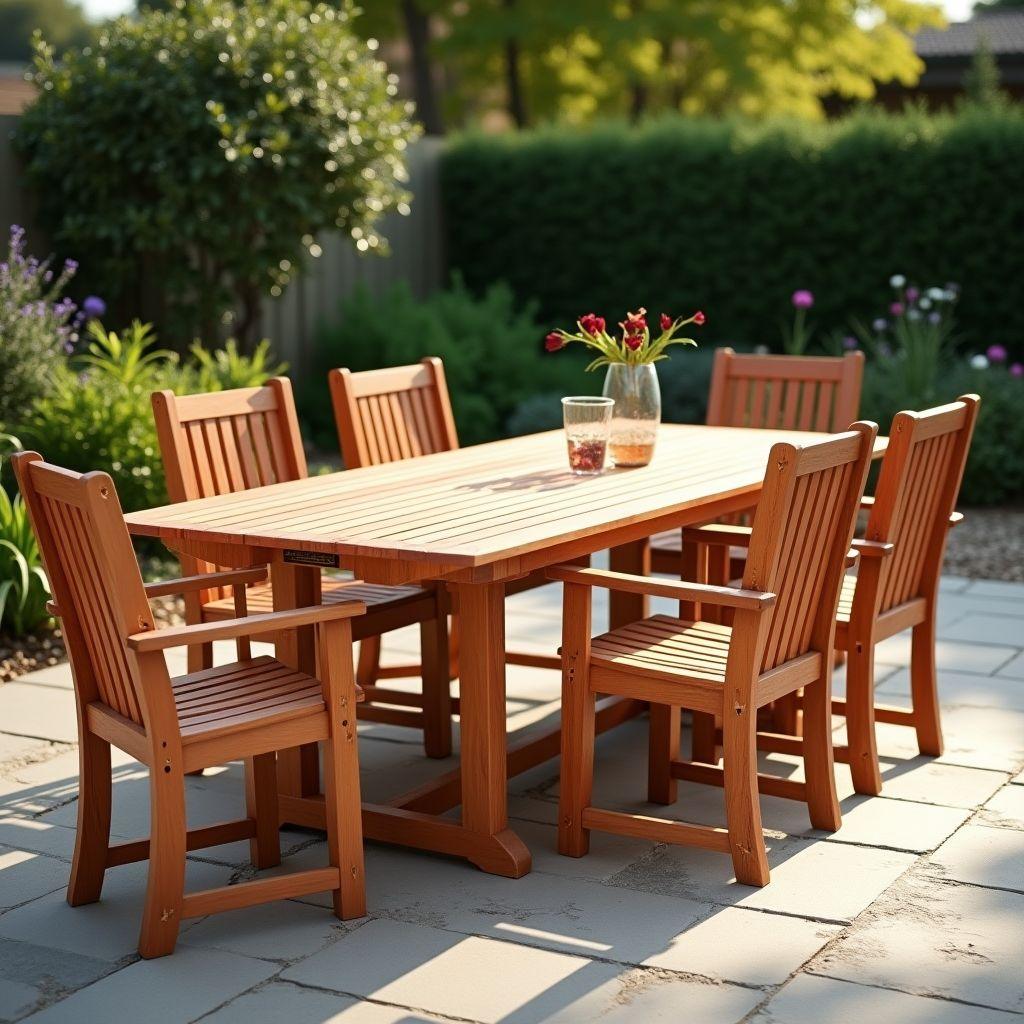
This is a weather-tough patio table with a slatted top. The gaps between the top boards let rain drain straight through instead of pooling and soaking into the wood.
It is right for you if you want a straightforward first outdoor project and a permanent centerpiece for the patio. The slatted top is more forgiving than a solid glued top, which makes it a friendly starting build.
It is the wrong pick if your patio is small or you need to store the table each winter. This one stays put year round.
The wood tradeoff is simple. Pressure-treated pine costs less and shrugs off weather, but looks utilitarian. Cedar costs more and shows a warm grain, better if the table is on display. See the wood section below to decide.
When you have picked your species, the outdoor patio dining table plans page has the build.
4. Foldable Patio Table
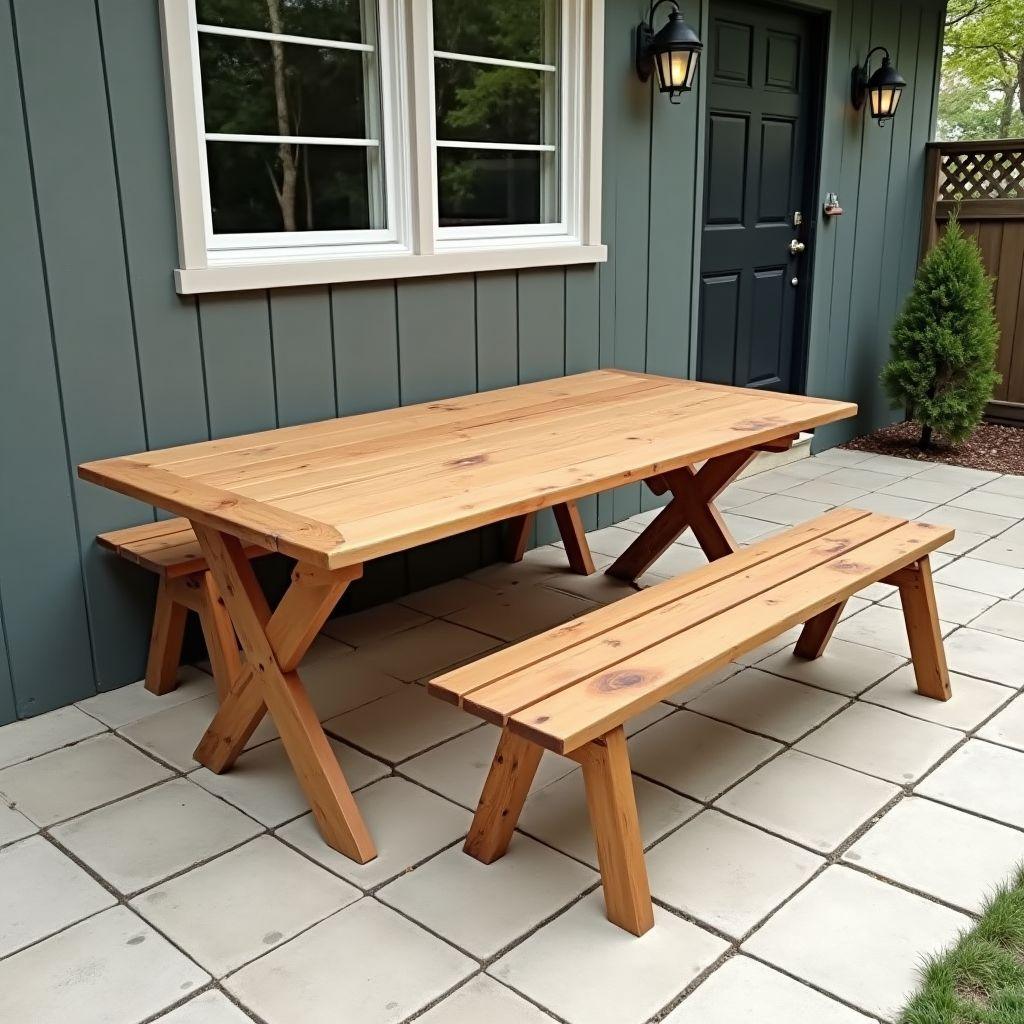
How does a full-size dining table collapse flat enough to slide behind a door? A folding frame and one clever pivot.
Skill level: Intermediate. Cost: $120 to $200.
This is an outdoor table with a frame that folds flat for storage. The legs and rails pivot on M12 threaded rods, which act as the hinge pins. Folded, the whole table drops to a few inches thick and stands against a wall.
It is right for you if you have a small patio or balcony, tailgate, or just need to clear the deck each winter. The matching folding benches store under the table when everything collapses, so the whole set tucks into one corner.
It is the wrong pick if you want a rock-solid permanent table. Folding frames have a little more give than fixed ones by design.
The M12 threaded rods are the key hardware. They are cheap, strong, and let the frame swing smoothly without sloppy play. Get the pivot holes accurate and the table folds clean every time.
This makes a great second outdoor build once you have a fixed table under your belt. The foldable patio table plans page covers the pivot layout and folding geometry.
5. Outdoor Grill and BBQ Station Table
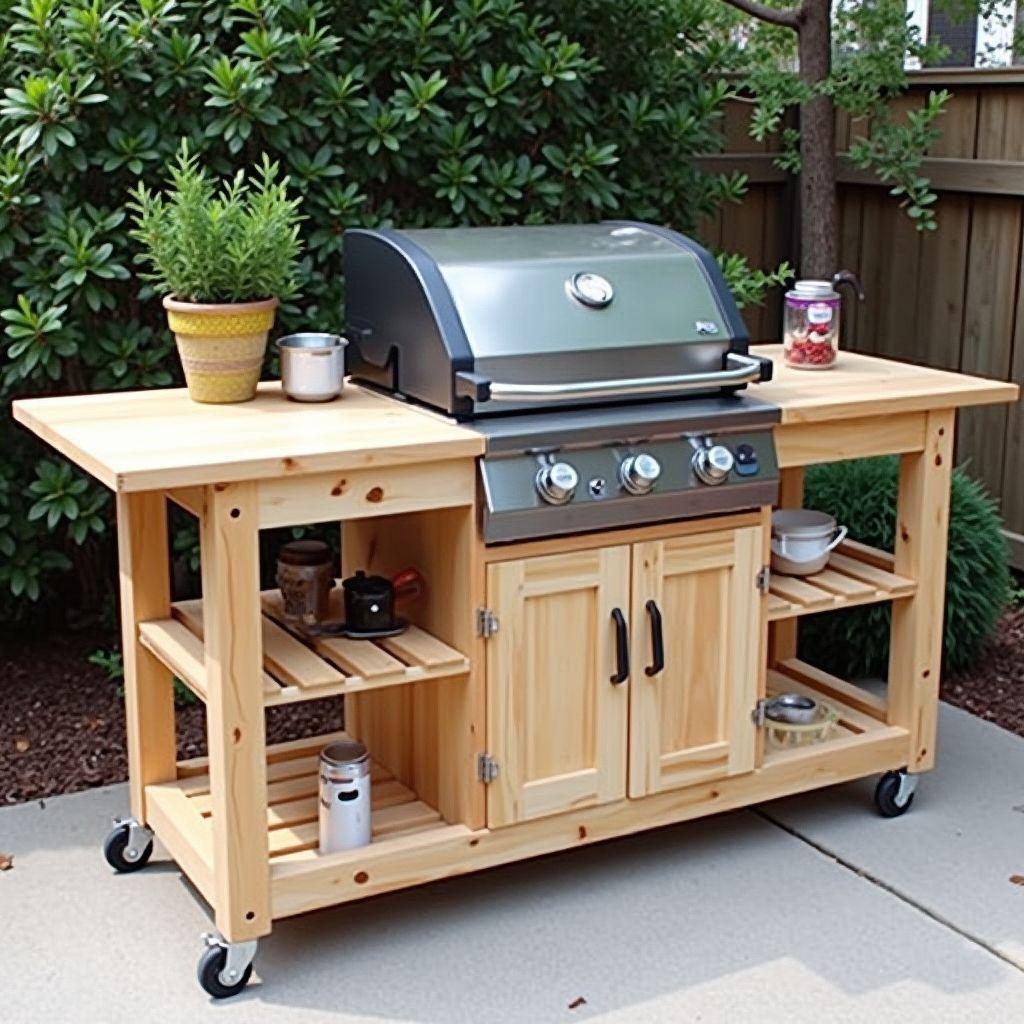
“I was cooking some burgers for my family, and there’s nowhere to put any of this stuff.” If you have grilled, you know the problem. Tongs, plates, seasoning, and a beer, all balanced on the grill lid.
Skill level: Beginner to Intermediate. Cost: $60 to $120.
This is a counter-height rolling prep station that lives beside your grill. Built at 36 inches so you work standing up, with casters underneath so it rolls where you need it.
It is right for you if you want a fast, cheap, genuinely useful project and real prep space next to the grill. This is the quickest win on the page.
It is the wrong pick if you want a table to eat at. At 36 inches, it is counter height, too tall for dining chairs.
The casters earn their keep. Roll the station up to the grill while you cook, then roll it back out of the heat when you are done. Lock the wheels and it holds still while you chop.
Placement tip: leave 24 to 30 inches of clear counter on each side of the grill for landing space. This is the cheapest build on the page and the fastest to finish. The outdoor grill station table plans page has the full build.
Wood Selection: Indoor vs Outdoor
The cheapest wood can cost you the most over ten years, because a table that rots gets rebuilt. Match the species to the job and buy once.
Cedar ($1.50 to $3.50 per board foot, a 2x6x8 runs about $12 to $15). Naturally rot-resistant with no treatment. Best for exposed outdoor furniture you want on display, where the grain shows and the weather hits directly.
Pressure-treated pine ($0.90 to $1.60 per board foot, a 2x4x8 runs about $6 to $10). The cheapest weatherproof option. Modern PT uses a copper-based treatment, not the old arsenic, so it is safe for outdoor furniture. Best for grill stations and budget outdoor tables. One catch: it arrives wet and must dry 6 to 12 weeks before you paint or stain, or the finish peels.
Douglas fir ($0.70 to $1.20 per board foot). The hardest and cheapest of the three, but not rot-resistant. Indoor or covered builds only, like the farmhouse table.
The decision rule: exposed outdoor and want it pretty, use cedar. Exposed outdoor and want it cheap, use PT pine. Indoor or under a roof, use Douglas fir.
Run your dimensions through the board foot calculator to turn any of these prices into a real lumber total before you shop.
Frequently Asked Questions
Which table is easiest for a beginner?
The outdoor patio dining table. Its slatted top forgives small errors, and the build uses simple lumber and basic joints. The grill station is a close second for its short parts list.
What is the cheapest table type to build?
The grill and BBQ station table, at $60 to $120. It uses the least lumber and inexpensive PT pine. A 10-person outdoor table from construction-grade PT lumber can also come in near $150.
How long does a table need to be to seat 6 people?
Seventy-two inches long by 36 inches wide seats six comfortably. That gives each person about 24 inches of elbow room along the table.
Can I build an outdoor table from regular pine?
Not untreated pine. It grays and rots within two seasons outdoors. Use pressure-treated pine or cedar for anything exposed to weather.
Do I need special tools for the extendable table?
No specialty machines, but you do need precision. A good tape measure, a square, and patience with the slide alignment matter more than any single tool. Measuring twice is the real requirement.

“DIY woodworking enthusiast who started with zero experience and a YouTube tutorial.
I build simple, practical projects for my home and share free plans
so other beginners can skip the guesswork.If I can build it, you can too.”