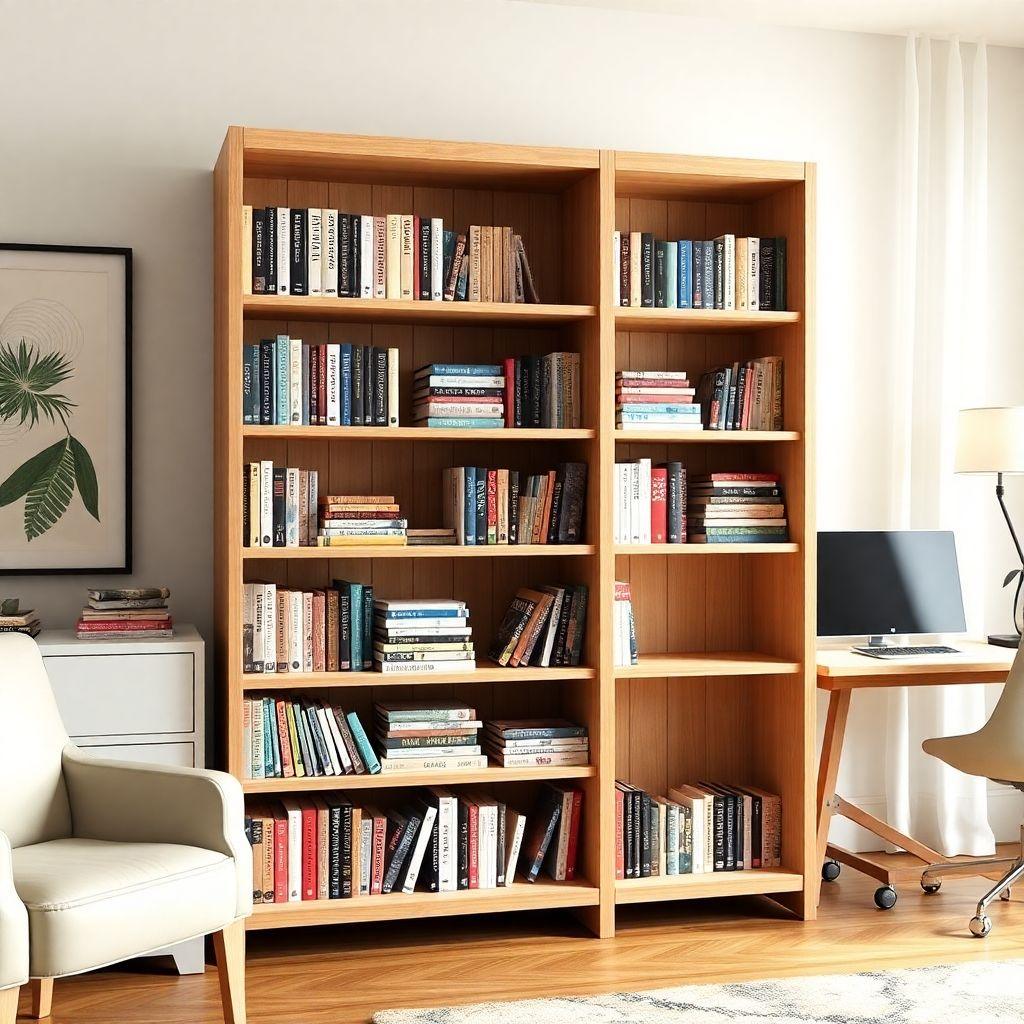
A freestanding bookcase is one of the best intermediate projects you can build in a weekend. It uses cheap materials, teaches you carcass construction, and gives you a piece of furniture you will actually use for decades. These freestanding bookcase plans walk you through a standard 32″ wide by 72″ tall by 12″ deep unit built from 3/4″ plywood, with adjustable shelves on 32mm shelf pin spacing so you can reconfigure it whenever your book collection grows. Part of our best DIY furniture plans guide.
This is a support build in our bookshelf and shelving plans cluster. If you have built a basic wall shelf before and own a pocket-hole jig, you are ready for this. Expect to spend $80 to $250 depending on your plywood grade and finish, and plan for one to two weekends including glue-up and finishing time. Whether you call it a diy bookcase or diy shelves, the method here is the same, and these bookcase plans give you two assembly paths so you can pick the one that matches your tools and your patience.
Books are heavy, and a loaded bookcase is a real tip-over hazard, so anti-tip hardware is not optional. We cover that in the last step. Read the sag prevention math in the materials section before you commit to shelf widths, because that single decision separates a shelf that stays flat from one that bows within a year.
Choose Your Build: Face Frame vs Frameless
Looking for more furniture ideas?
This guide is part of our complete best DIY furniture plans series — compare all options by skill level, cost, and build time.
Want 16,000+ woodworking plans?
Ted’s Woodworking has step-by-step plans for every skill level. Browse Ted’s plans.
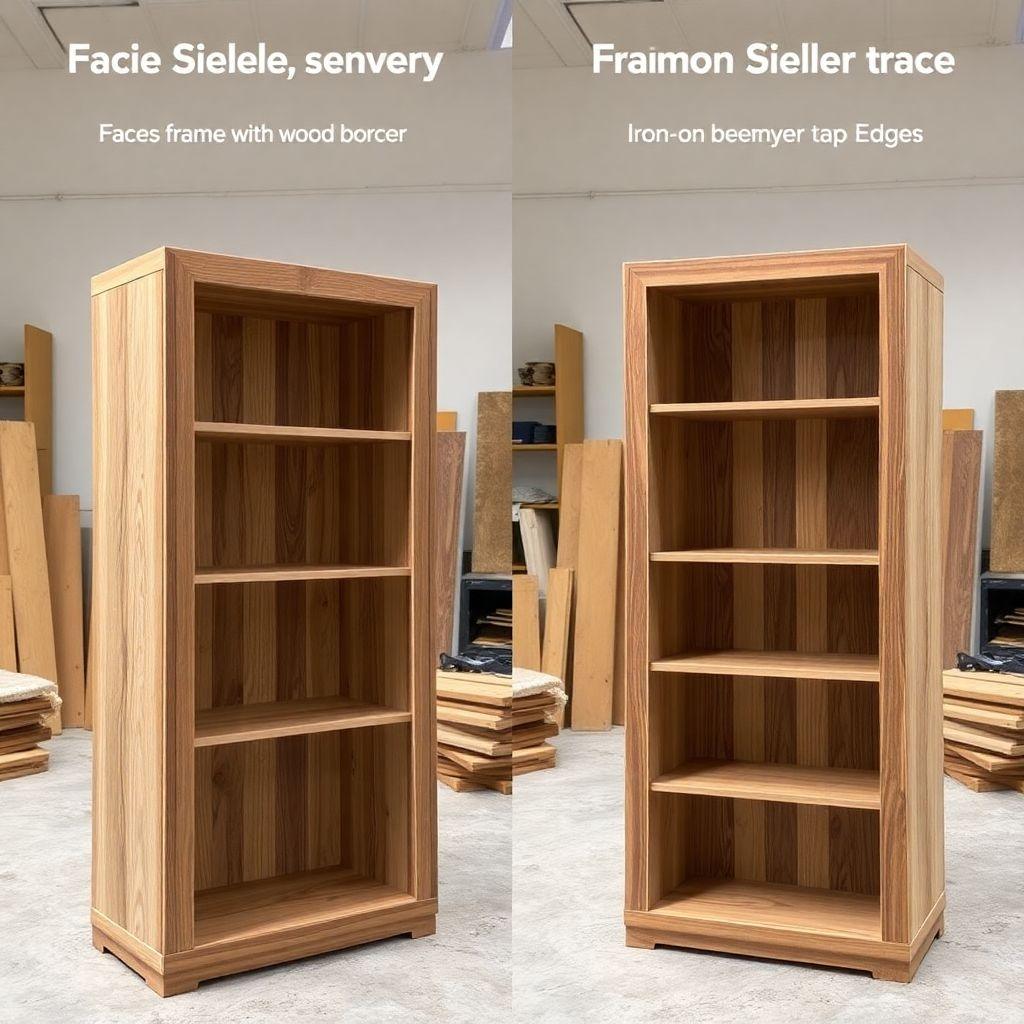
Before you buy anything, decide how you want the front edges of your bookcase to look. This choice drives your cut list.
A frameless bookcase is the faster build. The plywood carcass is the finished piece, and you hide the raw plywood edges with iron-on veneer tape or thin solid wood edge banding. It looks clean and modern, uses less material, and skips an entire assembly step. This is the build most people should choose the first time.
A face frame bookcase adds a 1×3 solid wood frame to the front of the carcass. The frame hides all the plywood edges at once, stiffens the whole cabinet, and gives you that traditional built-in look. It costs more, adds a few hours, and requires a second round of measuring and joinery, but the result is noticeably more furniture-grade.
Here is the quick rule. If this is your first carcass and you want it done this weekend, go frameless with veneer tape. If you want a heirloom piece and you do not mind an extra half day, add the face frame. The steps below cover both, and Step 5 is skippable if you go frameless.
Materials and Cut List
This cut list is for a standard 32″ wide by 72″ tall by 12″ deep frameless bookcase. All carcass parts are 3/4″ plywood. Buy one and a half to two sheets of 4×8 plywood depending on how many shelves you cut. Birch or maple plywood takes finish best; sanded pine plywood is cheaper if you plan to paint.
Carcass parts (3/4″ plywood):
- 2x side panels: 11-1/4″ x 72″
- 1x top panel: 11-1/4″ x 30-1/2″
- 1x bottom panel: 11-1/4″ x 30-1/2″
- 3 to 5x adjustable shelves: 11-1/4″ x 30-1/2″
Back panel:
- 1x back panel: 1/4″ plywood, 30-1/2″ x 71-1/4″
Hardware:
- Shelf pins: 16 to 24 qty (5mm or 1/4″ to match the holes you drill)
- 1-1/4″ pocket screws (if using the pocket screw method) or wood glue and 1-1/4″ brad nails (if using dados)
- Wood glue
- Anti-tip strap or L-bracket kit
Optional face frame (1×3 poplar or matching hardwood):
- 2x stiles: 72″ long
- 3x rails: 28-1/2″ long (top, middle, bottom)
Sag prevention math
This is the number that ruins most first bookcases. A 3/4″ plywood shelf sags about 1/8″ over a 36″ span under a 30 lb load, and books can easily hit that weight. At 30-1/2″ our shelves stay under that threshold and read as flat. If you widen the bookcase past 36″, the sag becomes visible and gets worse over time as the plywood creeps under sustained load.
You have three fixes if you want a wider bookcase. Add a fixed center upright to split the span in half, which is the strongest option. Switch shelves to 1″ solid wood, which resists sag far better than plywood. Or glue a 1×2 hardwood lip along the front edge of each shelf, which stiffens it like an I-beam. For this 32″ plan you do not need any of that. Keep shelf spans at or under 36″ and you are fine.
Tools Required
- Circular saw with a straightedge guide, or a table saw
- Pocket-hole jig (Kreg or similar) if using the pocket screw method
- Router with a straight bit, or a dado stack, if using the dado method
- Drill/driver
- 5mm or 1/4″ brad point bit for shelf pin holes
- Shelf pin drilling jig, or a scrap of pegboard as a template
- Brad nailer or hammer and finish nails for the back panel
- Clamps (at least four bar clamps)
- Tape measure, square, and pencil
- Random orbital sander with 120 and 220 grit
- Stud finder and level for installation
Step 1: Cut the Carcass Panels
Cut your two side panels, top, bottom, and shelves to the dimensions in the cut list. Accuracy matters most here, because any variation in the side panel length or the top and bottom width shows up as a racked, out-of-square cabinet later.
If you are cutting full sheets with a circular saw, clamp a straightedge as a guide and let the saw ride against it. Cut the sides first, then gang-cut the shelves, top, and bottom to the same 30-1/2″ length so they are identical. Label each part on the back with a pencil as you go.
Now finish the front edges. On a frameless build, apply iron-on veneer tape or glue thin solid wood edge banding to the front edge of every panel that will show, which means the front edges of both sides and all shelves. Trim the tape flush with a veneer trimmer or a sharp chisel, then sand lightly. Do this before assembly while the parts are still easy to handle. If you are building a face frame, skip edge banding on the sides because the frame will cover those edges, but still band the shelf fronts.
Step 2: Drill Shelf Pin Holes
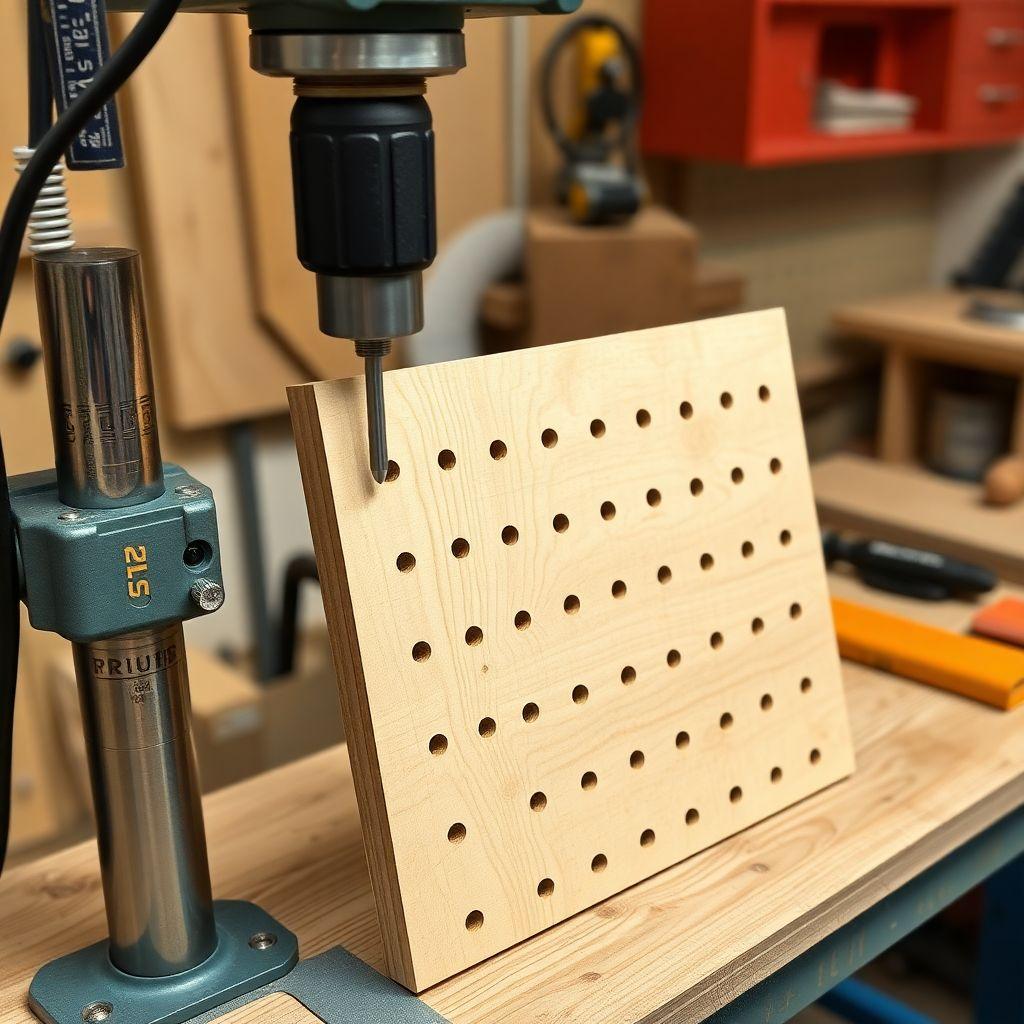
Adjustable shelves ride on pins set into a column of holes drilled up each side panel. The two common systems are 5mm holes and 1/4″ holes. The 5mm system is the European cabinet standard and pins are widely available, so it is the one to use. Whichever you pick, your drill bit and your pins must match.
The spacing standard is 32mm on center, called euro or system 32. That means every hole sits 32mm from the next in the vertical column, which lets you use commercial jigs and hardware without custom math. You do not need to fill the entire panel with holes. Drill a run of holes in the upper third and lower third where you actually want shelf positions, and leave the middle spanned by your fixed shelves.
Use a jig or a scrap of pegboard clamped to the panel as a template so both columns on both side panels line up. Set a depth stop on your bit, usually 3/8″ deep, so you do not blow through the 3/4″ panel. Drill two columns per side, one near the front edge and one near the back, keeping each about 1-1/2″ in from the edge. Do all four columns with the same jig position so every shelf sits level.
Step 3: Assemble the Carcass
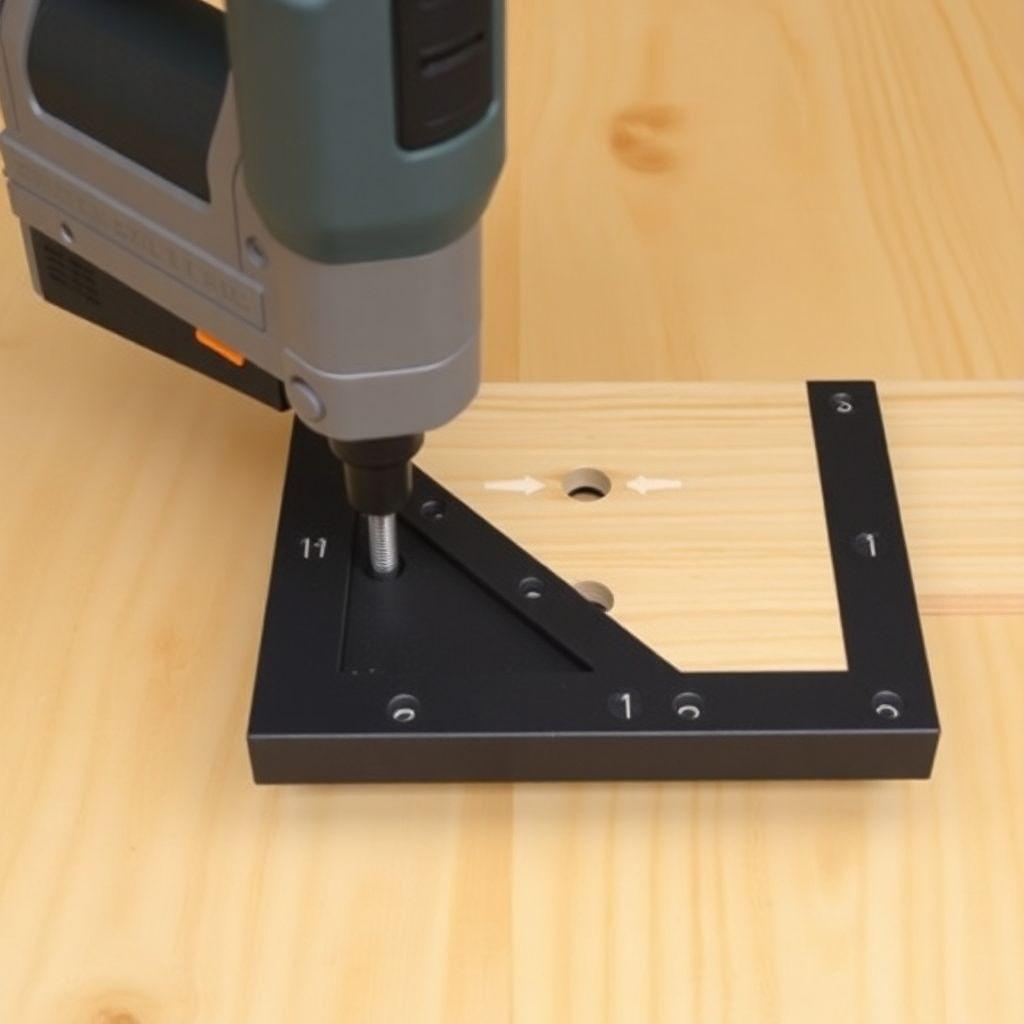
This is where the two build methods split. Both start by joining the top and bottom panels between the two sides to form a rigid box, and both are strong enough for a book load. This is the core of how to build a bookcase, so take your time and keep everything square.
Pocket screw method (faster, hides joints). Drill pocket holes into the ends of the top and bottom panels, three or four per joint. Stand one side panel on edge, apply glue to the mating end, and drive 1-1/4″ pocket screws through the top and bottom into the side. Attach the second side the same way. The screws pull the joint tight and the pocket holes face inward where nobody sees them. This is the beginner-friendly path and it goes together in about twenty minutes.
Dado method (stronger, no visible hardware). Rout a 3/4″ wide, 3/8″ deep dado across each side panel where the top and bottom land. Test the fit on a scrap first; the plywood should slide in snug. Apply glue in the dados, seat the top and bottom, clamp across the whole assembly, and pin with a few brad nails to hold alignment while the glue cures. A dado joint carries the shelf load on a wood shoulder instead of on screws, so it is the stronger long-term joint, but it takes more setup.
Either way, check the box for square by measuring both diagonals. They should be equal. If they are not, clamp across the long diagonal and adjust before the glue sets. Let everything cure before moving on.
Step 4: Attach the Back Panel
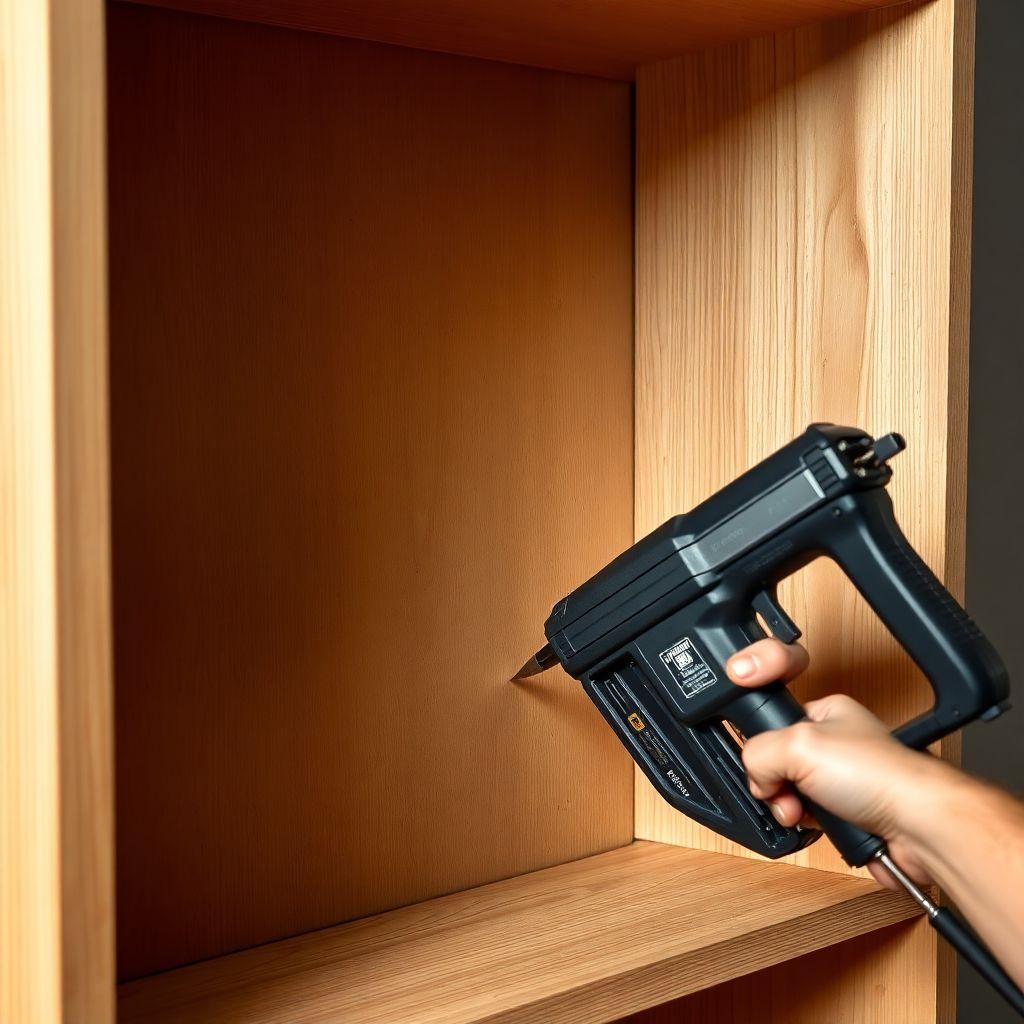
The 1/4″ back panel does more than hide the wall. It squares the entire cabinet and stops it from racking side to side, so do not skip it unless you specifically want an open-back look for a room divider.
You have three options. The most common is 1/4″ plywood, cut to 30-1/2″ x 71-1/4″ to sit inside the carcass. For a farmhouse look, use bead board instead, which adds texture and paints up nicely. Or skip the back entirely if the bookcase will float in a room and you want to see through it, but if you do, add a diagonal brace or a fixed shelf to keep the cabinet square because you are giving up your main anti-rack panel.
To install plywood, run a bead of glue along the back edges of the carcass, set the panel in place, and nail it with 1″ brads every 6 inches around the perimeter. Before you nail the far side, measure the diagonals one more time and nudge the cabinet until they match, then nail it down to lock in square. If you routed a rabbet along the back inside edge of the sides, the panel drops into that recess for a cleaner look; a rabbet is optional but tidy.
Step 5: Build and Attach the Face Frame (if using)
Skip this step if you built frameless. If you are adding a face frame, cut your 1×3 stiles to 72″ and your three rails to 28-1/2″. The two stiles run the full height on the left and right, and the three rails span between them at the top, middle, and bottom.
Join the frame with pocket screws driven into the back of the rails so the holes never show from the front. Assemble the frame flat on your bench, check it for square, and let the glue set. Then run glue along the front edges of the carcass, clamp the completed frame in place flush with the outside of the sides, and secure it with a few brad nails or clamps until dry. The frame should slightly overhang the interior opening, which is normal and gives the bookcase its finished, built-in face while covering every raw plywood edge at once.
Step 6: Sand and Finish
Sand the whole cabinet with 120 grit to knock down any veneer tape ridges, glue squeeze-out, and mill marks, then follow with 220 grit for a smooth surface. Vacuum and wipe with a tack cloth so no dust ends up under your finish.
For a natural look, wipe on a clear polyurethane or a hardwax oil; two or three thin coats with a light 320 grit scuff between them gives a durable surface that stands up to books sliding in and out. For color, apply a wood conditioner first on birch or pine plywood so the stain takes evenly, then stain and topcoat. If you are painting, prime with a stain-blocking primer and use two coats of a durable enamel. Finish the adjustable shelves off the cabinet so you can coat all sides and avoid drips in the corners.
Step 7: Install and Anti-Tip
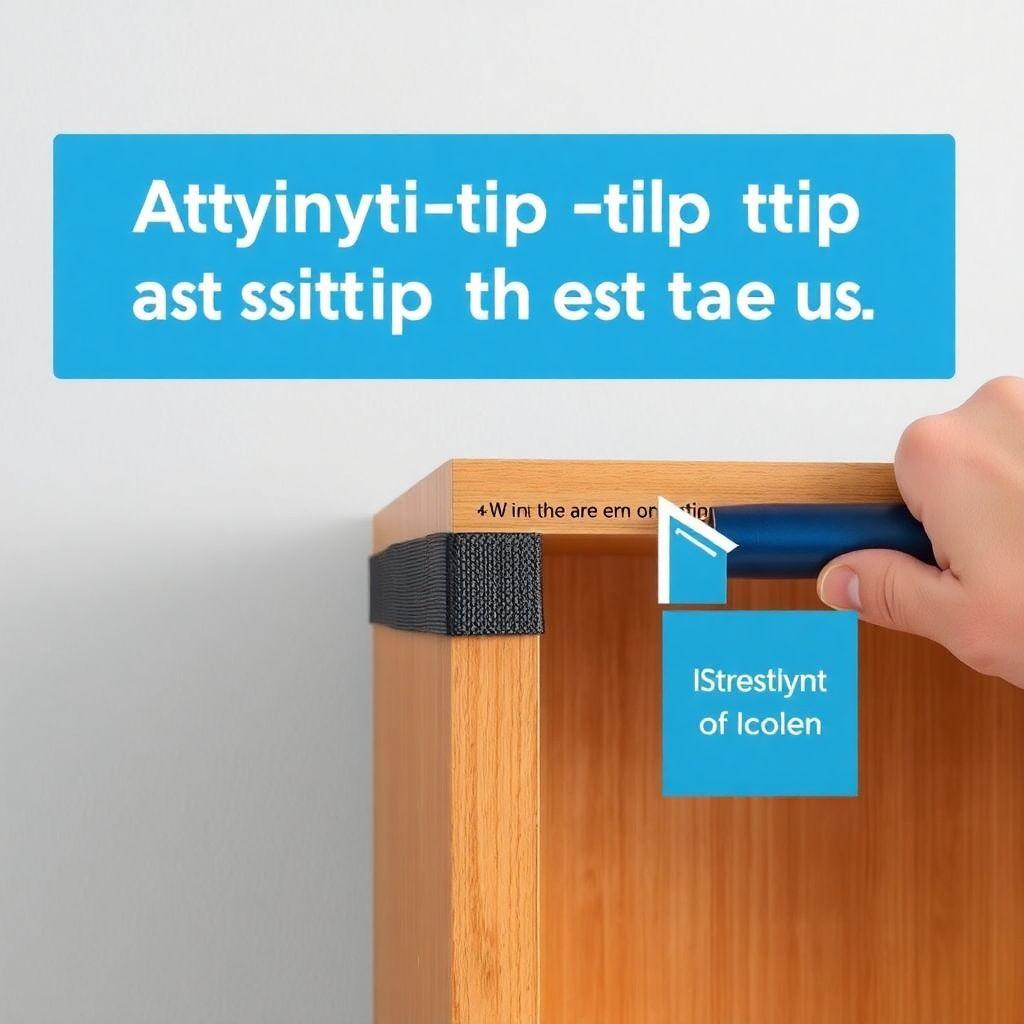
Any bookcase taller than 30″ must be anchored to the wall. This is not a suggestion. A loaded bookcase is top-heavy, and a child climbing or pulling on a shelf can bring the whole thing down. Tip-over deaths are real and entirely preventable with a $10 strap.
Position the bookcase against the wall and find the studs with a stud finder. Anti-tip straps or L-brackets screw from the top rail or top panel of the bookcase into a wall stud, not just drywall, because drywall anchors will not hold the load in a fall. Level the cabinet, shimming the base if your floor is uneven, then drive the strap or bracket screws home. If no stud lines up behind the cabinet, use heavy-duty toggle bolts rated for the load.
Once it is anchored, drop in your shelf pins, set the adjustable shelves, and load your books from the bottom up to keep the center of gravity low. Your freestanding bookcase is done.
Looking for more shelf ideas?
This guide is part of our complete bookshelf and shelving plans series — 7 shelf types compared by skill, cost, and build time. Find the right build for your space before you buy a board.
Want 16,000+ woodworking plans?
Ted’s Woodworking has step-by-step plans for every skill level — furniture, shelves, outdoor projects, and more. Browse Ted’s plans.
FAQ
How much does it cost to build a freestanding bookcase?
Expect $80 to $250. The main variable is plywood grade. A sheet and a half of sanded pine plywood with basic hardware lands near $80 to $100, while birch or maple plywood with a face frame and premium finish pushes toward $250.
How long does this bookcase take to build?
One to two weekends. A frameless unit with the pocket screw method can be cut and assembled in a single day, but you need to add drying time for glue and finish, which realistically spreads the project across two weekends.
Why do plywood shelves sag, and how do I prevent it?
A 3/4″ plywood shelf sags about 1/8″ over a 36″ span under a 30 lb book load, and it gets worse over time. Keep spans at or under 36″, or add a center upright, switch to 1″ solid wood, or glue a hardwood lip to the front edge to stiffen the shelf.
Should I use pocket screws or dados to assemble the carcass?
Pocket screws are faster and beginner-friendly, and the holes stay hidden inside the cabinet. Dados are stronger because the shelf load rides on a wood shoulder instead of screws, but they take more router setup. Both hold a full book load fine for this size.
Do I really need a back panel?
Yes, in almost every case. The 1/4″ back panel is what keeps the cabinet from racking side to side. Only skip it for an intentional open-back or room-divider look, and if you do, add a diagonal brace or fixed shelf to keep the box square.
How do I make adjustable shelves?
Drill columns of 5mm or 1/4″ holes up each side panel at 32mm spacing using a jig or pegboard template, then insert matching shelf pins at the height you want. The shelves simply rest on four pins each and lift out to reconfigure.
Related Articles

“DIY woodworking enthusiast who started with zero experience and a YouTube tutorial.
I build simple, practical projects for my home and share free plans
so other beginners can skip the guesswork.If I can build it, you can too.”