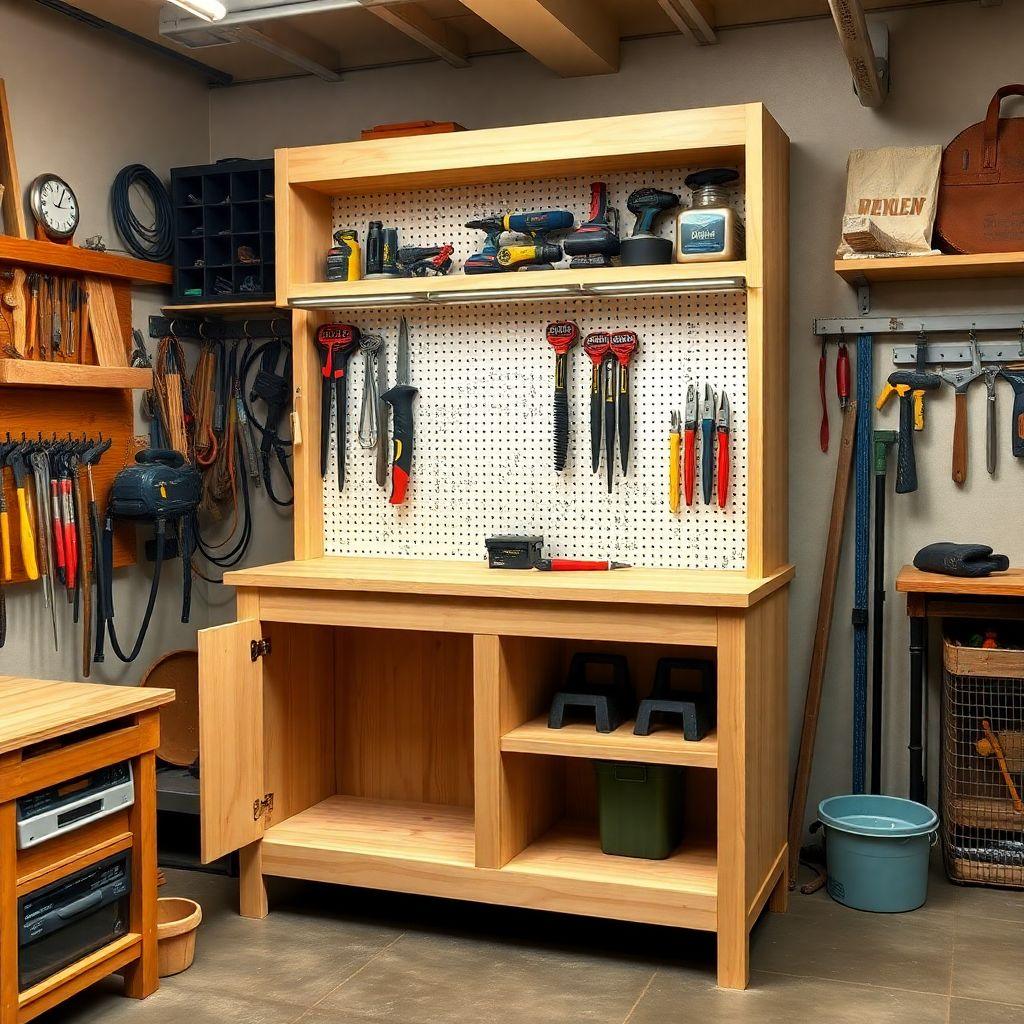
A good woodworking storage cabinet turns a pile of loose tools and half-empty finish cans into a system you can actually find things in. This guide walks you through building a full-height shop cabinet with a pegboard back, adjustable shelves, and optional doors. It is a weekend project for a beginner-to-intermediate builder, it costs $100 to $300 in materials depending on your choices, and it uses pocket screws so you do not need to cut a single joint.
You will build a 36″ wide, 72″ tall, 16″ deep cabinet from 3/4″ plywood. We cover two versions: an open-shelf workshop storage cabinet for fast access, and a closed diy storage cabinet with doors for dust-free storage. Everything below scales, so if you want a shorter garage unit or a wider run, the same steps apply.
This guide is part of our cabinet plans series. If you are comparing builds, start at the hub to see all six cabinet types side by side.
Open Shelf vs Closed Cabinet: Which to Build
Looking for more cabinet ideas?
This guide is part of our complete cabinet plans series — compare all options by skill level, cost, and build time.
Want 16,000+ woodworking plans?
Ted’s Woodworking has step-by-step plans for every skill level. Browse Ted’s plans.
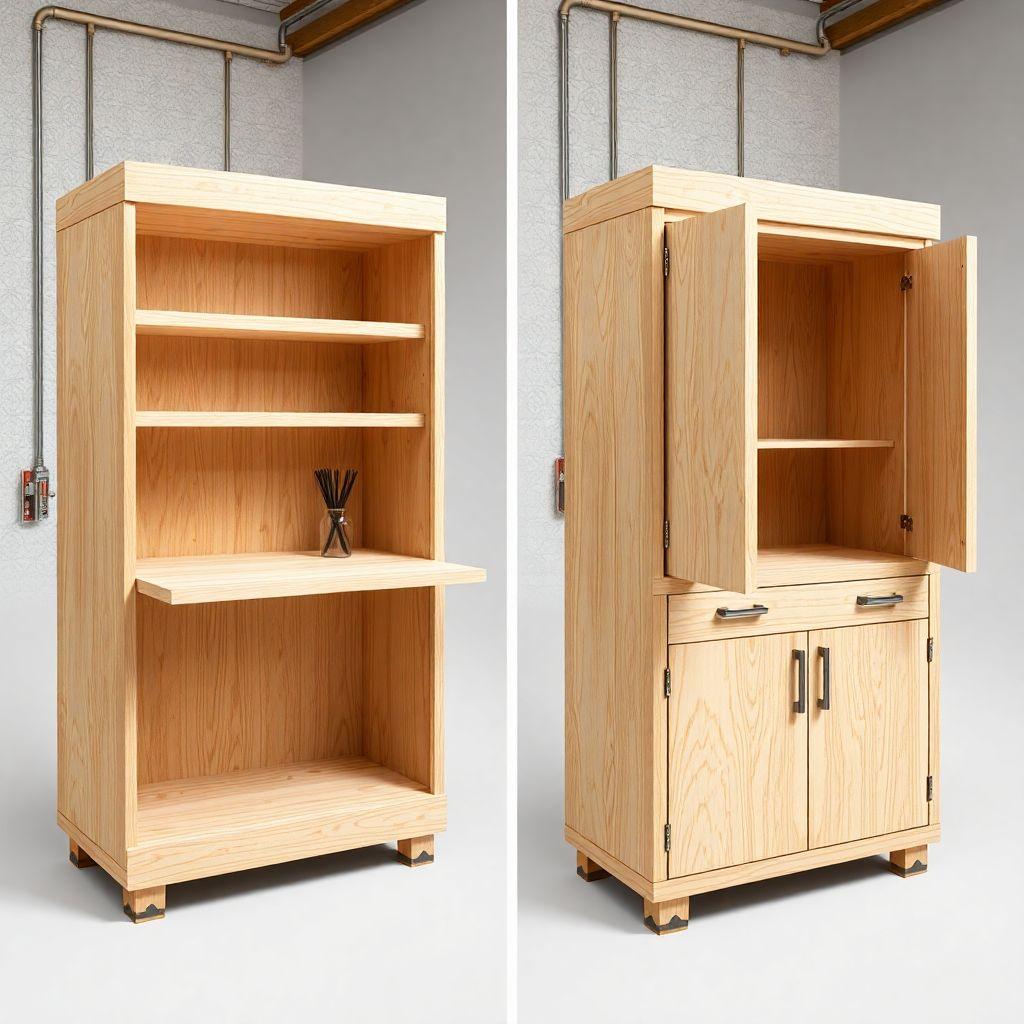
Before you cut anything, decide which version fits your shop. The carcass is identical for both. The only difference is whether you hang doors.
Open shelf version. No doors, faster build, cheaper. You save the cost of two door panels, four hinges, and pulls, and you cut roughly two hours off the build. Best for tools you grab constantly and for anything you want to see at a glance. The downside is dust. Everything on an open shelf collects sawdust, so it is a poor choice for finishes, sandpaper, or precision tools.
Closed cabinet with doors. Adds doors that seal the contents from dust and hide clutter. Better for finishes, chemicals, blades, and anything you do not want coated in shop dust. It costs more and takes longer, but it looks cleaner and protects sensitive items.
A common approach is to build one open and one closed if you have the wall space, or build closed and leave the doors off the top section. The carcass does not care.
| Open Shelf | Closed Cabinet | |
|---|---|---|
| Build time | Half a day | Full weekend |
| Material cost | $100-$150 | $150-$300 |
| Dust protection | None | Full |
| Best for | Frequently used tools | Finishes, blades, clutter |
Materials and Cut List
The cut list below is for a standard 36″ wide, 72″ tall, 16″ deep closed cabinet. The 15-1/4″ panel depth gives you a 16″ outside depth once the pegboard back is added. All plywood panels are 3/4″ unless noted.
Cut list (36″W x 72″H x 16″D):
| Part | Material | Dimensions | Qty |
|---|---|---|---|
| Sides | 3/4″ plywood | 15-1/4″ x 72″ | 2 |
| Top | 3/4″ plywood | 15-1/4″ x 34-1/2″ | 1 |
| Bottom | 3/4″ plywood | 15-1/4″ x 34-1/2″ | 1 |
| Back panel | 1/4″ pegboard | 34-1/2″ x 71-1/4″ | 1 |
| Adjustable shelves | 3/4″ plywood | 15-1/4″ x 34-1/2″ | 3-5 |
| Doors (optional) | 3/4″ plywood | 17-1/4″ x 71-1/4″ | 2 |
Shopping list:
- 2 sheets 3/4″ plywood (4×8) for the carcass, shelves, and doors
- 1 sheet 1/4″ pegboard for the back
- 1-1/4″ pocket screws
- 3/4″ pocket screws for the pegboard
- Shelf pins (5mm), plus extras
- 4 locking swivel casters (see the load math below)
- 4 concealed or semi-concealed hinges plus 2 pulls (doors only)
- Wall anchor strap and lag screws for anti-tip
- Wood glue, edge banding (optional), finish of your choice
A single build usually lands near $150 for the closed version with basic casters and hinges. Upgrading to heavy-duty casters and soft-close hinges pushes it toward $300.
Tools Required
- Circular saw with a straightedge, or a table saw
- Pocket hole jig
- Drill and driver
- Shelf pin jig, or a piece of pegboard used as a drilling template
- 5mm brad-point bit with a depth stop
- Tape measure, square, clamps
- Level
You do not need a router, a domino, or any joinery tools. The whole cabinet goes together with pocket screws and glue.
Step 1: Cut the Carcass Panels
Cut the two sides, the top, and the bottom to the dimensions in the cut list. If you had the plywood cut down at the store, verify every panel with a tape measure before you build, because a 1/8″ error compounds fast in a tall carcass.
Keep the factory edge as your reference edge whenever possible, and cut so the good face of the plywood ends up facing out. If you plan to edge band the front edges, do it now while the panels are flat and easy to handle. Sand to 150 grit before assembly.
Label each panel in pencil on the inside face. In a 72″ carcass it is easy to flip a side panel and drill your shelf holes on the wrong face.
Step 2: Drill Shelf Pin Holes (32mm System)
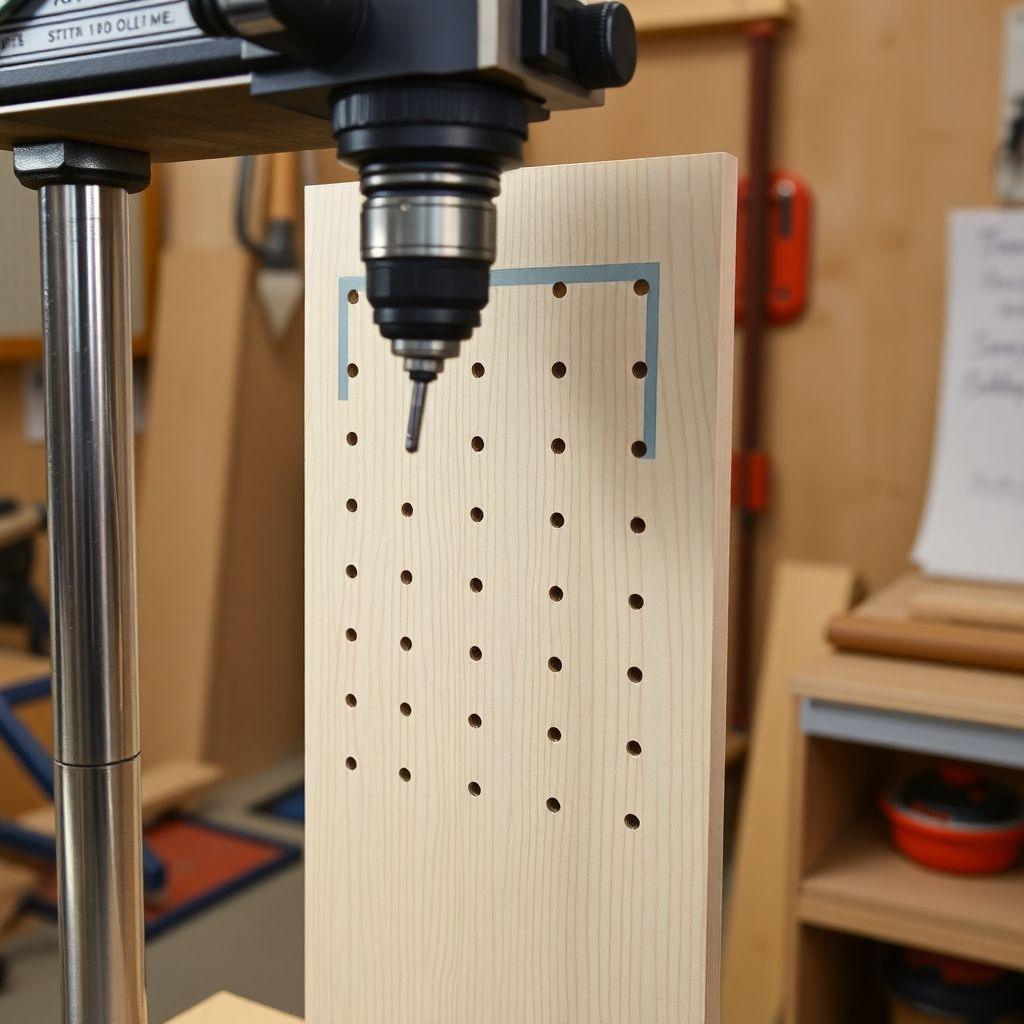
This is the step that makes or breaks adjustability. You are drilling a vertical column of holes in each side panel so shelves can be repositioned later.
Use the 32mm system: space every hole exactly 32mm center to center. This is not arbitrary. It is the cabinet industry standard, which means jigs, hardware, and pegboard templates are all built around it. When every hole sits on the same 32mm grid, a shelf that fits at one height fits at every height, and you can move shelves without re-measuring. Random spacing works once, but the first time you try to move a shelf up two inches you discover the pins on the left do not line up with the pins on the right.
Drill two columns per side panel, one near the front edge and one near the back, both set in about 1-1/2″ from the edge. Use a 5mm brad-point bit with a depth stop set to 10mm so you never blow through the panel. A dedicated shelf pin jig is worth buying, but a strip of 1/4″ pegboard clamped to the panel works as a template in a pinch, since pegboard holes are close to the 32mm grid.
Drill the matching columns on both side panels using the same reference edge, so left and right stay level.
Step 3: Assemble the Carcass
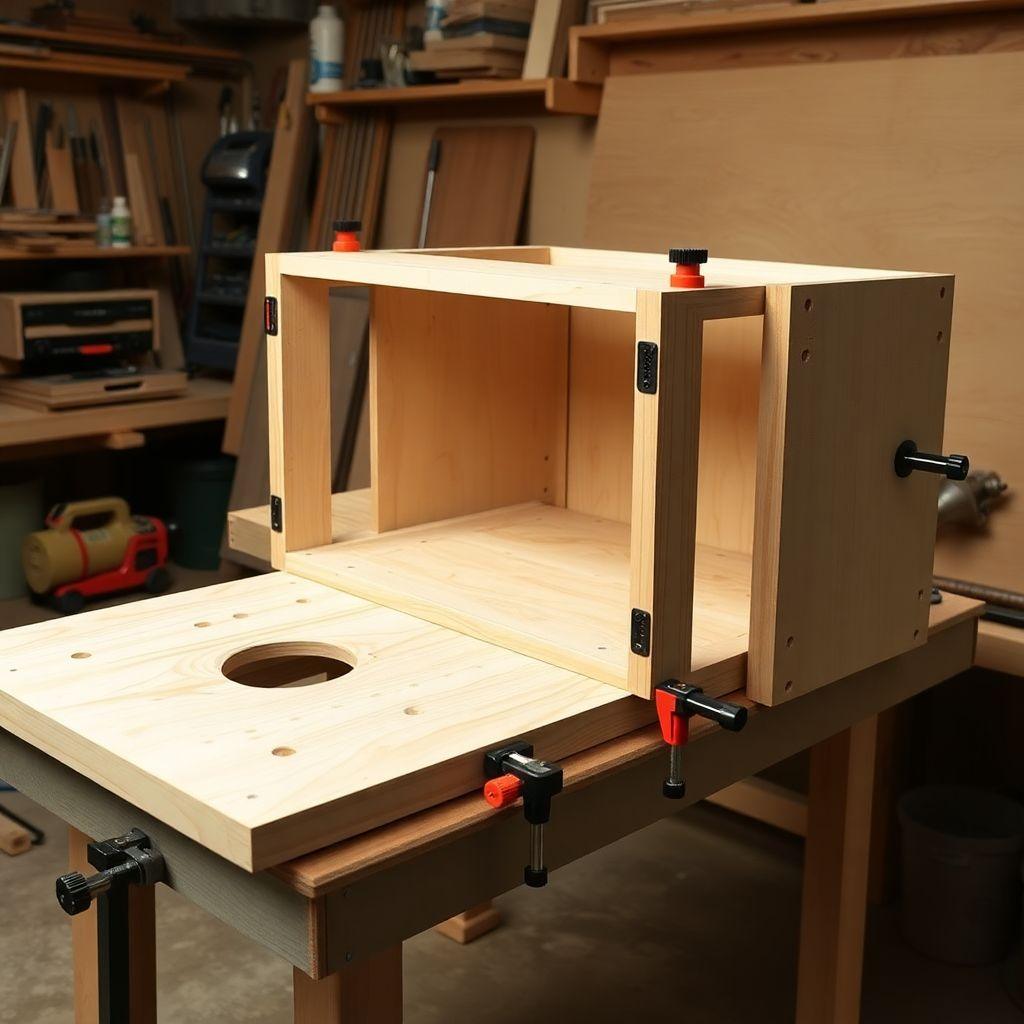
Drill pocket holes for the top and bottom panels. Put the holes on the outside faces of the top and bottom so they hide once the cabinet is against a wall, or on the inside if you prefer them out of sight from the front.
Stand the two sides up and attach the bottom panel first, flush with the bottom edges of the sides. Use 1-1/4″ pocket screws and a bead of glue. Clamp each joint before driving screws so nothing shifts. Then attach the top panel flush with the top edges.
Check the box for square by measuring both diagonals. They should match. If they do not, clamp a temporary diagonal brace across the back and rack the cabinet until the diagonals are equal before the glue sets. A carcass that dries out of square will fight you when you hang doors and fit shelves.
Step 4: Add the Pegboard Back
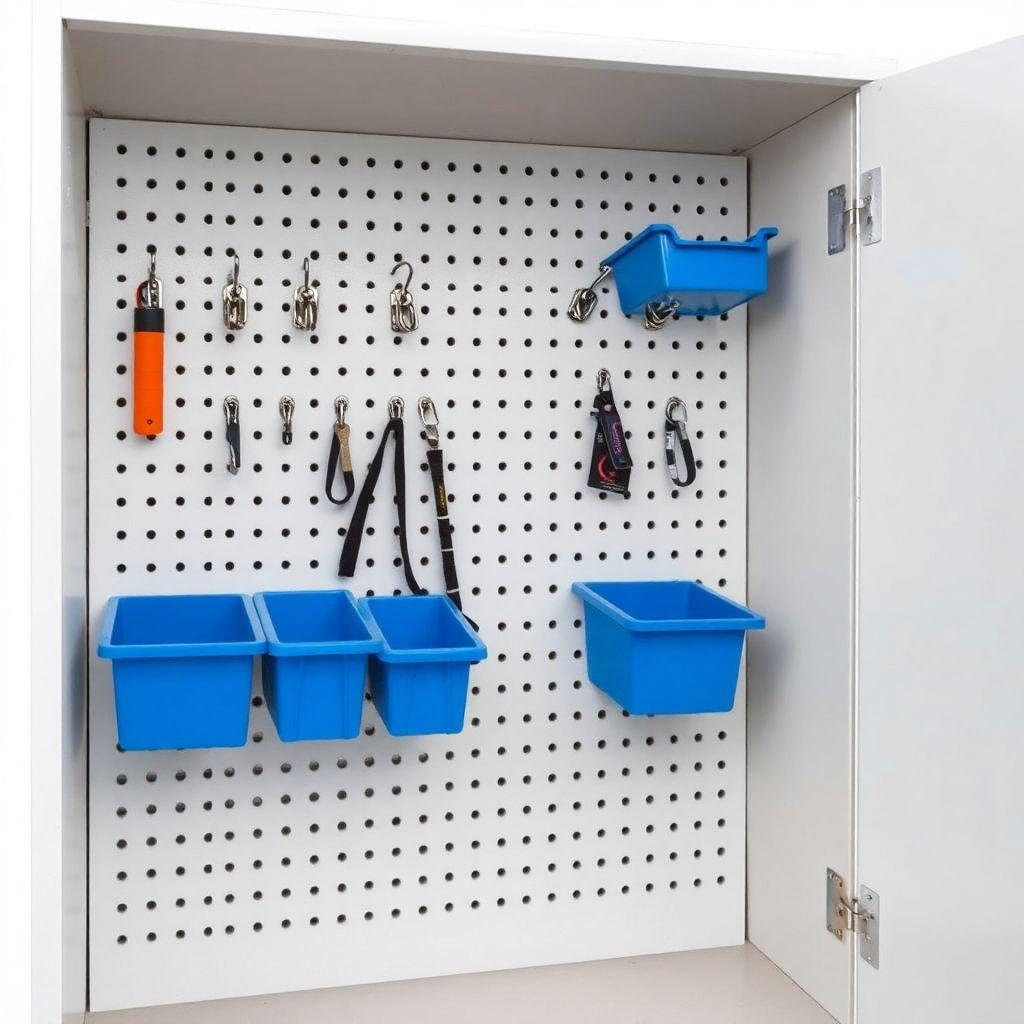
The back panel is where a shop cabinet earns its keep. Instead of a plain plywood back, use 1/4″ pegboard. The perforated back turns the entire rear wall of the cabinet into a mounting surface for hooks, bins, and tool holders, which is exactly what you want in a tool storage cabinet woodworking build. Chisels, layout tools, and small hand tools hang on the back where you can see them, freeing the shelves for boxed and bulky items.
One detail matters: pegboard needs an air gap behind it so the hooks have room to seat. If you screw pegboard flat against a solid surface, the hooks cannot hook. Here the pegboard is the back of the cabinet with open space behind it, so you get that gap for free.
Square the carcass, then screw the pegboard to the back edges of the sides, top, and bottom with 3/4″ screws every 8 inches. The pegboard also acts as your squaring panel, so confirm the diagonals are equal one more time as you fasten it. Do not overdrive the screws or you will crush the thin board.
Step 5: Install Doors (if using)
Skip this step for the open-shelf version.
Cut the two door panels to 17-1/4″ x 71-1/4″ each. That gives a small even reveal down the center and around the edges on a 36″ cabinet. Edge band or finish the doors to match the carcass.
Concealed European hinges are the most forgiving for a beginner because they adjust in three directions after mounting, so you can dial out a misaligned door with a screwdriver instead of re-drilling. Mount two hinges per door, roughly 4 inches from the top and bottom.
For door style, you have two options:
- Solid panel doors seal the cabinet completely. Use these for general storage and anything you want fully dust-free.
- Louvered doors have angled slats that let air move through. Use these on the section where you store finishes, solvents, rags, or anything that off-gasses. The ventilation prevents fumes from building up inside a sealed box. If you keep chemicals in the cabinet, put them behind a louvered door, not a solid one.
Hang the doors, adjust the reveal until the gap is even, then add pulls.
Step 6: Add Casters and Anti-Tip
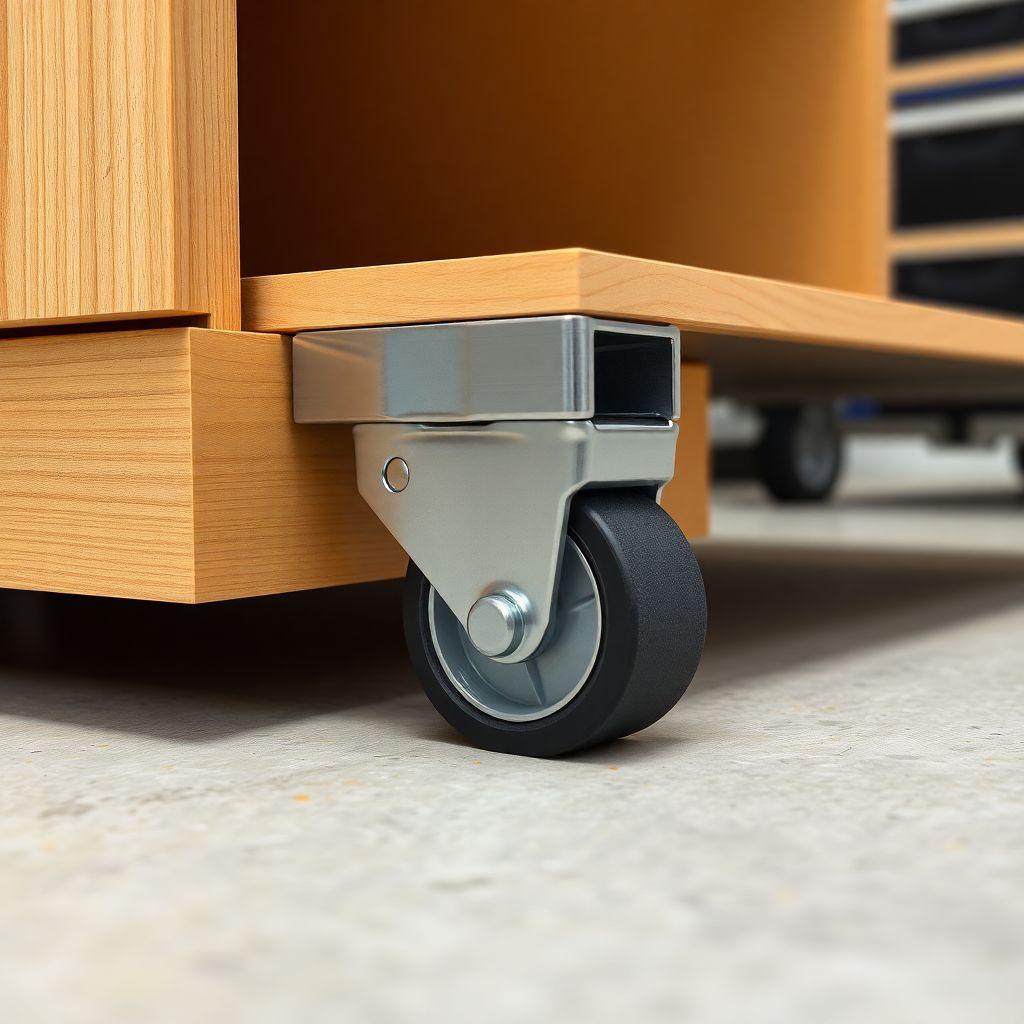
Mobility is what makes a good garage cabinet. If you are looking at garage storage cabinet plans, a rolling base lets you pull the cabinet out to sweep behind it or reposition it as your shop layout changes. Use four locking swivel casters so the cabinet rolls when you want it to and stays put when you lock it.
Size the casters with load math. Add up the weight the cabinet will hold, then apply a safety factor of 2. Take your expected shelf load, multiply by 2 for the safety factor, then divide across four casters:
Per-caster rating = (total shelf load x 2) / 4
For example, if you expect 400 lb of tools and stock, multiply by 2 to get 800 lb, then divide by 4. Each caster needs to be rated for at least 200 lb. Buying a safety factor of 2 into the rating means the casters are not running at their limit, which keeps them rolling smoothly and prevents the wheels from flat-spotting under a static load. When in doubt, round up.
Bolt the caster plates through the bottom panel with washers on the inside. Screws alone can pull out of plywood under a rolling load, so use bolts.
Anti-tip is not optional on a tall cabinet. Anything over 48″ tall can tip, and this cabinet is 72″. Once it rolls on casters, a loaded top shelf makes it top-heavy. Anchor it. Run a wall anchor strap from the top of the cabinet to a wall stud, or fasten an anti-tip bracket into a stud with lag screws. On a rolling cabinet, keep the casters locked whenever the cabinet is parked, and still use the strap. The strap is cheap insurance against a 200 lb cabinet coming down on someone.
Looking for more cabinet ideas?
This guide is part of our complete cabinet plans series — 6 cabinet types compared by skill, cost, and build time.
Want 16,000+ woodworking plans?
Ted’s Woodworking has step-by-step plans for every skill level. Browse Ted’s plans.
FAQ
What plywood should I use for a shop storage cabinet?
Standard 3/4″ plywood is plenty for shop use. Birch plywood gives cleaner edges and holds screws well, but sanded pine or fir sheathing plywood works fine and costs less. Use 1/4″ pegboard for the back regardless of what you pick for the carcass.
Do I really need pocket screws, or can I just use regular screws?
You can face-screw the carcass with regular wood screws, but pocket screws pull the joint tight and hide the fastener heads inside the cabinet. For a beginner, a pocket hole jig is the fastest way to get square, strong joints without clamping the whole thing overnight.
Why 32mm spacing for the shelf pins instead of just eyeballing it?
The 32mm system keeps every hole on a consistent grid, so any shelf fits at any height and the left and right pins always line up. Random spacing works until you try to move a shelf, at which point the pins no longer match. Jigs and hardware are also built around 32mm, so it is the easiest standard to follow.
How much weight can the shelves hold?
A 3/4″ plywood shelf at 34-1/2″ wide will sag under heavy loads over a long span. For heavy tools, keep shelves shorter, add a center support, or double up to 1-1/2″ thickness. For normal shop items the single 3/4″ shelf on four pins is fine.
Do I need casters, or can the cabinet sit on the floor?
Casters are optional. A fixed cabinet is more stable and cheaper. Add locking casters only if you need to move the cabinet to clean behind it or rearrange your shop. If you do add casters, size them with the load math above and keep them locked when parked.
Is anti-tip anchoring necessary if the cabinet has doors and casters?
Yes. Any cabinet over 48″ tall can tip, and this one is 72″. Doors and casters do not change that. Strap the top to a wall stud or use an anti-tip bracket. It takes five minutes and prevents a loaded cabinet from falling.
Related Articles

“DIY woodworking enthusiast who started with zero experience and a YouTube tutorial.
I build simple, practical projects for my home and share free plans
so other beginners can skip the guesswork.If I can build it, you can too.”