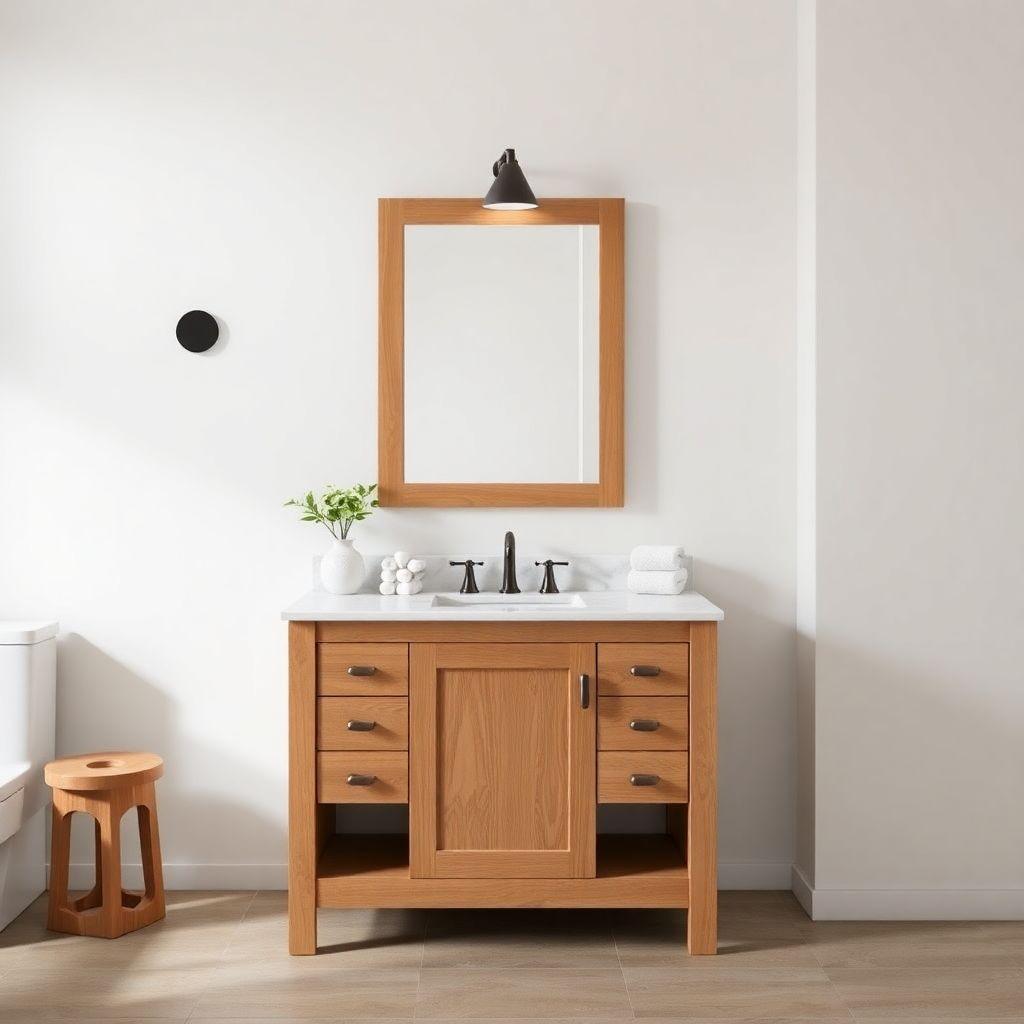
Store-bought vanities cost $400 to $1,200 and rarely fit an odd bathroom footprint. These bathroom vanity cabinet plans walk you through building a custom 30-inch single-door vanity for $200 to $500 in materials over two weekends. You will build a moisture-resistant plywood carcass with a solid-wood face frame, a soft-close door, and clean plumbing cutouts sized before assembly.
This is an intermediate project. If you can cut plywood square and drill pocket holes, you can build this. This diy bathroom vanity guide is part of our complete cabinet plans series, where we compare six cabinet types by skill, cost, and build time. If you have built a base cabinet before, the process to build bathroom vanity units is nearly identical, with one added concern: water. Getting the bathroom cabinet woodworking right means planning for a wet environment from the first cut.
Choose Your Width: 24, 30, or 36 Inch
Looking for more cabinet ideas?
This guide is part of our complete cabinet plans series — compare all options by skill level, cost, and build time.
Want 16,000+ woodworking plans?
Ted’s Woodworking has step-by-step plans for every skill level. Browse Ted’s plans.
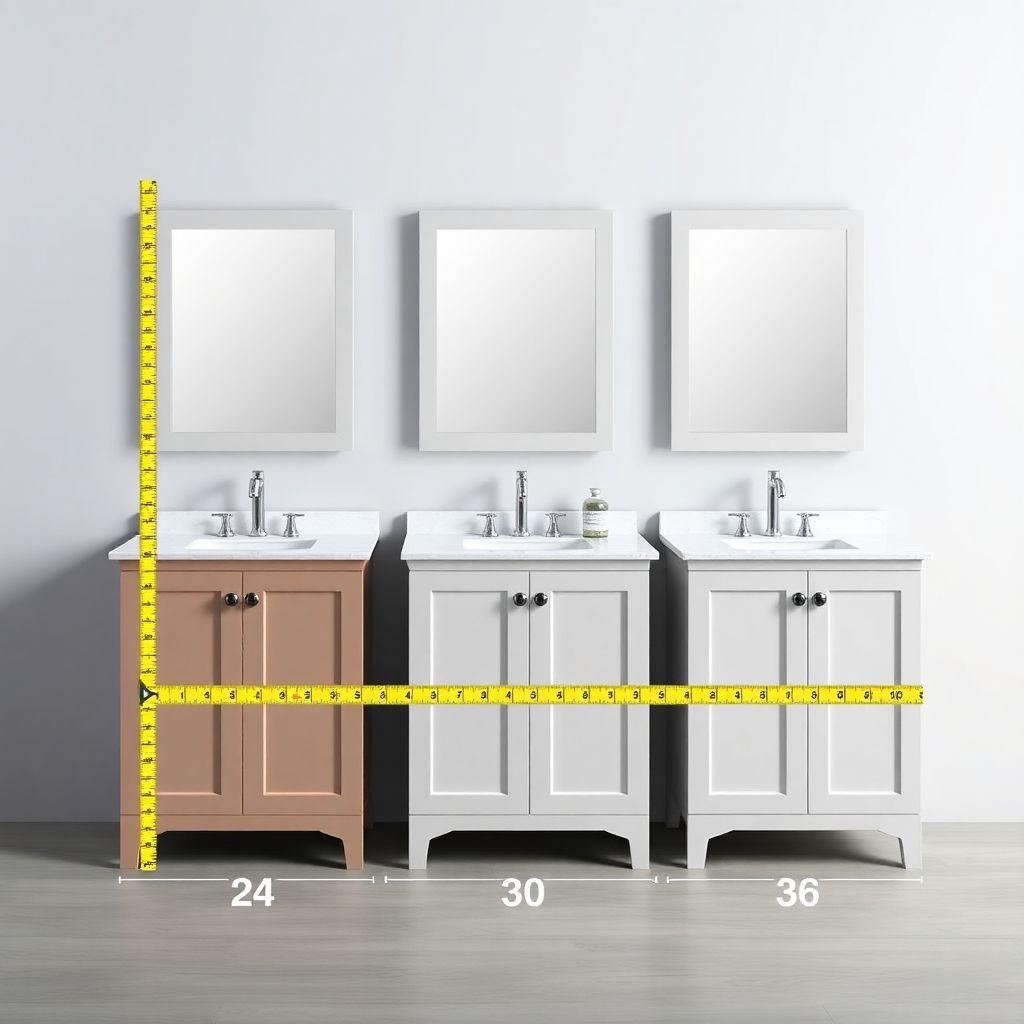
Vanities come in standard widths so they align with plumbing rough-ins and countertop sizes. Pick based on your space:
- 24 inch — Powder rooms and tight half baths. Single door, no drawer stack.
- 30 inch — The most common size and the one in these plans. Fits a single sink with room for a small door or drawer.
- 36 inch — Master baths and shared bathrooms. Enough width for a door plus a drawer bank, or a wider double-door layout.
Standard vanity height is 34-1/2 inches for the cabinet, which puts the finished countertop at roughly 36 inches once you add a 1-1/2 inch top. That is “comfort height,” taller than old 32-inch vanities and easier on your back. Standard depth is 21 inches for the cabinet body, giving a 22-inch countertop with a 1-inch front overhang.
If you scale up or down, keep the toekick and face-frame dimensions the same and only change the width of the rails, shelf, bottom, back, and door.
Wood Selection for a Wet Environment
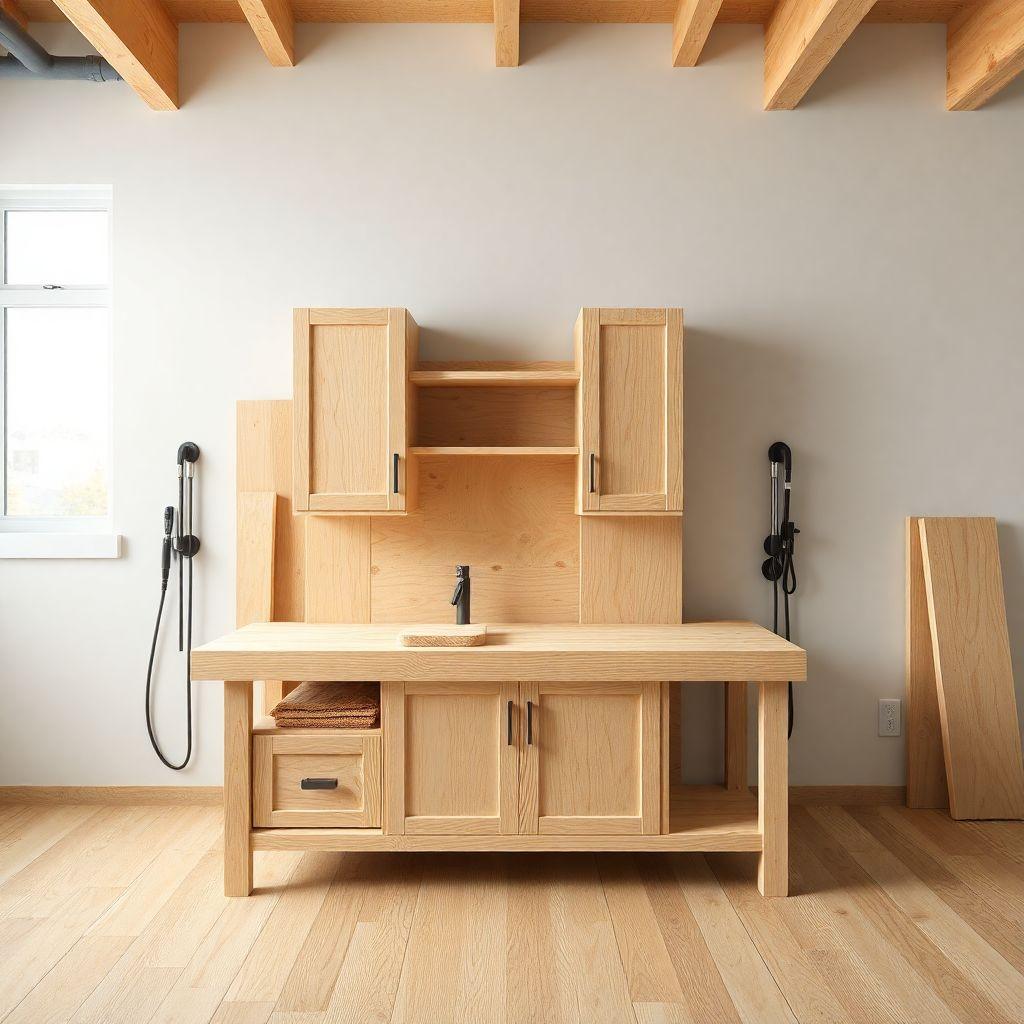
This is where a bathroom vanity differs from every other cabinet. The single biggest mistake is using MDF. MDF swells permanently the first time it gets wet, and a vanity floor sees leaks, splashes, and humidity for years.
Build the carcass from cabinet-grade plywood, never MDF. Two good options:
- ACX plywood — Sanded one face, exterior-grade glue. Affordable and holds up to moisture.
- Baltic birch — Void-free layers, very stable, takes finish beautifully. More expensive.
For the cleanest result, use PureBond formaldehyde-free plywood. It uses a soy-based adhesive, has no off-gassing, and performs like premium hardwood plywood in a humid room.
Use solid hardwood for the face frame and door only. These are the parts you see and touch, and solid wood machines cleanly for a crisp overlay. Poplar is cheap and paints well; maple or oak if you plan to stain. A wooden bathroom vanity built this way, solid wood where it shows and stable plywood where it works, resists moisture far better than a big-box particleboard unit while costing less.
Seal everything. After assembly, apply a waterproof finish (polyurethane or a two-part conversion varnish) to all surfaces, including the inside of the cabinet and the underside of the bottom panel where plumbing drips land.
Materials and Cut List (30″ Single-Door Example)
Finished dimensions: 30″ wide × 34-1/2″ high × 21″ deep, single door.
| Part | Qty | Material | Dimensions |
|---|---|---|---|
| Sides | 2 | 3/4″ ACX plywood | 20-1/4″ × 30-3/4″ |
| Top rail | 1 | 3/4″ hardwood | 1-3/4″ × 27″ |
| Bottom rail | 1 | 3/4″ hardwood | 1-3/4″ × 27″ |
| Stiles | 2 | 3/4″ hardwood | 1-3/4″ × 30-3/4″ |
| Shelf | 1 | 3/4″ plywood | 20-1/4″ × 26-1/4″ |
| Back | 1 | 1/4″ plywood | 27″ × 30-3/4″ |
| Bottom | 1 | 3/4″ plywood | 20-1/4″ × 26-1/4″ |
| Toekick | 1 | 3/4″ plywood | 3-1/2″ × 27″ |
| Door | 1 | 3/4″ hardwood plywood or solid wood | 13-1/8″ × 27-3/8″ |
| Countertop | 1 | Purchased or 3/4″ solid surface | 31″ × 22″ |
Hardware and consumables:
- 1-1/4″ pocket screws and 2″ pocket screws
- Wood glue (waterproof, Type II or III)
- 2× 35mm full-overlay soft-close cup hinges
- 1× door pull
- Ledger strip: 3/4″ × 3-1/2″ hardwood, 27″ long
- 3″ wood screws (for wall mounting)
- Countertop mounting clips and 100% silicone
- Waterproof finish
Tools Required
Nothing exotic here. This is standard bathroom cabinet woodworking:
- Circular saw with a straightedge, or a table saw
- Pocket-hole jig (Kreg or similar)
- Drill/driver
- 35mm Forstner bit (for hinge cups)
- Hole saws: 2-1/2″ and 3″ (for plumbing cutouts)
- Jigsaw (for drain cutout if not round)
- Clamps
- Tape measure, square, pencil
- Stud finder
- Level
- Sander
Step 1: Build the Carcass
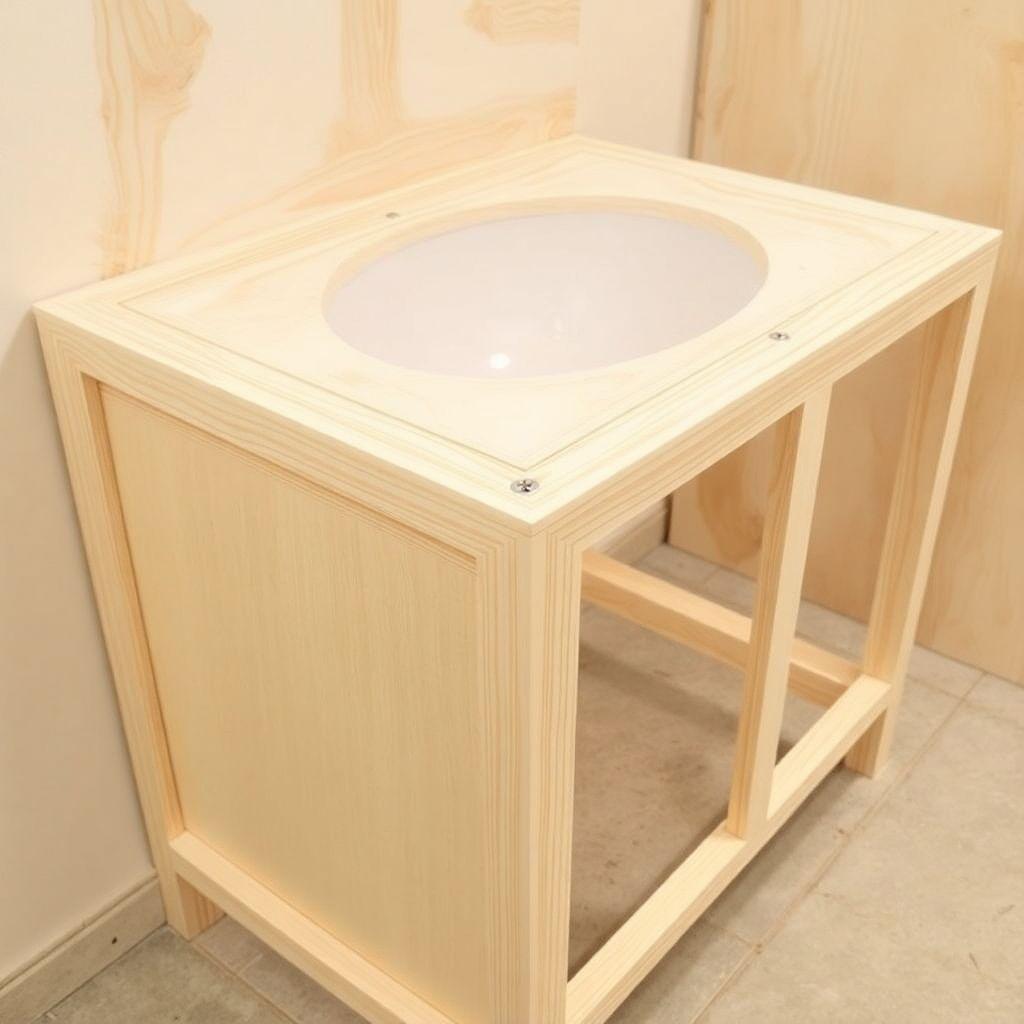
The carcass is the plywood box. To build bathroom vanity carcass, start with the two sides, the bottom, and the back.
- Cut both side panels and the bottom panel to size from 3/4″ plywood.
- Drill pocket holes along the bottom edge of each side panel (three per side) and along the bottom edge of the back where it meets the bottom panel.
- Stand the two sides on edge and attach the bottom panel between them using 2″ pocket screws and waterproof glue. The bottom sits flush with the bottom edges of the sides for now; the toekick recess comes in Step 2.
- Cut the shelf and install it roughly midway up the cabinet using pocket screws or shelf pins. This stiffens the box and gives you storage.
- Check the box for square by measuring both diagonals. They must match.
- Attach the 1/4″ back panel with glue and brad nails or screws. The back squares the whole assembly, so nail it while the box is confirmed square.
Step 2: Add the Toekick
The toekick is the recessed notch at the bottom front that lets you stand close to the sink. Match your existing bathroom cabinetry so the new vanity looks built-in.
Standard recess is 3-1/2 inches tall × 3 inches deep. In these plans the 3/4″ toekick board is set back 3 inches from the front face of the cabinet, and the bottom panel is raised so its front edge sits 3-1/2 inches above the floor.
- Attach the toekick board flush between the two side panels, set back 3 inches from the front.
- This creates the notch your feet tuck into. Measure your existing cabinetry first, some homes use 4 inches, and matching it matters more than the “standard.”
Step 3: Frame the Door Opening
The face frame is solid hardwood glued and screwed to the front of the plywood box. It hides the plywood edges and gives the door something solid to mount to.
- Cut the two stiles (vertical, 30-3/4″ long) and the top and bottom rails (horizontal, 27″ long) from 3/4″ hardwood.
- Drill pocket holes in both ends of each rail.
- Assemble the frame flat on your bench: join rails to stiles with 1-1/4″ pocket screws and glue, keeping everything square. The finished opening should be sized for a 1/2″ overlay door.
- Glue and clamp the completed face frame to the front of the carcass. The outer edges of the stiles sit flush with the outer faces of the side panels. Add a few brad nails to hold it while the glue sets, or clamp overnight.
Step 4: Build and Hang the Door
The door is a single overlay panel that covers the frame opening with a 1/2″ overlay on all sides.
- Cut the door to 13-1/8″ × 27-3/8″ from 3/4″ hardwood plywood or glued-up solid wood. Sand and ease the edges.
- Drill two 35mm hinge cups on the back of the door with a Forstner bit, roughly 3 to 4 inches from the top and bottom. Set depth so the cup sits flush.
- Use European-style clip-on soft-close cup hinges with full-overlay mounting plates. The $5 premium over cheap barrel hinges buys you soft-close action and three-way adjustment, so you can dial the door in perfectly after hanging. Skip the barrel hinges.
- Mount the hinge bodies in the cups, clip the door onto the plates screwed to the stile, and adjust the reveal until the gaps are even.
- Install the door pull.
Step 5: Install and Attach to Wall
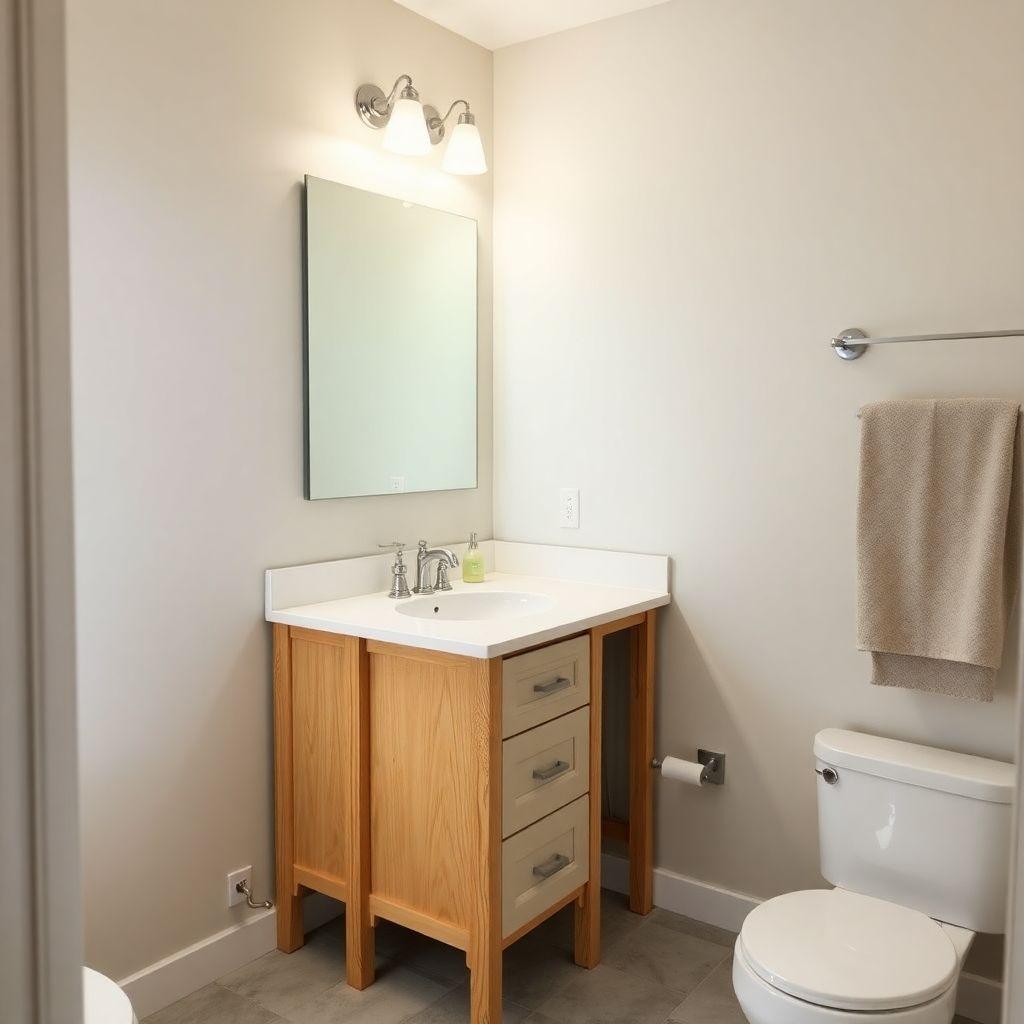
A loaded vanity with a stone top is heavy. Drywall anchors are not enough. You must hit studs.
- Find and mark the studs behind the vanity location. A 30-inch vanity should catch 2 to 3 studs.
- Screw the ledger strip (3/4″ × 3-1/2″ hardwood) horizontally across the inside back of the cabinet near the top, driving pocket or flat-head screws into the cabinet sides and back.
- Slide the vanity into place and level it, shimming under the base as needed. Bathroom floors are rarely flat.
- Drive 3-inch screws through the ledger strip into the wall studs. Two to three studs, at least one screw each. This is what holds the weight, not the drywall.
- Scribe and caulk the gap between the cabinet and the wall if the wall is uneven.
Step 6: Add Countertop and Plumbing Cutouts
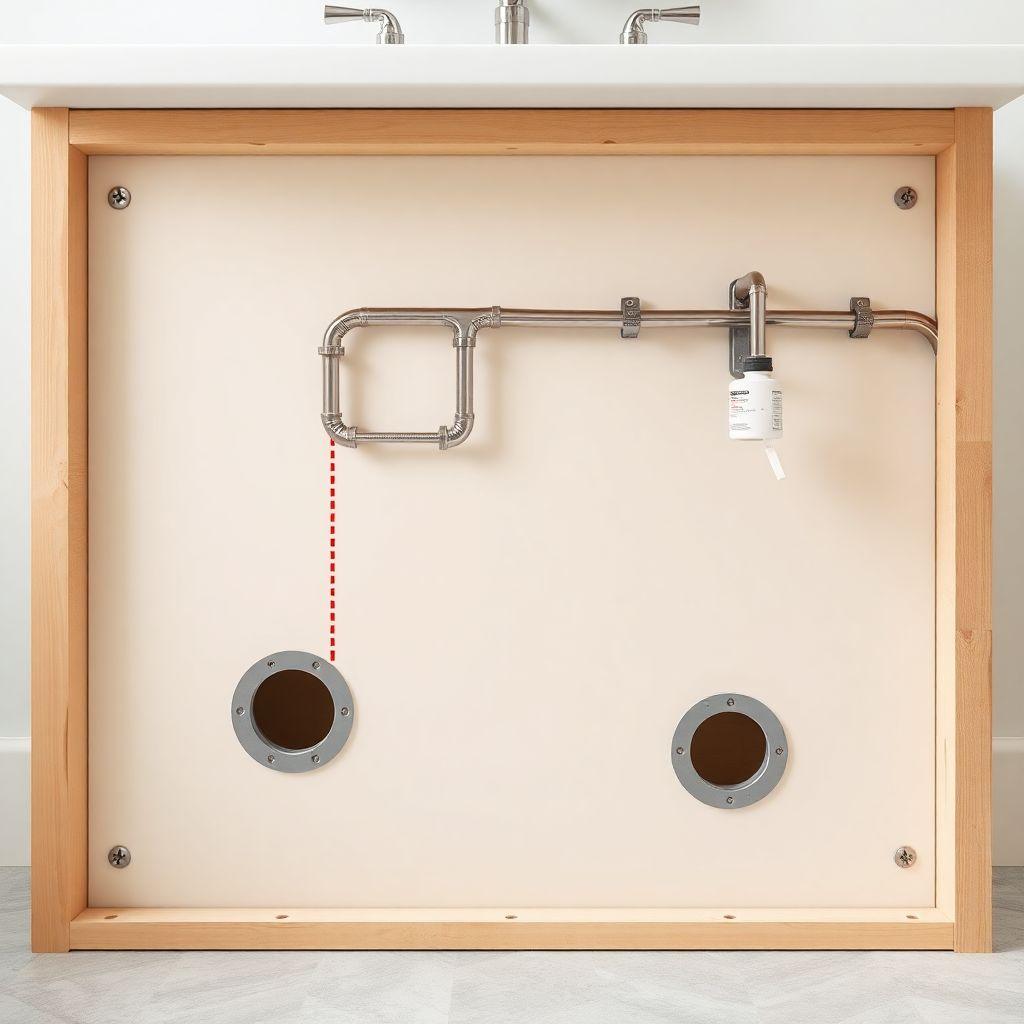
Mark plumbing cutouts before final assembly whenever you can. Cutting into an assembled, wall-mounted carcass is awkward and it is easy to crack the plywood. Marking from a template on a flat panel is far easier.
Plumbing cutouts (back panel):
- From your rough-in measurements, mark the hole centers on the back panel.
- Bore a 2-1/2″ hole for each supply line and a 3″ hole for the drain stub-out using hole saws. Round holes give you room to work and look clean behind the trap.
- Deburr the edges and seal the raw plywood inside each hole with finish, water finds bare edges first.
Countertop:
- The vanity top overhangs 1 inch on the sides and the front, so a 30-inch cabinet takes a 31″ × 22″ top (back sits flush to the wall).
- Set the top in place and check the fit against the wall. Scribe if needed.
- Attach from below using mounting clips and a bead of 100% silicone between the cabinet top edges and the underside of the counter. Do not drive screws down through the top surface. Silicone plus clips holds it firmly and leaves the surface unbroken and waterproof.
- Install the sink and faucet per their instructions, then connect supply lines and the drain trap through the cutouts you already bored.
Looking for more cabinet ideas?
This guide is part of our complete cabinet plans series — 6 cabinet types compared by skill, cost, and build time.
Want 16,000+ woodworking plans?
Ted’s Woodworking has step-by-step plans for every skill level. Browse Ted’s plans.
FAQ
What wood should I use for a bathroom vanity?
Use cabinet-grade plywood (ACX, Baltic birch, or PureBond) for the carcass and solid hardwood for the face frame and door. Never use MDF, it swells permanently when it gets wet, and a vanity floor will get wet.
How much does it cost to build a bathroom vanity?
Expect $200 to $500 in materials for a 30-inch vanity, depending on your plywood grade and whether you buy or build the countertop. That undercuts most comparable store-bought units.
How long does this project take?
Budget two weekends: one to cut parts and build the carcass and face frame, one to hang the door, install, and connect plumbing. Finish drying time is the main wait.
Do I need to attach the vanity to the wall studs?
Yes. A 30-inch vanity should hit 2 to 3 studs. Drive 3-inch screws through a back ledger strip into the studs. Drywall anchors alone will not hold a loaded cabinet with a stone top.
What size holes do I drill for the plumbing?
Bore 2-1/2 inch holes for the water supply lines and a 3-inch hole for the drain stub-out. Mark and cut them on the back panel before assembly, it is much easier than cutting an assembled cabinet.
How do I attach the countertop without screwing through it?
Use mounting clips from underneath plus a bead of 100% silicone between the cabinet and the counter. This holds the top securely and keeps the surface unbroken and waterproof, no screw holes on top.
Related Articles

“DIY woodworking enthusiast who started with zero experience and a YouTube tutorial.
I build simple, practical projects for my home and share free plans
so other beginners can skip the guesswork.If I can build it, you can too.”