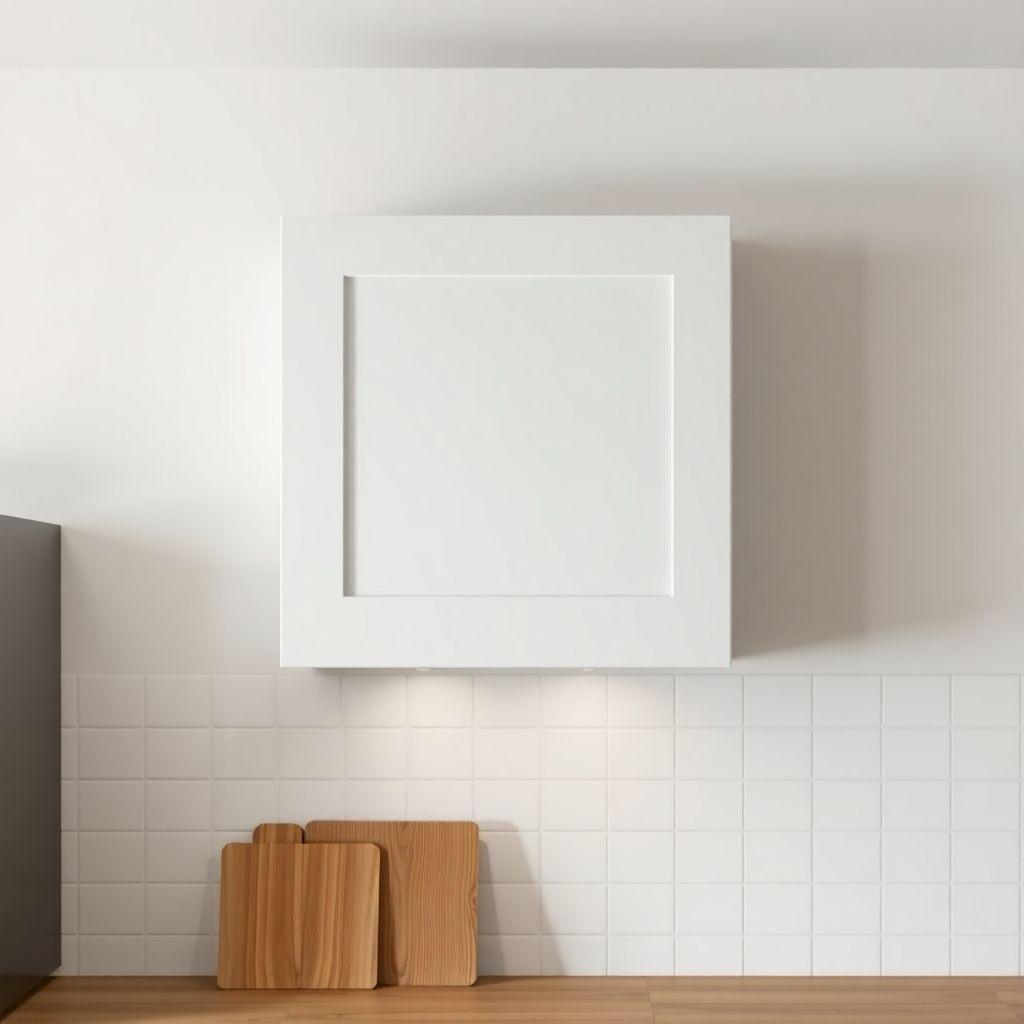
A wall cabinet is one of the best storage projects for an intermediate DIYer. You get real skill practice with a face frame, a door, and hinges, and you end up with something that hangs on the wall and holds weight every day. This guide walks you through a complete diy wall cabinet build, from cut list to hanging it on the studs.
You will build a single-door upper cabinet measuring 30″ wide, 30″ tall, and 12″ deep. That is the standard kitchen upper size. Total material cost runs $80 to $200 depending on your plywood and hardwood, and the whole thing is a solid weekend project. This is a support guide in our larger cabinet plans series, so if you want to compare cabinet types before you commit, start at the hub.
The upper cabinet woodworking skills you learn here, especially the nailer strips and the ledger board trick, carry straight over to base cabinets, garage storage, and built-ins. Follow the steps in order. The one rule you cannot skip: the finished cabinet must be screwed into wall studs. Drywall anchors alone will not hold a loaded cabinet.
Kitchen vs Garage Wall Cabinet: Pick Your Depth First
Looking for more cabinet ideas?
This guide is part of our complete cabinet plans series — compare all options by skill level, cost, and build time.
Want 16,000+ woodworking plans?
Ted’s Woodworking has step-by-step plans for every skill level. Browse Ted’s plans.
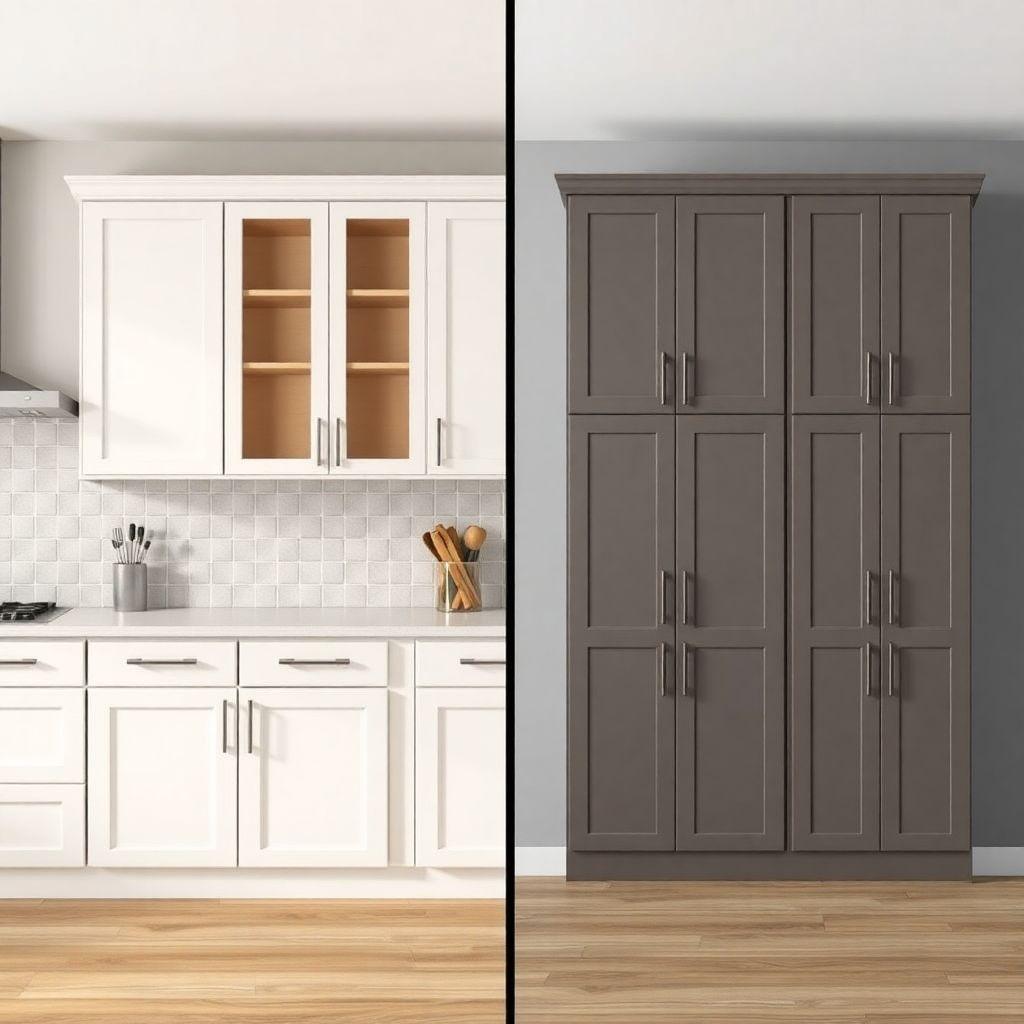
Before you cut a single piece of plywood, decide where this cabinet is going. Depth is the one dimension you cannot easily change later, and it is different for each use.
- Kitchen upper: 12″ deep. This clears your countertop appliances and keeps the cabinet from crowding your head over the counter. Standard heights are 30″ or 42″.
- Garage or workshop: 16″ to 24″ deep. You are storing paint cans, power tool cases, and bins, so you want the extra depth. There is no countertop below to worry about.
This guide uses 12″ deep because it is the kitchen standard. If you are building for a garage, keep every part the same except the depth. Change the sides, top, and bottom depth from 10-1/2″ to your target (subtract 1-1/2″ from the finished cabinet depth to account for the 3/4″ face frame and door overhang), and buy a wider door blank.
Pick your depth now and write it on your cut list before you go further.
Materials and Cut List (30″W × 30″H × 12″D kitchen upper)
Buy one sheet of 3/4″ cabinet-grade plywood (birch or maple), a quarter sheet of 1/4″ plywood for the back, and about 8 linear feet of 3/4″ hardwood for the face frame. Here is the full cut list.
| Part | Material | Dimensions | Qty |
|---|---|---|---|
| Sides | 3/4″ plywood | 10-1/2″ × 30″ | 2 |
| Top + bottom | 3/4″ plywood | 10-1/2″ × 28-1/2″ | 2 |
| Back | 1/4″ plywood | 28-1/2″ × 30″ | 1 |
| Nailer strips (top + bottom) | 3/4″ plywood | 3″ × 28-1/2″ | 2 |
| Face frame stiles | 3/4″ hardwood | 1-3/4″ × 30″ | 2 |
| Face frame rails | 3/4″ hardwood | 1-3/4″ × 26-1/2″ | 2 |
| Door | 3/4″ plywood or solid wood | 13-1/8″ × 27-3/8″ | 1 |
| Ledger board | 1×4 pine | 30″ long | 1 (temporary) |
Hardware: 2× European cup hinges (35mm, full overlay), pocket screws, wood glue, 1-1/2″ wood screws for mounting, and 2-1/2″ or 3″ screws for driving into the studs.
A quick note on the numbers. The sides run the full 30″ height. The top and bottom sit between the sides, so they lose 1-1/2″ of width (two 3/4″ side panels), giving 28-1/2″. The back covers the whole rear opening. The door is sized for full overlay on a single-door 30″ cabinet.
Tools Required
- Table saw or circular saw with a straightedge for breaking down the sheet
- Pocket hole jig (Kreg or similar)
- Drill and driver
- 35mm Forstner bit for the hinge cups
- Clamps (at least four)
- Stud finder
- 4-foot level
- Tape measure and square
- Sandpaper or random orbital sander
Step 1: Build the Carcass with Nailer Strips
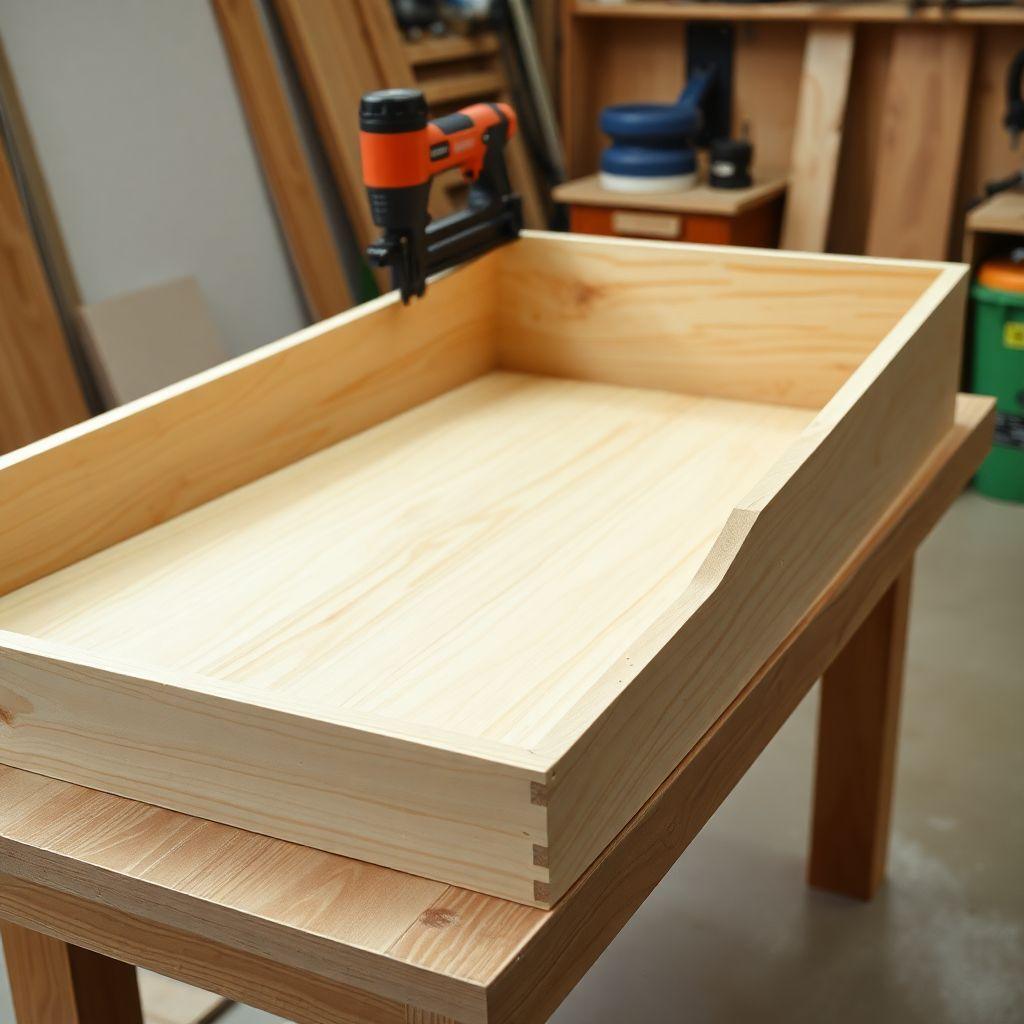
The carcass is the box. Everything else attaches to it, so get it square. This is where you actually build wall cabinets, and the nailer strips are what make it safe to hang.
Drill pocket holes on the top and bottom edges of both the top and bottom panels, two per edge. Stand the two sides up and attach the top and bottom between them with glue and pocket screws. Check the box for square by measuring both diagonals. When the two measurements match, the box is square. Clamp it and let the glue set.
Now the critical part: the nailer strips. Cut two 3″ wide strips of 3/4″ plywood, each 28-1/2″ long. Install one flush against the inside top of the carcass and one flush against the inside bottom, running side to side across the back. Glue and pocket-screw them to the sides.
The nailer strips do two jobs. First, they give you a solid 3/4″ substrate to drive mounting screws through from inside the cabinet into the wall studs. Screwing through a 1/4″ back panel alone would rip out under load. Second, they lock the box against racking, so it stays square once it is on the wall. Do not skip them.
Finish the carcass by gluing and nailing the 1/4″ back panel onto the rear. The back keeps the box square and closes it up. Set the whole carcass aside.
Step 2: Build and Attach the Face Frame
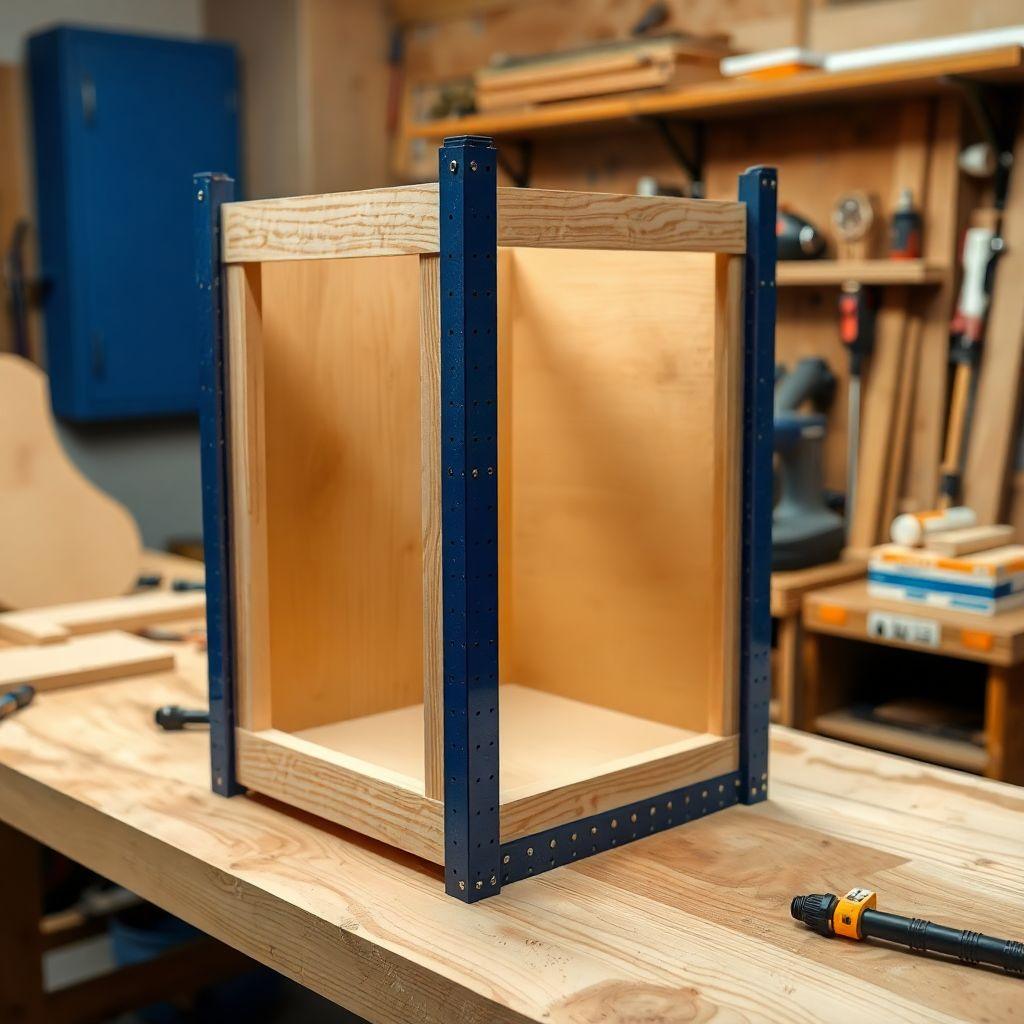
The face frame is the picture-frame border on the front of the cabinet. It hides the raw plywood edges and gives the door something clean to close against. This is classic upper cabinet woodworking and the part that makes a homemade cabinet look bought.
Cut two stiles at 1-3/4″ × 30″ (the vertical pieces) and two rails at 1-3/4″ × 26-1/2″ (the horizontal pieces). Drill two pocket holes in each end of both rails. Join the rails to the stiles with glue and pocket screws to form a rectangle. The outside dimensions should match the carcass front: roughly 30″ × 30″. Check it for square before the glue sets.
Attach the finished frame to the front of the carcass with glue and clamps. Line up the outside edges flush with the outside of the box. Clamp across the whole assembly and let it dry. Some builders add a few brad nails to hold it while the glue cures. Once dry, sand the frame flush with the sides so there is no lip.
Step 3: Build the Door
For a single-door 30″ cabinet with full-overlay hinges, cut one door blank at 13-1/8″ × 27-3/8″. A slab door from 3/4″ plywood with edge banding is the simplest option and looks clean painted. If you want a solid-wood or shaker-style door, that is fine too, just keep the outside dimensions the same.
Now bore the hinge cups. European cup hinges need a 35mm hole drilled into the back of the door for the cup to sit in. Here is the number that trips people up: the bore center must sit 37mm (1-7/16″) from the edge of the door. Get this wrong and the hinge will bind or the door will not sit flush.
Mark two hinge locations on the door back, typically about 3″ to 4″ down from the top and up from the bottom. At each, measure 37mm in from the door edge and mark the center. Drill each 35mm cup hole about 1/2″ deep with a Forstner bit. Do not drill through the door. Set the hinges in the cups and screw them down, but do not attach the door to the cabinet yet.
Step 4: Install the Ledger Board and Find Studs
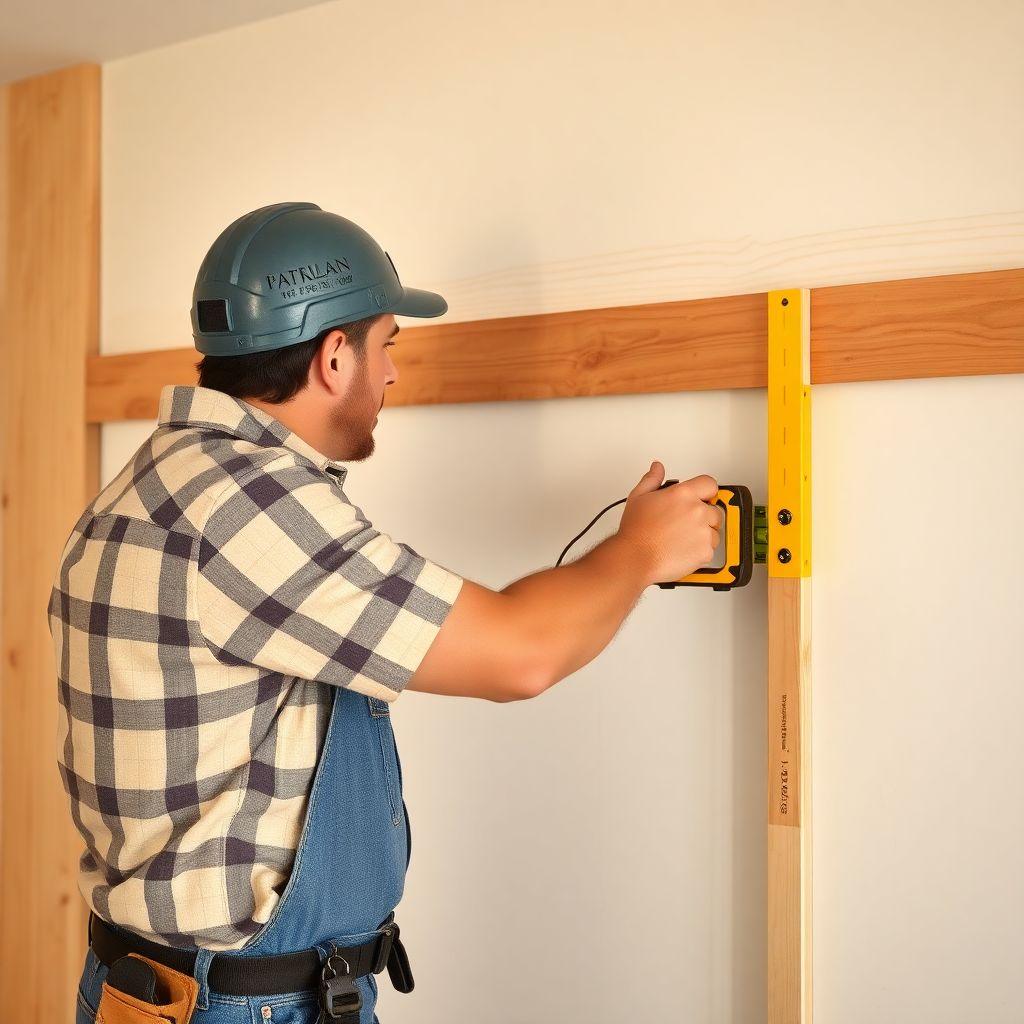
Hanging a wall cabinet solo is where most DIYers get stuck. The cabinet is heavy and awkward, and you need both hands free to drive screws. The fix is a temporary ledger board, and it is the single best trick for hanging wall cabinet units alone.
First, find your studs. Run a stud finder across the wall where the cabinet will go and mark every stud center with a pencil. Studs are usually 16″ on center. Over a 30″ span you will catch at least two studs, sometimes three. Mark them clearly.
Decide the bottom height of the cabinet. In a kitchen, uppers usually sit 18″ above the countertop. Draw a level line across the wall at that bottom height using your 4-foot level. Accuracy here matters, so take your time.
Now screw the 1×4 ledger board to the wall so its top edge sits exactly on that level line. Drive the ledger screws into the studs you marked. This board is temporary. It will carry the weight of the cabinet while you fasten it, then come off. Make sure it is dead level, because the cabinet will sit on it.
Step 5: Hang the Cabinet
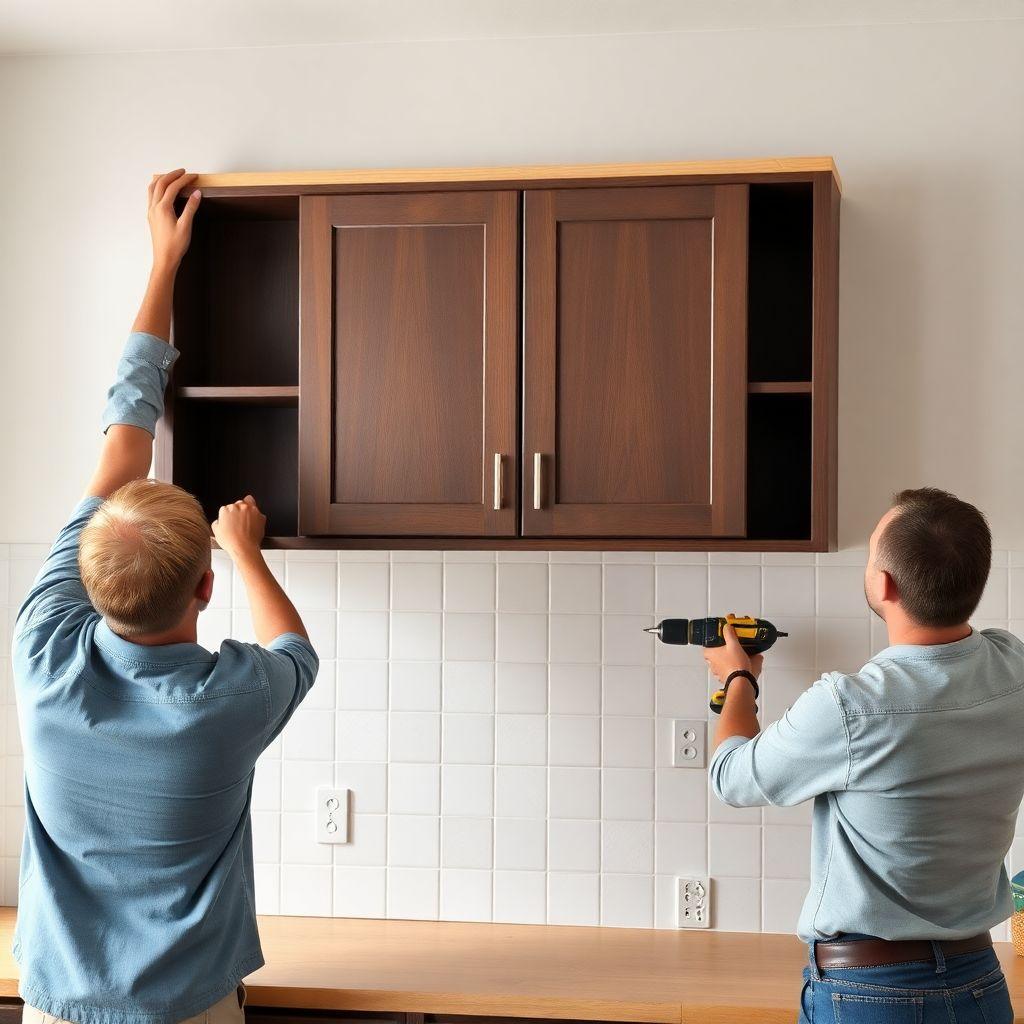
Lift the carcass and rest its bottom edge on the ledger board. The ledger now holds the full weight, so you can let go and line up the cabinet left to right without straining. This is the whole point of the ledger.
With the cabinet resting on the ledger, drive your mounting screws through the top nailer strip into the wall studs, then through the bottom nailer strip into the studs. Use 2-1/2″ or 3″ screws so they bite at least 1-1/2″ into the stud framing.
Here is the weight math, and it is why stud count matters. A 1-1/2″ screw driven into a stud holds roughly 70 lbs in shear. A 30″ cabinet spanning two studs gives you four mounting points (two studs, top and bottom nailer), which is 4 screws rated at about 280 lbs total. That is far more than a loaded kitchen cabinet full of dishes will ever weigh. If your studs let you catch a third stud, add two more screws and your rating jumps to 420 lbs. Never mount into drywall alone. Drywall anchors are not rated for hanging loaded cabinets and will pull out.
Once all screws are driven and the cabinet is solid, unscrew and remove the ledger board. Patch the small ledger screw holes later.
French cleat alternative: If you plan to reposition the cabinet or want a removable mount, use a French cleat instead of screwing through the nailers. Rip a 45-degree bevel down the middle of a piece of 3/4″ plywood to make two interlocking pieces. Screw one to the wall studs, bevel facing up and in. Screw the mating piece to the back of the cabinet, bevel facing down and in. The cabinet hooks over the wall cleat and hangs from gravity. A French cleat handles 200+ lbs per linear foot and is infinitely repositionable along the wall.
Step 6: Hang the Door and Adjust Hinges
With the cabinet on the wall, mounting the door is simple. Hold the door in place over the opening and mark where the hinge mounting plates land on the inside face of the cabinet. European hinges clip onto a mounting plate that screws to the cabinet side. Screw the two plates in place, then clip the door hinges onto them.
European cup hinges have three adjustment screws each, which is the whole reason to use them. Adjust the door in three directions:
- Side to side: sets the gap between the door and the frame edge. Aim for an even 1/16″ reveal.
- In and out: sets how far the door sits off the face frame so it closes flush.
- Up and down: raises or lowers the door in the opening.
Close the door and check the reveal all the way around. Tweak the screws until the gap is even top to bottom and side to side. This is the payoff for boring the cup hole at exactly 37mm. If your reveal is uneven and the adjustment screws cannot fix it, recheck that bore distance.
Looking for more cabinet ideas?
This guide is part of our complete cabinet plans series — 6 cabinet types compared by skill, cost, and build time.
Want 16,000+ woodworking plans?
Ted’s Woodworking has step-by-step plans for every skill level. Browse Ted’s plans.
FAQ
How much weight can a DIY wall cabinet hold?
It comes down to how many studs you hit. Each 1-1/2″ screw into a stud holds about 70 lbs in shear. A 30″ cabinet mounted through the nailer strips into two studs gives you four screws rated around 280 lbs total, well beyond a kitchen cabinet full of dishes. Always screw into studs, never drywall anchors alone.
Do I really need nailer strips?
Yes. The nailer strips give you a solid 3/4″ plywood substrate to drive mounting screws through into the wall. Screwing through the 1/4″ back panel alone would tear out under load. They also keep the cabinet from racking out of square once it is hung.
What is the ledger board for if it gets removed?
The ledger board is a temporary shelf that holds the cabinet’s weight while you drive the mounting screws. It lets one person hang a cabinet that would normally take two. Once the cabinet is screwed to the studs, you remove the ledger and patch the small holes.
How deep should my wall cabinet be?
Kitchen uppers are 12″ deep so they clear countertop appliances. Garage and workshop cabinets run 16″ to 24″ deep for bulkier storage. Decide before you cut, because depth is set by the side, top, and bottom panels.
Why does the hinge cup have to be exactly 37mm from the edge?
European cup hinges are engineered around that 37mm (1-7/16″) bore distance. If you drill it too close or too far from the edge, the door binds against the frame or will not close flush, and the adjustment screws will not have enough range to fix it.
Can I make this a double-door cabinet?
Yes. Add a center stile to the face frame, split the door opening in two, and cut two narrower doors with the same 37mm hinge bore. Everything else, including the carcass, nailer strips, and mounting, stays the same.
Related Articles

“DIY woodworking enthusiast who started with zero experience and a YouTube tutorial.
I build simple, practical projects for my home and share free plans
so other beginners can skip the guesswork.If I can build it, you can too.”