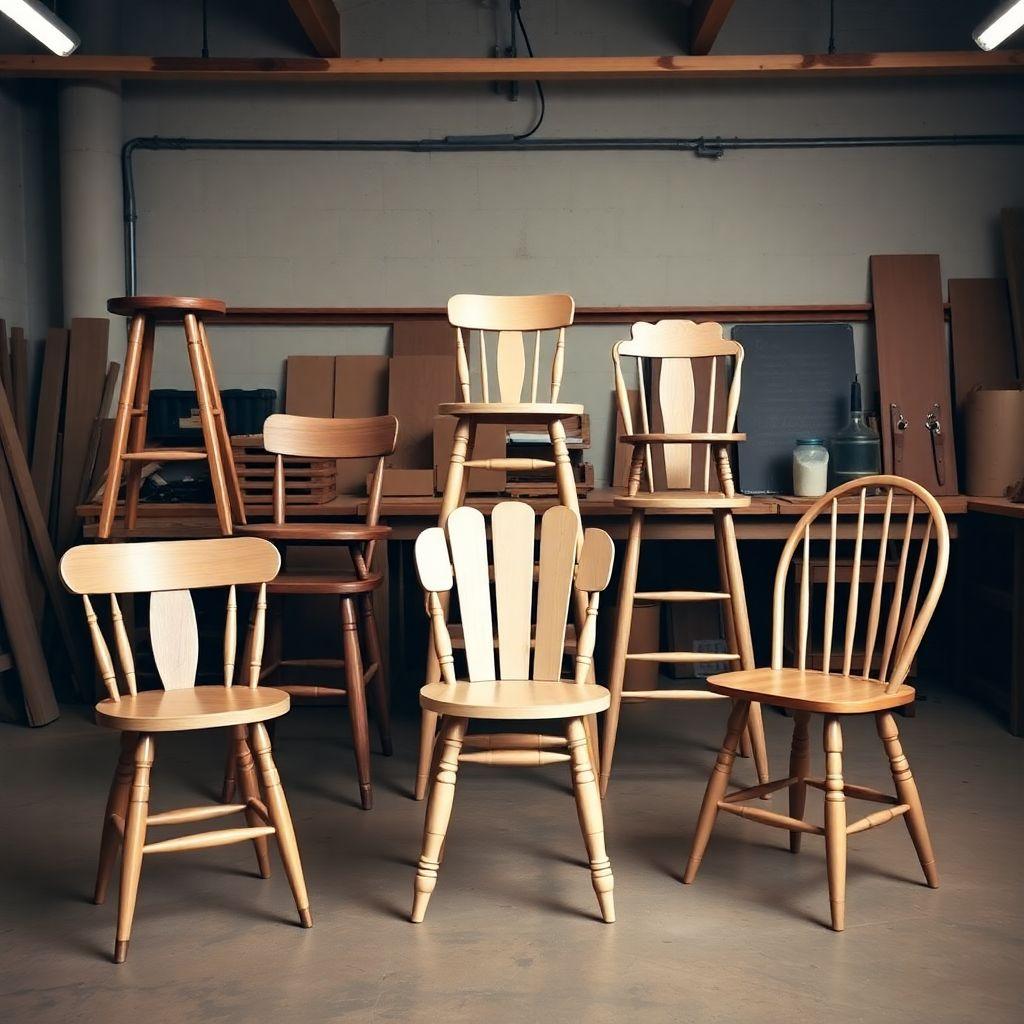
Seating is one of the most rewarding things you can build, but “build a chair” covers everything from a two-hour shop stool to a Windsor chair that will humble a seasoned furniture maker. This hub covers six chair and stool plans worth your bench time, each broken down by skill level, cost, and build time so you can pick a project that matches where you are right now. This guide is part of our complete woodworking furniture plans library.
Picking the right project comes down to three questions. How much joinery experience do you have? A basic woodworking stool forgives a lot; a dining chair punishes every loose joint with a wobble you cannot hide. What tools do you own? Steam bending and seat saddling need gear a folding chair never asks for. And how much shop time can you commit? Some of these are a Saturday, others are a month of weekends. Match the answers to the cards below and you will finish the build instead of abandoning it half-assembled.
Each section gives you a quick-reference card plus a short read on what makes that type distinctive. There are no step-by-step instructions here. This page is a decision-helper, not a cut list.
Woodworking Stool
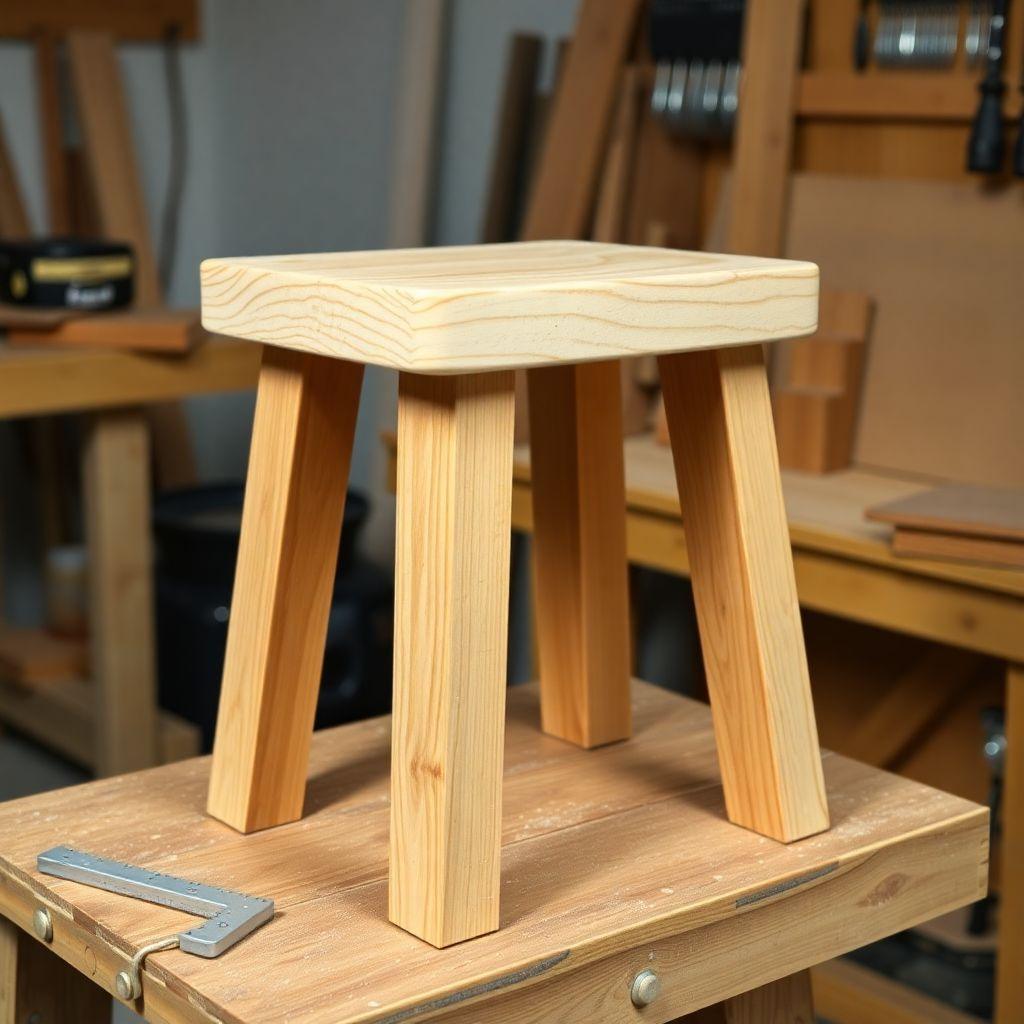
A woodworking stool is the entry point to building seating. Whether it is a low shop stool or a kitchen perch, the basic recipe is a seat, three or four legs, and stretchers to keep everything rigid. Joinery is usually mortise-and-tenon or dowel, both of which are beginner-friendly and quick to cut.
- Skill level: Beginner
- Cost estimate: $30 to $80
- Build time: 1 day
- Best for: First-time furniture builders who want a fast, useful win
What makes the woodworking stool distinctive is how much it teaches for how little it demands. You practice cutting matching joints, seating a leg at a consistent angle, and gluing up a small assembly under time pressure before the glue grabs. If your legs splay slightly or your stretchers sit a hair off, the stool still stands and still works. That forgiveness is exactly why it is the best first seating project, and the skills carry directly into every harder build on this page.
Dining Chair
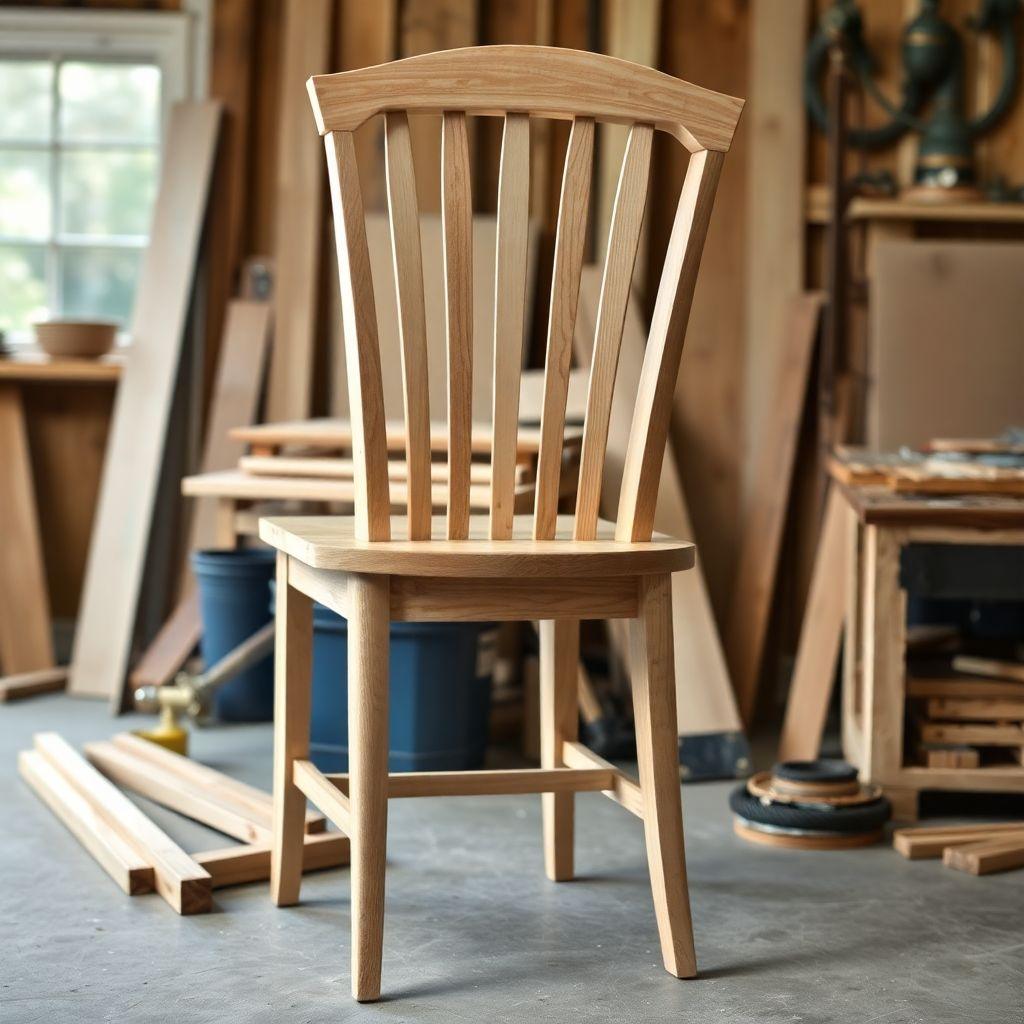
The dining chair is where seating gets serious. Four legs, a back, and a seat that has to carry a shifting adult through thousands of meals means every joint is under constant stress. Most plans use a face-frame or Windsor-influenced design, and hardwood is not optional here. Softwood back legs will crack or loosen within a year.
- Skill level: Advanced
- Cost estimate: $100 to $250
- Build time: 2 to 3 weekends
- Best for: Experienced builders ready for real furniture joinery
A woodworking dining chair is distinctive because of the angles. The back legs rake backward, the seat often tapers, and the back tilts for comfort, so almost no joint is a simple square cut. Getting a matched set of four (or six) to sit level and look identical is the real challenge, which is why most builders make a full-size dining chair pattern or story stick before cutting a single mortise. If you want a deeper walkthrough of chair joinery and back-leg layout, see our woodworking chair guide. Build one chair, confirm the pattern, then batch the rest.
Bar Stool
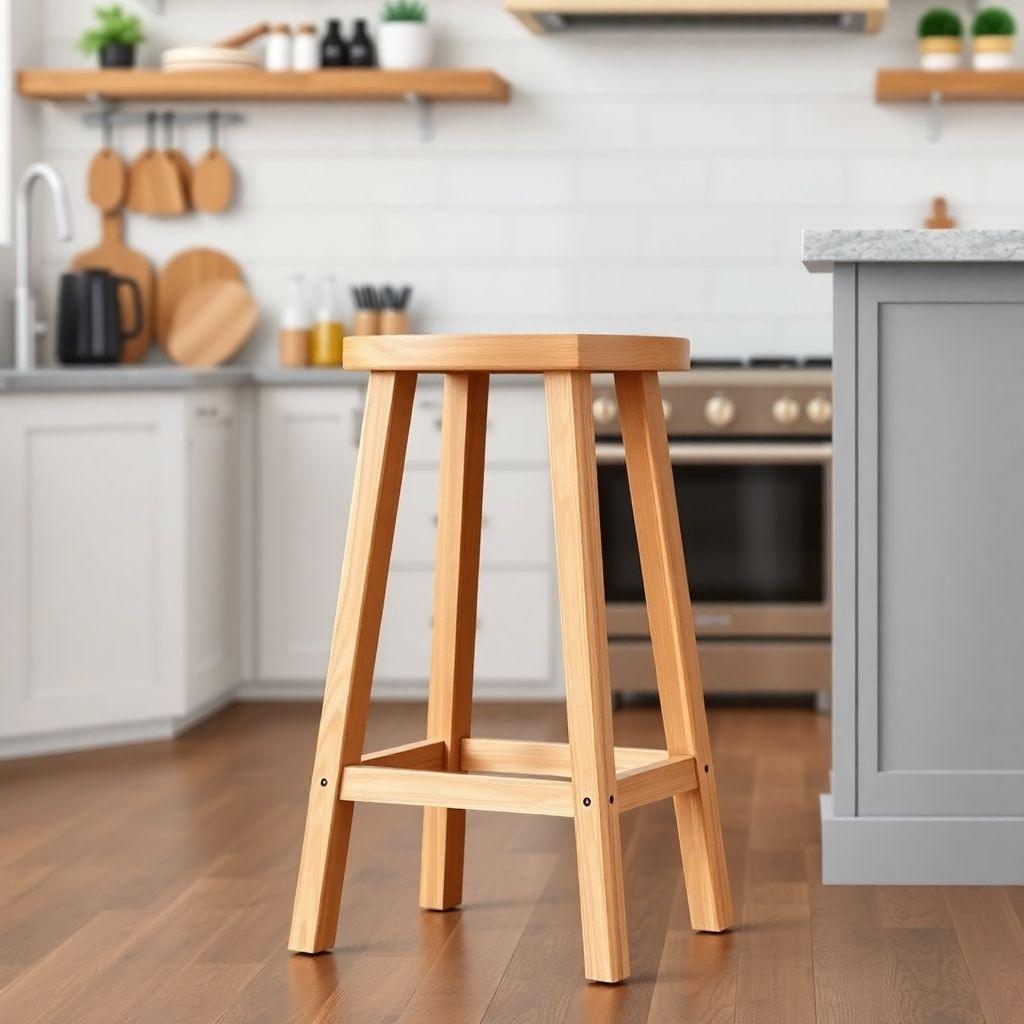
A bar stool is a woodworking stool stretched tall, with a seat height of 28 to 30 inches to match a counter or bar. That extra height changes the engineering. You need a footrest rail for comfort, and the leg splay matters far more because a tall, narrow base tips easily if the angles are wrong.
- Skill level: Intermediate
- Cost estimate: $50 to $150
- Build time: 1 weekend
- Best for: Builders comfortable with basic joinery wanting a step up
Bar stools DIY projects live or die on leg angle and stability. Too vertical and the stool feels tippy; too splayed and it will not tuck under the counter. Nailing the footrest rail height, usually around 12 inches off the floor, is the detail that separates a stool people actually use from one that sits unused in a corner. It is the ideal bridge project between a beginner stool and an advanced chair, teaching angled joinery and stability math without the full complexity of a dining chair back.
Adirondack Chair
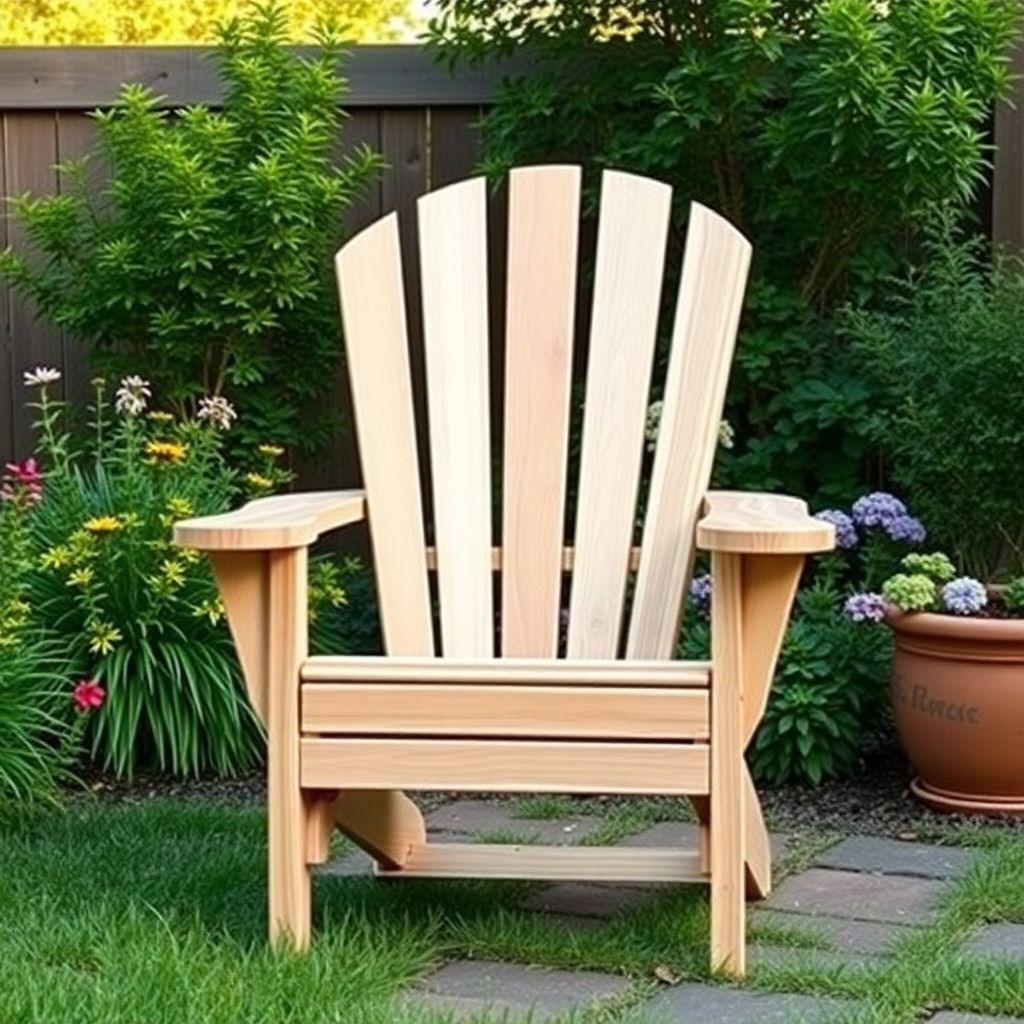
The Adirondack chair is the most beginner-friendly full-size chair on this list. It is built almost entirely from flat slats and boards, joined with screws and glue rather than cut joinery, so it skips the mortise-and-tenon work that makes other chairs intimidating. Pine or cedar keeps it light and weather-resistant for the porch or garden.
- Skill level: Beginner to Intermediate
- Cost estimate: $50 to $120
- Build time: 1 weekend
- Best for: Builders who want a big, satisfying result without cut joinery
What sets the Adirondack apart is its signature geometry: the wide fanned back and the low, angled seat that leans you into a relaxed recline. That angled seat is the one spot that trips people up, since the rear stringers set the recline and the whole comfort of the chair rides on getting them right. Beyond that, it is mostly cutting slats to length and fastening them in the right order. Big visual payoff, low joinery risk.
Folding Chair / Chair That Converts
Folding chairs add a moving part, which is where the interest lies. A hinged seat and back let the chair collapse flat for storage, and the mechanism is usually a piano hinge or barrel hinge paired with a pivoting leg set. The precision moves from joinery to geometry: the pivot points have to line up exactly or the chair will not fold and unfold cleanly.
- Skill level: Intermediate
- Cost estimate: $40 to $100
- Build time: 1 weekend
- Best for: Builders who enjoy mechanisms and space-saving designs
The distinctive draw here is versatility. Some designs go beyond folding flat and convert into other pieces entirely. There are chairs that make into beds, reconfiguring into a compact cot or bed frame when the seat and back unfold, along with the classic chair-to-stepladder convertibles. These multi-function builds demand careful pivot layout and sturdy hinges, since the same joints have to hold up in two different configurations. If you like solving a puzzle as much as cutting wood, this is your project.
Windsor Chair
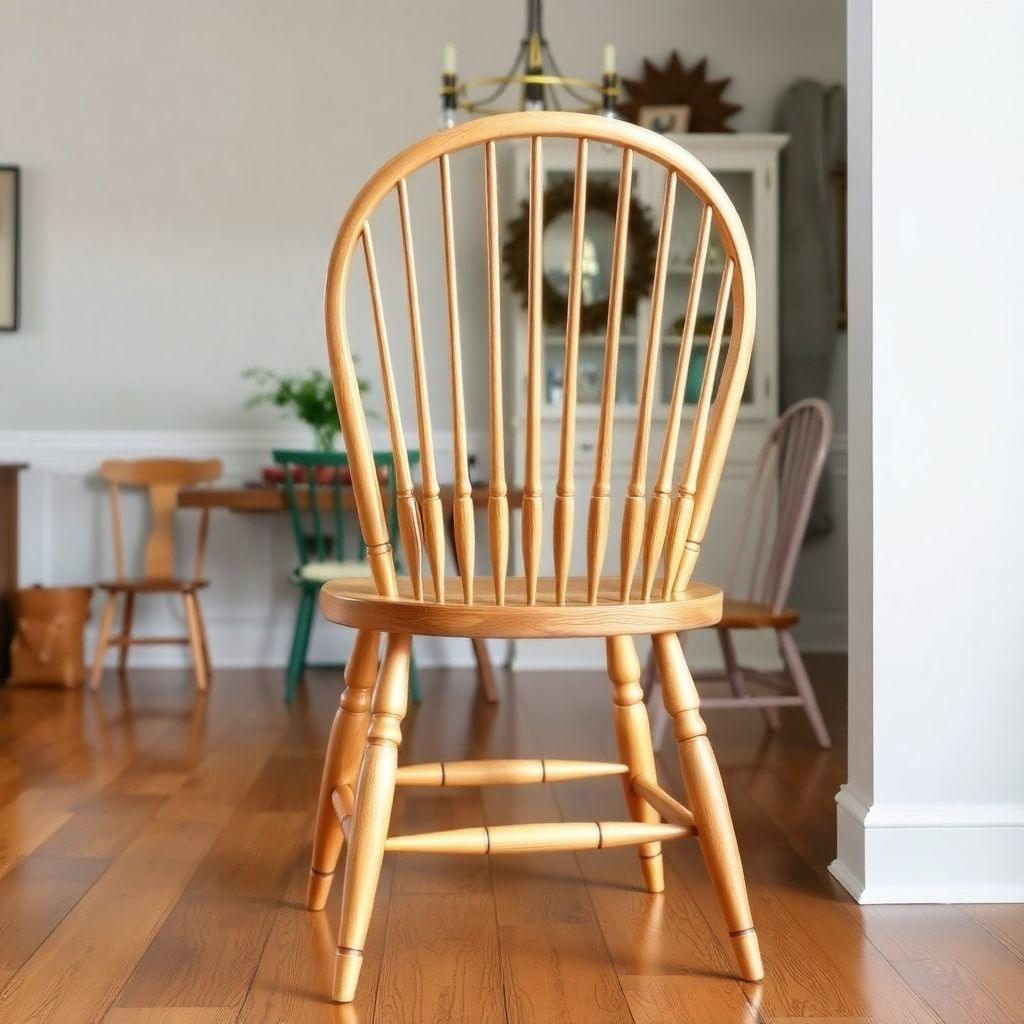
The Windsor chair is the summit of this list. A saddled seat, turned or shaved spindles, and a steam-bent or shaped crest rail come together into a chair that is as much sculpture as furniture. It is the most complex build here by a wide margin, drawing on turning, carving, and steam bending in a single project.
- Skill level: Advanced
- Cost estimate: $150 to $400
- Build time: 3 to 5 weekends
- Best for: Advanced builders chasing a heirloom-quality challenge
What makes the Windsor distinctive is the seat. It is carved, or “saddled,” into a shallow dish that cradles the sitter, and every spindle and leg socket is drilled into that curved surface at a compound angle by eye or with a bevel gauge. Steam-bending the back bow adds a whole skill set most woodworkers have never touched. There is a reason Windsor chairmaking is often taught as its own week-long course. If you have built a solid dining chair and want to go further, this is the mountain. For groundwork on chair joinery before you attempt it, our woodworking chair guide is a useful primer.
Which Should You Build?
Match the project to your skills and your patience, not your ambition.
If you have never built seating, start with the woodworking stool. It teaches core joinery in a single day and gives you a usable object at the end. From there, the Adirondack chair is the natural next step: a big, impressive result that stays screw-and-slat simple.
Ready to level up? The bar stool introduces angled legs and stability engineering, while the folding chair trades joinery difficulty for mechanical precision. Both are solid one-weekend intermediate projects.
When you are ready for true furniture, the dining chair is the benchmark. Make a full dining chair pattern, prove it on one chair, then batch a matched set. And when you want a project that will genuinely test everything you know, the Windsor chair is waiting. It is the most demanding, the most expensive, and the most rewarding build on this page.
The honest rule of thumb: pick one step above your last finished project, not three. A stool builder who jumps straight to a Windsor will stall out. A stool builder who tackles a bar stool next will keep momentum and keep building.
Frequently Asked Questions
What is the easiest chair or stool for a beginner to build?
A simple woodworking stool is the easiest. It uses basic mortise-and-tenon or dowel joinery, forgives small errors, and can be finished in a single day. If you want a full-size chair instead, an Adirondack chair is the most beginner-friendly because it is built from flat slats and screws rather than cut joinery.
Do I need hardwood to build a chair?
For a dining chair or any chair that carries full body weight through daily use, yes. Hardwoods like oak, maple, or ash resist the racking stress that loosens joints over time. Outdoor chairs like the Adirondack are the exception, where cedar or pine is preferred for weather resistance and light weight.
How long does it take to build a dining chair?
Plan on two to three weekends for a single dining chair, longer for a matched set. The angled joinery and the need to make and test a pattern before batching account for most of that time. A stool, by contrast, can be done in a day.
Are there chairs that convert into a bed?
Yes. Certain folding chair designs are built to reconfigure into a compact cot or bed frame by unfolding the hinged seat and back into a flat sleeping surface. These convertibles rely on precise pivot layout and heavy-duty hinges, since the same joints must be stable in both the chair and the bed configuration.
What tools do I need for a Windsor chair that I would not need for other builds?
A Windsor chair typically requires a lathe for turning spindles and legs, carving tools like a travisher or inshave for saddling the seat, and a steam-bending setup for the back bow. These go well beyond the saw, drill, and chisels that handle a stool, bar stool, or Adirondack chair.

“DIY woodworking enthusiast who started with zero experience and a YouTube tutorial.
I build simple, practical projects for my home and share free plans
so other beginners can skip the guesswork.If I can build it, you can too.”