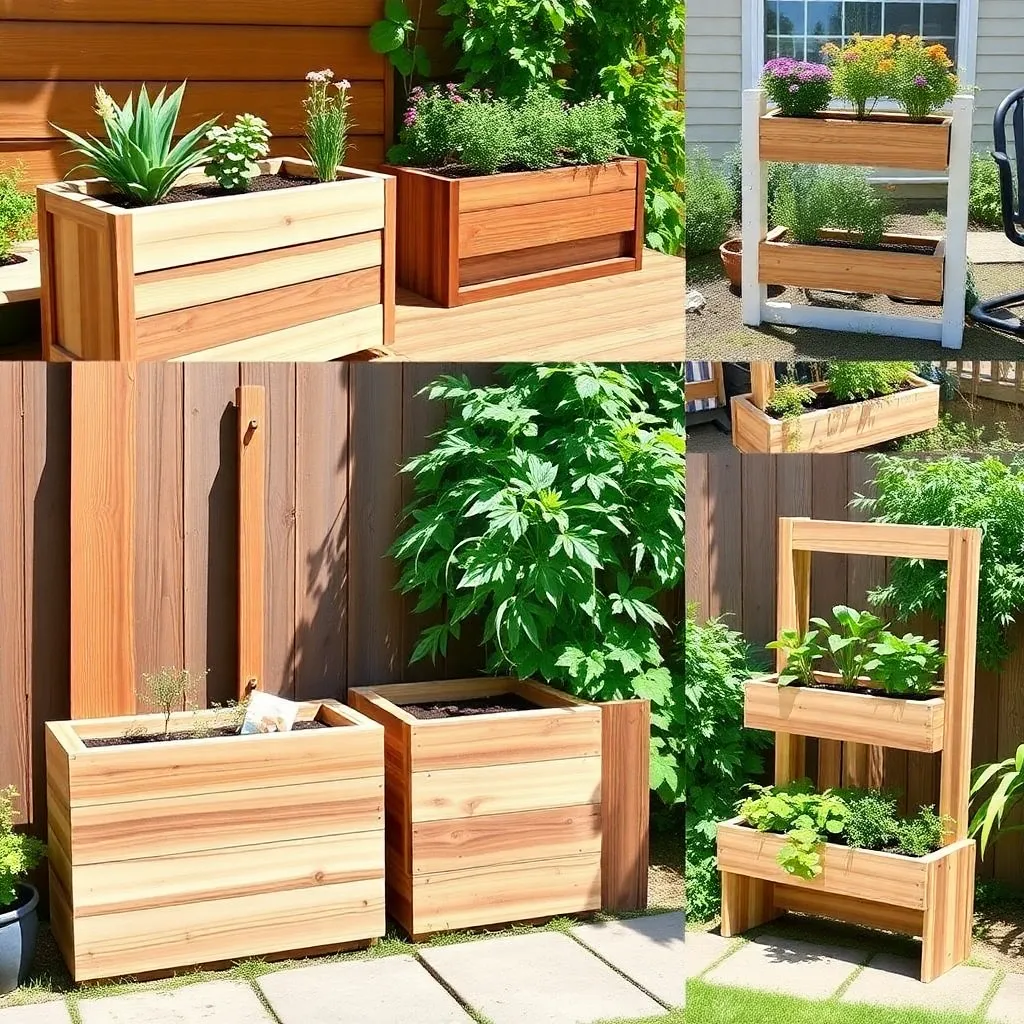
“Planter box” covers seven very different builds, from a weekend cedar box to a self-watering system with a hidden reservoir. This page maps all of them. Each build below gives you real dimensions, a materials snapshot, a cost range, a skill level, and a link to the full step-by-step guide.
One fact governs every project on this page: use cedar heartwood, not sapwood. Heartwood lasts 10 to 20 years outdoors. Sapwood rots like untreated pine, sometimes in two or three seasons, so it pays to inspect boards before you buy.
Drainage is the other make-or-break detail, and the planter box plans linked here bust the gravel-at-the-bottom myth that ruins most first attempts. A gravel layer creates a perched water table that drowns roots, so we show you what actually works instead.
Scan the seven plan types below, front-loaded easiest first, and jump straight to whichever matches your garden and skill level. If you are also planning tables, chairs, or benches for the same outdoor space, see our full outdoor furniture plans collection.
Want 16,000+ step-by-step woodworking plans?
Ted’s Woodworking has plans for every skill level — from simple shelves to full bedroom sets. Each plan includes a cut list, material list, and detailed diagrams. Browse Ted’s plans →
1. Cedar Planter Box Plans
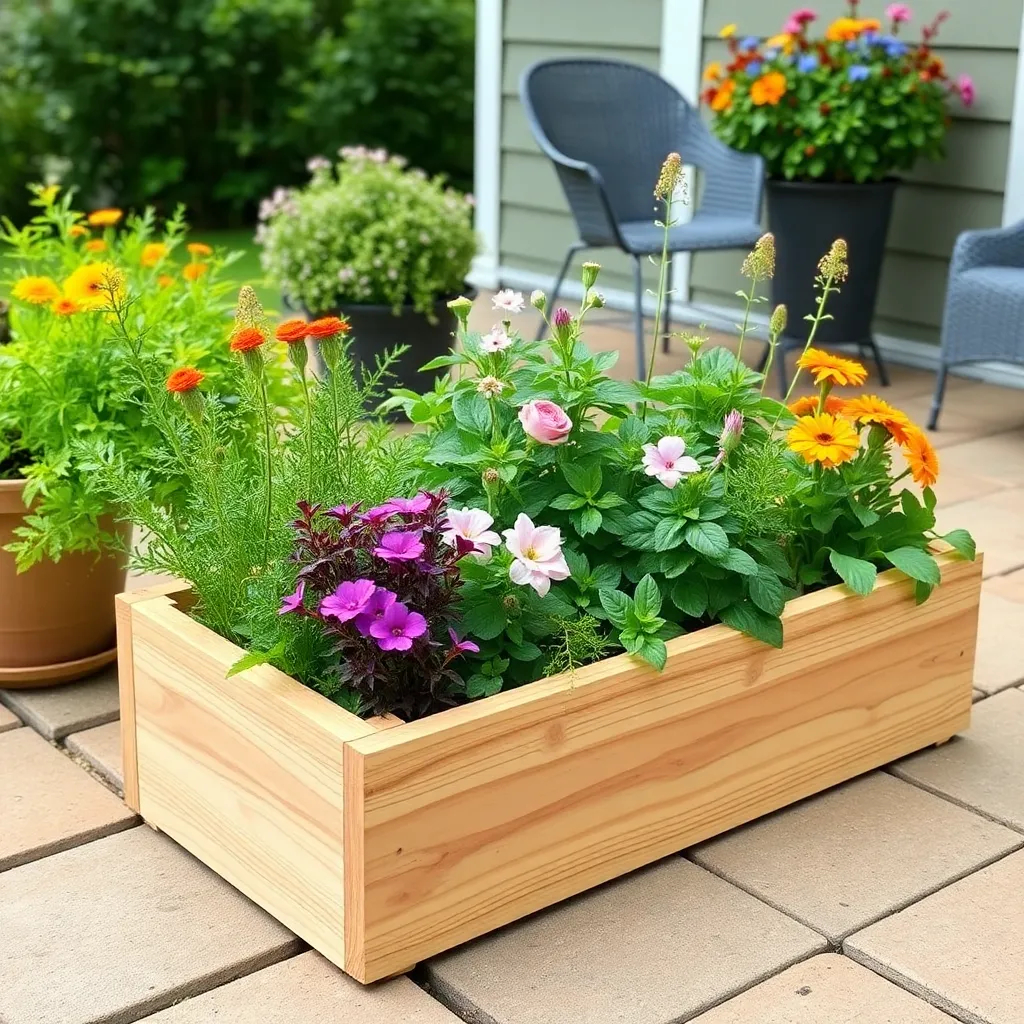
The cedar planter box is the build most people picture when they search “planter box plans,” and it is the perfect entry point. One afternoon, basic tools, results that last a decade.
Three go-to sizes cover nearly every use:
- 24″L x 12″W x 12″H for general use
- 36″L x 12″W x 12″H for an herb garden
- 48″L x 12″W x 14″H as a patio statement piece
Materials: 5 pieces of 2×6 x 8′ cedar, 3 pieces of 2×4 x 8′ cedar, and 3-inch deck screws. Cost runs $40 to $80. Skill level: beginner.
This is the most versatile planter you can make. Herbs, flowers, or a small shrub all work, and the clean cedar look upgrades any patio or entryway. Because it is freestanding, you can chase the sun or pull it under cover as seasons change.
Use heartwood cedar only. Pre-drill near board ends to prevent splitting, and space the base boards 1/8-inch apart for passive drainage. That gap prevents the waterlogged soil that kills most first planters. Add a landscape-fabric liner on the sides to slow rot without blocking flow.
Best for anyone who wants a fast, good-looking first build with room for almost any plant. Skip it if you need to grow deep-rooted vegetables like tomatoes or carrots, which want more depth than 12 inches gives you.
See the full guide: Cedar Planter Box Plans
2. Cedar Raised Garden Bed Plans
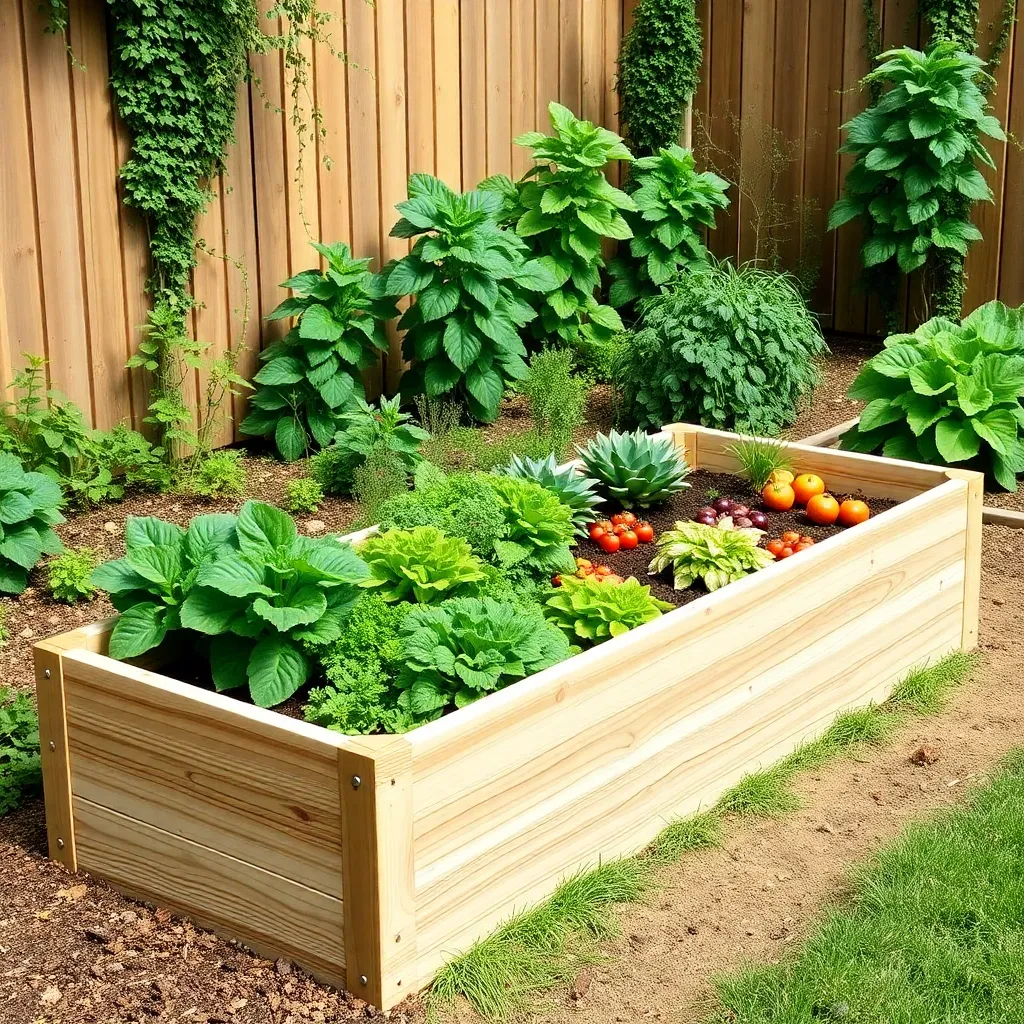
If you want to actually grow food, the raised garden bed is the build to master. The width and depth rules are simple, but getting them wrong costs you a full season.
Standard size is 4′ wide x 8′ long x 10.5 to 12 inches high. Keep the width under 4′ so you can reach the center from either side without stepping on the soil and compacting it.
Depth drives what you can grow:
- 6″ for herbs and lettuce
- 12″ for most vegetables
- 18″ for tomatoes and carrots
Materials: 2×10 or 2×12 cedar or Douglas fir, 4×4 corner posts, and galvanized deck screws. Cost runs $60 to $150 in cedar, $30 to $60 in Douglas fir. Skill level: beginner.
A raised bed warms earlier in spring, drains better, and ends back-breaking ground-level weeding. It is the highest-yield project on this page.
Line the interior sides with landscape fabric, leave the bottom open for earthworm access, and skip the gravel layer, which creates a perched water table that keeps roots wet. For an 8-foot span, add a mid-span cleat or cross-tie so wet soil cannot bow the long walls outward.
The verdict: if food is your goal, build this first. It returns more per dollar and per hour than anything else here.
See the full guide: Cedar Raised Garden Bed Plans
3. Window Box Planter Plans
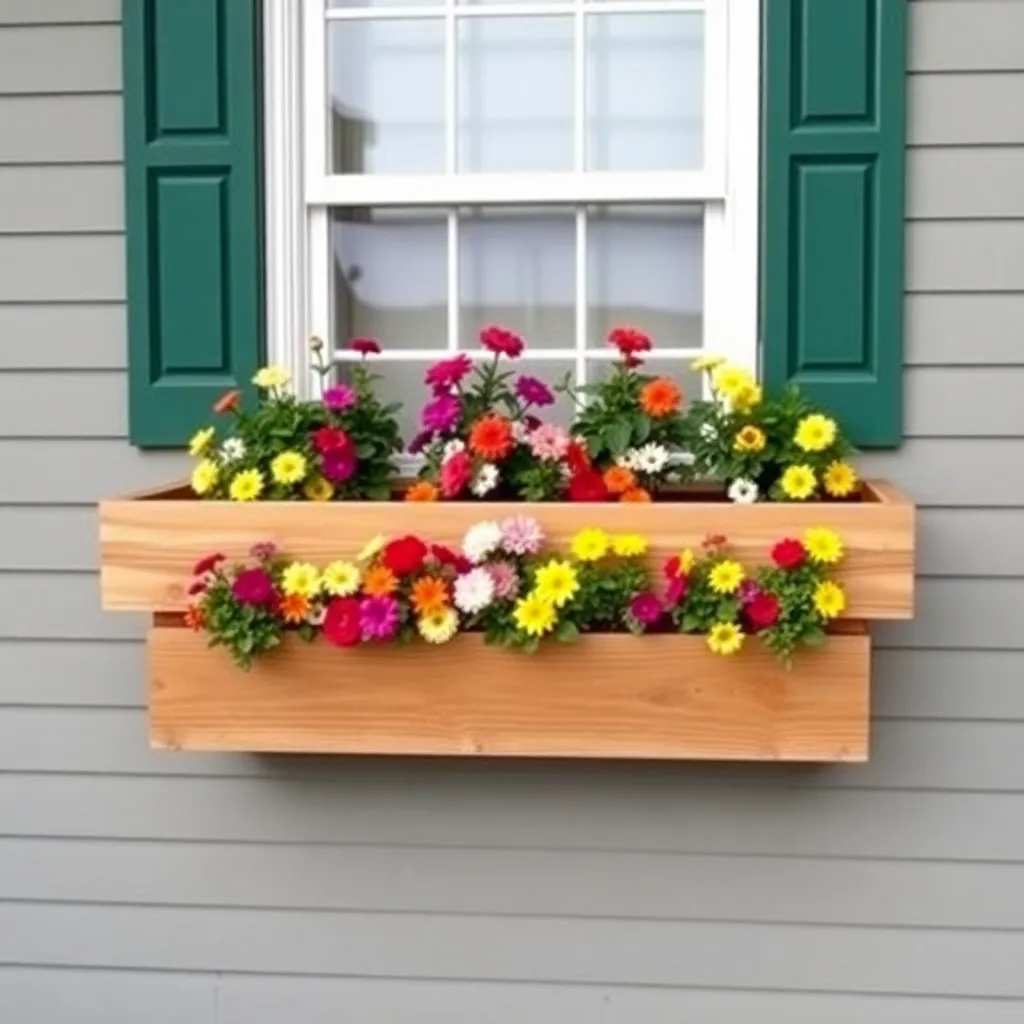
Nothing adds curb appeal faster than a window box, but beginners underestimate weight. A 36-inch box full of wet soil can top 50 pounds, and that load hangs off your siding all season.
Minimum depth is 8 inches, and 10 to 11 inches is better. Standard lengths run 24 to 48 inches. Bracket every 16 inches on stud centers, and pitch the box 1/4 inch front-downward for drainage.
Materials: 1×8 cedar, heavy-duty L-brackets rated 50-plus pounds, 2-inch deck screws, and a landscape-fabric liner. Cost runs $35 to $90. Skill level: beginner.
A window box transforms a plain window from the street in a single afternoon. It also gardens for you when you have zero ground space to work with.
Use brackets rated 50-plus pounds driven into studs, not drywall alone. This is the one step that separates a box that lasts years from one that pulls off the wall. Drill 1/2-inch drainage holes every 6 inches so water never sits against the back board.
Compared to a railing planter, a window box carries more weight and needs stud mounting, but it puts flowers at eye level from the street. A railing planter installs faster and moves easily, but holds less soil and sits lower.
See the full guide: Window Box Planter Plans
4. Plant Stand Plans
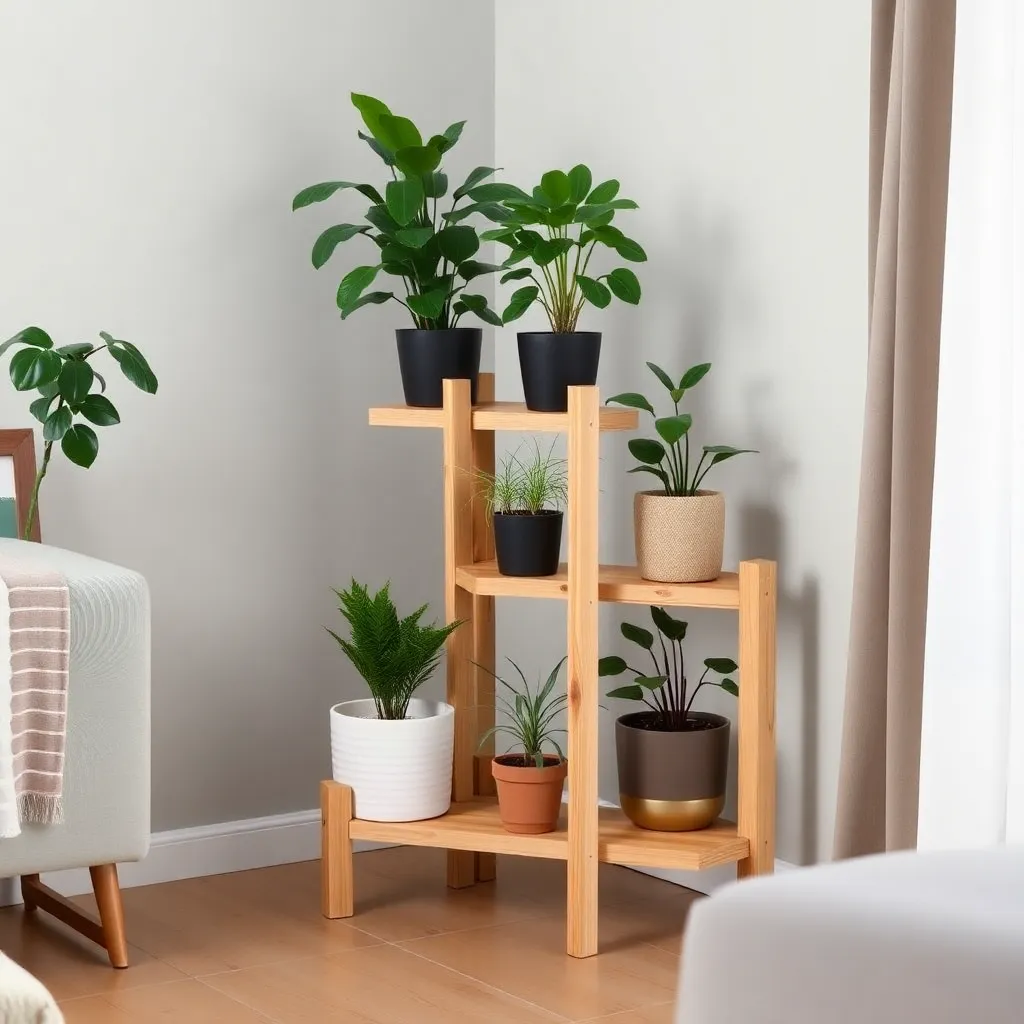
When your plant collection outgrows the windowsill, a plant stand is the answer. Most designs build from offcuts for under $50, so it is the cheapest way to reclaim floor space.
Common configurations:
- Three-tier: 36″W x 11.25″D x 51.75″H, with shelf spacing of 22.75″ bottom, 16″ middle, and 8″ top
- Single-post: 12 to 14″ square top, 28 to 34″ high
- Tripod: legs angled 10 to 15 degrees
Materials: 2×2 or 2×4 lumber with 1×6 or 2×8 shelf tops, under 15 board feet total. Cost runs $20 to $50. Skill level: beginner to intermediate.
A plant stand turns a cramped corner into a tiered indoor garden and shows off trailing plants. It also doubles as a low-stakes practice piece for joinery.
On a tripod, add T-braces 6 inches up from the bottom of the legs. This locks the splay and stops the wobble that plagues untriangulated three-leg builds. On the three-tier, glue and screw every joint, since bare screws in end grain work loose under repeated watering weight.
If you are building indoors and want a project that improves your joinery while solving a real space problem, start with the three-tier. It holds the most plants and teaches repeatable shelf spacing.
See the full guide: Plant Stand Plans
5. Vertical Planter Plans
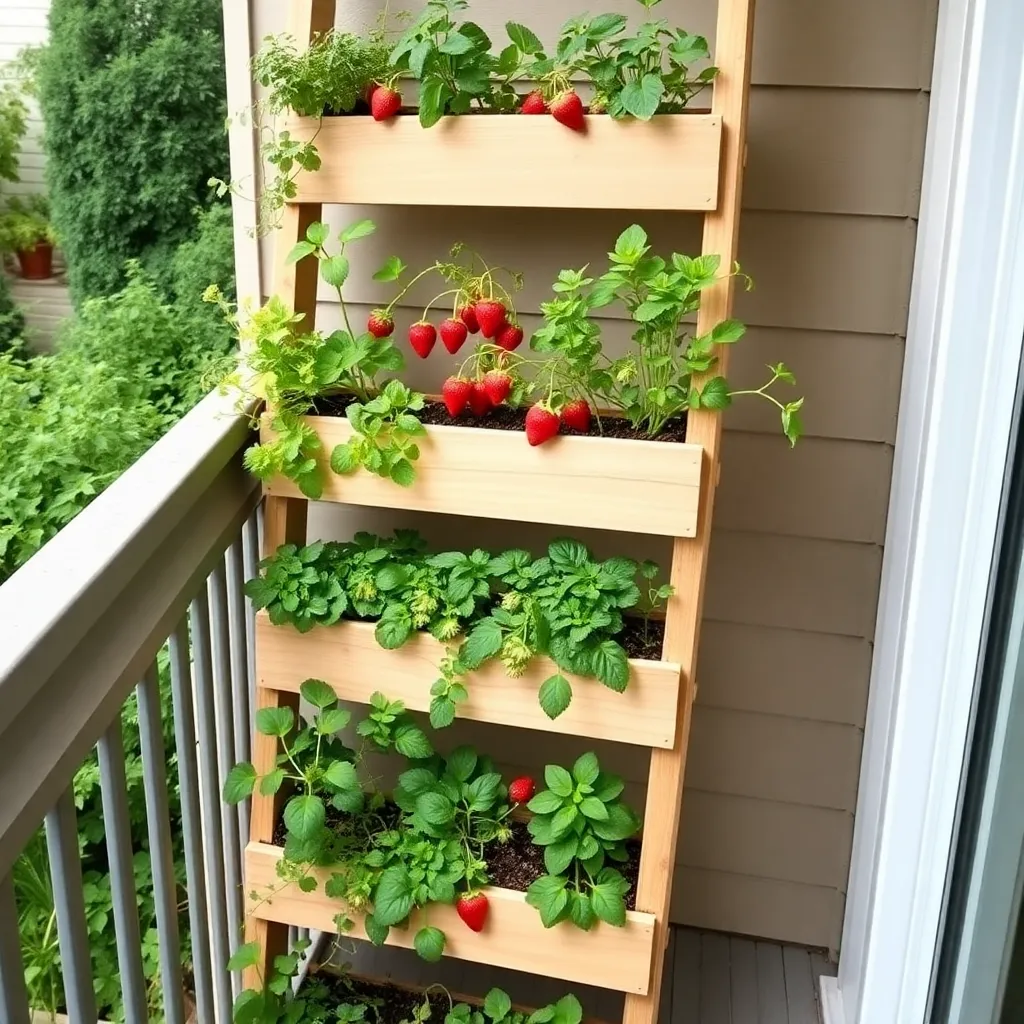
No yard? Go vertical. These builds stack growing area upward, and one version costs essentially nothing if you can source a pallet.
Common styles and sizes:
- Ladder-style: 4 to 5 tiers of 6″x24″ troughs, 60 to 72″ tall
- Pallet: standard 48″x40″
- A-frame: 24″W x 60″H
Materials: 2×4 legs with 1×6 troughs for the ladder, or an HT-stamped pallet with landscape-fabric backing for the pallet build. Cost runs $0 to $15 for a pallet, $50 to $100 for a ladder or A-frame. Skill level: beginner for the pallet, intermediate for the ladder.
A vertical planter multiplies growing space on a balcony or narrow side yard. It turns a free pallet into a strawberry or herb wall.
Use HT (heat-treated) pallets only, never MB (methyl-bromide), which leaves chemical residue you do not want near food. Lay the planted pallet flat for two weeks before standing it upright so roots establish and hold the soil in place. Anchor a tall ladder or A-frame to the wall so wind cannot topple it once loaded.
Best for renters and small-space gardeners who need maximum yield per square foot of floor. Skip it if you have open ground, since a raised bed grows more with less structure to build.
See the full guide: Vertical Planter Plans
6. Plant Shelf Plans
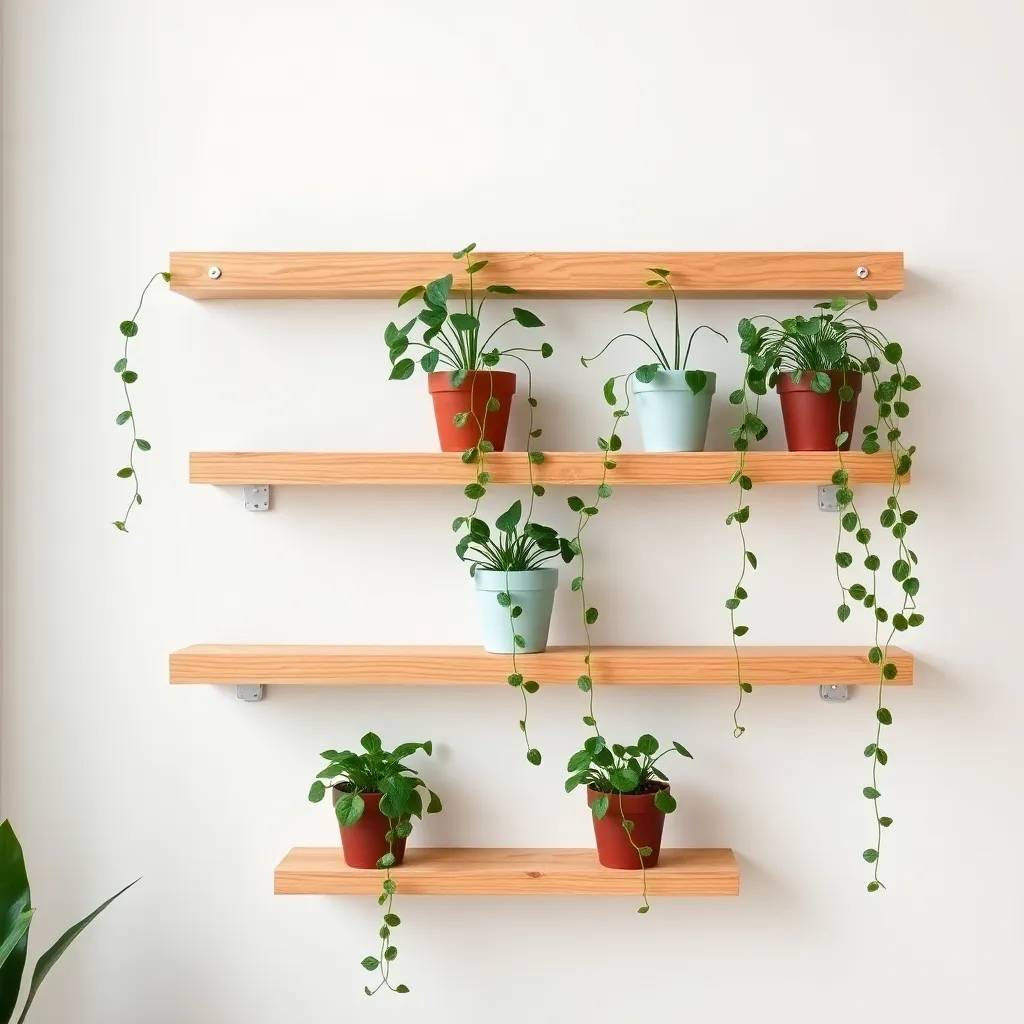
Wall-mounted plant shelves free up every inch of floor. The fear that stops people from building them is a shelf full of pots tearing out of the wall. Done right, that never happens.
Size runs 8 to 12 inches deep x 24 to 48 inches long. Stack shelves 12 to 16 inches apart, and bracket into studs every 16 inches. One stud pair holds 45 to 50 pounds.
Materials: 1×10 or 1×12 cedar or pine, heavy-duty L-brackets, a stud finder, and a level. Cost runs $25 to $65. Skill level: beginner.
Plant shelves put trailing plants at eye level, give you a custom look, and take up zero floor space.
Every screw must penetrate at least 1.5 inches into the stud. That depth is what delivers the 45 to 50-pound rating per stud pair. Never rely on drywall anchors for this load, and check each shelf with a level before you load it so pots do not creep toward the low end.
Compared to a plant stand, a shelf frees the floor entirely and looks built-in, but it is fixed in place and limited by stud spacing. A stand moves anywhere and holds more per footprint, but eats floor space.
See the full guide: Plant Shelf Plans
7. Self-Watering Planter Box Plans
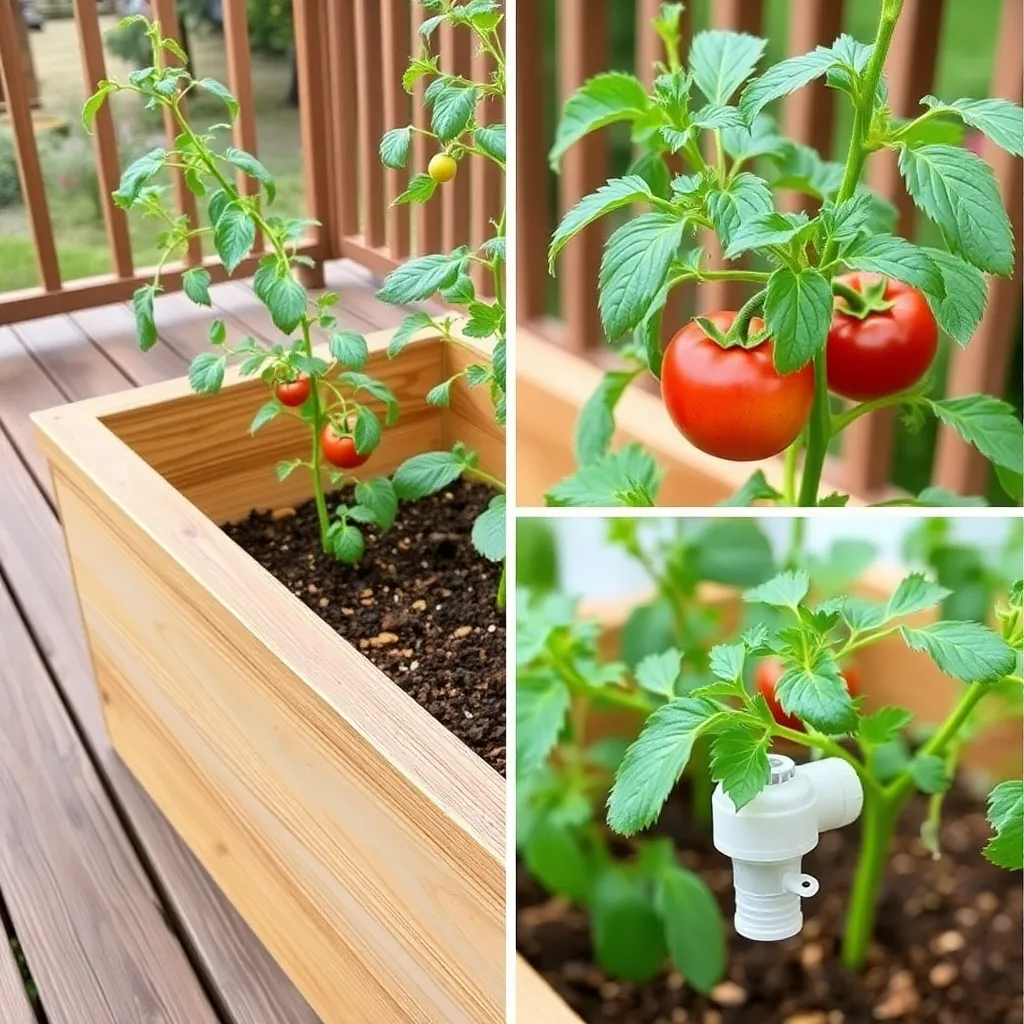
A self-watering planter holds a hidden water reservoir that wicks moisture up to the roots on demand. Plants thrive even when you forget or travel. It is the one intermediate project on this page, and worth the step up.
Key specs: reservoir 3 to 5 inches deep, an overflow hole at reservoir-top height, a wicking pipe packed with vermiculite, and a 1-inch PVC fill tube.
Materials: cedar outer box, 1/2-inch exterior-plywood soil platform, a net pot or PVC wicking basket, vermiculite, 1-inch PVC pipe, and true potting mix (not garden soil). Cost runs $50 to $120. Skill level: intermediate.
A self-watering planter cuts watering to roughly once a week. It prevents over- and under-watering and keeps thirsty vegetables evenly moist through summer heat.
Drill the overflow hole at exact reservoir-top height, because that hole sets your water level. Fill and test with water before adding soil so you can catch leaks while the box is still empty. Seal plywood platform edges with exterior glue to stop it delaminating in constant moisture.
The verdict: if you grow vegetables and travel or forget to water, this is the upgrade that pays off every summer. Build a basic cedar box first, then step up to this once you are comfortable.
See the full guide: Self-Watering Planter Box Plans
Want 16,000+ step-by-step woodworking plans for every skill level? Ted’s Woodworking includes cut lists, material lists, and detailed diagrams for planters, benches, garden furniture, and hundreds more. Browse Ted’s plans.
Planter Box Plans: Frequently Asked Questions
What is the best wood for a planter box?
Cedar heartwood is the best all-around choice. It resists rot and insects naturally and lasts 10 to 20 years outdoors with no chemical treatment. Redwood performs similarly. Douglas fir costs less and works well for raised beds, though it will not last as long.
Should I put gravel in the bottom for drainage?
No. Gravel at the bottom creates a perched water table, where water pools above the gravel line instead of draining through. This keeps roots wet and rots plants. Use drainage holes or 1/8-inch gaps between base boards, and skip the gravel entirely.
Is pressure-treated wood safe for growing vegetables?
Modern pressure-treated wood (ACQ or copper azole) is far safer than old CCA-treated lumber, but many gardeners still avoid it for edibles. The safest approach is cedar or Douglas fir. If you do use pressure-treated wood, line the interior with landscape fabric or heavy plastic to separate the wood from the soil.
How deep does a planter box need to be?
Depth depends on the crop. Herbs and lettuce need 6 inches, most vegetables need 12 inches, and deep-rooted crops like tomatoes and carrots want 18 inches. Deeper always works, but shallower than the minimum stunts growth and dries out too fast.
How much weight can a wall-mounted plant shelf hold?
A shelf bracketed into one stud pair holds 45 to 50 pounds, as long as every screw penetrates at least 1.5 inches into the stud. Add more stud pairs for longer shelves. Never rely on drywall anchors alone for planted pots, which get heavy when watered.
How do I keep planter wood from rotting?
Use rot-resistant heartwood, then keep water moving through the box. Add drainage holes or gaps, line the interior sides (not the bottom) with landscape fabric, and raise the box off the ground on feet so air circulates underneath. Avoid trapping soil against end grain.
Which planter box plan is best for beginners?
The cedar planter box. It takes one afternoon, uses basic tools, costs $40 to $80, and lasts a decade with heartwood cedar. It teaches the core skills, cutting, pre-drilling, and drainage spacing, that carry over to every other build on this page.

“DIY woodworking enthusiast who started with zero experience and a YouTube tutorial.
I build simple, practical projects for my home and share free plans
so other beginners can skip the guesswork.If I can build it, you can too.”