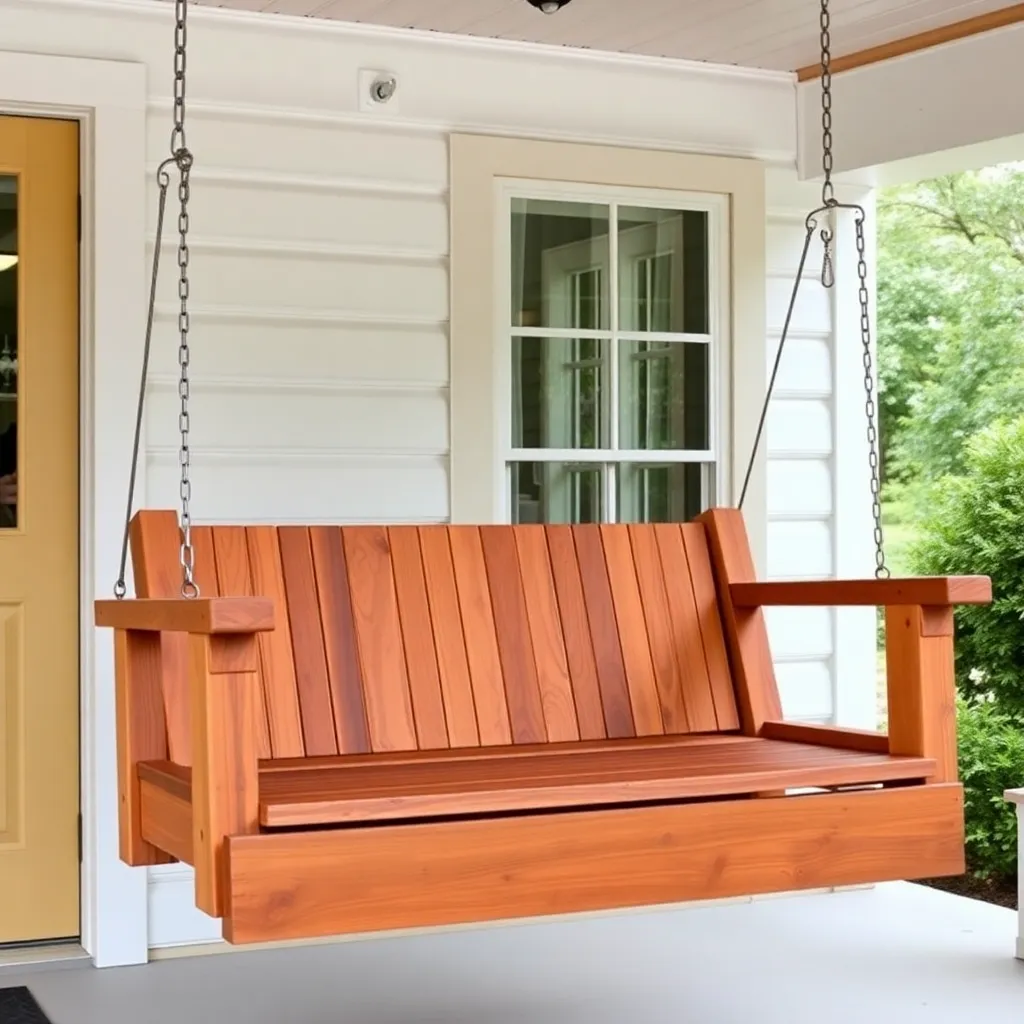
A porch swing built entirely from 2×4 lumber is the most budget-friendly outdoor swing project you can do. All the parts come from a single lumber species in one standard dimension — no hunting for 1×4 slats, no 2×6 specialty boards, no expensive hardwood. The total material cost is under $60 for a 48-inch cedar swing, and the build takes one afternoon.
The visual profile is different from a slat-back swing: thicker boards give it a chunkier, more solid appearance that suits farmhouse, rustic, and modern-industrial aesthetics. Structurally, 2×4 is more than adequate — the frame and seat boards are the same material, so there’s no mixed-species compatibility issue and no need to source multiple board sizes.
These 2×4 porch swing plans build a 48-inch swing that seats two adults, using only 2×4 cedar lumber, exterior screws, and hanging hardware.
Want 16,000+ step-by-step woodworking plans?
Ted’s Woodworking has plans for every skill level — from simple shelves to full bedroom sets. Each plan includes a cut list, material list, and detailed diagrams. Browse Ted’s plans →
Step 1: Plan the Design and Buy Lumber
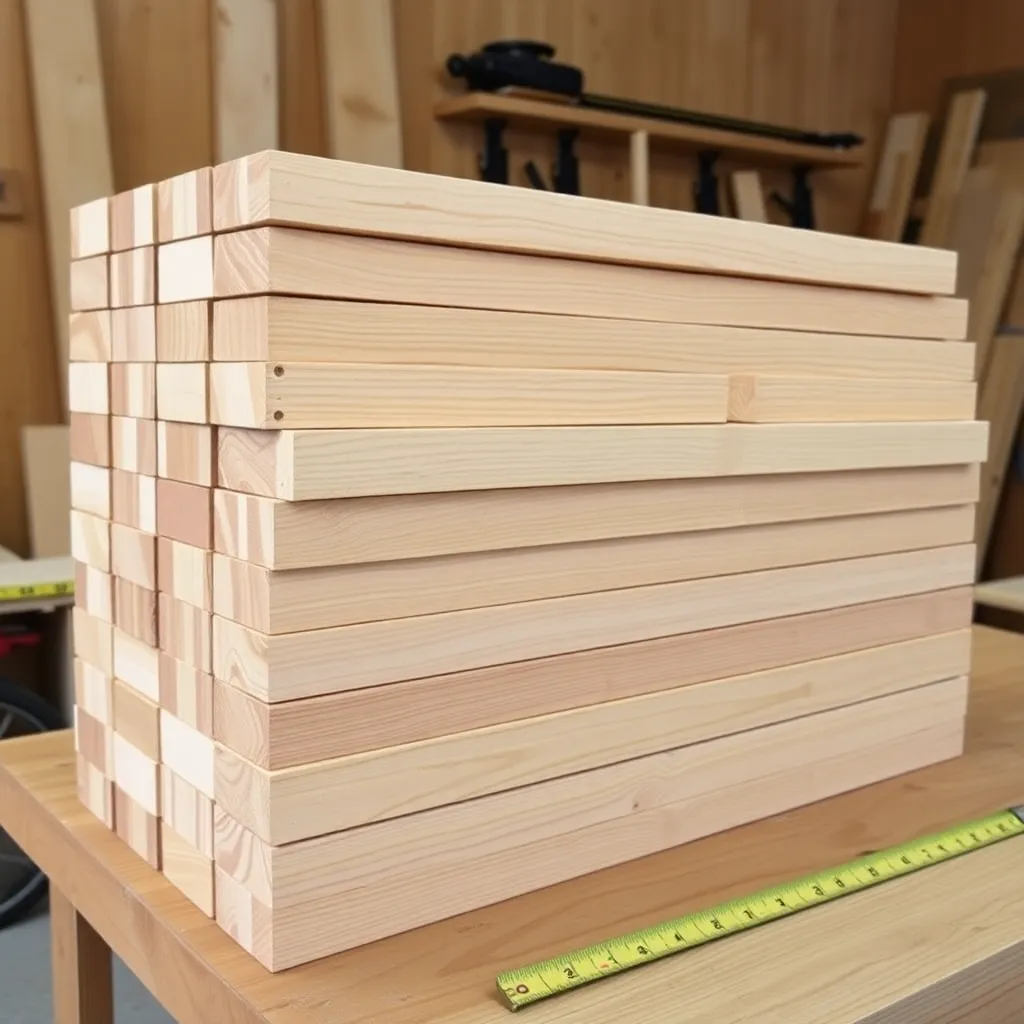
Everything in this swing — seat boards, back boards, armrests, and frame — is cut from standard 2×4 cedar (1½” × 3½” actual dimensions).
Key dimensions:
- Overall width: 48 inches
- Seat depth: 18 inches (five 2×4 boards across, no gaps)
- Back height above seat: 20 inches (five 2×4 boards tall)
- Armrest height above seat: 7 inches
- Back angle: 10° recline
- Total boards needed: approximately 12 standard 8-foot 2×4 cedar boards
Design note. A 2×4 swing’s seat is made of boards laid flat (the 3½” face up), not slats. Five boards across an 18-inch depth gives a solid, comfortable seat with no gaps to catch fingers or small items. The back uses the same board-flat approach — five boards stacked horizontally, each 48 inches wide.
Lumber selection. Buy straight, knot-free boards. A bow in a seat board becomes obvious when you sit on it; a knot at a screw hole will split the board. Take time at the lumber yard to hand-select pieces with straight grain and no warp.
Step 2: Materials and Cut List
| Part | Qty | Length | Board Size | Notes |
|---|---|---|---|---|
| Seat boards | 5 | 48″ | 2×4 cedar | Laid flat across seat |
| Back boards | 5 | 48″ | 2×4 cedar | Horizontal across back |
| Side seat rails | 2 | 15″ | 2×4 cedar | Connect front/back seat edges |
| Back stiles | 2 | 20″ | 2×4 cedar | Vertical sides of back frame |
| Armrests | 2 | 20″ | 2×4 cedar | Flat-laid, narrow profile |
| Armrest posts | 2 | 7″ | 2×4 cedar | Front vertical support under armrest |
| Hanging cleats | 2 | 48″ | 2×4 cedar | Front and back, carry eye bolts |
| Eye bolts | 4 sets | — | 3/8″ forged | Washer + nut, 500+ lb rating |
| Exterior screws | 1 box | 2″ and 2½” | — | Stainless or coated |
| Chain or rope | 4 | per height | 5/16″ chain | Adjust to ceiling height |
Total estimated cost: $45–60 for cedar, $20–30 for hardware.
Step 3: Build the Seat Assembly
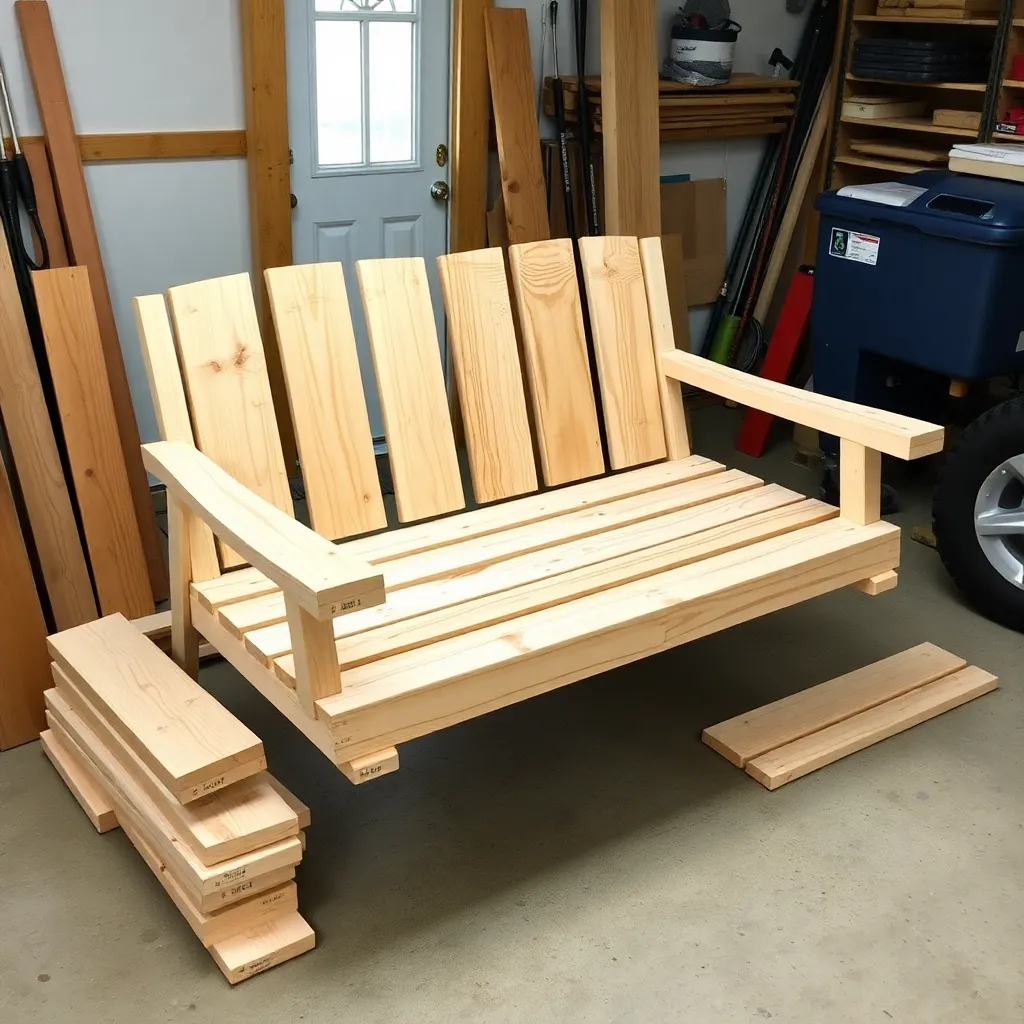
The seat is five 2×4 boards laid flat side by side, 48 inches long, with two short side rails connecting the front and back edges underneath.
Lay out the seat boards. Place five 2×4 × 48″ boards side by side, face up, butted tightly together edge to edge with no gaps. This creates an 18-inch-wide (5 × 3½” = 17½” plus edge trim) solid seat surface.
Add side rails underneath. Two 2×4 × 15″ side rails run perpendicular to the seat boards on the underside, one at each end of the 48-inch width. Position them flush with the outer faces of the first and last seat boards. Fasten each side rail to each seat board with one 2″ screw from below — five screws per side rail, ten total. Pre-drill to avoid splitting the boards at the narrow edge.
Add hanging cleats. The front and back hanging cleats are 2×4 × 48″ boards that run along the front and back edges of the seat on the underside, flush with the seat surface edges. They provide the bearing surface for the eye bolts and stiffen the seat assembly. Fasten each cleat to each seat board from below with one 2″ screw — five screws per cleat. Now drill the four eye bolt holes through the cleats: 8 inches from each end of the front cleat, 8 inches from each end of the back cleat.
Step 4: Build the Back Assembly
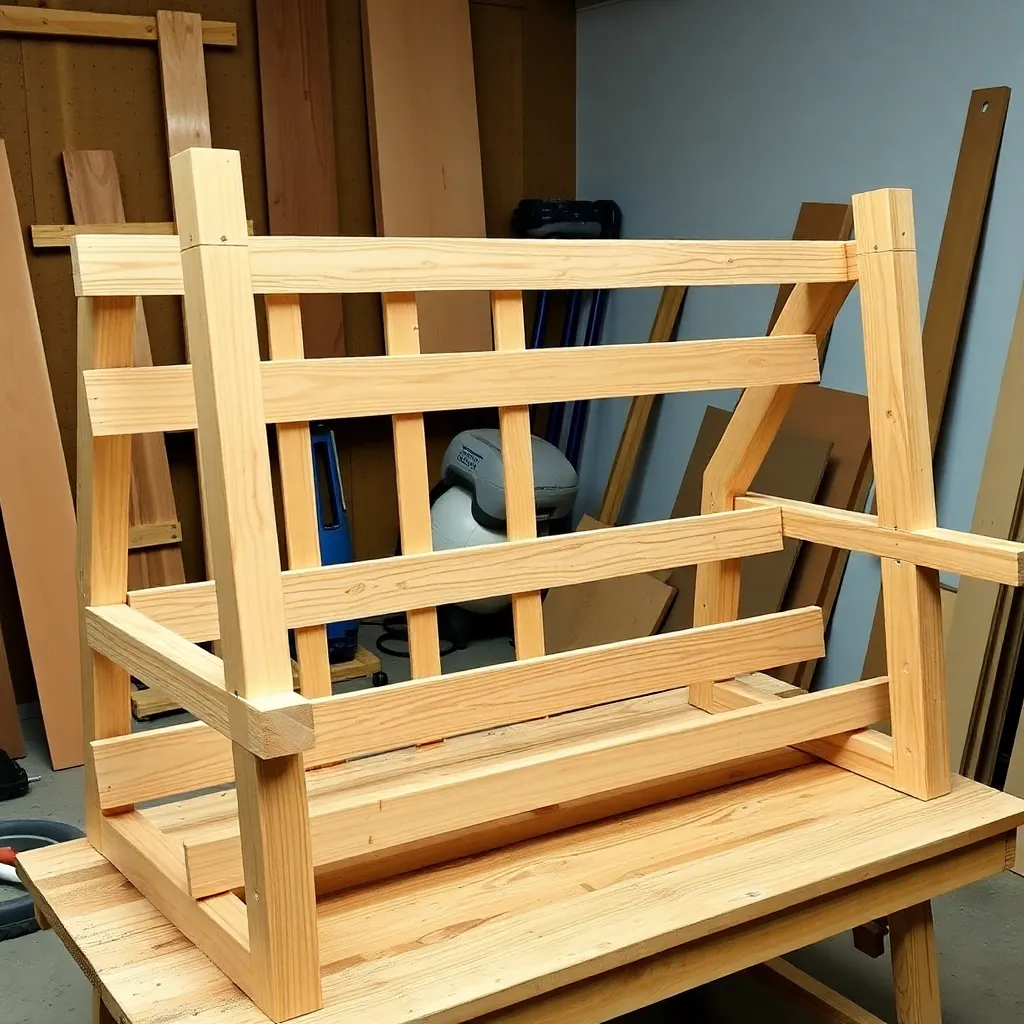
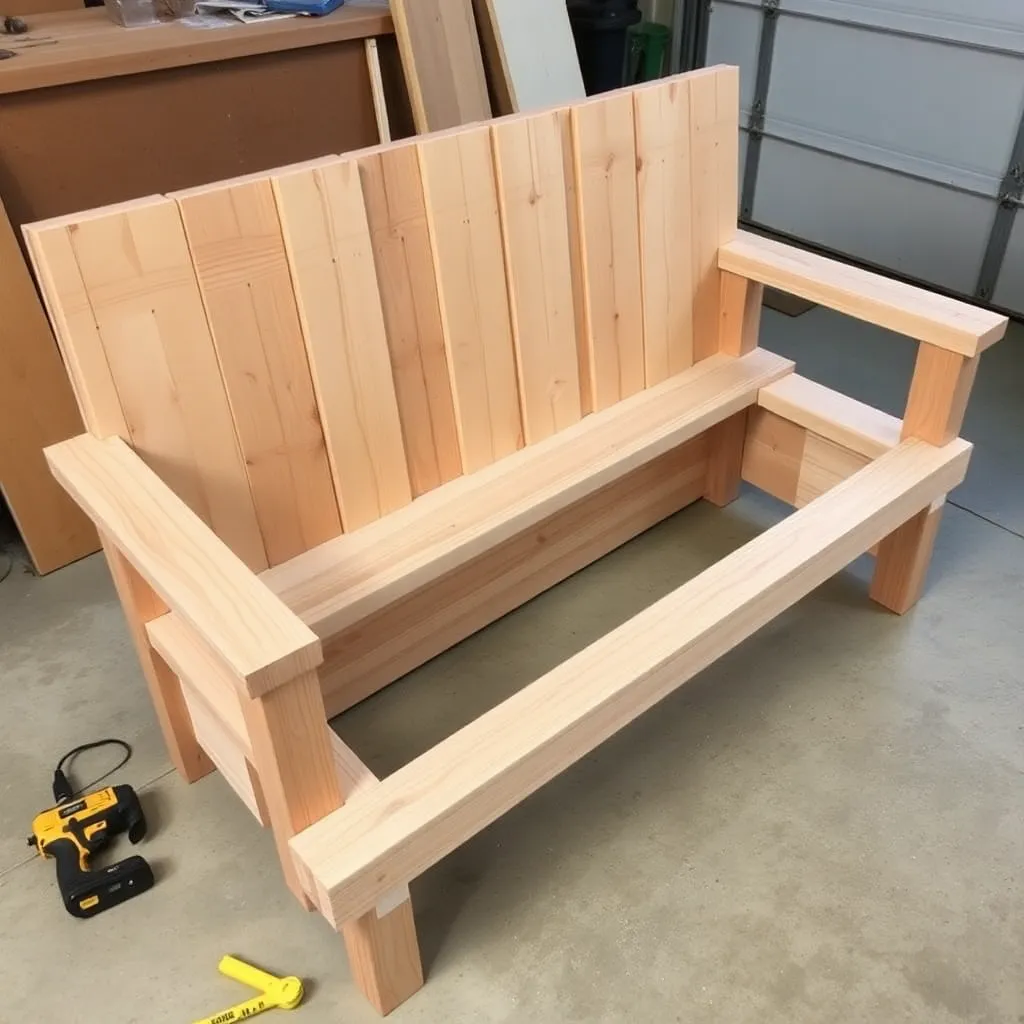
The back is five 2×4 boards laid flat, stacked horizontally, spanning the full 48-inch width, joined at the sides by two vertical back stiles.
Assemble the back frame. Two 2×4 × 20″ back stiles run vertically on the inside edges of the back assembly. The five 48-inch back boards stack horizontally between the stiles, spaced evenly. With five boards at 3½” each = 17½” total — leave ½” gap between each of the four inter-board gaps (4 × ½” = 2″) plus the outer boards flush with the stile tops and bottoms gives: bottom board flush at stile base, top board flush at stile top, three boards evenly spaced between (approximately ½” gaps).
Fasten the back. Drive two 2″ screws through each back stile into the end of each back board — two screws per board per side, ten screws per stile, twenty screws total. Pre-drill all holes to prevent splitting the board ends.
Attach the back to the seat. Stand the back assembly at the rear of the seat, angled backward at 10° from vertical. The bottom back board’s lower face sits flush with the top face of the rearmost seat board. Drive four 2½” screws through the bottom back board down into the rear hanging cleat and rear seat board. The 10° angle is held by the screw pattern and the weight distribution once the armrests are installed.
Step 5: Install Armrests
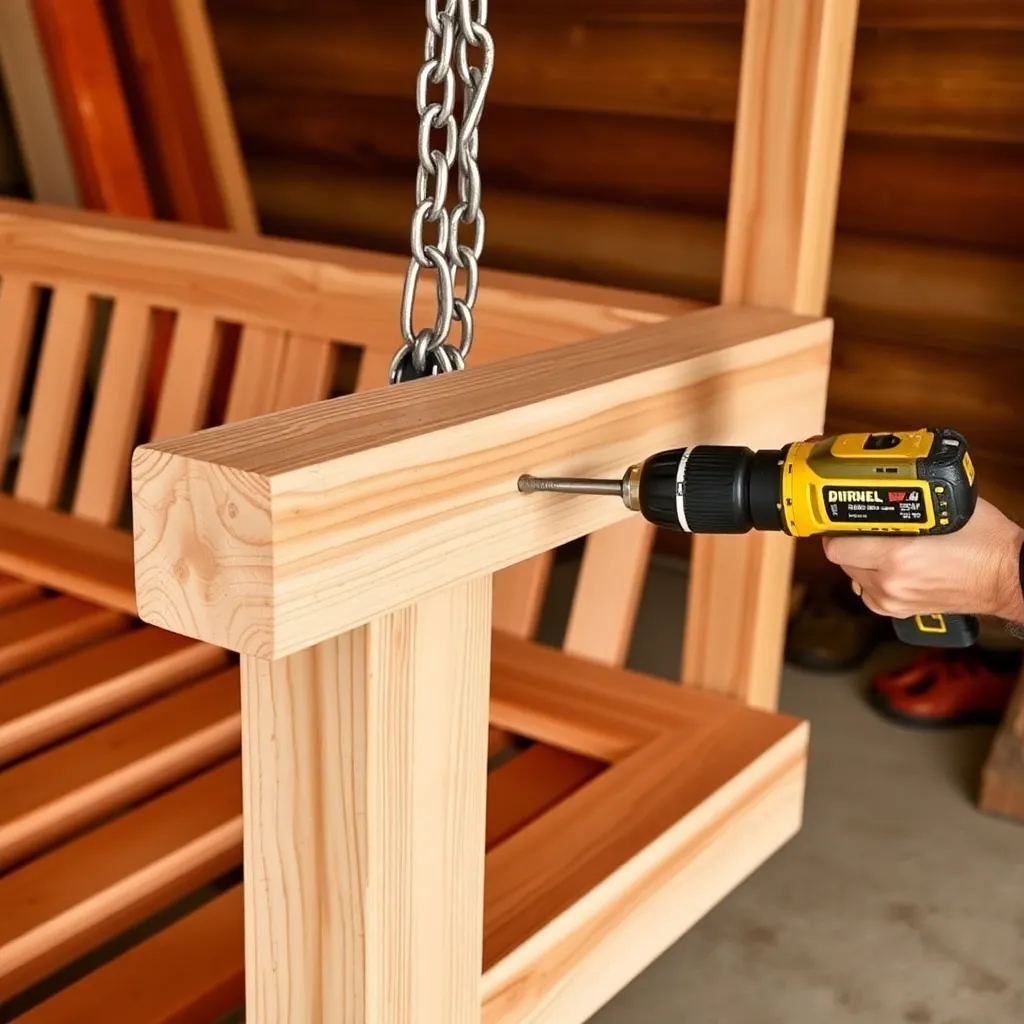
The armrests in a 2×4 swing are single flat-laid 2×4 boards, giving a narrower (3½”) armrest compared to the 2×6 used in slat-back designs. This narrower profile suits the chunkier 2×4 aesthetic.
Build armrest posts. Two 2×4 × 7″ pieces serve as the front armrest posts. They stand vertically at each front corner of the seat assembly, on top of the front hanging cleat. Fasten each post to the cleat and front seat board with two 2½” screws from the outside face.
Attach armrests. Set the 2×4 × 20″ armrest boards flat on top of the armrest posts at the front and angled down to rest on top of the back stiles at the rear. The back end of the armrest sits on top of the back stile; the front end sits on top of the armrest post. Fasten with two 2″ screws at each end (front into the post, rear into the back stile).
Round all edges. Sand the seat surface, back face, and all armrest edges with 80-grit to remove mill marks and splinters. Round the armrest corners and all leading edges of seat boards with 120-grit. The 2×4 profile has more wood mass to round than a 1×4 slat — spend extra time on the seat front edge where legs rest.
Step 6: Apply Finish and Hang
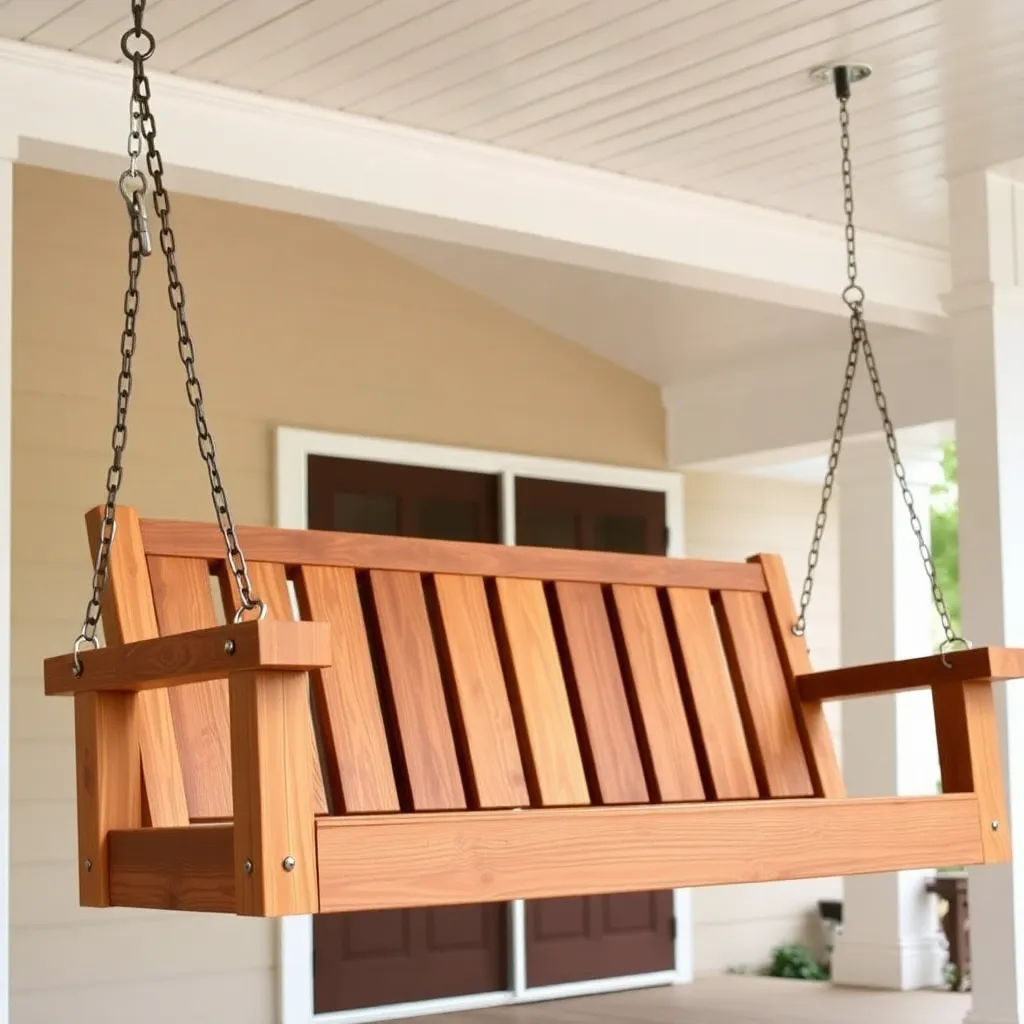
Finish before hanging. Apply exterior oil stain or semi-transparent exterior finish to all surfaces. A 2×4 swing has more wood mass than a slat-back design, so it benefits from two coats — the extra wood absorbs more moisture seasonally and benefits from deeper finish penetration. Apply to all six faces of every component, including undersides of seat boards and the backs of back boards.
Install eye bolts. Thread 3/8″ eye bolts through the pre-drilled holes in the front and back hanging cleats, washer on the outside face, nut on the inside (underside of cleat). Tighten securely.
Hang from existing porch beam. Confirm the beam is solid structural lumber. Drill four 3/8″ eye bolt holes in the ceiling beam at positions matching the swing eye bolt positions. Thread ceiling eye bolts with washers and nuts. Cut four chain or rope lengths to achieve 17–19 inch seat height at the desired load, connect with quick links or S-hooks.
For more outdoor swing designs, visit our porch swing plans hub.
Want 16,000+ step-by-step woodworking plans?
Ted’s Woodworking has plans for every skill level — from simple shelves to full bedroom sets. Each plan includes a cut list, material list, and detailed diagrams. Browse Ted’s plans →
2×4 Porch Swing Plans FAQ
Why build a 2×4 swing instead of a slat-back design?
Three reasons: cost (all from one board size, no specialty lumber), simplicity (one trip to the lumber yard, one type of cut), and aesthetics (the chunky profile suits farmhouse and rustic styles that a thin-slat back doesn’t). A 2×4 swing is also heavier than a slat-back swing — 45–55 pounds versus 35–45 pounds — which some people prefer for the feeling of solidity, though it makes adjusting the hanging hardware slightly more awkward.
How many 2×4 boards do I need for a porch swing?
Twelve standard 8-foot 2×4 boards cover this 48-inch swing with some waste. Five seat boards (48″), five back boards (48″), two hanging cleats (48″), two side seat rails (15″ — cut from scrap), two back stiles (20″ — cut from scrap), two armrests (20″ — cut from scrap), and two armrest posts (7″ — cut from scrap). The side rails, stiles, armrests, and posts come from offcuts of the longer boards.
Can I use pressure-treated 2×4 for a porch swing?
Structurally yes, but visually and practically, cedar is better. Pressure-treated lumber is heavier (adds 10–15 lbs to the finished swing), harder to sand and finish, and the green tint doesn’t take exterior stain as cleanly as cedar. If you’re building on a very tight budget and appearance is secondary, pressure-treated pine is structurally suitable for all frame components. Don’t use PT lumber for the seat boards where bare skin will contact the surface.
What finish works best on a 2×4 cedar swing?
A semi-transparent exterior oil stain in a warm brown or natural cedar tone suits the chunky profile well and gives the cedar a rich, intentional appearance rather than weathered grey. Apply two coats to all surfaces — the heavier wood mass of 2×4 boards benefits from the extra penetration. Re-coat every 1–2 years depending on sun exposure. A clear penetrating exterior oil finish is the lower-maintenance alternative — it doesn’t change the color and requires less prep between re-coats.
How strong is a 2×4 porch swing compared to a store-bought swing?
Significantly stronger in most cases. Store-bought cedar or pine swings in the $100–200 price range typically use 1×4 slats on thin metal hardware. A well-built 2×4 cedar swing with forged steel eye bolts and proof-coil chain has higher structural capacity than most commercial swings at double the price. The limiting factor is always the ceiling beam and hardware — the wood itself is more than adequate for normal residential use.

“DIY woodworking enthusiast who started with zero experience and a YouTube tutorial.
I build simple, practical projects for my home and share free plans
so other beginners can skip the guesswork.If I can build it, you can too.”