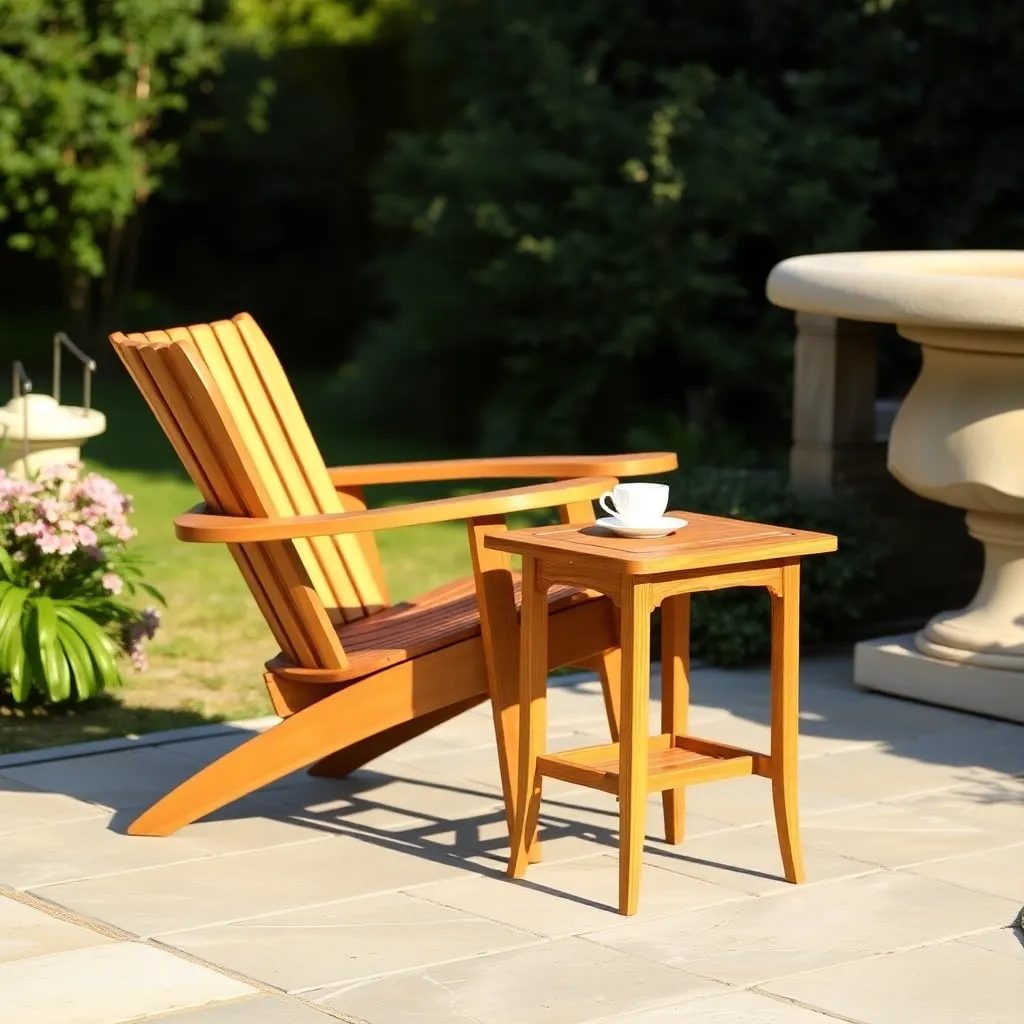
Teak is the one outdoor wood that genuinely requires no maintenance. Leave it unfinished and it turns a beautiful silver-gray over 6–12 months while remaining structurally sound for 50 years or more. The wood is naturally high in silica and oils that repel water, resist rot, and discourage insects — properties that make it the standard material for boat decks, outdoor furniture, and anything that needs to survive decades of weather exposure without attention. These teak outdoor furniture plans cover the classic Lutyens-style steamer chair and a matching side table — pieces that have been built from the same pattern since the 1920s.
Step 1: Source Your Teak
Want 16,000+ step-by-step woodworking plans?
Ted’s Woodworking has plans for every skill level — from simple shelves to full bedroom sets. Each plan includes a cut list, material list, and detailed diagrams. Browse Ted’s plans →
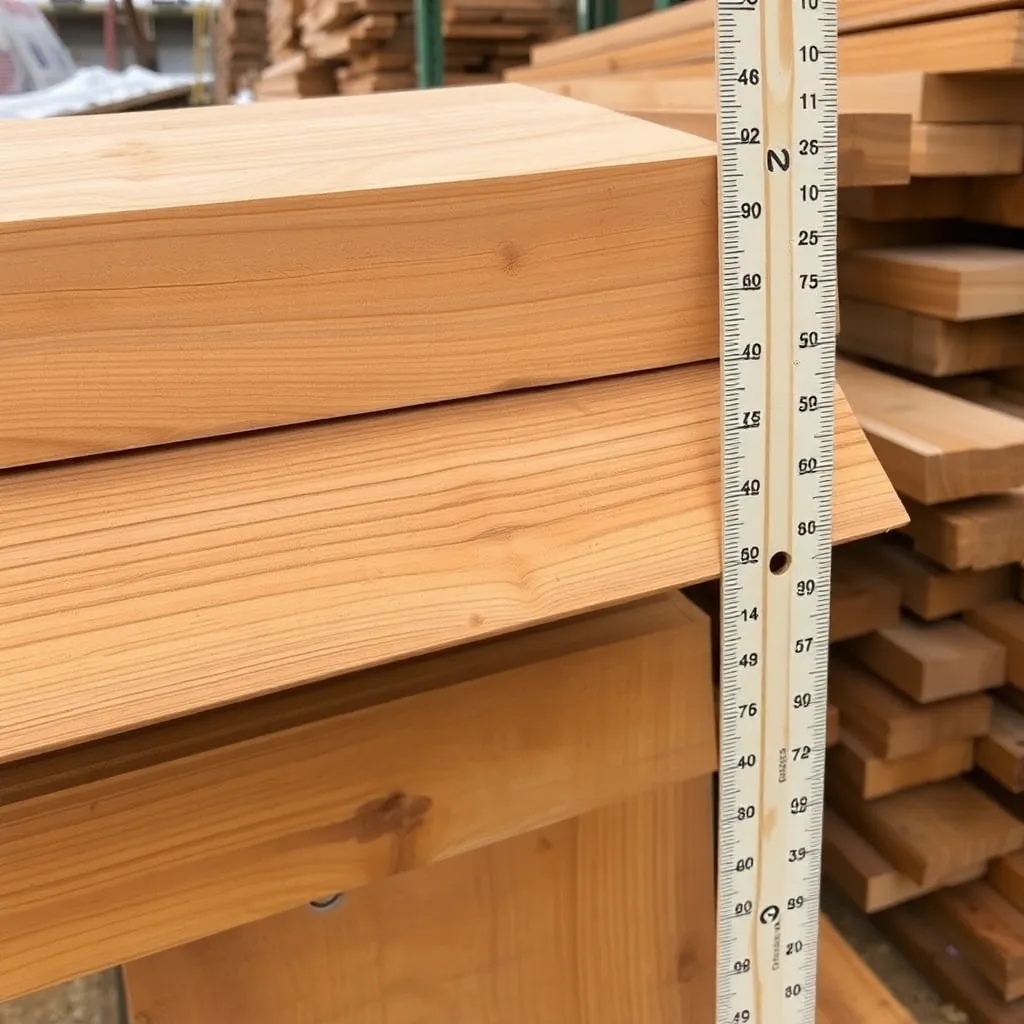
Teak for furniture comes in two grades:
- Grade A (heartwood only): Dark golden-brown, uniform grain, highest oil content. Use this for outdoor furniture. Boards are free of sapwood, knots, and defects.
- Grade B (mixed heartwood and sapwood): Lighter streaks visible. Less expensive, appropriate for indoor or sheltered outdoor use.
Source teak from an importer or specialty lumber yard, not a home center. Common sizes for furniture: 1×2, 1×4, 2×2, and 2×4 boards in 8-foot lengths. Expect to pay $15–$30 per board foot for Grade A.
Important: Teak’s natural oils prevent glue adhesion unless the wood is cleaned with acetone or denatured alcohol immediately before gluing. Apply the solvent, let dry 30 seconds, and apply glue within 5 minutes.
Step 2: Cut List for the Steamer Chair
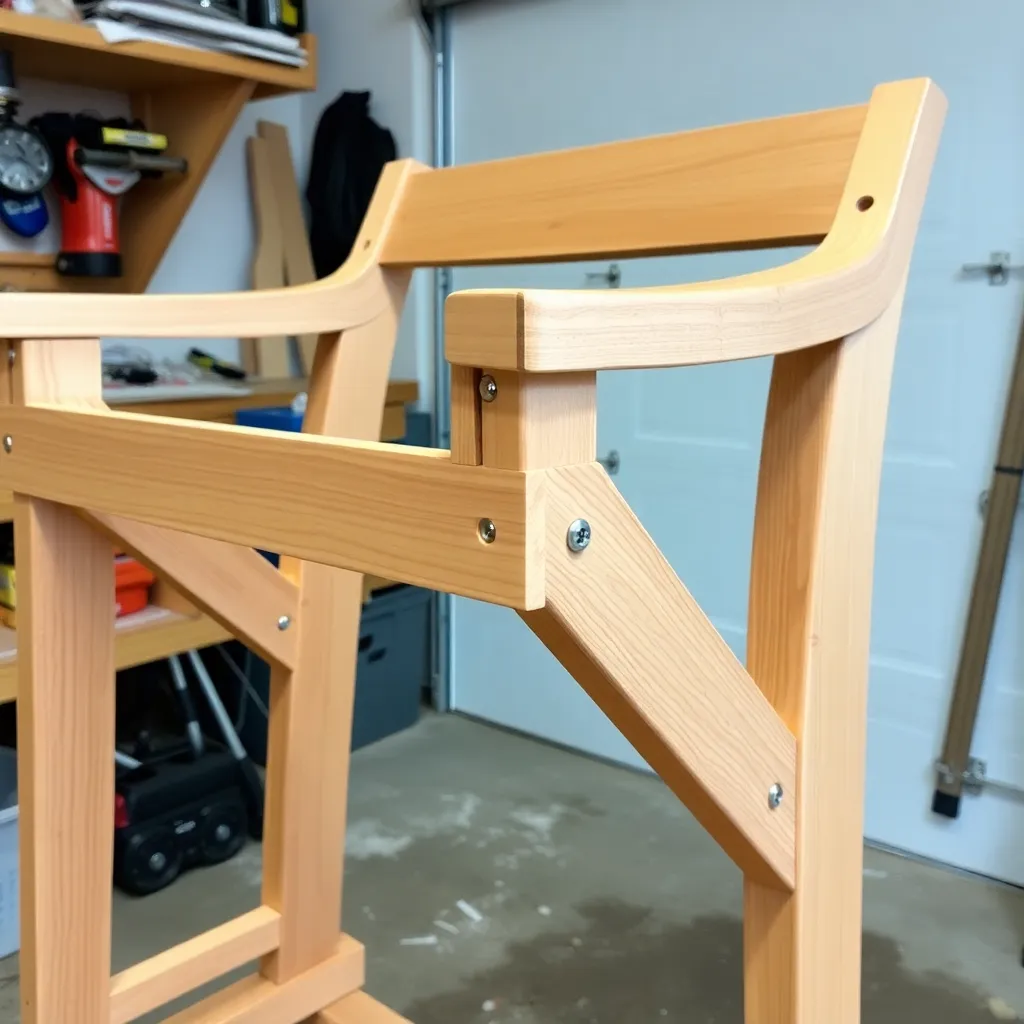
The Lutyens steamer chair has wide, flat arms, a low seat, and a slightly reclined back. It is the most reproduced outdoor chair design in history — and for good reason. The geometry is ergonomically correct (30° seat-to-back angle, 15° seat rake) and the joinery is simple mortise-and-tenon with no hardware required in traditional versions.
Modern hardware version (easier to build):
- 2 × back legs: 2×2 at 38 inches
- 2 × front legs: 2×2 at 21 inches
- 2 × side seat rails: 2×3 at 24 inches
- 1 × front seat rail: 2×3 at 27 inches
- 1 × back seat rail: 2×3 at 27 inches
- 2 × arms: 1×5 at 33 inches (tapered from 5 inches wide at back to 3 inches at front)
- 2 × arm supports: 2×2 at 8 inches
- 5 × seat slats: 1×3 at 29 inches (with 3/8-inch gaps)
- 7 × back slats: 1×2 at 18 inches (with ¼-inch gaps)
- 1 × top back rail: 1×4 at 29 inches (curved optional)
Hardware: 304 stainless steel screws only (never galvanized — teak’s tannins react with zinc and cause black staining).
Step 3: Build the Side Frame Assemblies
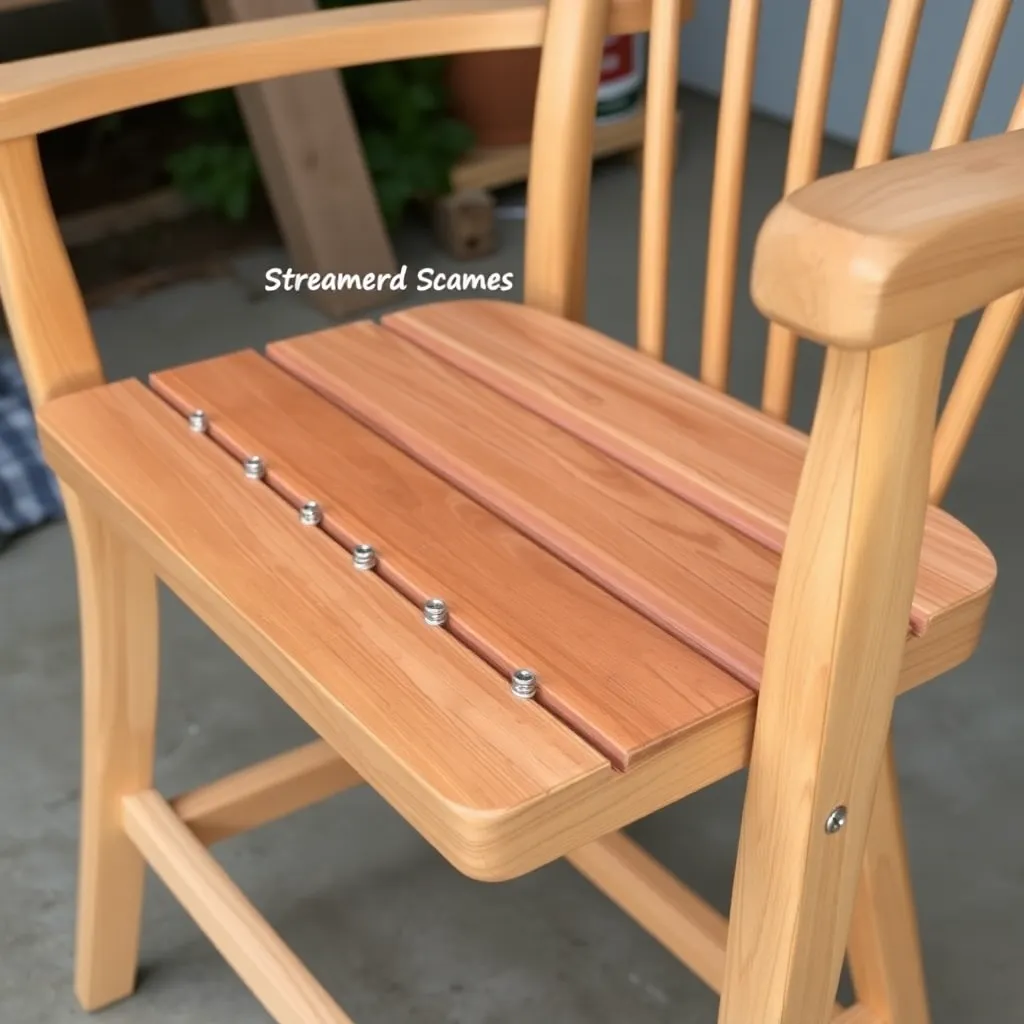
Each side frame consists of a front leg, a back leg, and a side seat rail connecting them. The back leg is angled 15° from vertical at the seat line and continues up 17 inches above seat height to become the back post.
Fasten side seat rails to legs with two 2-inch stainless screws per joint, pre-drilled and countersunk. For maximum strength, cut a shallow dado (3/8-inch deep) in each leg where the rail meets it — this provides a ledge that resists the rail pulling down under load.
Connect both side frames with the front and back seat rails. Check for square.
Step 4: Attach Seat Slats
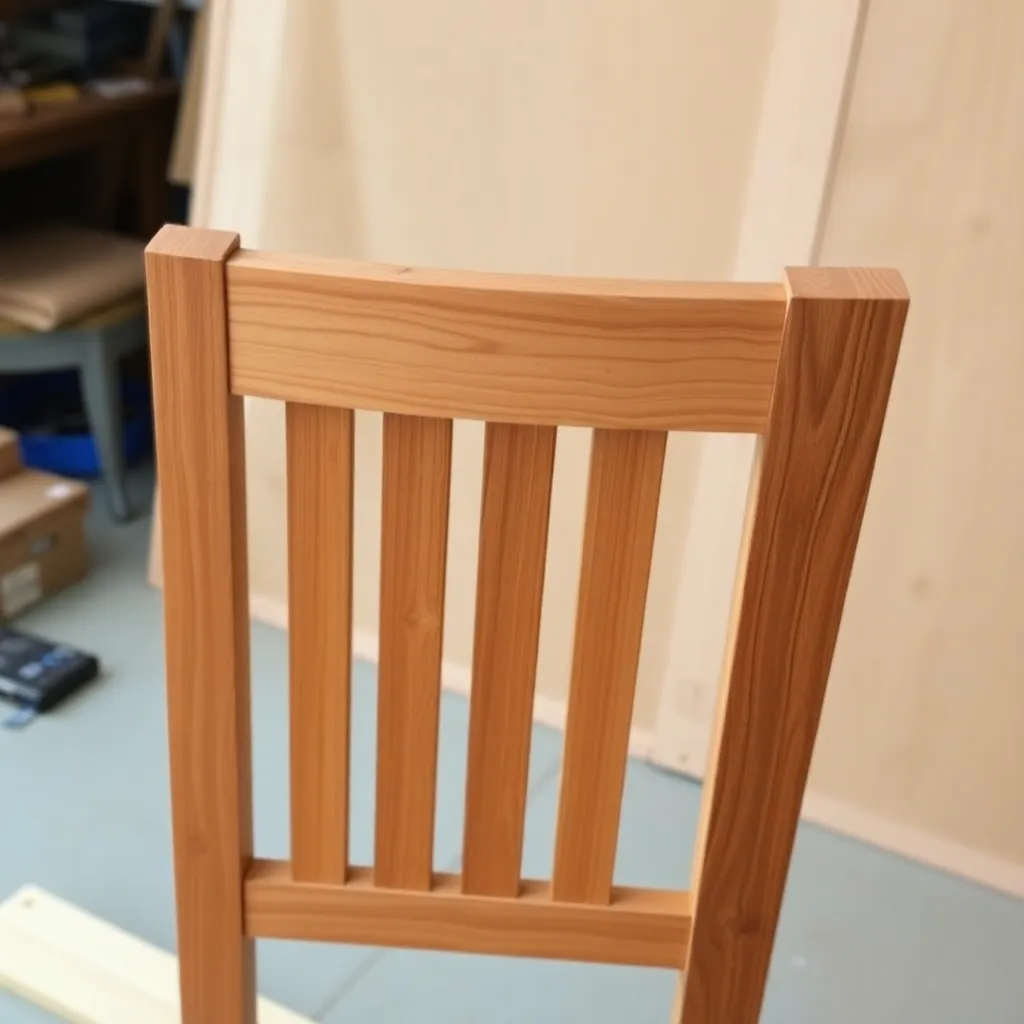
Space five 1×3 seat slats across the seat frame with 3/8-inch gaps. The front slat overhangs the front seat rail by 1 inch to create a clean edge and prevent rain from running back underneath the seat. Fasten with two 1½-inch stainless screws per slat per rail.
The seat slats should have a slight front-to-back pitch (seat frame can be shimmed 1 inch lower at the back than the front) — this drains rain water forward rather than pooling at the back of the seat.
Step 5: Build and Attach the Back
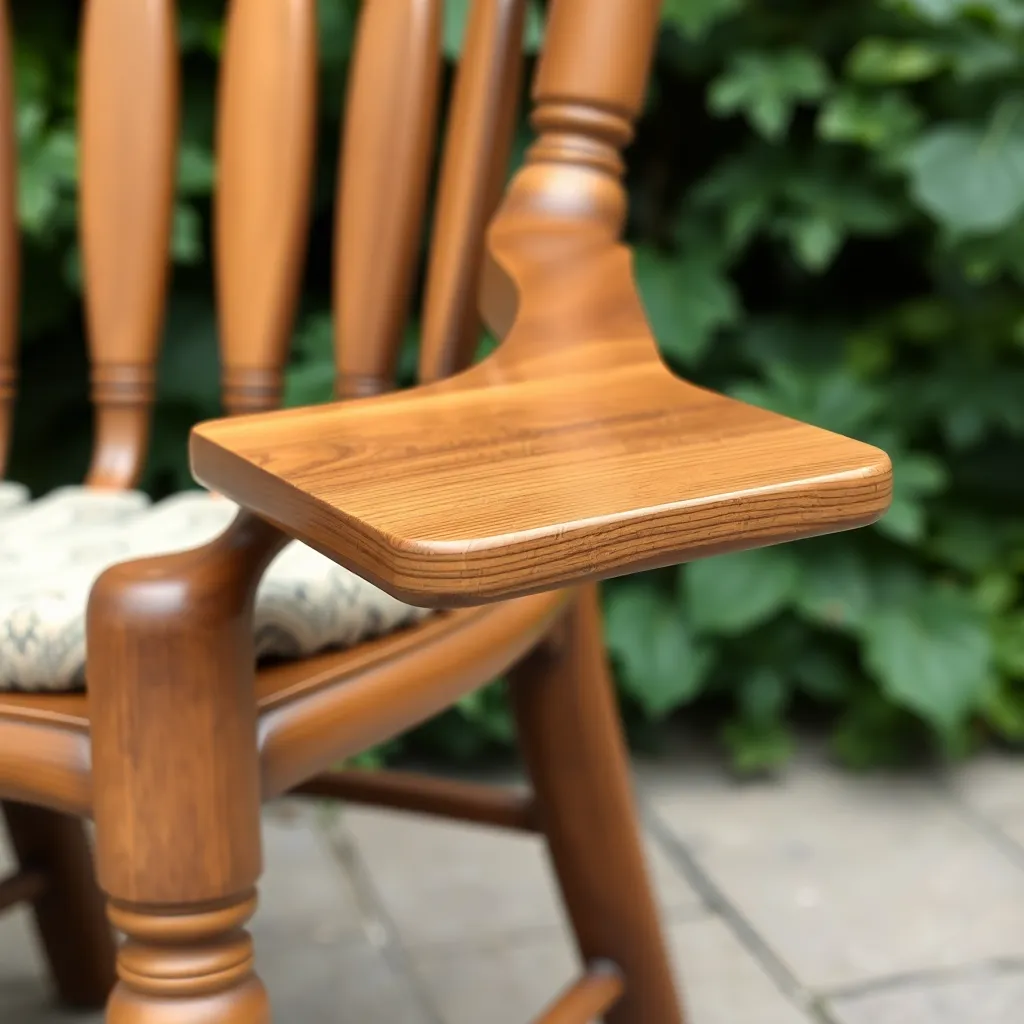
The back on a classic steamer chair is slightly curved at the top for a traditional look. For a straight-back version (easier), skip the curve and use a flat 1×4 top rail.
Stack seven 1×2 back slats vertically between the back posts with ¼-inch gaps. The slats are angled 30° from vertical — the same angle as the back posts. Fasten top and bottom with 1½-inch stainless screws. Add a 1×4 back rail at mid-height connecting both back posts for rigidity.
Step 6: Add the Arms
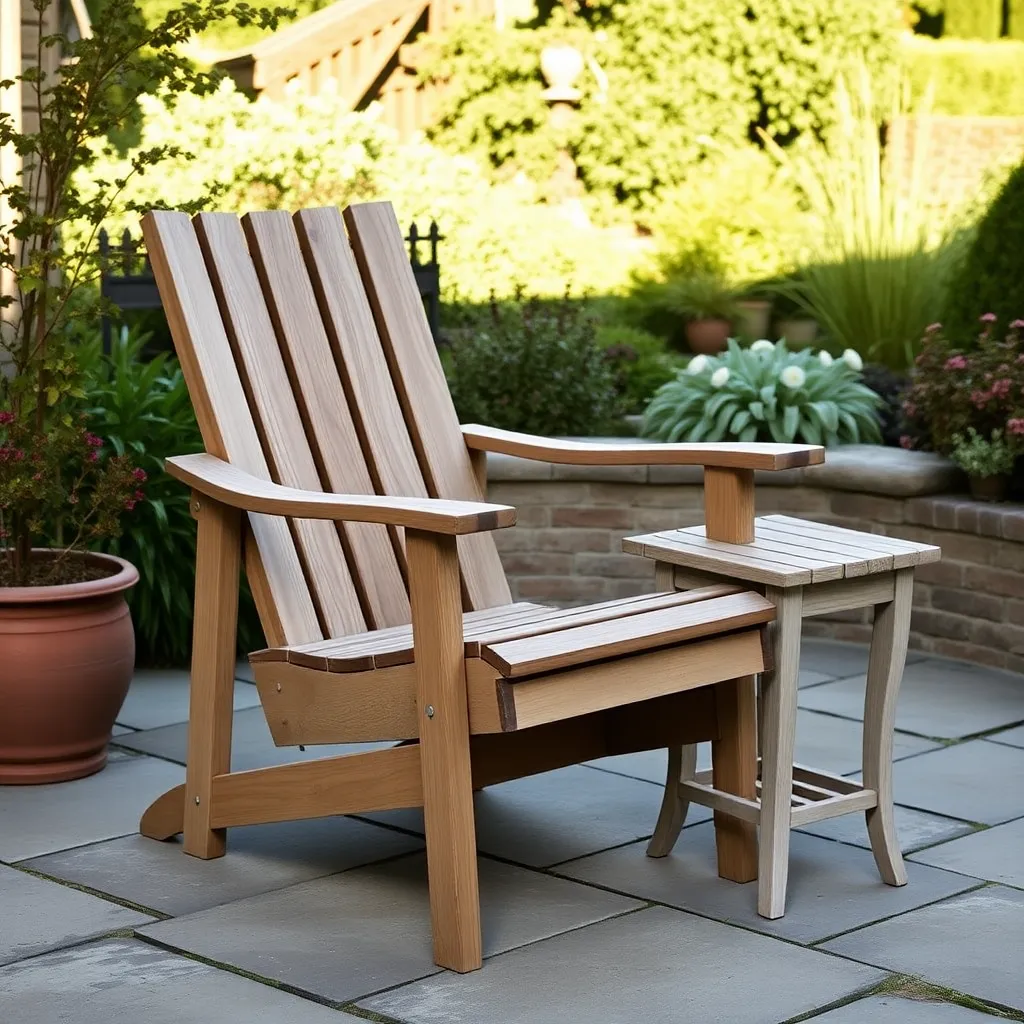
The arms are the defining feature of the steamer chair — wide, flat, and long enough to rest a book or a drink. Taper each arm blank on a table saw (or by hand plane) from 5 inches wide at the back to 3 inches at the front. Round the front corners with a jigsaw and sand smooth.
Attach each arm to the top of the front leg with two 2-inch screws from above. Support the back of the arm with a 2×2 arm support fastened to the back post. The arm surface should be level (not angled with the seat).
Step 7: Build the Matching Side Table
A simple teak side table to match the steamer chair:
- 4 × legs: 2×2 at 22 inches
- 2 × long rails: 1×3 at 18 inches
- 2 × short rails: 1×3 at 15 inches (accounting for leg width)
- 4 × top slats: 1×3 at 21 inches
Assembly follows the same process as any slatted side table. The table height (22 inches) matches the chair’s arm height for convenient reach.
Step 8: Leave Unfinished or Apply Teak Oil
The simplest approach: leave teak completely unfinished. It weathers to an attractive silver-gray within one season. The structural integrity is unaffected by weathering — the silvering is surface-only.
If you prefer the original golden-brown color: apply one or two coats of teak oil (not varnish) per year in early spring. Teak oil penetrates and feeds the wood’s natural oils without forming a film that can peel or crack. Avoid varnish or paint on teak — the natural oil prevents adhesion, and the coating will peel within one to two seasons.
Want 16,000+ step-by-step woodworking plans?
Ted’s Woodworking has plans for every skill level — from simple shelves to full bedroom sets. Each plan includes a cut list, material list, and detailed diagrams. Browse Ted’s plans →
Teak Outdoor Furniture Plans FAQ
Is teak worth the cost for outdoor furniture?
For furniture that lives outside year-round in climates with wet winters or salt air, yes. Teak requires no maintenance and outlasts cedar 2-to-1 in longevity. For furniture that will be stored in winter or lives under a covered porch, cedar or pressure-treated pine is a more economical choice.
Can I build teak furniture with standard woodworking tools?
Yes, with one adjustment: teak is very hard and will quickly dull standard steel saw blades and chisels. Use carbide-tipped saw blades and sharpen chisels before and after every major teak project. A router with a carbide spiral bit handles teak well.
Does teak turn gray outdoors?
Yes. Unfinished teak turns silver-gray within 6–12 months of outdoor exposure. This is UV oxidation of the surface fibers — the wood beneath is unaffected. The gray color is considered attractive by most users. Applying teak oil annually slows graying but does not stop it entirely.
What screws should I use with teak furniture?
304 or 316 stainless steel screws only. Teak’s high tannin content reacts with zinc (galvanized) and iron (standard steel) to create black staining streaks. Stainless screws are available at marine supply stores and online.
How long does teak outdoor furniture last?
Grade A teak furniture left completely unfinished outdoors: 50 years or more. This is not an exaggeration — original Victorian teak garden furniture from the 1880s is still in use today. The wood’s natural oil content and density make it genuinely impervious to rot and insect damage.

“DIY woodworking enthusiast who started with zero experience and a YouTube tutorial.
I build simple, practical projects for my home and share free plans
so other beginners can skip the guesswork.If I can build it, you can too.”