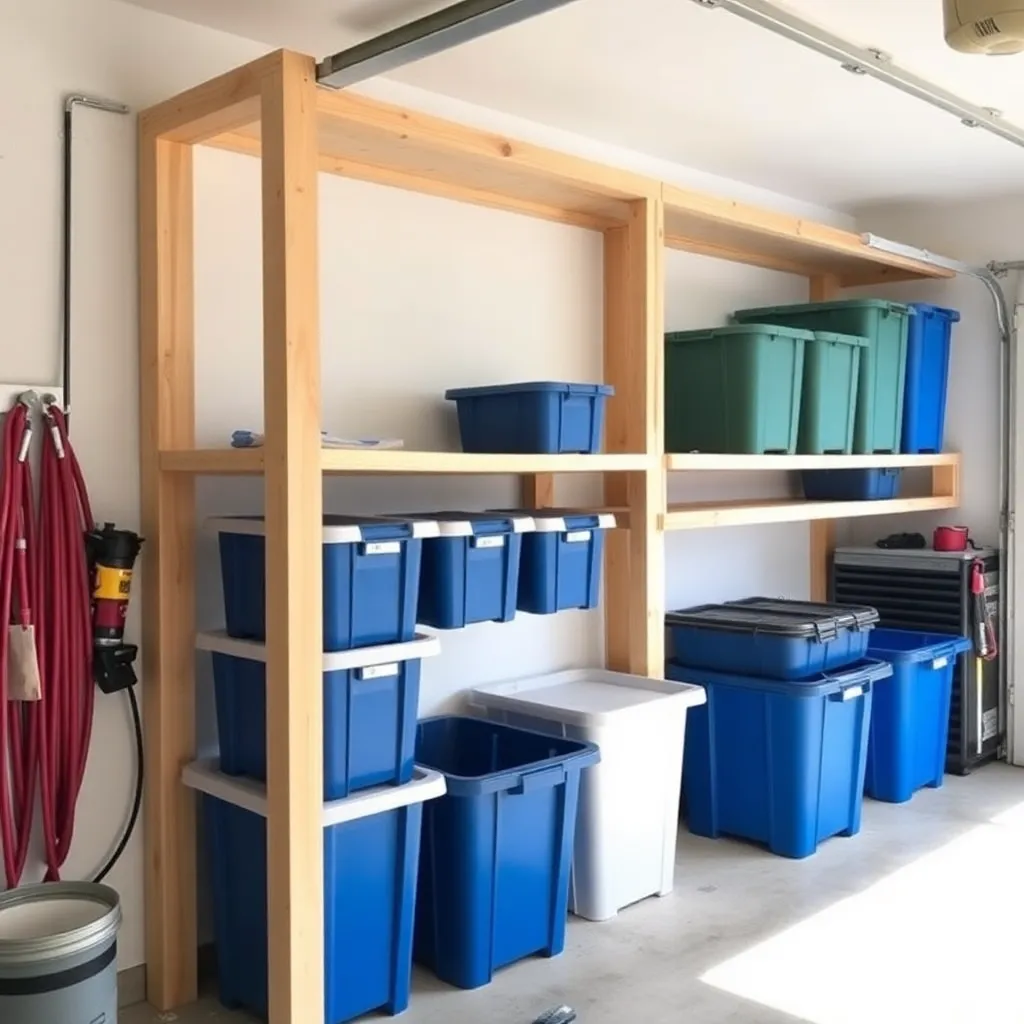
The floor of most garages is covered in bins, boxes, and bags that belong on a shelf. A wall-mounted shelf system built from 2×4 lumber and plywood can hold 600 lbs per section, costs under $150 in materials for a full wall, and takes one Saturday to build. These plans cover three systems: a classic 2×4 wall-mounted shelf for bins and heavy gear, a freestanding version that doesn’t require wall attachment, and a sports equipment shelf with angled bins for balls, helmets, and irregularly shaped gear.
Ted’s Woodworking has full garage storage plans with hardware lists and installation guides. Browse Ted’s plans →
Step 1: Plan Your Shelf Layout
Ted’s Woodworking has over 16,000 step-by-step plans with cut lists, materials lists, and detailed diagrams. Browse Ted’s plans →
Before cutting anything, measure the wall and plan shelf positions around obstructions — electrical panels, outlets, windows, and doors. Standard garage shelf depth is 16–24 inches. Deeper than 24 inches and you can’t reach the back without a step stool. Shallower than 16 inches and bins won’t fit.
Standard shelf heights for a typical garage:
- Bottom shelf: 12 inches off the floor (clears most bins, allows sweeping underneath)
- Middle shelves: 18–24 inches apart (fits two levels of standard 12-gallon bins)
- Upper shelf: 18 inches below the ceiling (for rarely used seasonal items)
For a 2-car garage (20 feet wide), plan three wall sections of 6–8 feet each. This gives you roughly 180–240 linear feet of shelf space — enough for 60–80 large storage bins.
Mark stud locations with a stud finder before planning shelf positions. All wall-mounted shelf brackets must hit studs — drywall anchors are not adequate for loaded garage shelves.
Step 2: Cut List for the 2×4 Wall System
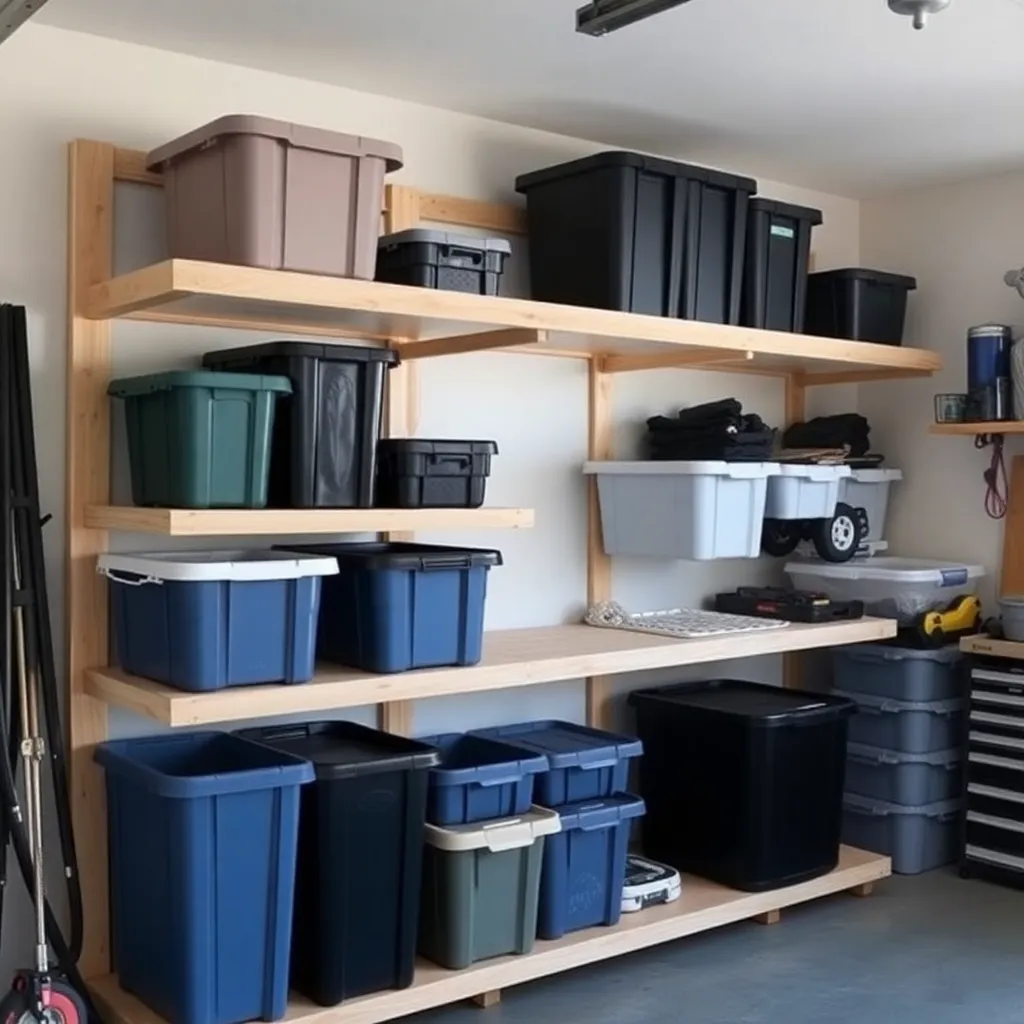
Materials for one 8-foot wide × 7-foot tall shelf section (5 shelves):
- 6 × wall ledgers: 2×4 at 96 inches (horizontal members screwed into studs)
- 10 × shelf supports: 2×4 at 20 inches (vertical supports between ledgers)
- 5 × shelf decking: ¾-inch plywood at 24×96 inches (one sheet of ¾ plywood per shelf)
- Hardware: 3-inch structural screws (ledger to stud), 3-inch deck screws (assembly)
Total cost for one 8-foot section: $80–$120 depending on lumber prices.
Step 3: Install the Wall Ledgers
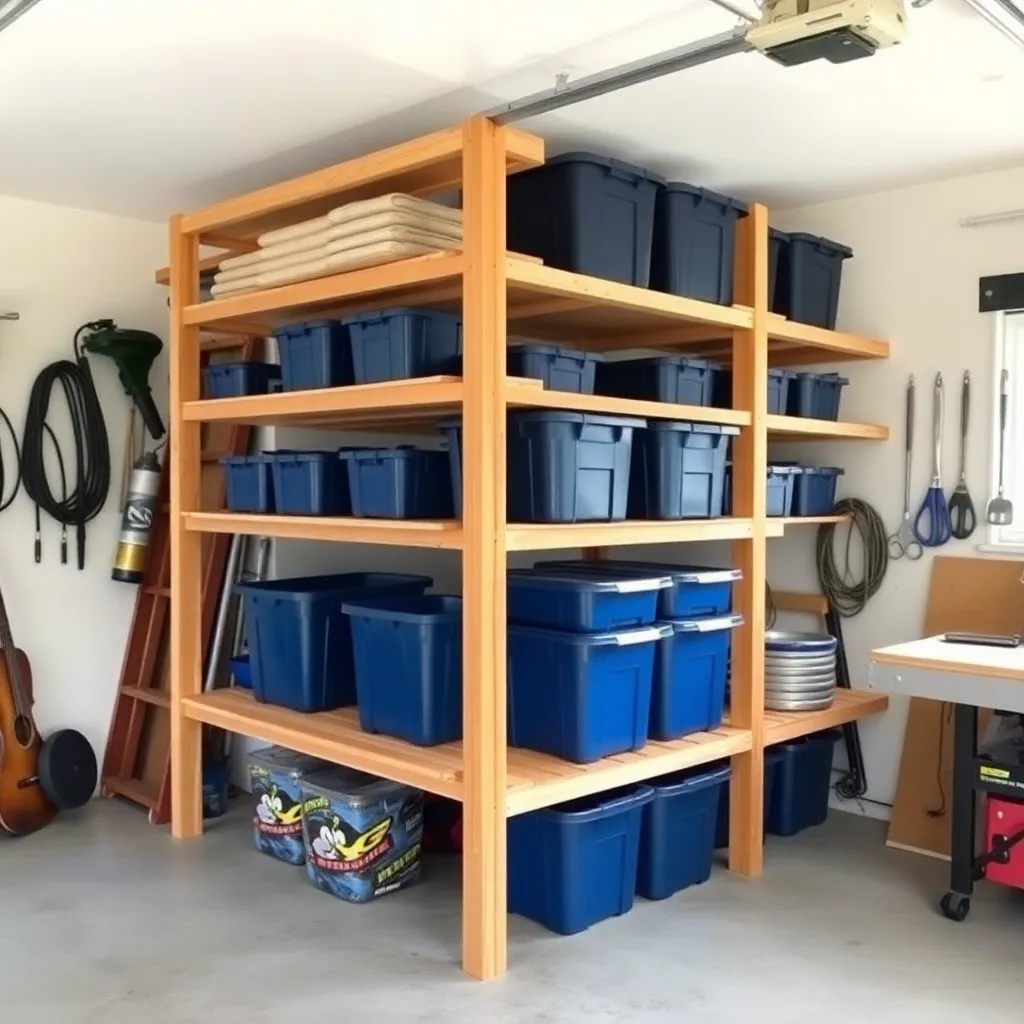
Wall ledgers are horizontal 2×4s screwed into the studs — they carry the shelf load directly to the wall framing. This is the structural backbone of the entire system.
Use a level to mark a horizontal line at each shelf height. Hold each 2×4 ledger to the line and drive two 3-inch structural screws into each stud it crosses. In a standard 16-inch-on-center framing layout, an 8-foot ledger will hit 6 studs — 12 screws total per ledger.
Pull on the ledger hard after installation — it shouldn’t move at all. If it feels springy, you may have missed a stud; remove and reposition.
Step 4: Add Vertical Supports
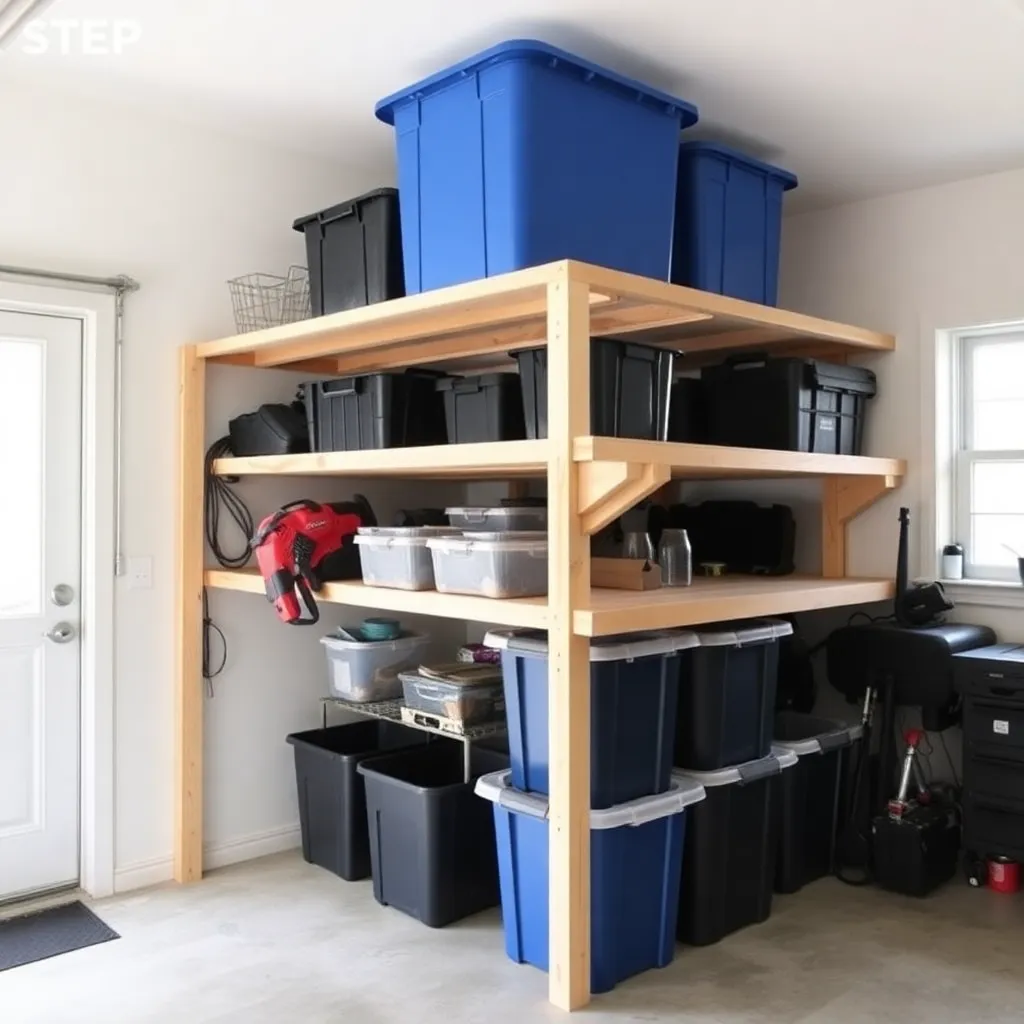
Cut 2×4 vertical supports to fit between adjacent ledgers (measure each space individually — ceiling heights vary). Toenail each support into the ledger above and below with 3-inch screws at a 45-degree angle. Space supports at 24 inches on center across the width of each shelf.
The vertical supports prevent the shelf decking from sagging under load. Without them, even ¾-inch plywood will deflect visibly at 48-inch spans.
Step 5: Lay the Shelf Decking
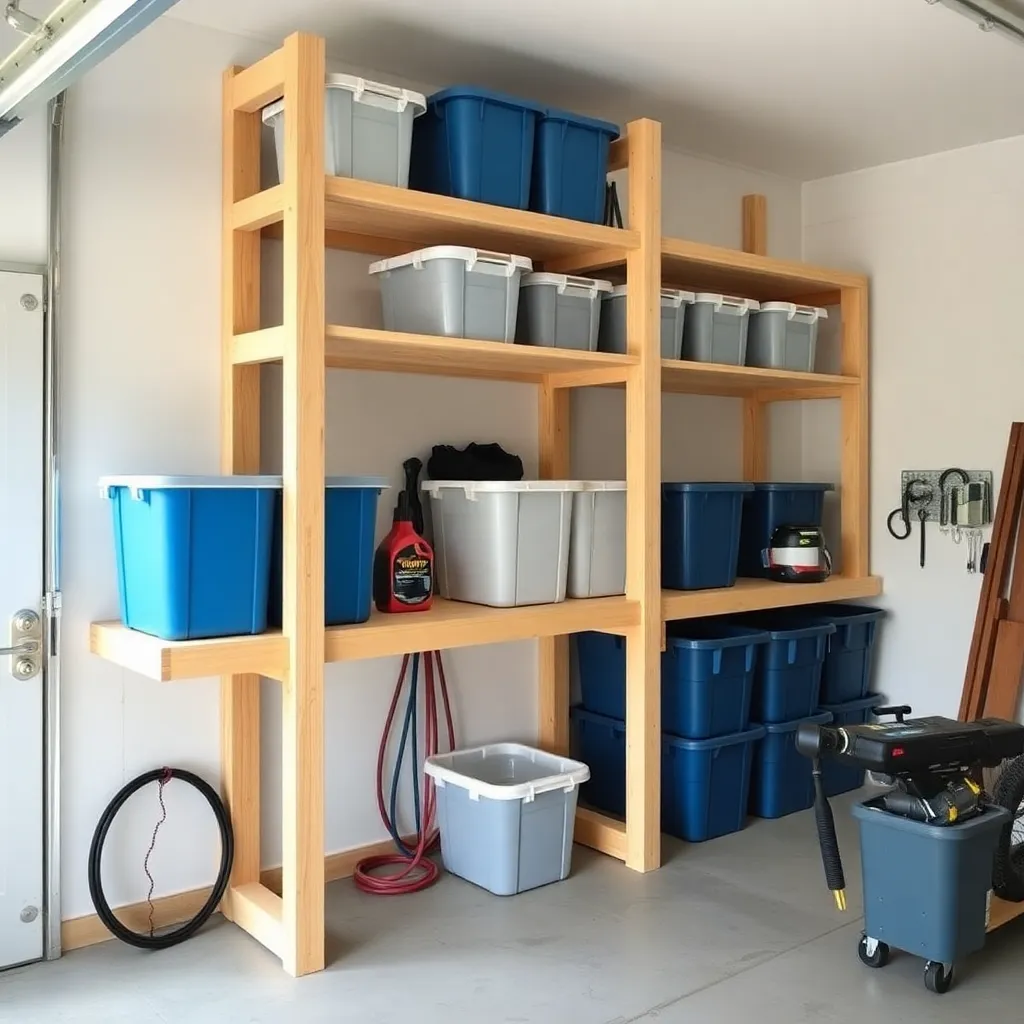
Cut ¾-inch plywood or OSB to 24 inches deep × the full width of your shelf section. Lay each panel across the ledger and supports and fasten with 1½-inch screws every 12 inches into the supports below.
Sand any rough edges on the front lip of each shelf — this is where hands contact the shelf most often. A quick pass with 80-grit sandpaper prevents splinters.
Optional: paint the shelf decking with one coat of porch paint before installation. This seals the plywood, makes cleanup easier, and gives the finished system a professional look.
Step 6: Build the Freestanding Version (Optional)
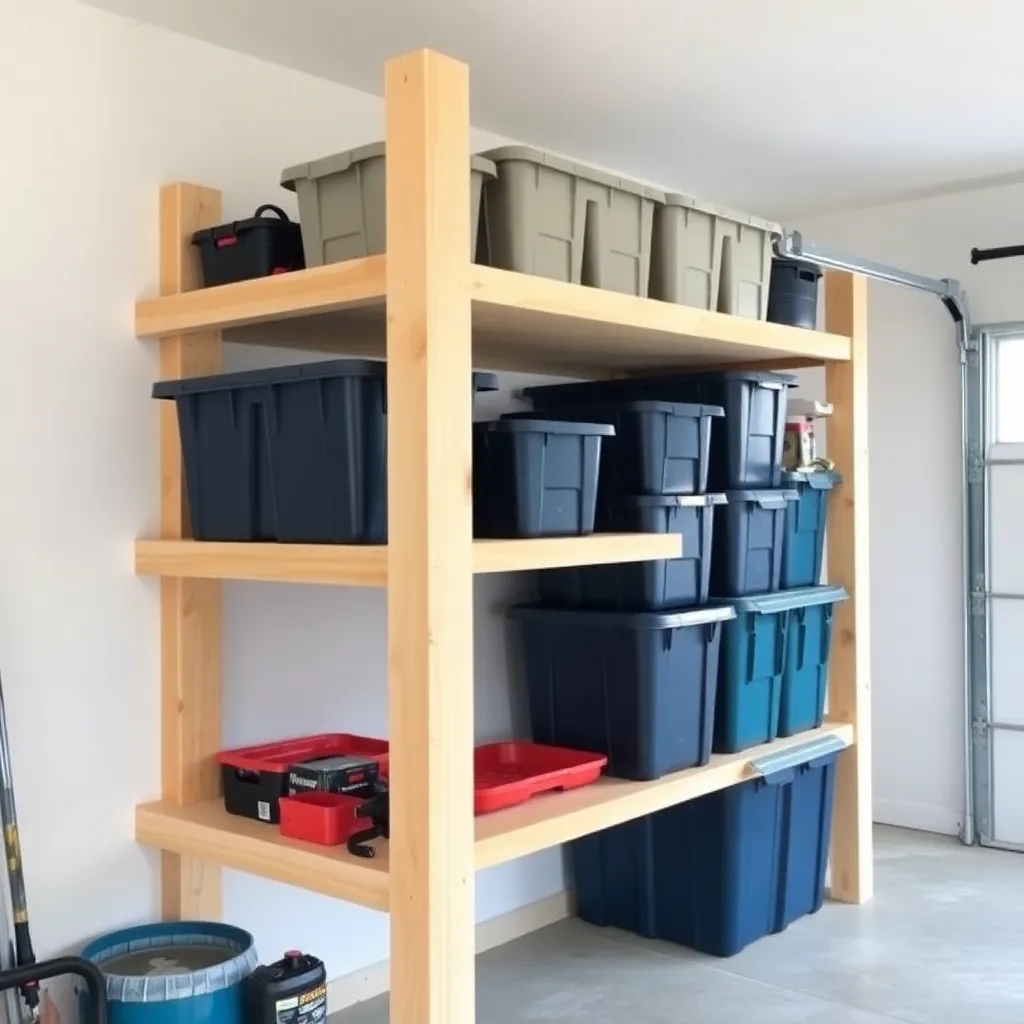
If your garage walls are concrete block or you can’t locate studs, build a freestanding shelf unit instead. The structure is identical but uses four vertical 4×4 posts (or doubled 2×4 posts) at the corners and ends instead of wall attachment.
Cut the four posts to ceiling height minus ½ inch. Level each post base with a shim if the concrete floor is uneven. Connect the posts at each shelf height with horizontal 2×4 rails (one front rail, one back rail per level). Lay plywood decking across the rails.
Anchor freestanding units to the wall at the top with a single 2×4 ledger screwed into at least two studs — this prevents the unit from tipping forward under an unbalanced load.
Ted’s Woodworking has over 16,000 step-by-step plans with cut lists, materials lists, and detailed diagrams. Browse Ted’s plans →
Garage Storage Shelves FAQ
How deep should garage storage shelves be?
24 inches is the standard for a garage wall shelf — deep enough to hold two rows of 12-gallon bins side by side, shallow enough to reach the back without help. For shelves above 7 feet, reduce depth to 16 inches — you’ll be reaching up to access these anyway and don’t need the extra depth.
How far apart should garage shelf brackets be?
Vertical supports every 24 inches for ¾-inch plywood decking. At 48 inches, ¾ plywood will sag noticeably under heavy bins. At 24 inches, the same shelf holds 150–200 lbs per section without deflection.
What screws do I use for garage shelves?
3-inch coarse-thread structural screws (GRK, Spax, or equivalent) for all framing connections. 1½-inch screws for attaching plywood decking to the frame. Use exterior-rated or coated screws — uncoated screws rust in garage environments with temperature swings and humidity.
Can I hang garage shelves on concrete walls?
Yes, with concrete anchors (Tapcon screws or sleeve anchors). Drill into the concrete with a hammer drill, insert the anchor, and drive the screw. Concrete walls are often stronger than wood-framed walls for shelf attachment — no stud finding required, and you can position anchors anywhere.
How much weight can garage shelves hold?
A properly built 2×4 wall shelf with ¾-inch plywood and supports every 24 inches holds 400–600 lbs per 4-foot section. The limiting factor is always the wall attachment — use structural screws into studs, not drywall anchors. Test each completed shelf by standing on it before loading — if it holds your weight, it holds bins.

“DIY woodworking enthusiast who started with zero experience and a YouTube tutorial.
I build simple, practical projects for my home and share free plans
so other beginners can skip the guesswork.If I can build it, you can too.”