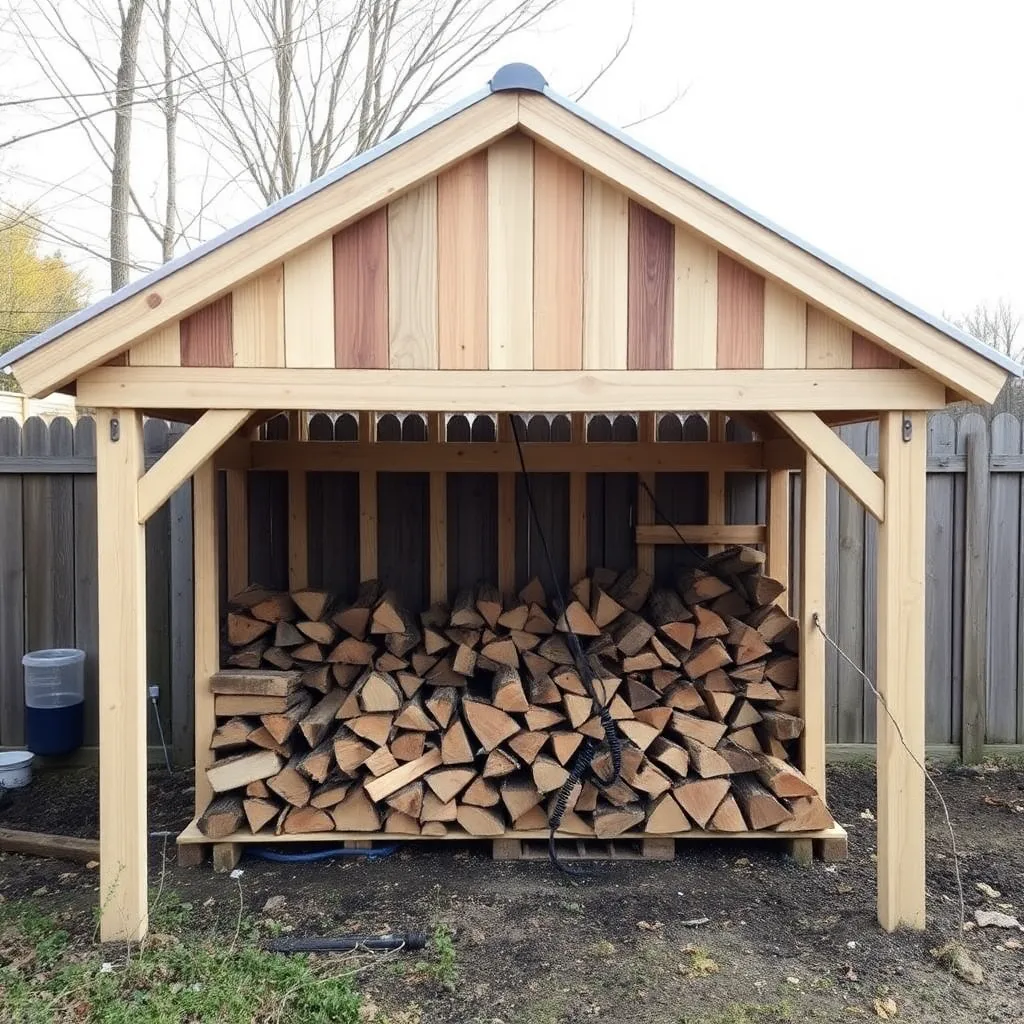
A firewood shed is the gold standard of wood storage — complete rain and snow protection, maximum airflow from the open front, and a permanent structure that keeps a full cord of seasoned wood ready to burn all winter. These firewood shed plans cover a 4×8-foot open-front shed with a shed roof, two side walls, a back wall, and a gravel floor — built from pressure-treated lumber and metal roofing for $250–$350 in materials. The design scales to 4×12 feet (1.5 cord capacity) by extending the length, using the same wall and roof construction.
Ted’s Woodworking has complete firewood shed plans in multiple sizes with cut lists, hardware lists, and foundation options. Browse Ted’s shed plans →
Step 1: Plan the Site and Foundation
Ted’s Woodworking has over 16,000 step-by-step plans with cut lists, materials lists, and detailed diagrams. Browse Ted’s plans →
A firewood shed needs three things from its site: sun (speeds seasoning), drainage (keeps the floor dry), and clearance from the house (30 feet minimum for pest management).
Site preparation:
- Mark the 4×8-foot footprint with stakes and string
- Remove turf and 3 inches of topsoil within the footprint
- Fill with 3 inches of compacted gravel (crushed stone or pea gravel) — this is the floor and it provides drainage so wood doesn’t sit in pooled water
- Level the gravel surface
Foundation options:
- Gravel pad (this plan): Free-draining, no concrete, easiest to install
- Concrete deck blocks: Four blocks at the corners, set level — elevates the floor frame off the ground
- Skid foundation: Two pressure-treated 4×4 skids running the length of the shed, set on gravel — the shed can be moved with a pallet jack
The gravel-floor shed has no floor frame — the posts sit in the gravel and the wood stacks directly on the gravel surface. This is the simplest build and provides excellent drainage.
Step 2: Set the Posts
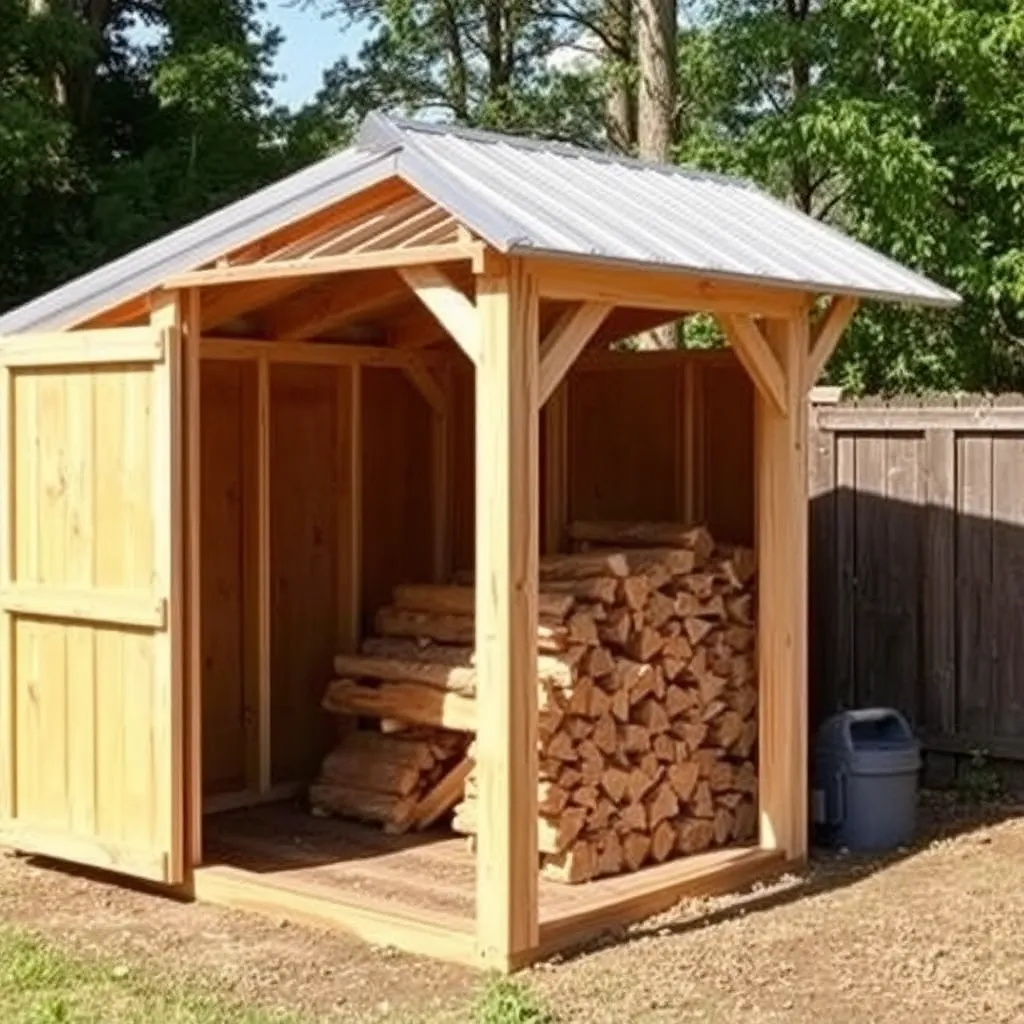
The shed uses four 4×4 posts — two at the back and two at the front. The back posts are taller (they support the higher end of the shed roof). The front posts are shorter (open-front design — no front wall).
Post heights:
- Back posts: 8 feet above grade (set 12 inches into the ground in gravel or concrete — adjust above-grade height to 8 feet)
- Front posts: 6 feet above grade — this creates a 2-foot drop from back to front, giving the shed roof a 25% slope that sheds rain and snow well
Setting posts in gravel:
Dig 12-inch-deep holes at each corner. Set each post, check plumb in both directions, and pack gravel tightly around the base. Brace each post with temporary diagonal 2×4 braces until the wall framing ties them together. Posts in packed gravel (not concrete) are removable and work well for outbuildings in dry climates. In wet climates: set in concrete or use post bases on a concrete footing.
Step 3: Frame the Side Walls
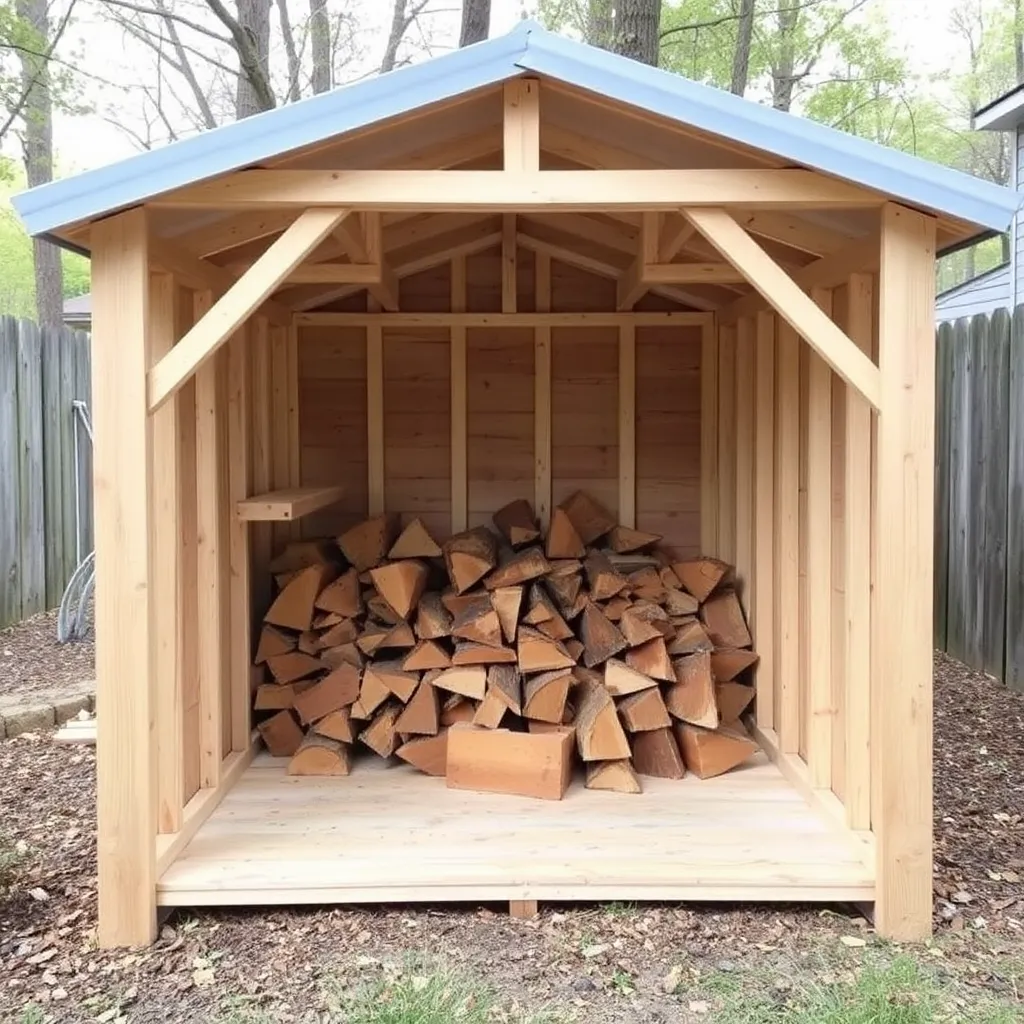
The two side walls close the shed on the left and right, protecting the wood from wind-driven rain while allowing the open front to breathe.
Side wall framing (for one wall — build two):
- Bottom plate: 2×4 pressure-treated at 48 inches (running the 4-foot depth)
- Top plate (angled): 2×4 cut at the roof slope angle, running from the 8-foot back post height to the 6-foot front post height
- Studs: 2×4 at 24-inch on center (two intermediate studs between posts)
Nail the bottom plate to the posts at the base. Nail the angled top plate to the posts at the top, cut at the slope angle so the roofline is flush. Install intermediate studs between the plates.
Side wall sheathing: ½-inch exterior plywood, cut to match the trapezoidal shape of each wall. Leave the lower 12 inches open (or use widely spaced horizontal boards) for additional airflow at the base of the wood stack.
Step 4: Frame the Back Wall
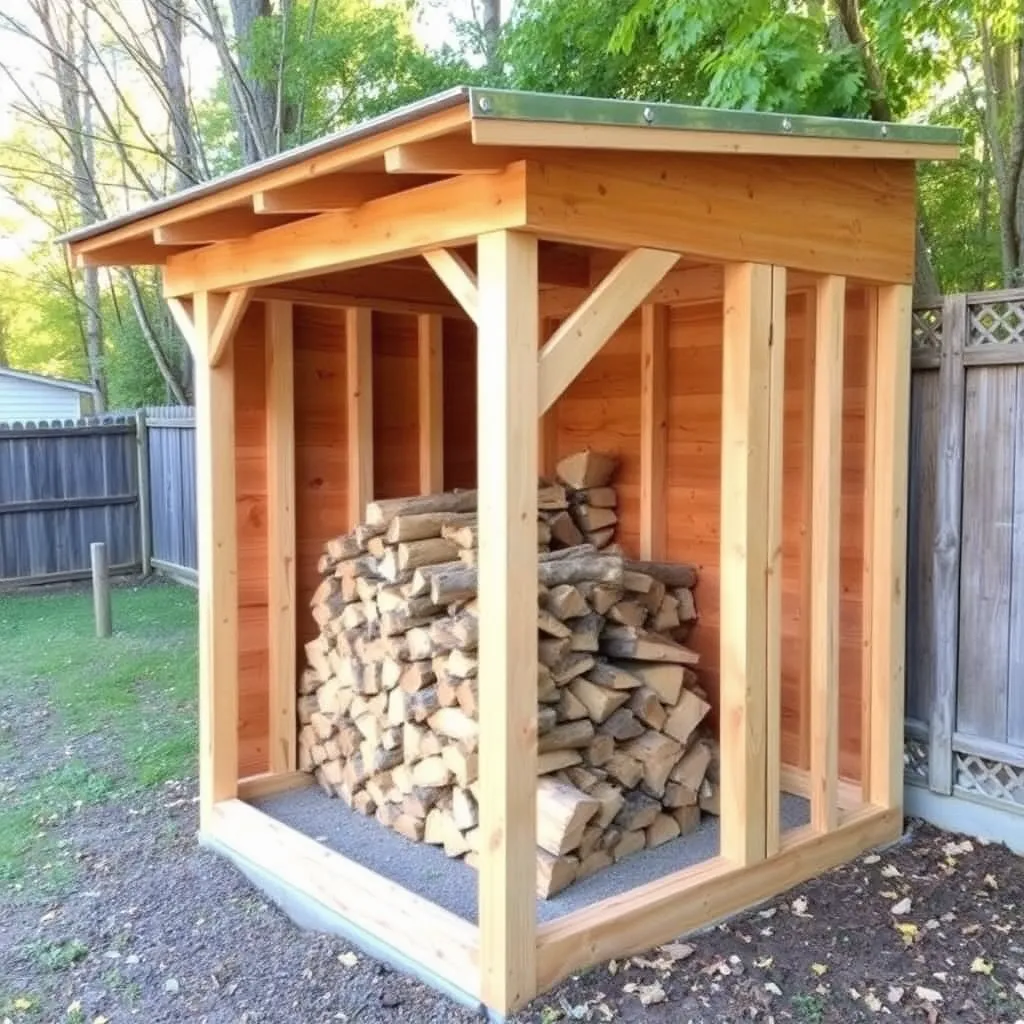
The back wall closes the shed at the rear, protecting the wood from the prevailing wind direction (orient the shed so the open front faces away from the prevailing wind).
Back wall framing:
- Bottom plate: 2×4 pressure-treated at 96 inches
- Top plate: 2×4 at 96 inches
- Studs: 2×4 at 16-inch on center (six studs for an 8-foot wall)
The back wall is a simple flat wall — no slope or angle needed since both back posts are the same height. Sheathe with ½-inch exterior plywood and leave a 12-inch gap at the bottom for airflow if desired.
Step 5: Install the Roof
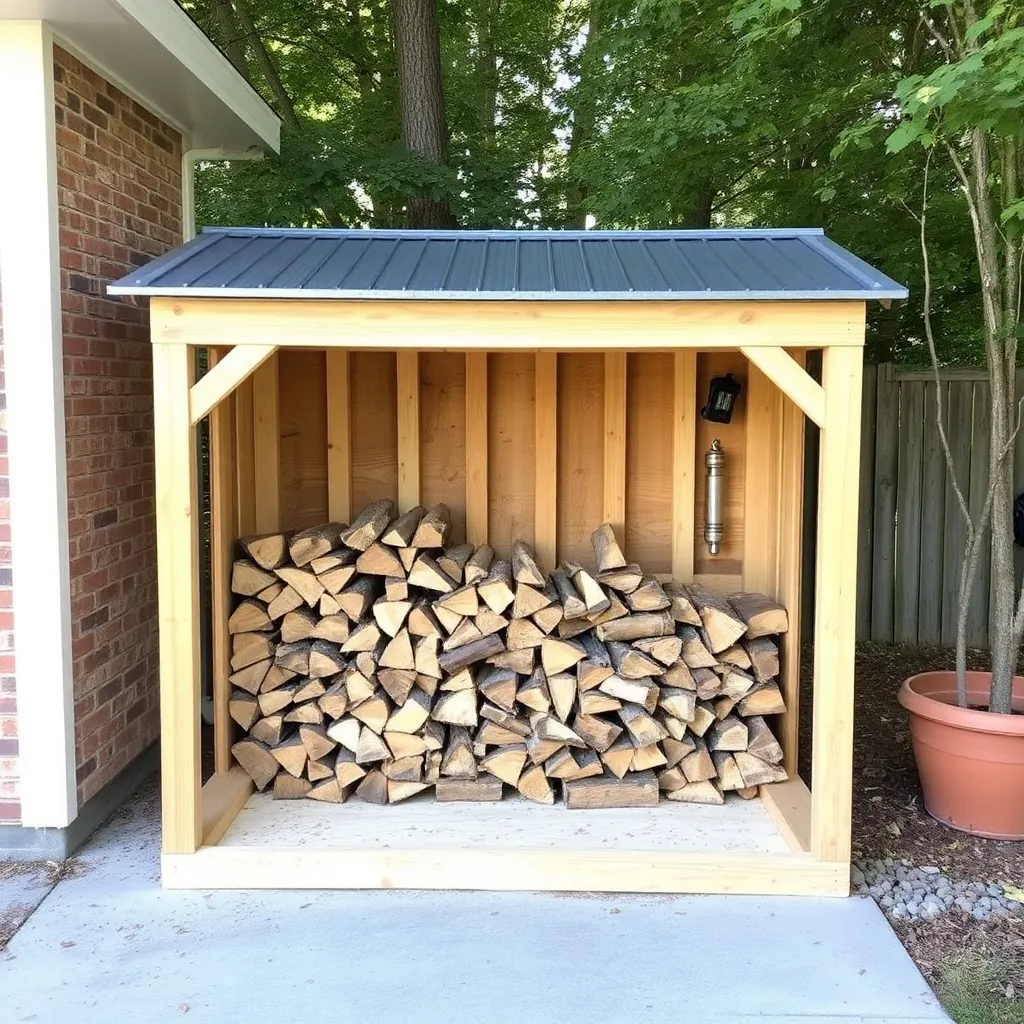
The roof is the most important element of a firewood shed — it’s the only thing between the wood and the weather. A metal roof (corrugated steel or standing seam) is the best choice: long life, fast rain runoff, and no maintenance for 20–30 years.
Roof framing:
- 5 × roof rafters: 2×6 at 54 inches (spanning the 4-foot depth of the shed plus a 6-inch overhang at the front)
- Space rafters at 24-inch on center across the 8-foot width (one rafter at each end, three in between)
- Nail rafters to the top plates of the back and side walls
Roof sheathing and metal roofing:
- Sheathe with ½-inch exterior plywood over the rafters
- Install corrugated metal roofing panels: buy panels long enough to run from the peak (back wall) to 12 inches past the front rafters — the overhang keeps rain off the open front
- Fasten with self-sealing roofing screws every 12 inches into the rafters
A 4×8-foot shed needs two 3×10-foot corrugated panels (overlapping 6 inches at the seam). Cost: $40–$60 for the roofing panels.
Step 6: Add the Door (Optional) and Load the Shed
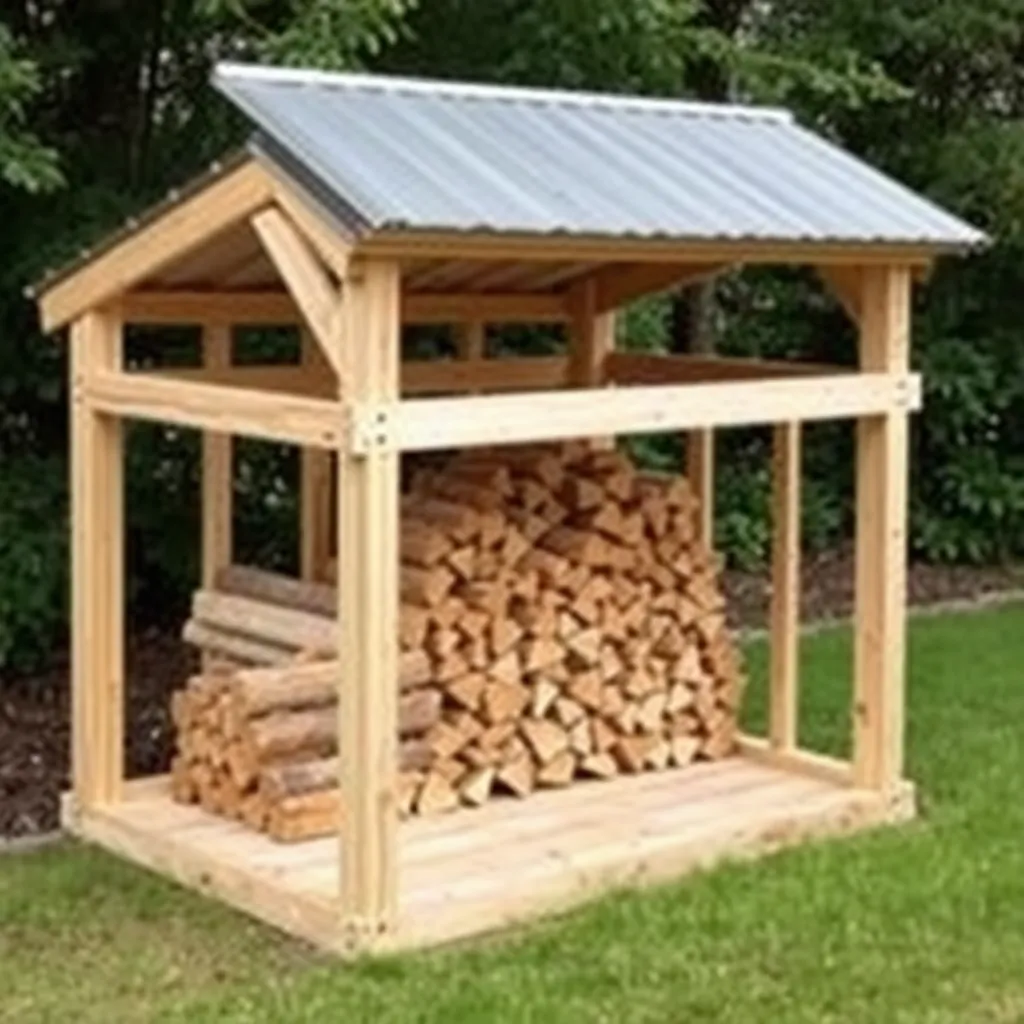
An open-front shed needs no door — the open face is the design feature. But if the shed is in a location exposed to winter winds from the front, add a simple batten door (two vertical boards on a Z-brace frame, hung on strap hinges) to close the open face during storms.
Loading the shed:
- Lay two 2×4 runners across the gravel floor (spanning the width of the shed) as a raised base for the wood — this keeps the bottom course off the gravel and allows air to circulate beneath
- Stack wood from the back wall forward, bark side up on the top course
- Leave 6 inches between the top of the stack and the roof — this air gap allows moisture to escape upward
A 4×8×7-foot-tall open shed holds approximately 1 cord when fully loaded.
Ted’s Woodworking has over 16,000 step-by-step plans with cut lists, materials lists, and detailed diagrams. Browse Ted’s plans →
Firewood Shed Plans FAQ
How big should a firewood shed be?
Size the shed for your annual consumption plus 20% surplus. A 4×8-foot shed holds 1 cord. A 4×12-foot shed holds 1.5 cords. For a wood stove as a primary heat source (3–5 cords), build 8×12 feet or plan two sheds. It’s always easier to build slightly larger than needed — a shed that’s too small means wood stored outside without protection.
Do I need a permit to build a firewood shed?
Most municipalities exempt small accessory structures under 120–200 square feet. A 4×8-foot firewood shed (32 square feet) is almost always exempt. Check local setback requirements — sheds typically need to be 5 feet from property lines. If the shed is 8×12 feet or larger, check before building.
What is the best roofing for a firewood shed?
Corrugated metal is the top choice — long life (30+ years), fast drainage, minimal maintenance, and inexpensive ($2–$3 per square foot). Asphalt shingles are also fine but require felt paper underneath and have a shorter lifespan (15–20 years). Avoid wood shingles on a firewood shed — the irony of a combustible roof over combustible contents is real, and wood roofing requires more maintenance.
Should the floor of a firewood shed be wood or gravel?
Gravel. A wood floor traps moisture underneath the bottom course of firewood, accelerating rot in both the wood and the floor. Gravel drains freely and the bottom course sits on 2×4 runners (which are replaceable when they rot, typically every 5–8 years). Concrete is also excellent but overkill for most firewood sheds.
How far from the house should a firewood shed be?
Minimum 30 feet from the house, 5 feet from property lines (check local codes). The distance from the house reduces pest migration from the wood pile (termites, carpenter ants) and reduces fire risk. If the distance makes daily wood retrieval inconvenient, keep a small covered porch stack (1–3 days of wood) close to the door and maintain the main supply in the shed.

“DIY woodworking enthusiast who started with zero experience and a YouTube tutorial.
I build simple, practical projects for my home and share free plans
so other beginners can skip the guesswork.If I can build it, you can too.”