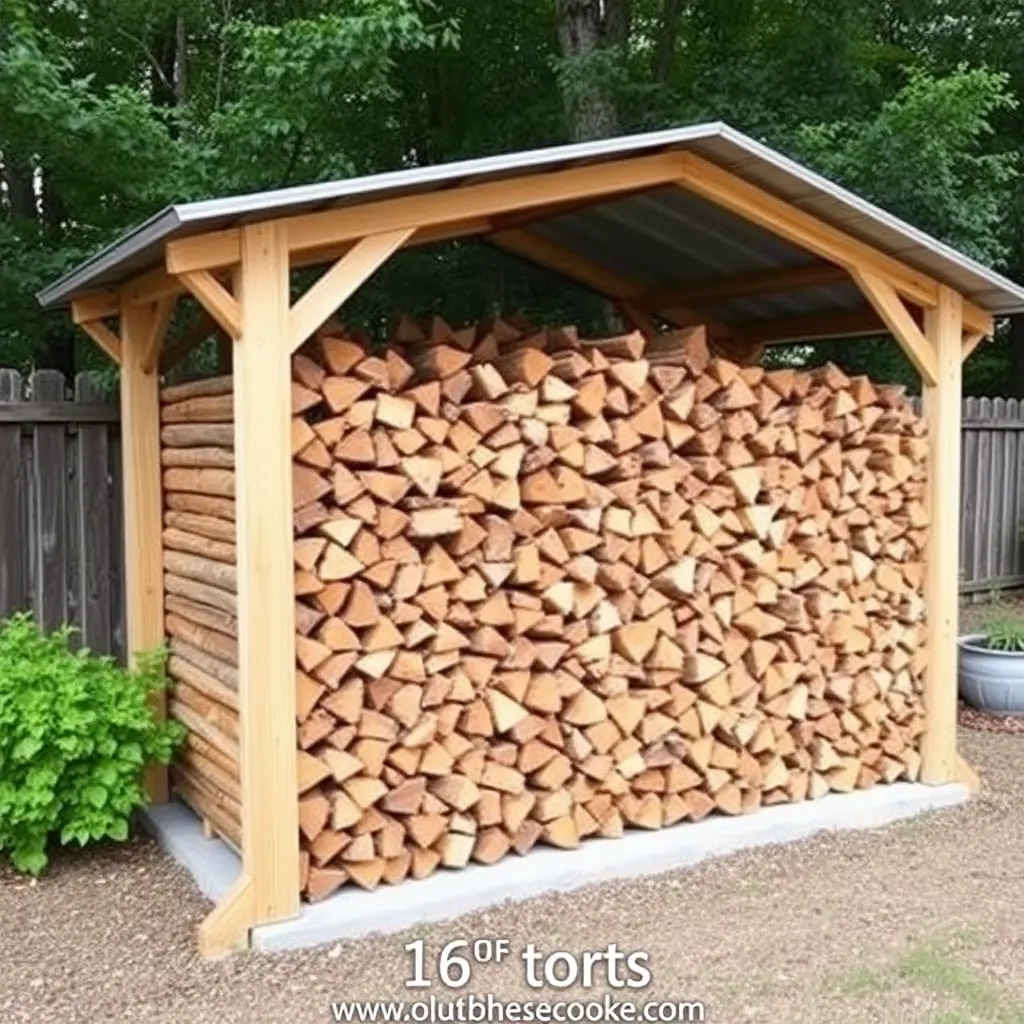
Outdoor firewood storage for serious users — anyone burning more than half a cord per season — needs to handle large volumes, provide consistent rain and snow protection, and allow enough airflow to keep wood seasoning rather than rotting. These outdoor firewood storage plans cover a 16-foot covered rack system (stores 1.5 cords, costs $180–$250 in materials), a holz hausen circular stack with a custom cap, and a site planning guide for positioning and organizing multiple cords of firewood through the full harvest-to-burn cycle.
Ted’s Woodworking has complete outdoor firewood storage plans including covered rack systems, firewood sheds, and site layouts for large-volume storage. Browse Ted’s plans →
Step 1: Plan the Storage Site
Ted’s Woodworking has over 16,000 step-by-step plans with cut lists, materials lists, and detailed diagrams. Browse Ted’s plans →
Outdoor firewood storage for 1+ cords requires deliberate site planning — both for the wood’s health (seasoning and protection) and for practical access during winter when the ground is frozen or snow-covered.
Site selection criteria:
- South-facing or east-facing exposure: Sun dries wood; north-facing locations keep wood damp year-round
- 30+ feet from the house: Pest management — termites, carpenter ants, and mice that overwinter in wood piles stay away from the house
- Near a vehicle path: Deliveries of split wood (2–3 cords at a time) arrive by truck — the storage site should be within 30 feet of a driveway or path
- Downhill from the house (slightly): Drainage runs away from the house and the storage area stays drier
- Accessible in winter: Plan for the path you’ll walk in boots and snow, carrying armloads of wood, at 6am in the dark
Site preparation:
Clear the area and grade it level. Lay a 4-inch gravel pad (crushed stone, not pea gravel — crushed stone compacts and drains better) across the full storage footprint. The gravel pad prevents ground moisture from wicking into the wood through the rack feet.
Step 2: Build the 16-Foot Covered Rack
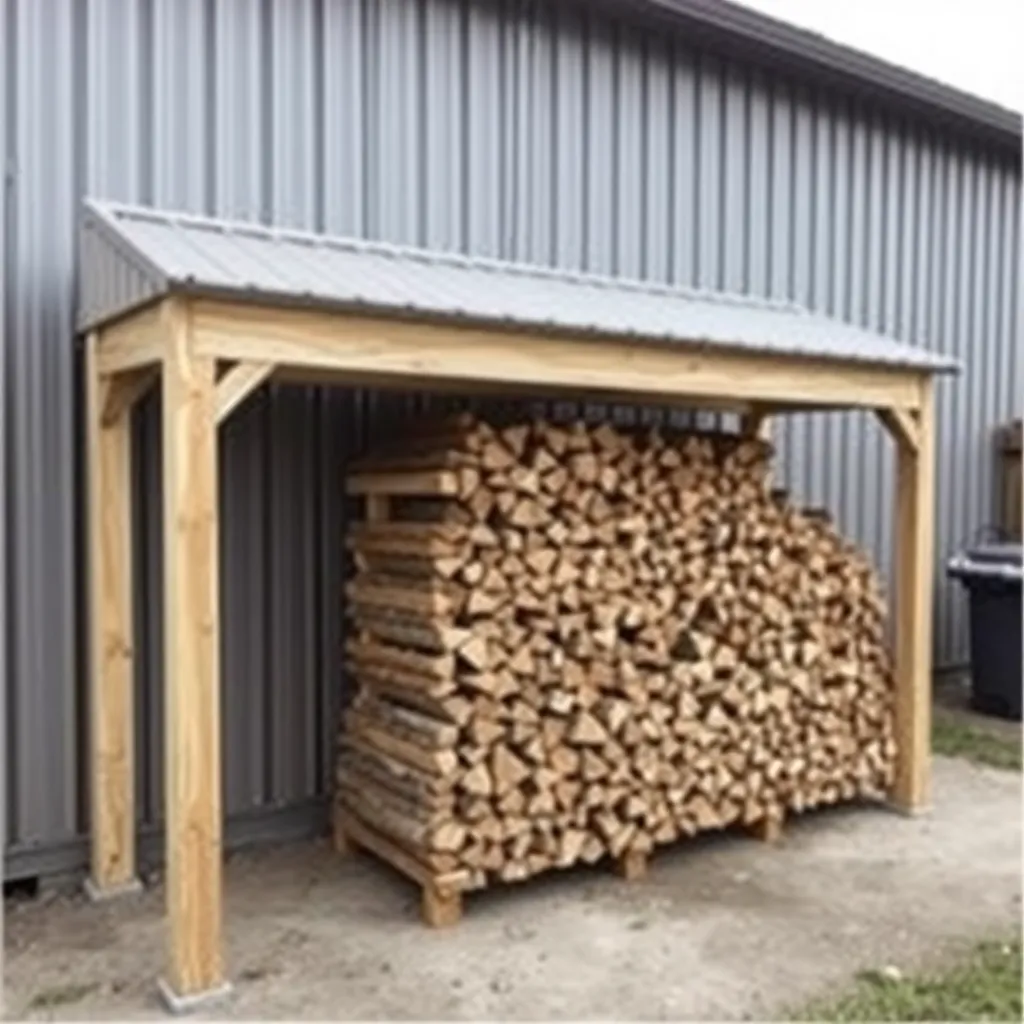
The 16-foot covered rack is a lumber-and-metal-roofing structure: four 4×4 posts, a simple rafter system, and a metal roof panel. It stores 1.5 cords when stacked 4 feet high × 16 feet long × 16 inches deep (standard firewood log length).
Materials:
- 4 × 4×4 pressure-treated posts at 8 feet
- 4 × 2×6 rafters at 48 inches (spanning the 4-foot depth)
- 2 × 2×6 ridge boards (actually purlins): at 192 inches (16 feet) — running the length of the rack at top of posts
- 3 × corrugated metal roofing panels at 3×10 feet (with 6-inch overlaps between panels)
- 4 × post bases (Simpson Strong-Tie ABA44 or equivalent) — anchor posts to gravel pad using concrete footings beneath
- 2 × 2×4 bottom rails at 192 inches (wood rests on these, keeping it off the gravel)
Foundation:
Dig four 12-inch-deep holes, one at each post corner. Pour a concrete plug 6 inches deep, set the post base hardware in the wet concrete, and let cure 48 hours. The posts bolt into the post bases — this keeps the wood post grain off the concrete and dramatically extends post life.
Post layout:
Two posts at the back, two at the front, 16 feet apart along each side. The back posts are 12 inches taller than the front posts (or set the post bases at different heights) to create the roof slope. With 8-foot posts: back at 8 feet, front at 7 feet — a 12-inch drop over 4 feet of depth, which is a 25% slope.
Rafter and purlin installation:
Bolt the two 16-foot purlins to the tops of the posts — one along the back (higher) and one along the front (lower). Space four 2×6 rafters between the purlins at 48-inch intervals. Install corrugated metal roofing panels over the rafters with roofing screws.
Step 3: Stack Wood for Maximum Drying
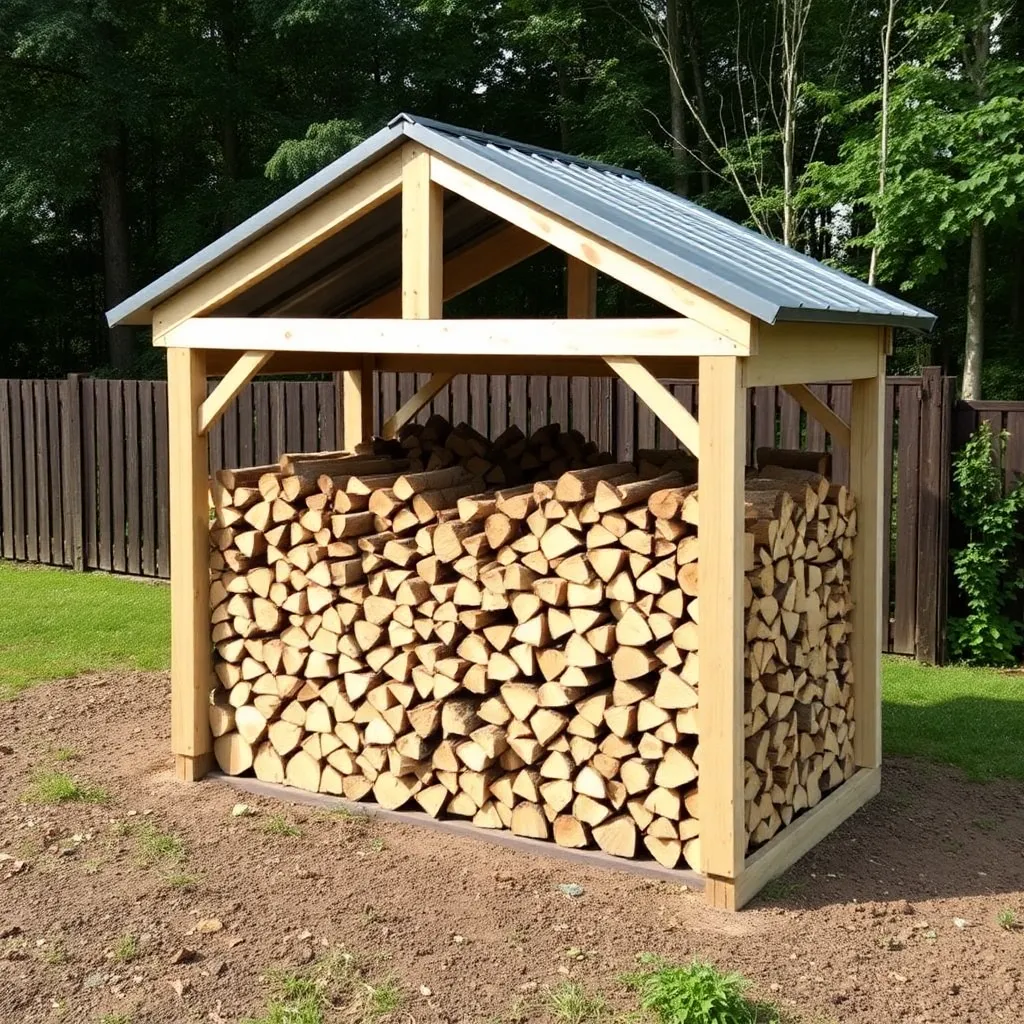
How you stack determines how fast the wood seasons. Three techniques for outdoor large-volume stacks:
Row stacking (standard):
Logs parallel, bark up on the top course, stacked in straight rows. The most efficient use of space. Alternate the end courses: for the last 12 inches at each end, stack logs perpendicular to the main run — this creates interlocking pillar ends that keep the stack from leaning. Leave 3–4 inches between the stack and any wall or back panel for airflow.
Offsetting rows:
Instead of a single row of logs, stack two rows back-to-back with a 2–3-inch gap between them. Air flows through the gap, dramatically speeding seasoning. This uses 30% more horizontal space for the same volume but can cut seasoning time by 2–4 months.
Using the existing structure:
The covered rack’s bottom rails elevate the wood 3.5 inches off the gravel. Start with the largest pieces at the bottom (better airflow around large rounds) and taper slightly toward the top. Keep the top course bark-up on the exposed front; the roof handles the rest.
Step 4: Maintain the Wood Supply Through the Season
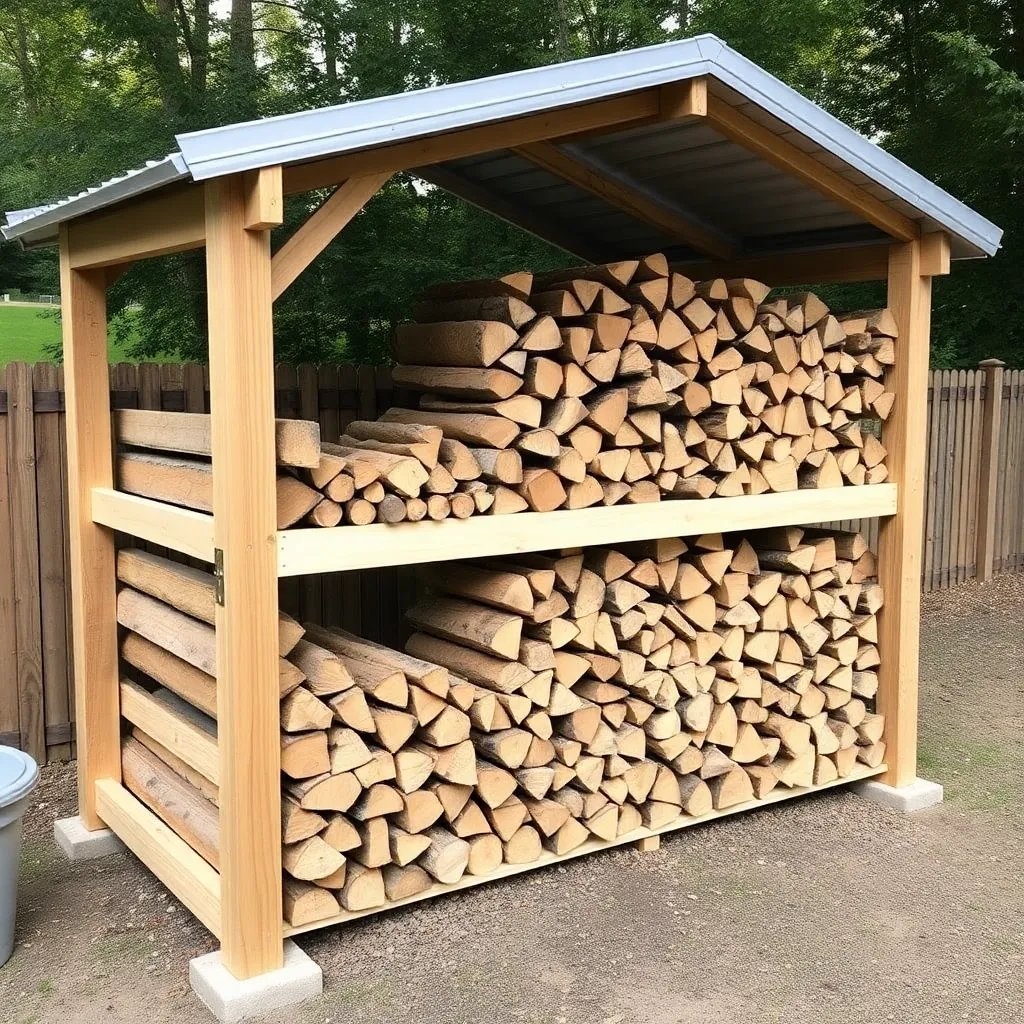
A large outdoor wood supply needs active management, not just stacking and forgetting:
First in, first out: When replenishing from new deliveries, move existing wood to the front and stack new wood at the back. The oldest (driest) wood is always burned first. This prevents new wood from being burned before it’s seasoned.
Moisture testing: Check moisture content with a wood moisture meter ($15–$25) before burning. Firewood should be below 20% moisture content — ideally 15–18%. Check the center of a freshly split piece (the surface dries faster than the core). Green wood reads 40–60%; properly seasoned hardwood reads 15–20%.
End-of-season inventory: At the end of each heating season, count what’s left. If you’re ending the season with less than 20% surplus, plan a larger next-season supply. A consistent surplus prevents the panic of running out in February.
Step 5: Extend the Rack System
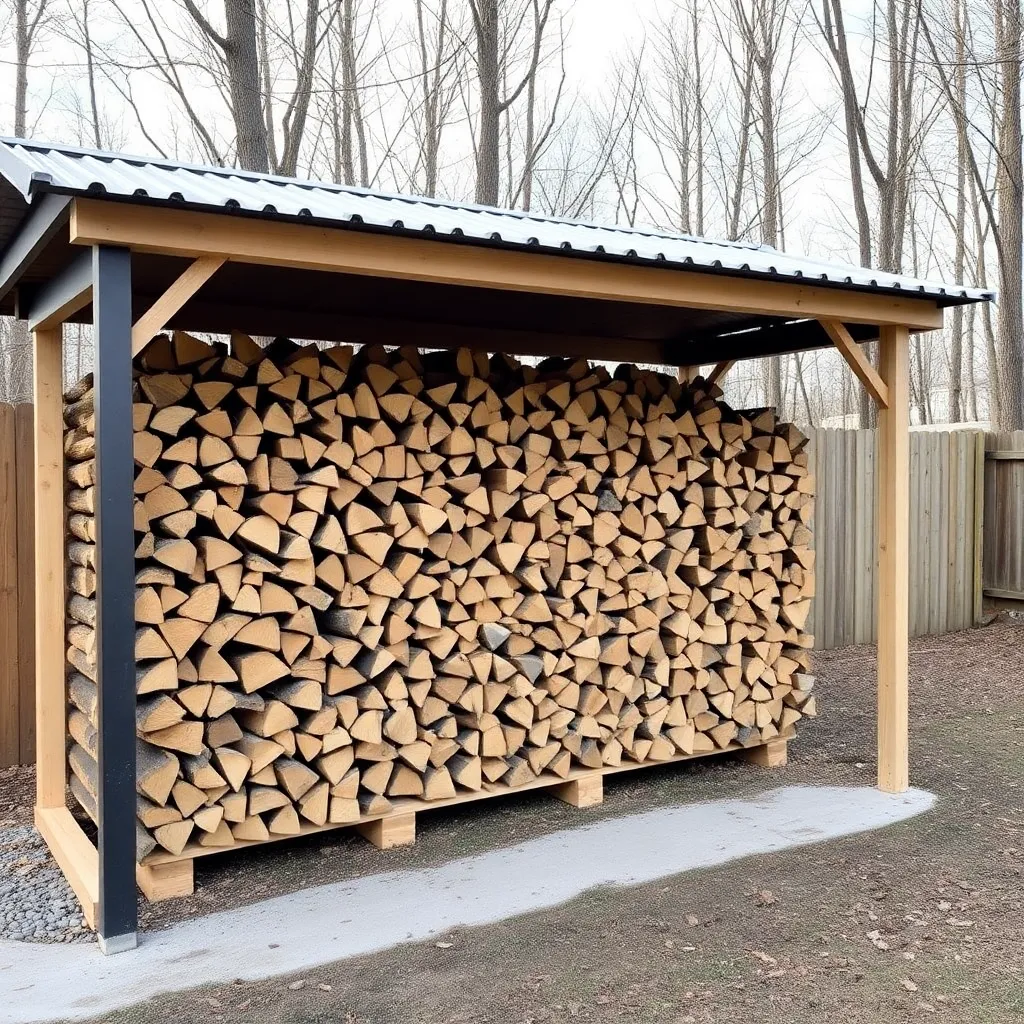
The covered rack is designed to extend in 4-foot increments. To add 4 feet of capacity:
- Add one 4×4 post on each side (front and back), 4 feet from the existing end posts
- Extend the bottom rails and purlins by 4 feet
- Add one rafter
- Add one corrugated panel
Each 4-foot extension adds approximately 0.375 cord of storage capacity. Plan the extensions before the first build so the post bases are positioned correctly.
Ted’s Woodworking has over 16,000 step-by-step plans with cut lists, materials lists, and detailed diagrams. Browse Ted’s plans →
Outdoor Firewood Storage FAQ
How do you store a full cord of firewood outside?
A full cord (128 cubic feet — a 4×4×8-foot stack) requires a covered rack at least 8 feet long × 4 feet deep × 4 feet tall, or a dedicated firewood shed. The wood must be elevated off the ground, covered on top (rain and snow protection), and open on the sides and ends for airflow. A 16-foot covered rack stores 1.5 cords. For 2+ cords, build two racks or a shed.
How do you keep firewood dry outside without a shed?
A fitted firewood cover over the top of a properly built rack — leave the sides open. The cover prevents rain and snow from soaking the top course while the open sides allow air to circulate and moisture to escape. Position the rack to maximize sun exposure and natural wind flow. Covers cost $15–$25 for a 4-foot rack, $25–$45 for an 8-foot rack.
How long does it take for firewood to dry outside?
Hardwoods (oak, hickory, ash): 12–24 months in a well-positioned covered outdoor rack. Softwoods (pine, fir): 6–12 months. Kiln-dried wood is ready to burn immediately but costs significantly more. Freshly cut wood is 40–60% moisture; properly dried wood is 15–20%. A moisture meter eliminates guessing.
Can I store firewood on a concrete pad?
Yes — concrete is an excellent firewood storage surface. It drains well, doesn’t rot, and is easy to clean. Place 2×4 runners on the concrete under the first course of wood to allow air circulation underneath. Concrete reflects heat in summer, which can accelerate surface drying.
What is the best way to cover outdoor firewood?
A partial cover — covering only the top of the stack — is significantly better than a full tarp wrap. Cover only the top 12–18 inches of the stack, held in place with bungee cords or strap weights. Leave the sides and ends completely open. A full tarp wrap traps moisture and can cause the wood to sweat in temperature fluctuations, staying wetter than uncovered wood.

“DIY woodworking enthusiast who started with zero experience and a YouTube tutorial.
I build simple, practical projects for my home and share free plans
so other beginners can skip the guesswork.If I can build it, you can too.”