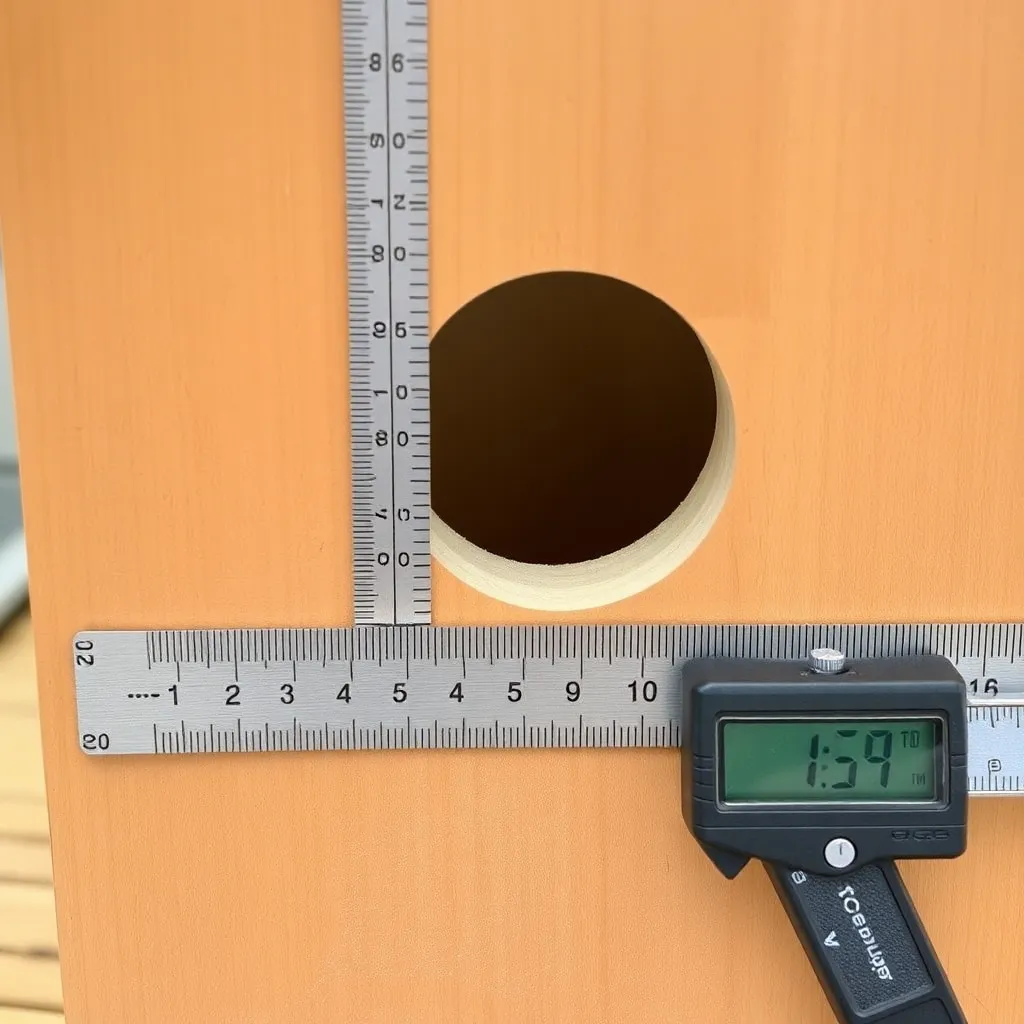
The Eastern Bluebird box is the most successful birdhouse design ever developed — a single standardized design, refined over 60 years by the North American Bluebird Society, that has helped restore bluebird populations across the continent. One 6-foot 1×6 cedar board yields a complete house in under two hours. These plans cover the NABS-standard bluebird box with a pivoting front panel for monitoring and cleaning, a slotted floor for drainage, a rough-cut interior surface so fledglings can climb to the entrance, and a mounting bracket for a 5-foot conduit pole.
Ted’s Woodworking has bird house plans for 30+ species with species-specific entrance hole sizes, mounting heights, and habitat notes. Browse Ted’s birdhouse plans →
Step 1: Choose the Species and Confirm Dimensions
This plan builds the NABS Eastern Bluebird box — the most-studied and most successful songbird house design. Before cutting, confirm the species you’re targeting. The entrance hole diameter is the single most critical dimension — it determines which species can enter.
NABS bluebird box specifications:
- Floor: 5×5 inches (interior)
- Interior depth: 10 inches (floor to bottom of entrance hole)
- Entrance hole: 1½ inches diameter (Eastern Bluebird); 1⅝ inches for Western Bluebird and Mountain Bluebird
- Entrance position: 6 inches above the floor
- No perch (perches help predators and house sparrows — omit entirely)
Why these dimensions?
The 5×5 floor provides enough room for a nest cup and 4–6 fledglings. The 10-inch depth discourages house sparrows (which prefer shallow cavities). The 1½-inch hole excludes European starlings (need 1¾+ inches) while admitting bluebirds. These dimensions were arrived at over decades of field observation — don’t modify them.
Step 2: Cut the Pieces From One Cedar Board
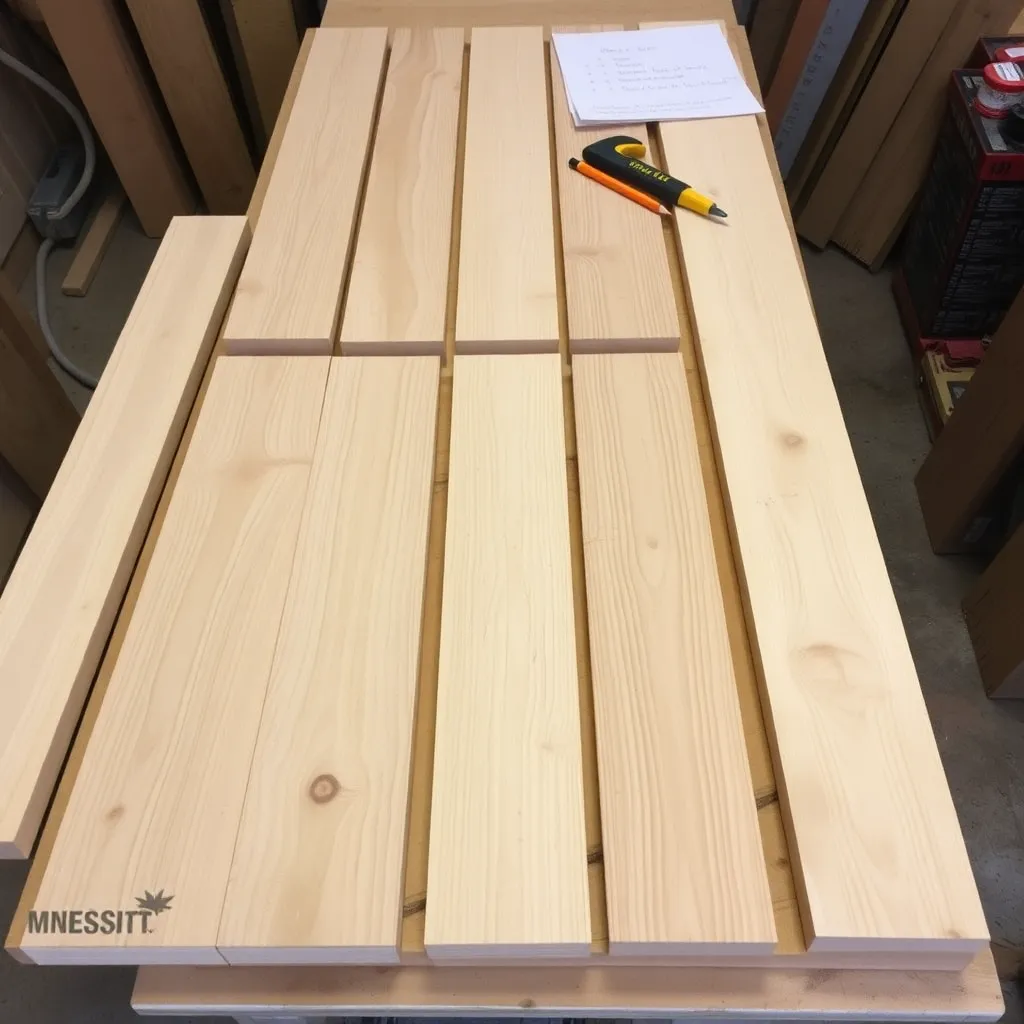
One 6-foot length of 1×6 cedar (actual dimensions: ¾ inch thick × 5½ inches wide) yields all five pieces:
Cut list from one 6-foot 1×6:
- Floor: 4 inches long (the ¾-inch walls mean 5½ minus ¾ minus ¾ = 4 inches interior — add ¾ + ¾ = 5½ inches exterior, but floor goes inside the walls, so cut floor at 4 inches × 5½ inches)
- Front panel: 11¼ inches long (exterior height for a 10-inch interior depth + floor + overhang)
- Back panel: 16 inches long (taller than front — the extra height provides the mounting surface above the box)
- Two side panels: 9¼ inches long (exterior dimension includes the angled top cut — see below)
Side panel top cut:
The side panels are cut at a slight angle (5–10 degrees) at the top so the roof panel sheds water. Mark the angle on each side panel and cut with a circular saw or handsaw. This is the only non-square cut in the build.
Entrance hole:
Drill the 1½-inch hole in the front panel using a hole saw or spade bit. Center it horizontally (2¾ inches from each side) and position the center 8¼ inches up from the bottom of the front panel (so the hole bottom is 6 inches above the floor).
Rough up the interior below the hole:
Use a wood rasp or the teeth of a hand saw to score horizontal grooves on the interior face of the front panel, below the entrance hole. Fledglings use these grooves as footholds to climb to the exit — this is why commercial birdhouses (often smooth interior surfaces) have lower fledgling success rates.
Step 3: Assemble the Box
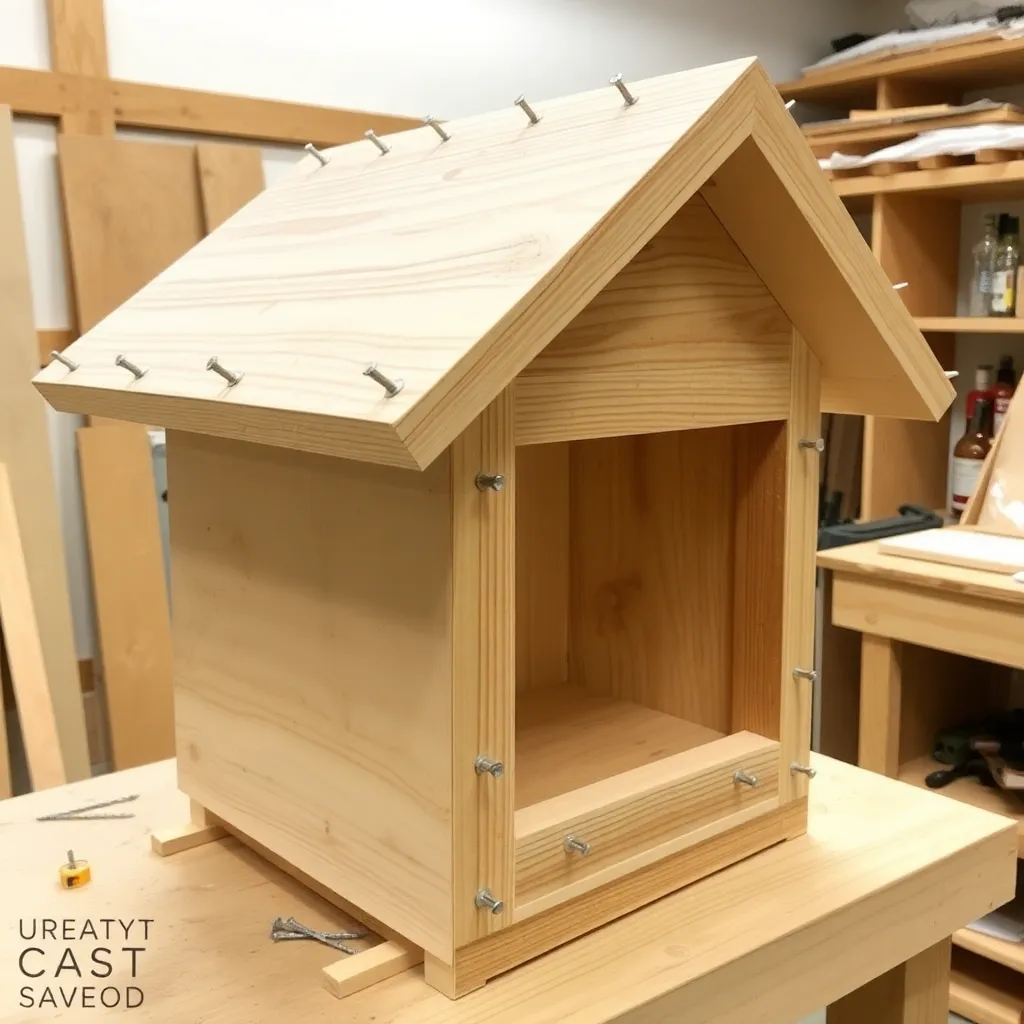
The birdhouse is assembled with 1½-inch galvanized nails or stainless steel screws — no glue (the box must be openable for cleaning).
Assembly order:
- Attach the back panel to the two side panels: nail through the back into the side edges, two nails per side, positioned so the side panels are flush with the bottom of the back panel
- Attach the floor panel inside the assembled back-and-sides: the floor sits ¼ inch up from the bottom of the side panels (creating a drain gap at the bottom edges). Nail through the sides into the floor edges
- The front panel pivots — attach it with two screws through the side panels into the edges of the front panel, one on each side, positioned 4 inches up from the bottom. The screws are the pivot pins — the front panel rotates on them for seasonal cleaning. Secure the top of the front panel with one galvanized nail driven through the side panel — pull this nail to open the box
- Cut the roof from the remaining cedar: 7×7 inches, overhang the front and sides by ¾ inch on each side. Nail through the roof into the tops of the side panels and back panel
No bottom drain holes needed: The ¼-inch floor gap at the bottom edges of the sides provides drainage and is more effective than drilled holes (which clog with nesting material).
Step 4: Finish the Exterior
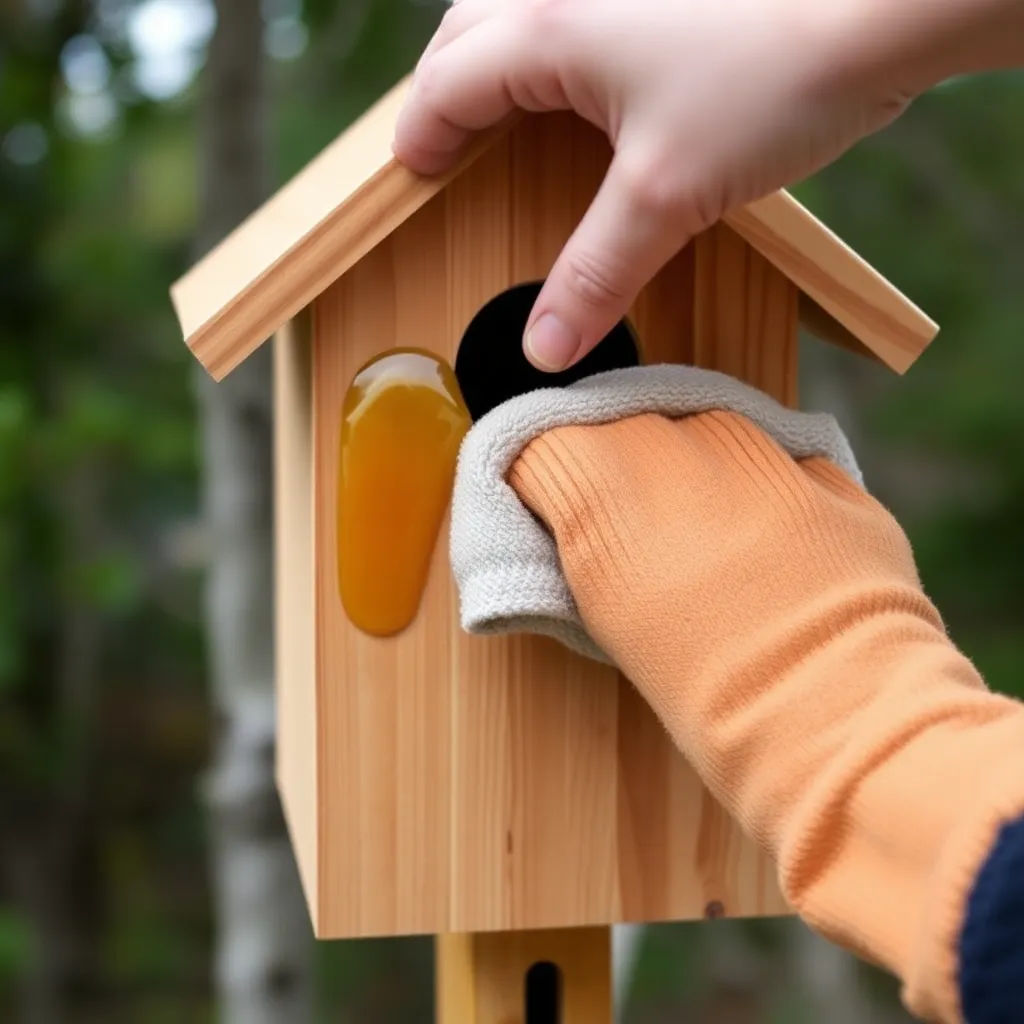
Finish options for the exterior:
- Leave unfinished: cedar weathers to a silver-gray naturally; no maintenance needed; birds generally accept it faster than painted boxes
- Paint with exterior latex: light gray or tan blends into the landscape; avoid white (too visible to predators) and dark colors (absorb too much heat in summer); never paint the interior
- Linseed oil: one coat on the exterior only; preserves the cedar without strong odor; reapply every 3–4 years
What NOT to do:
- Never stain the interior — volatile compounds harm eggs and nestlings
- Never add a perch (house sparrows and starlings use them to harass nesting birds)
- Never paint the entrance hole area dark (it signals to predators that the hole is an active cavity)
Step 5: Mount and Monitor
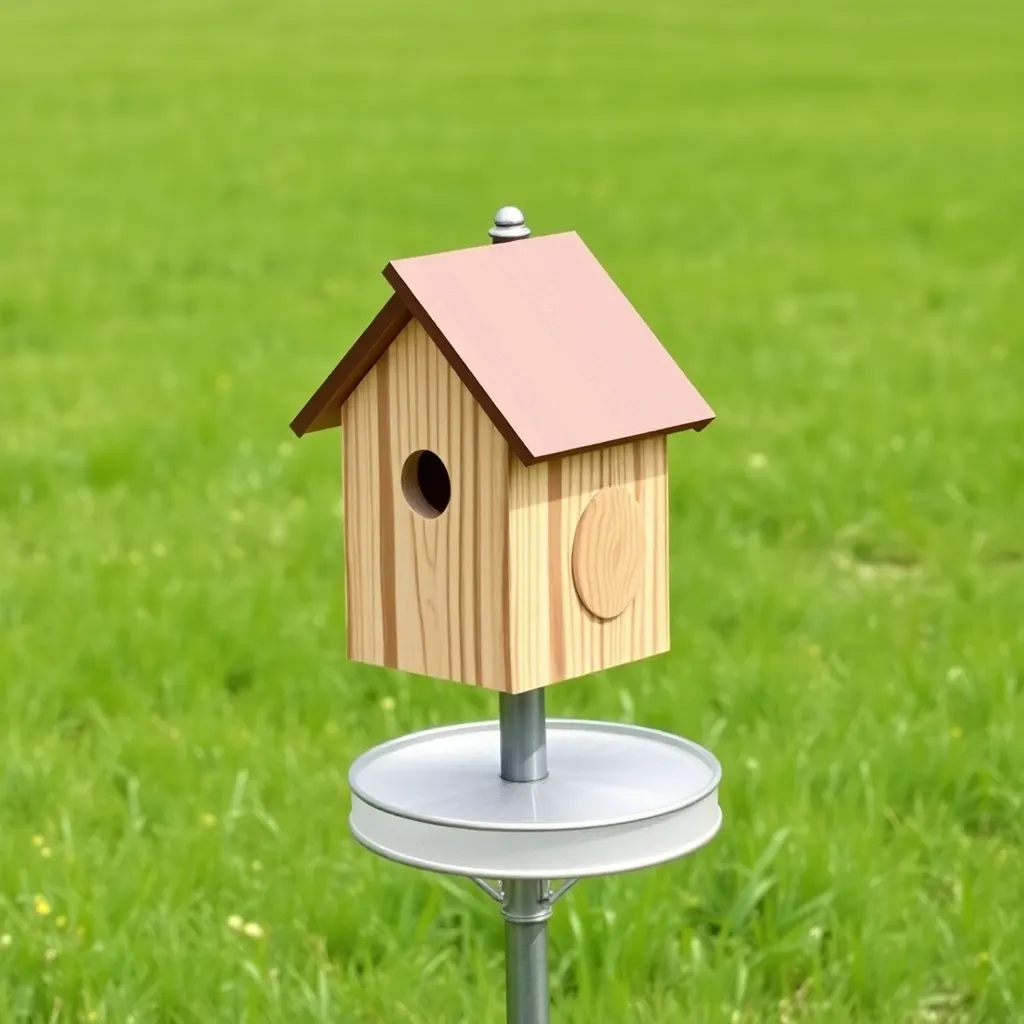
Mounting:
- Height: 4–6 feet above the ground on a smooth metal pole (EMT conduit, ½-inch diameter) — pole-mounted boxes are harder for predators to access than tree-mounted boxes
- Location: open habitat with low grass or bare ground within 50 feet of the entrance hole (bluebirds hunt insects by hovering then diving — they need a clear field of view)
- Facing: east or southeast (avoids hot afternoon sun; morning sun warms the box after cold nights)
- Add a predator baffle (a 24-inch stovepipe or commercial cone baffle) on the pole below the box — the most effective single predator deterrent for pole-mounted boxes
Monitoring:
Check the box weekly during nesting season (April–August in most of North America). Record: date of first egg, clutch size, hatch date, fledge date. Monitoring allows intervention if house sparrows intrude or if eggs fail to hatch. Bluebirds typically raise 2–3 broods per season — clean the box between broods (remove old nesting material, check for blow flies in the nest, replace if infested).
Bird House Plan FAQ
What size hole does a bluebird house need?
1½ inches in diameter for Eastern Bluebirds; 1⅝ inches for Western and Mountain Bluebirds. This is the most critical dimension — a ¼-inch difference determines whether house sparrows and starlings can enter. Use a hole saw for a clean, exact cut. Check the hole with calipers after cutting — spade bits often cut 1/16 to 1/8 inch oversize.
Where should I mount a bluebird box?
In open habitat with short grass or bare ground: meadows, pastures, golf course edges, and large lawns all work. Bluebirds are not woodland birds — mounting a box at the forest edge or in a dense shrub is the fastest way to get it occupied by wrens or chickadees instead. Minimum 100 yards from other bluebird boxes (territorial spacing). Minimum 50 feet from feeding stations (house sparrows congregate around feeders).
How do I keep house sparrows out of a bluebird box?
Correct entrance hole size (1½ inches) helps but doesn’t eliminate sparrows. The most effective method: monitor the box weekly and remove any house sparrow nest immediately (they’re an invasive species — legal to remove in the US and Canada). House sparrow nests are recognizable by their messy construction (grass, feathers, trash) compared to the neat grass-and-pine-needle cup of a bluebird nest. Never trap or kill native sparrows (Song Sparrow, Chipping Sparrow) — only House Sparrows (Passer domesticus) are invasive.
When do birds use birdhouses?
Different species use boxes at different times: bluebirds begin prospecting in February–March in the South, March–April in the North. Tree swallows arrive in April. Wrens in May. Having boxes clean and mounted by March ensures they’re available for early prospectors. Some birds (chickadees, nuthatches) roost in boxes through winter — leave boxes up year-round.
How do I clean a birdhouse?
After the last brood of the season fledges (typically August–September), remove all nesting material. Scrub the interior with a stiff brush and a diluted bleach solution (1 part bleach to 9 parts water). Rinse thoroughly and allow to dry in the sun for several days before closing. Do NOT use insecticides inside the box — they harm returning birds. Blow fly larvae (tiny maggots in the nest material) are common and normal — the fledglings tolerate them; just remove the old nest material after fledging.

“DIY woodworking enthusiast who started with zero experience and a YouTube tutorial.
I build simple, practical projects for my home and share free plans
so other beginners can skip the guesswork.If I can build it, you can too.”