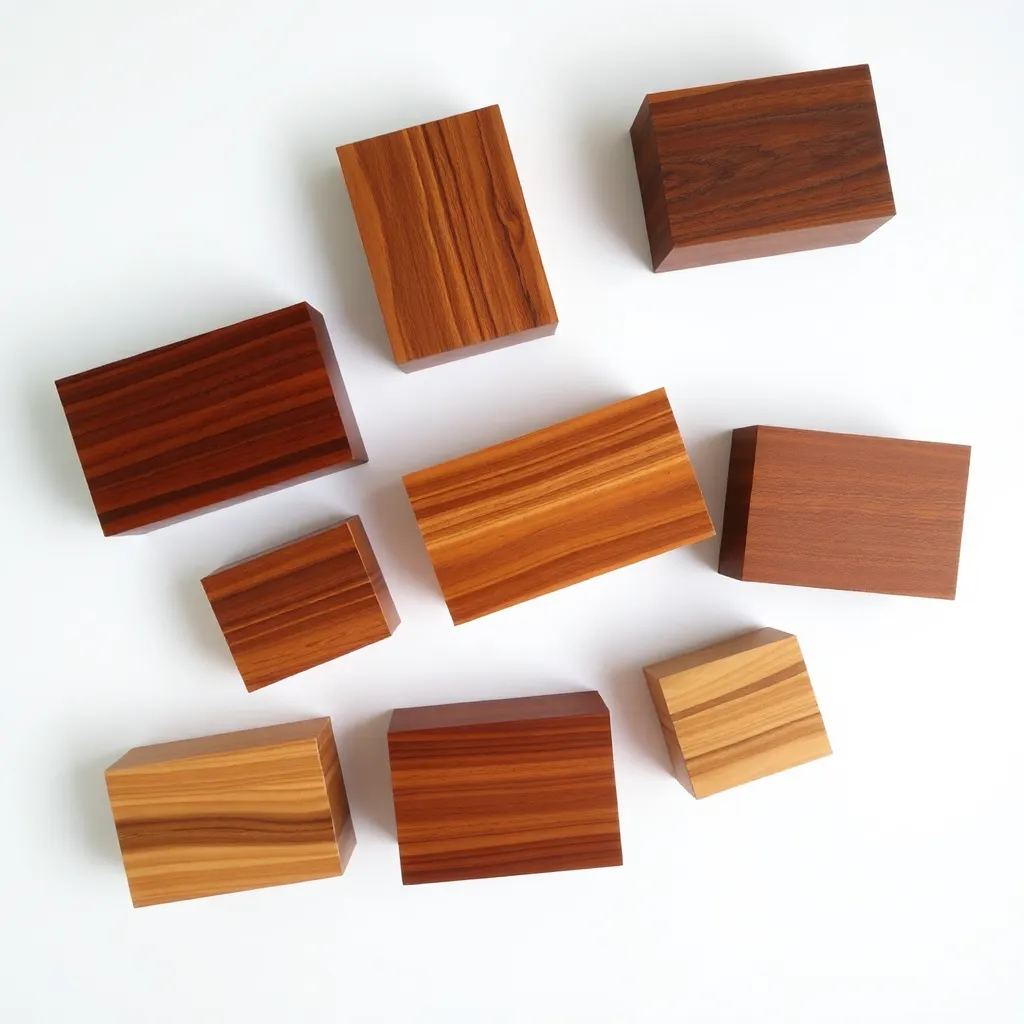
Small boxes demand precision. At 4 × 6 × 2 inches, a 1/16-inch error is visible; at 24 × 18 × 18 inches, it disappears. This makes small box building the best training ground for accuracy — every technique, measurement, and joint must be right. These ten builds cover small boxes across every use: key holders, card boxes, ring displays, spice boxes, and display cases. Each one teaches a specific technique that transfers to larger work.
Ted’s Woodworking has complete small box plans with tolerance specs and finishing guides. Browse Ted’s plans →
Step 1: Build a Business Card Box
Goal: A desk box that holds 50+ business cards accessible from the top.
Dimensions: 4 × 2½ × 1½ inches. Cut all four walls from ¼-inch hardwood (maple or walnut). The box is small enough that a table saw produces the panels in one rip — just set the fence to ¼ inch, rip four strips from ½-inch stock.
Bottom: ¼-inch plywood. Assemble with thin CA glue (applied to both faces, let cure 10 seconds, then press together). No clamps needed for a CA-glued small box — just hold for 30 seconds per joint. Route a ⅛-inch roundover on the exterior top edge after assembly. Finish with a single coat of CA glue applied with a brush (acts as a finish on small boxes), sanded to 400-grit.
Lid: a lift-off panel (¼-inch hardwood) that slides in a ⅛-inch × ⅛-inch groove on the front and back walls, 1 inch from the top — the lid slides sideways to open.
Milestone: A box that holds 50 standard business cards flush with the top edge.
Step 2: Build a Key Box
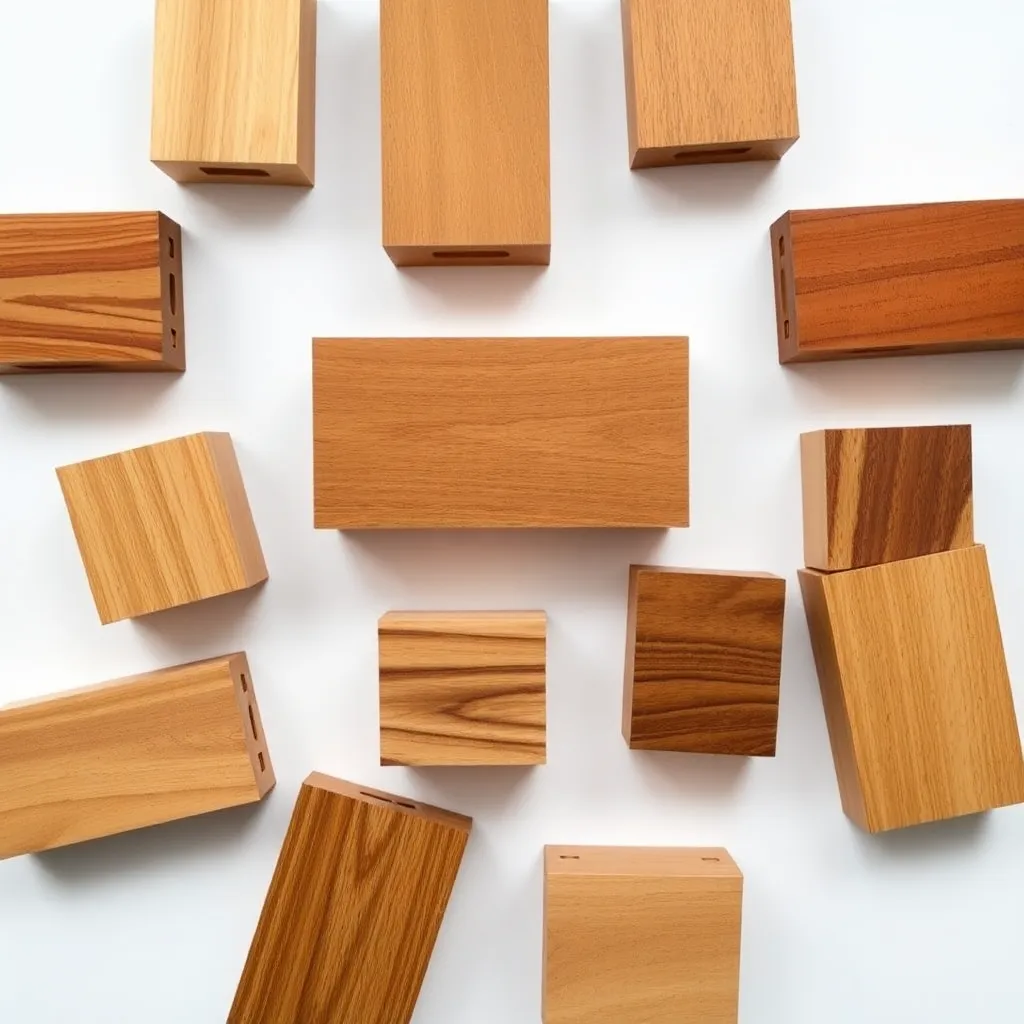
Goal: A small wall-mounted box with a door — holds 4 keys on hooks inside, looks like a decorative object on the wall.
Dimensions: 5 × 7 × 2½ inches. Cut front, back, two sides, top, and bottom from ¼-inch hardwood. Build the carcass with CA glue. Cut the door to fit the front opening exactly (measure after assembly). Install the door with two small knife hinges and a magnetic clasp. Inside: install four cup hooks on the back panel at 1-inch spacing.
Mount on the wall with a keyhole slot routed into the back panel — a single screw in the wall receives the keyhole.
Milestone: A door that closes flush with the front face and four hooks that hold keys without overlapping.
Step 3: Build a Spice Box
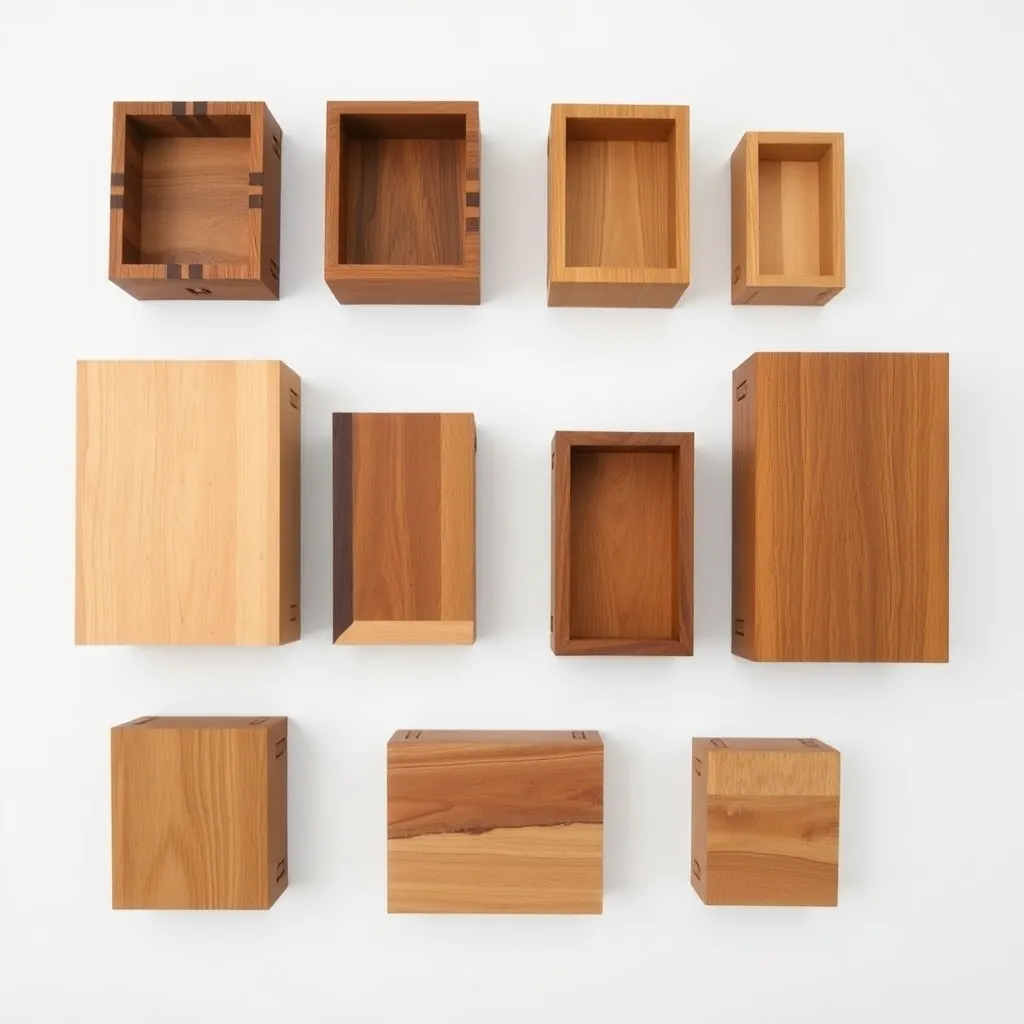
Goal: A small divided box with a sliding lid — holds 8 individual spice packets or small jars.
Dimensions: 8 × 4 × 2 inches. Interior divided into an 8-cell grid by seven dividers (¼ × ⅛-inch strips, glued into dadoes). The dadoes are cut before assembly — ⅛-inch wide × ⅛-inch deep, spaced at 1-inch intervals along the bottom and end panels. The dividers slide into the dadoes; no glue on the dividers allows them to be removed for cleaning.
Lid: a ¼-inch panel that slides in a groove (⅛-inch wide × ⅛-inch deep) on each long wall, ¼ inch from the top. The lid slides all the way off for access. Food-safe mineral oil on all interior surfaces.
Milestone: A lid that slides smoothly with hand pressure and 8 cells that each hold a standard single-serving spice packet.
Step 4: Build a Playing Card Box
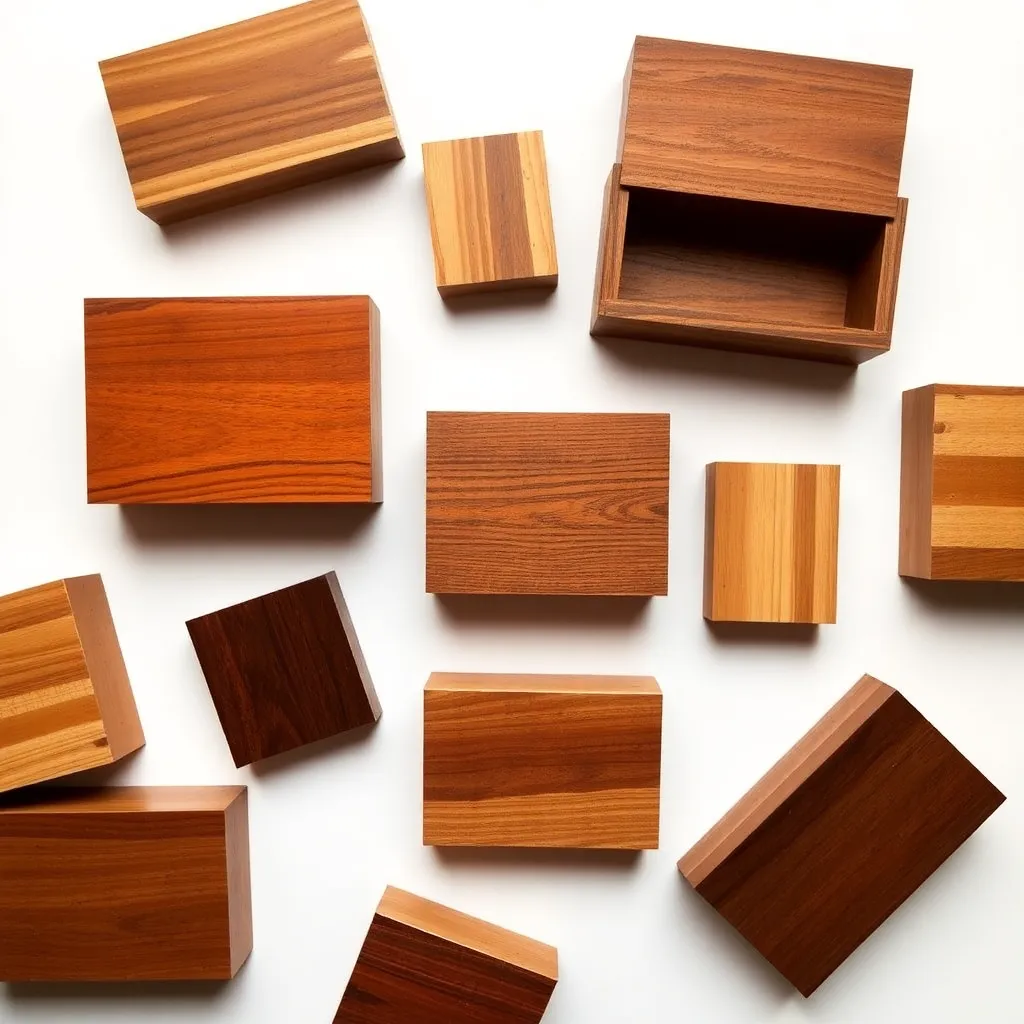
Goal: A single-deck card box with a tuck-flap lid.
Dimensions: 2¾ × 3¾ × 1 inch (standard card deck footprint + 1/16-inch clearance on each side). Cut from ⅛-inch hardwood. The fit must be precise — too tight and the cards won’t slide in, too loose and they fall out.
Lid: cut from ¼-inch hardwood, sized to sit in a ⅛-inch rabbet on the inside top edge of the front and two sides. The lid tilts back (hinge at the back edge) or lifts straight off. One magnet set in the front edge of the lid and the corresponding position on the front wall provides a clean closure.
Milestone: A full deck of cards that slides in and out smoothly with a firm but un-forced push.
Step 5: Build a Ring Display Box
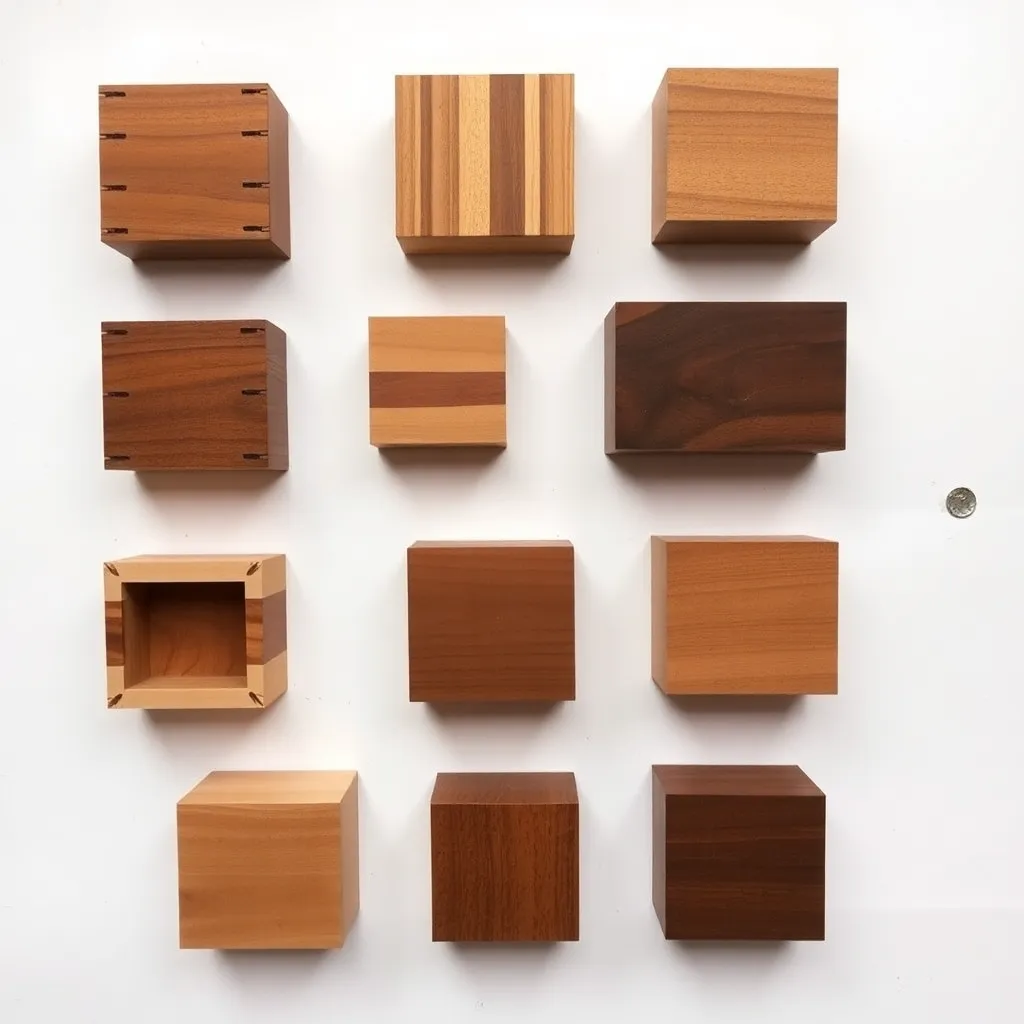
Goal: A flat display box with 8–12 individual ring slots — used for displaying rings at a craft market.
Dimensions: 8 × 4 × 1 inch. The interior is the entire project: cut ¾-inch wide × ¾-inch deep slots across the ½-inch poplar foam insert (available from jewelry supply stores) at 1-inch spacing. Press the foam insert into the box (no glue — friction fit). Rings sit upright in the slots, angled slightly back, visible from above.
The box itself is ½-inch maple with a ¼-inch plywood bottom. No lid — this is an open display box. Apply three coats of wipe-on polyurethane. Add four self-adhesive rubber feet on the bottom.
Milestone: All 10 ring slots evenly spaced and a foam insert that holds a size-7 ring upright without tilting.
Step 6: Build a Tea Bag Box
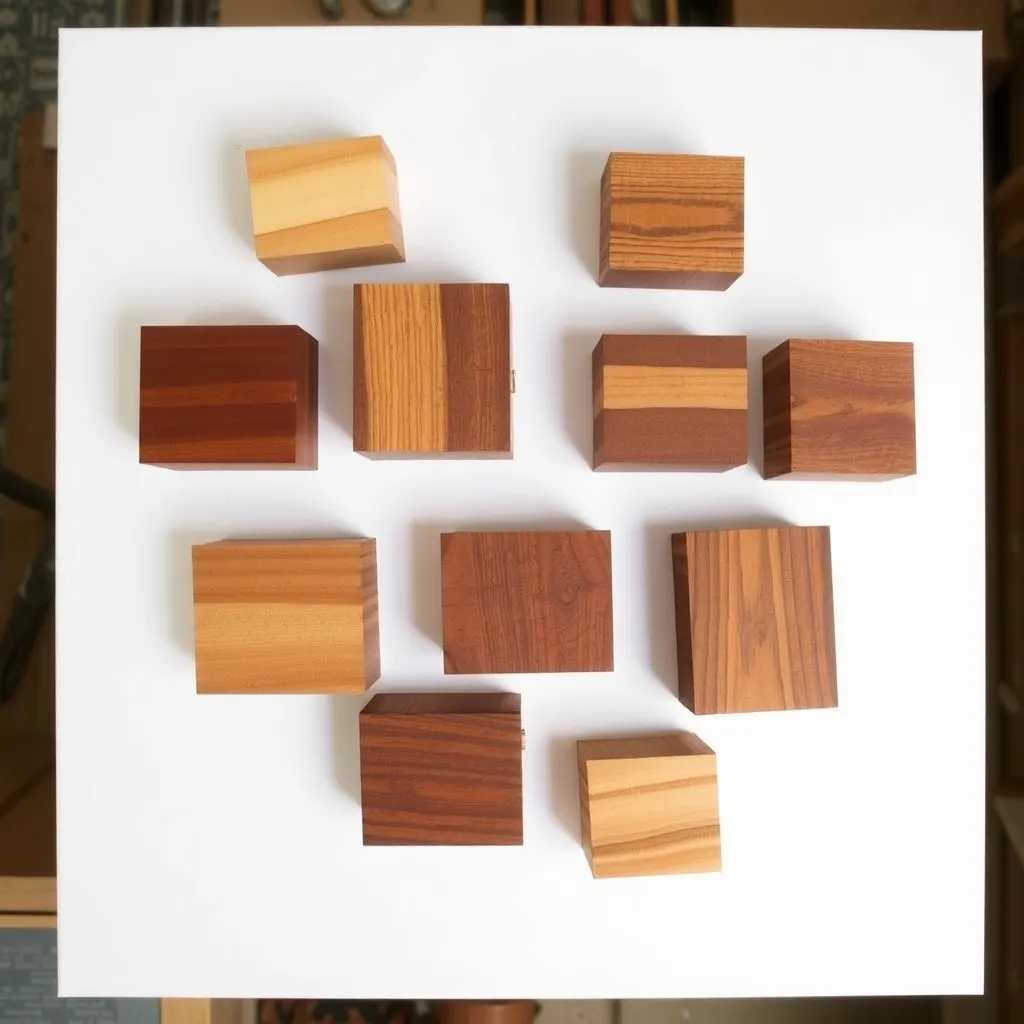
Goal: A divided box that holds 3 types of tea — 8 bags per compartment, accessible from a hinged lid.
Dimensions: 9 × 3 × 2½ inches with three compartments (each 3 × 3 × 2½ inches). Cut all components from ¼-inch maple. Install two dividers to create three cells. Hinge the lid with a small piano hinge spanning the full back length. Apply food-safe mineral oil to all interior surfaces.
Lid detail: route a small finger pull on the front edge of the lid (½-inch semicircular recess, 1 inch from the front edge center). This gives a natural grip point without a knob or handle.
Milestone: Three compartments each holding 8 standard tea bags upright, and a lid that opens with one finger at the pull recess.
Step 7: Build a Pill Organizer Box
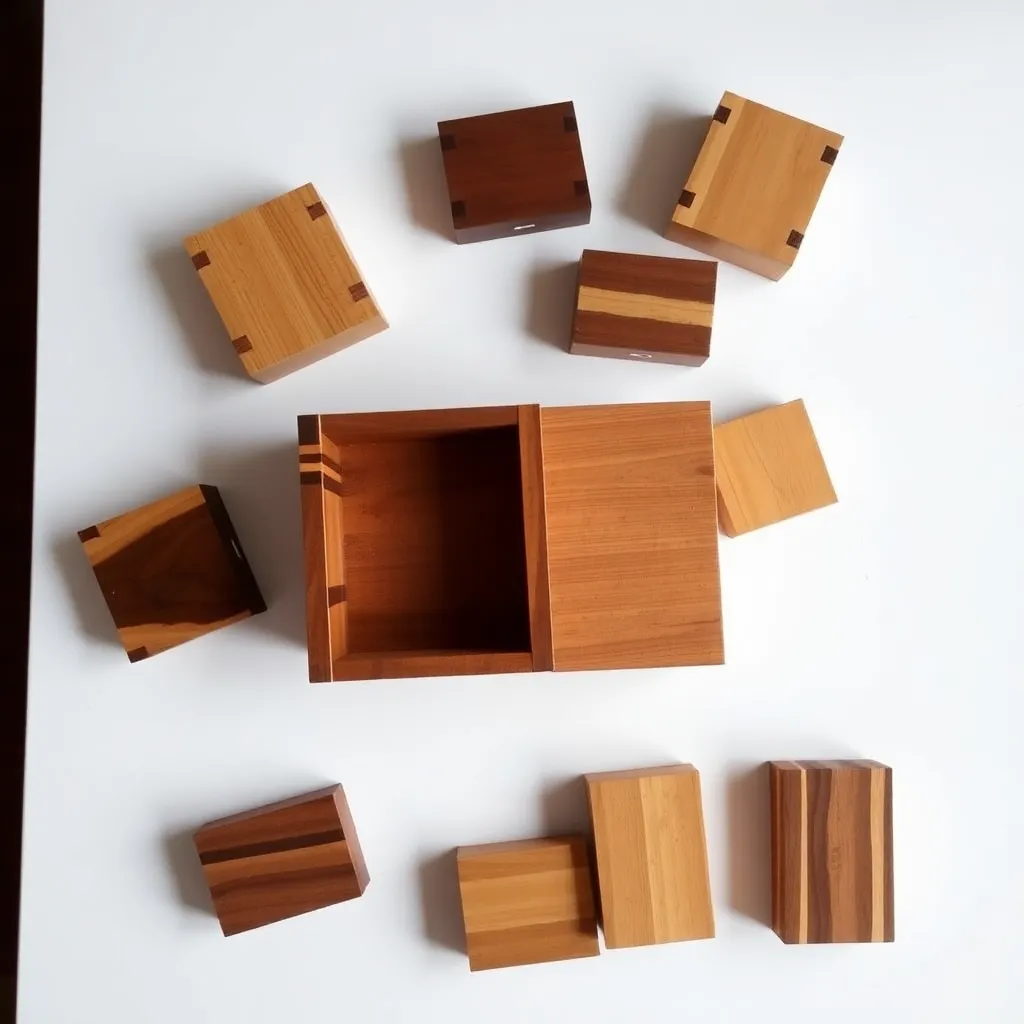
Goal: A seven-compartment daily pill box — the same function as a plastic organizer, executed in hardwood.
Dimensions: 7 × 2 × 1½ inches with 7 cells, each 1 × 2 × 1½ inches. The challenge is the seven individual lids — each cell has its own hinged lid. Use seven 1 × 2-inch lids, each hinged with a 1-inch brass piano hinge cut to length. Label each lid with the day of the week using a laser engraver or pyrography pen before applying finish.
Food-safe finish on all interior surfaces. A small magnet set in the front edge of each lid and corresponding position on the front wall holds each lid closed.
Milestone: Seven magnets that each hold their lid closed, with all seven lids aligned evenly when closed.
Step 8: Build a Candle Box
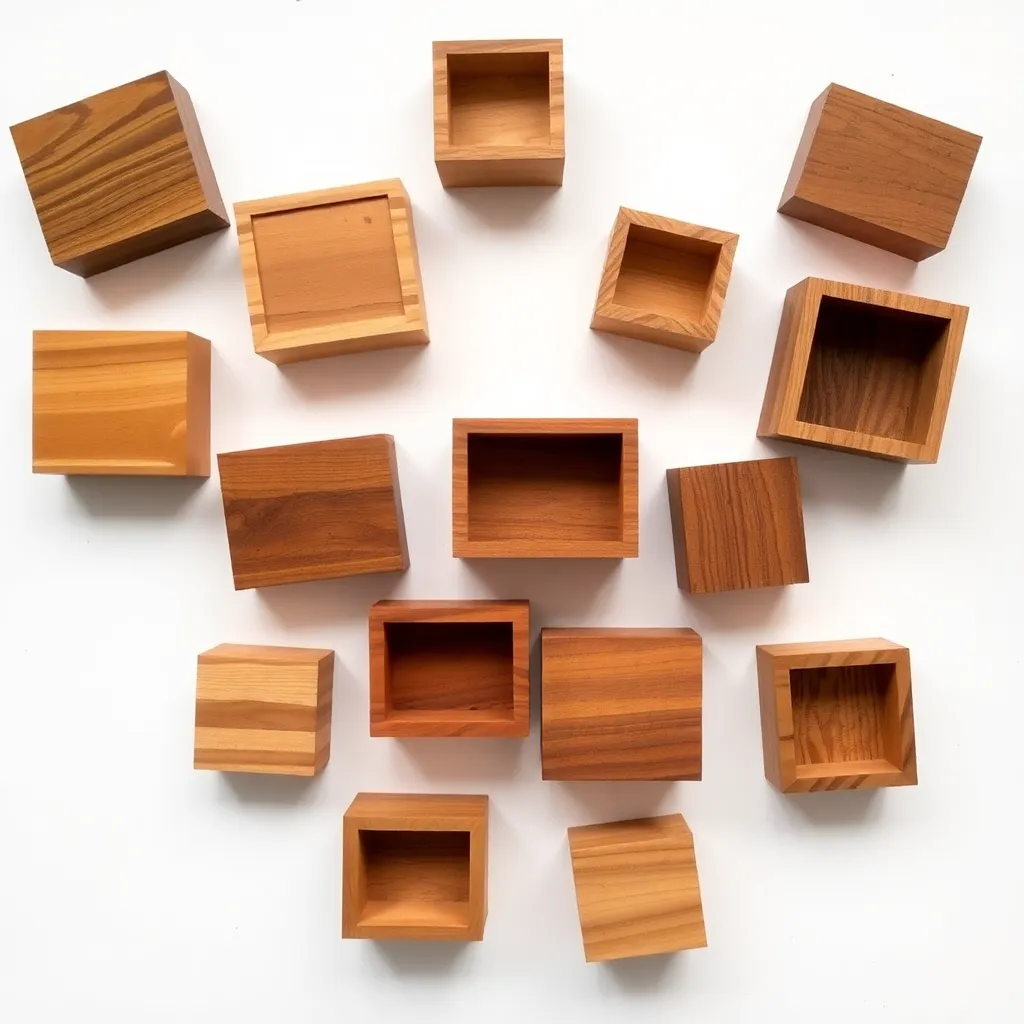
Goal: A long, shallow box that holds 6–8 pillar candles or 12 taper candles — a storage and display piece.
Dimensions: 18 × 4 × 4 inches for pillar candles, 24 × 2 × 12 inches for tapers. Use ½-inch pine for an affordable build, or ¼-inch hardwood for a display-quality piece.
Taper candle storage: install two rows of 1-inch diameter holes drilled ¼ inch deep into a ½-inch plywood bottom insert — the candles stand in the holes. The insert sits inside the box and can be removed. No finish on the interior (candles will scratch any finish and may react with solvents).
Milestone: A taper candle that stands plumb in each hole without tipping.
Step 9: Build a Recipe Card Box
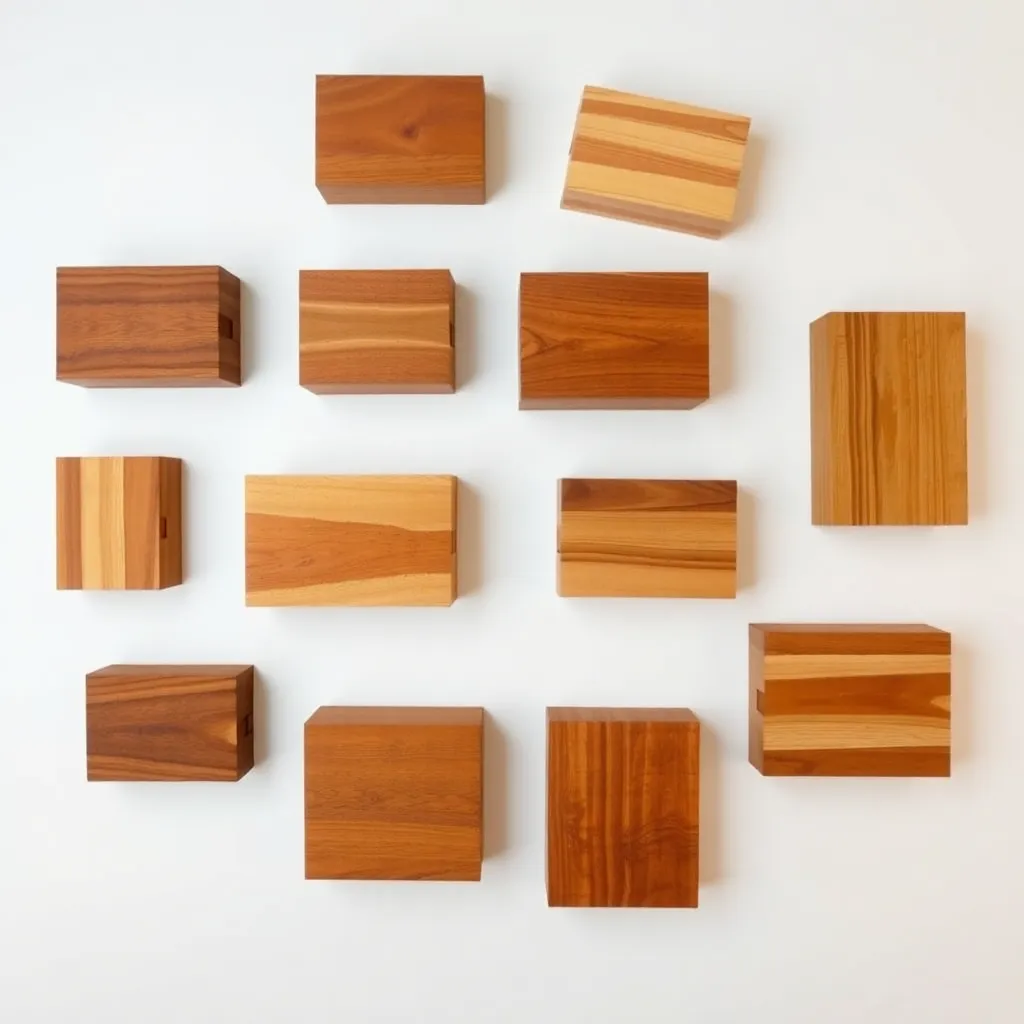
Goal: A divided box that holds recipe cards by category — a kitchen gift that looks better than a tin.
Dimensions: 6 × 4½ × 4 inches (holds standard 4 × 6-inch recipe cards). Interior: 4–6 dividers (¼-inch hardwood) creating labeled category sections (Breakfast, Dinner, Desserts, etc.). Dividers slot into dadoes cut in the bottom panel before assembly. Label each divider with a routed or pyrography-burned category name.
Lid: a lift-off design, sized to fit the ¼-inch rabbet on the top inside edge. Apply food-safe mineral oil on the interior. Apply Danish oil on the exterior.
Milestone: A standard 4 × 6-inch recipe card that slides over a divider smoothly without bending.
Step 10: Build a Dovetail Display Box
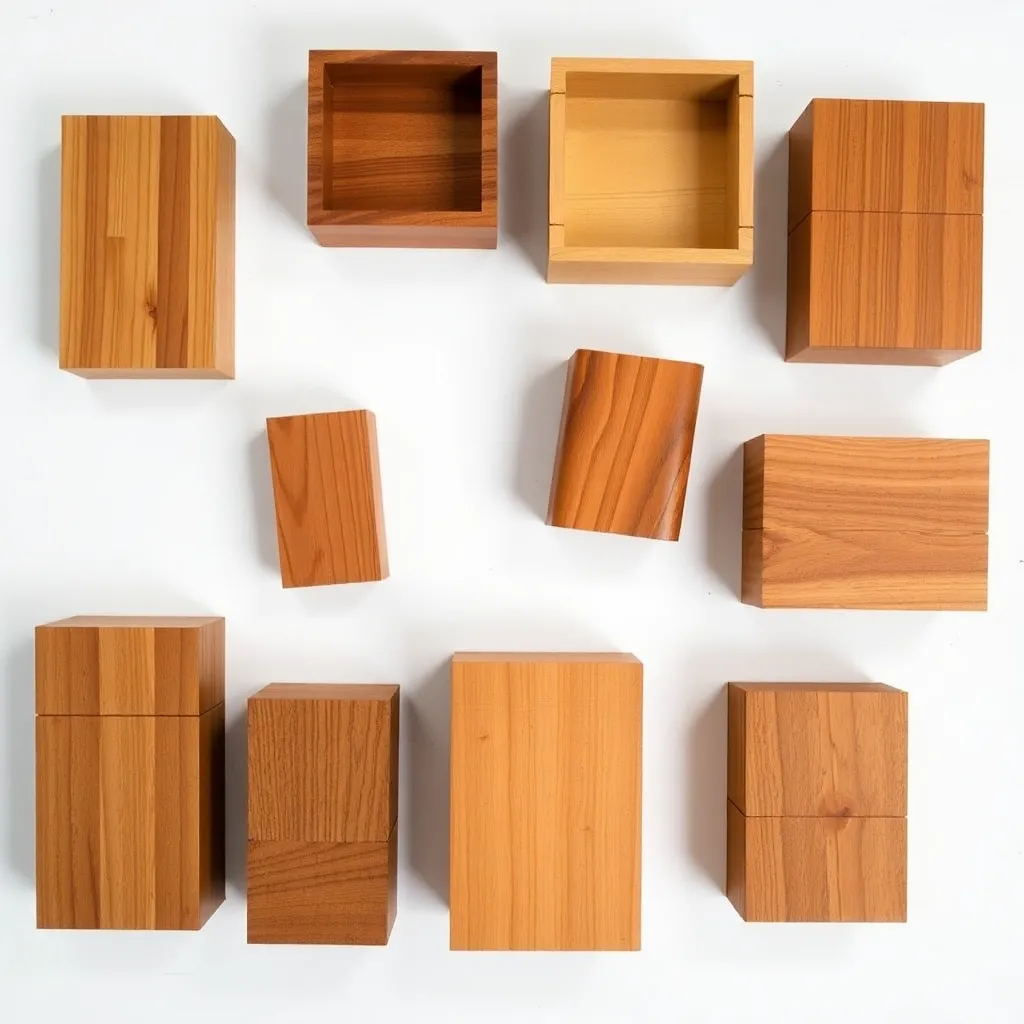
Goal: A small box where the dovetails are the feature — the final project in this sequence.
Dimensions: 5 × 7 × 3 inches from ⅜-inch walnut. Plan 3 tails per corner for a box this size (1-inch pitch, 1:8 slope). Cut tails with a dovetail saw and chisel (or a router and dovetail jig). The key is fit: a correct dovetail joint requires only hand pressure to close, shows no gaps, and needs no clamping during glue-up (the joint geometry pulls itself square).
No lid on this box — the joinery is the point. Drill 1-inch holes across the bottom of each long wall as ventilation (or as a decorative detail). Apply Danish oil — two coats, let the first cure before the second. Buff with a soft cloth.
Milestone: Four corners where the dovetail joints close flush with no gaps, assembled without a mallet.
Small Box Plans FAQ
What is the minimum thickness for small box walls?
For boxes under 6 inches in any dimension: ¼-inch walls are appropriate for display boxes and items that won’t take impact. For boxes that will be used daily (key boxes, card boxes), ⅜-inch to ½-inch walls provide better durability. At ⅛-inch wall thickness, small boxes become extremely delicate and should only be attempted with tight-grained hardwoods and CA glue joints. ⅛-inch plywood is not strong enough for a usable small box — use solid hardwood at that thickness.
What is the best glue for small boxes?
CA glue (cyanoacrylate/super glue) is the most practical choice for small boxes: it sets in 30 seconds without clamps, produces rigid joints, and produces no squeeze-out to clean up. Use thin CA for tight-fitting joints, medium CA for slightly gapped joints. Yellow wood glue (PVA) is stronger but requires 30+ minutes of clamping. For a display box that may need to be repaired later, hide glue is the traditional choice — it’s reversible with heat and moisture, and its strength increases under stress.
How do I sand inside a small box?
Fold sandpaper over a small square of ¼-inch plywood to create a rigid sanding block sized to fit the interior. Sand all interior faces before assembly — it’s nearly impossible to sand the interior corners after the box is assembled. Route or sand a small chamfer on all interior edges before assembly (⅛-inch chamfer on a router table) — this softens the look and makes cleanup easier. After assembly, sand only the exterior surfaces; accept that interior corners will show saw marks at that scale (this is normal and acceptable).
What finish is appropriate for a small display box?
CA glue applied as a finish (wipe on with a lint-free cloth, let cure, sand with 400-grit, repeat 3×) produces a glassy, hard surface that shows grain beautifully — popular for pen turners and small box makers. Danish oil is the fastest and most forgiving: wipe on, wipe off after 20 minutes, let cure 24 hours. Shellac is the most traditional and produces a warm amber tone that complements cherry and walnut. For a food-contact interior, food-safe mineral oil applied and wiped dry.

“DIY woodworking enthusiast who started with zero experience and a YouTube tutorial.
I build simple, practical projects for my home and share free plans
so other beginners can skip the guesswork.If I can build it, you can too.”